A first-year student in a Haryana government college once spent nearly twenty minutes trying to get a blood smear into focus. The slide was fine. The objective was fine. Her condenser had been racked all the way down by whoever used the instrument before her, so almost no light was reaching the specimen.
Nobody had ever told her what a condenser does.
That happens constantly. Most people learn the parts of a microscope as a diagram to memorise for an exam, not as a set of things that each do a specific job. And the moment something goes wrong at the bench, that difference shows.
So here is every part of a compound microscope, what it actually does, and why it matters when you are working with a real slide.
What are the main parts of a microscope?
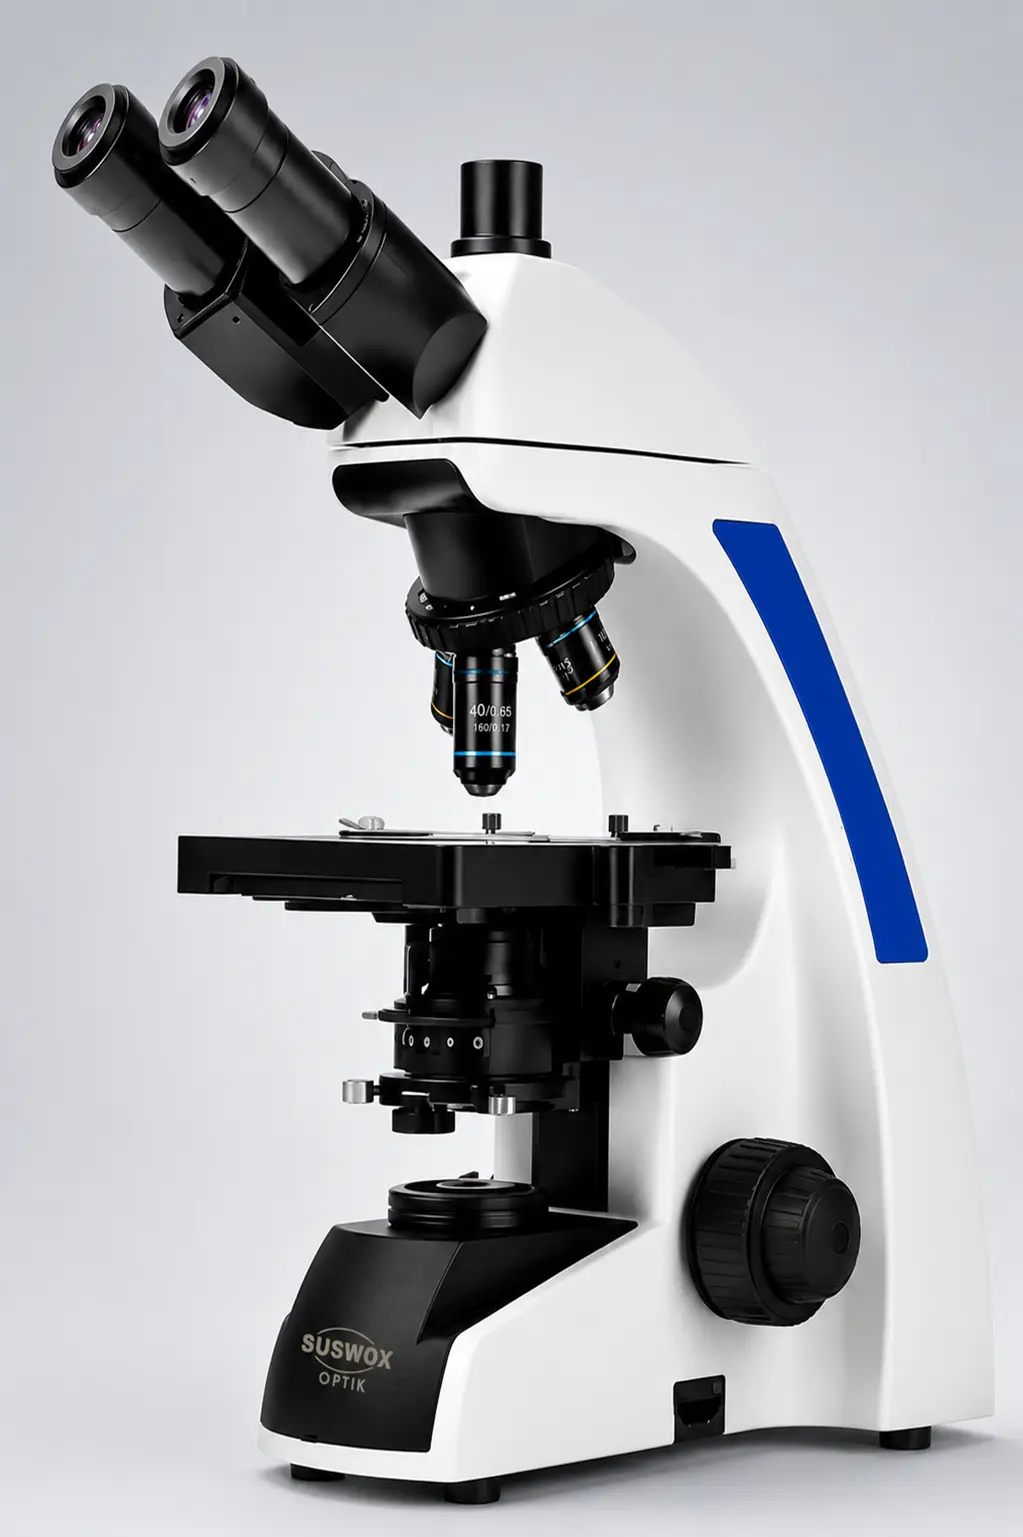
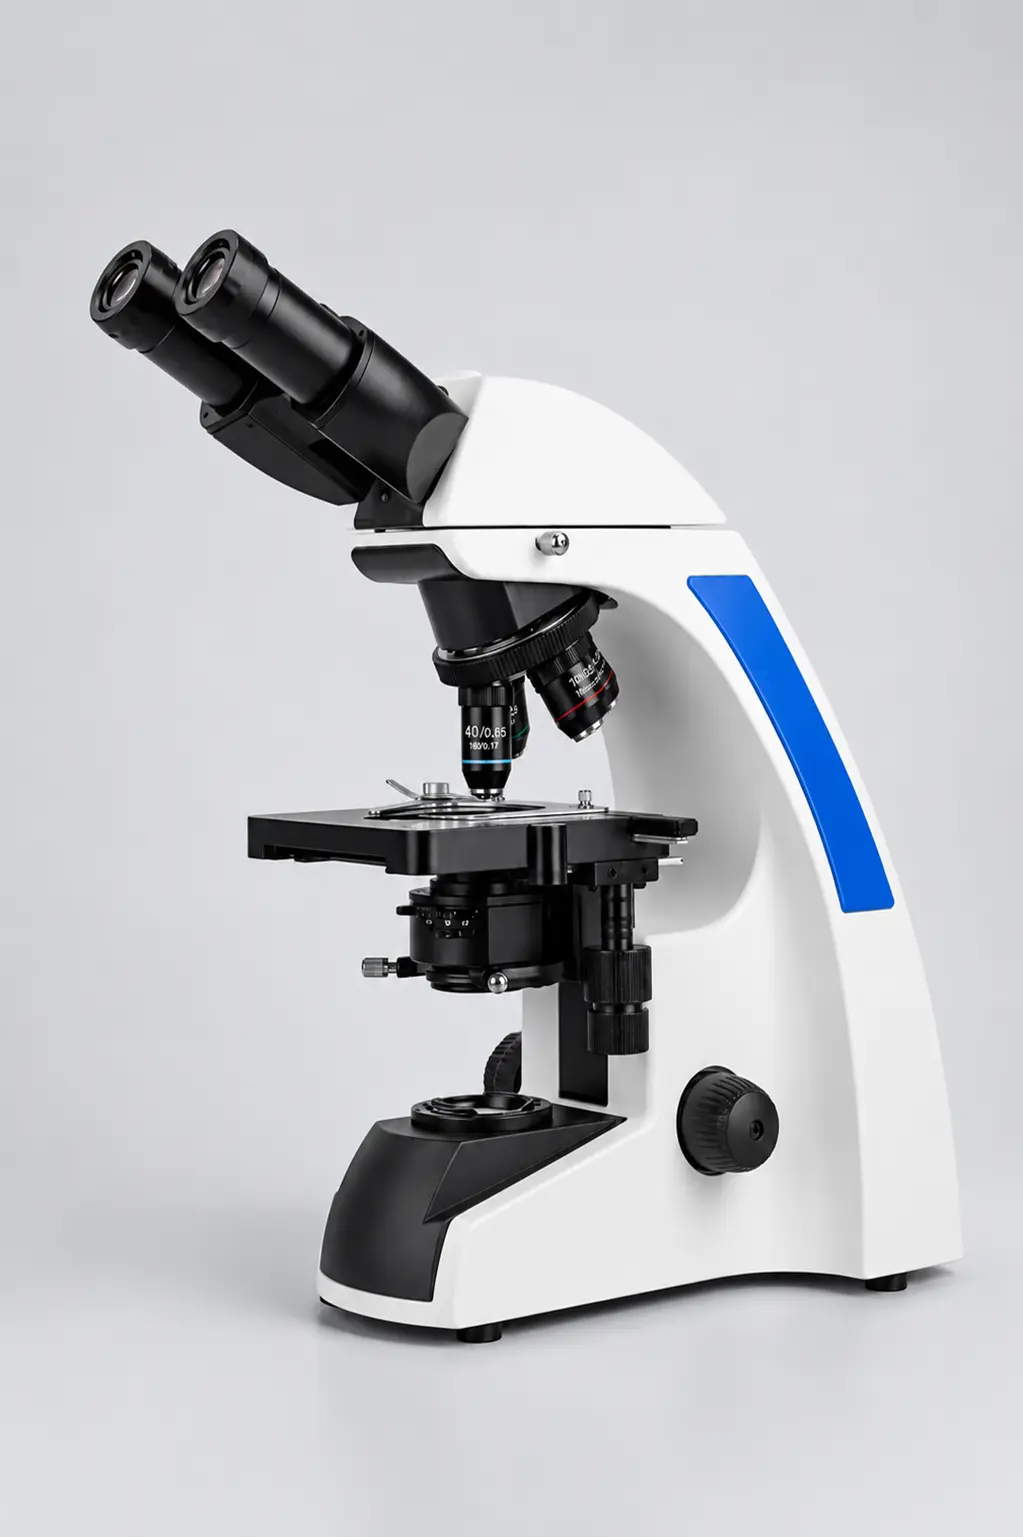
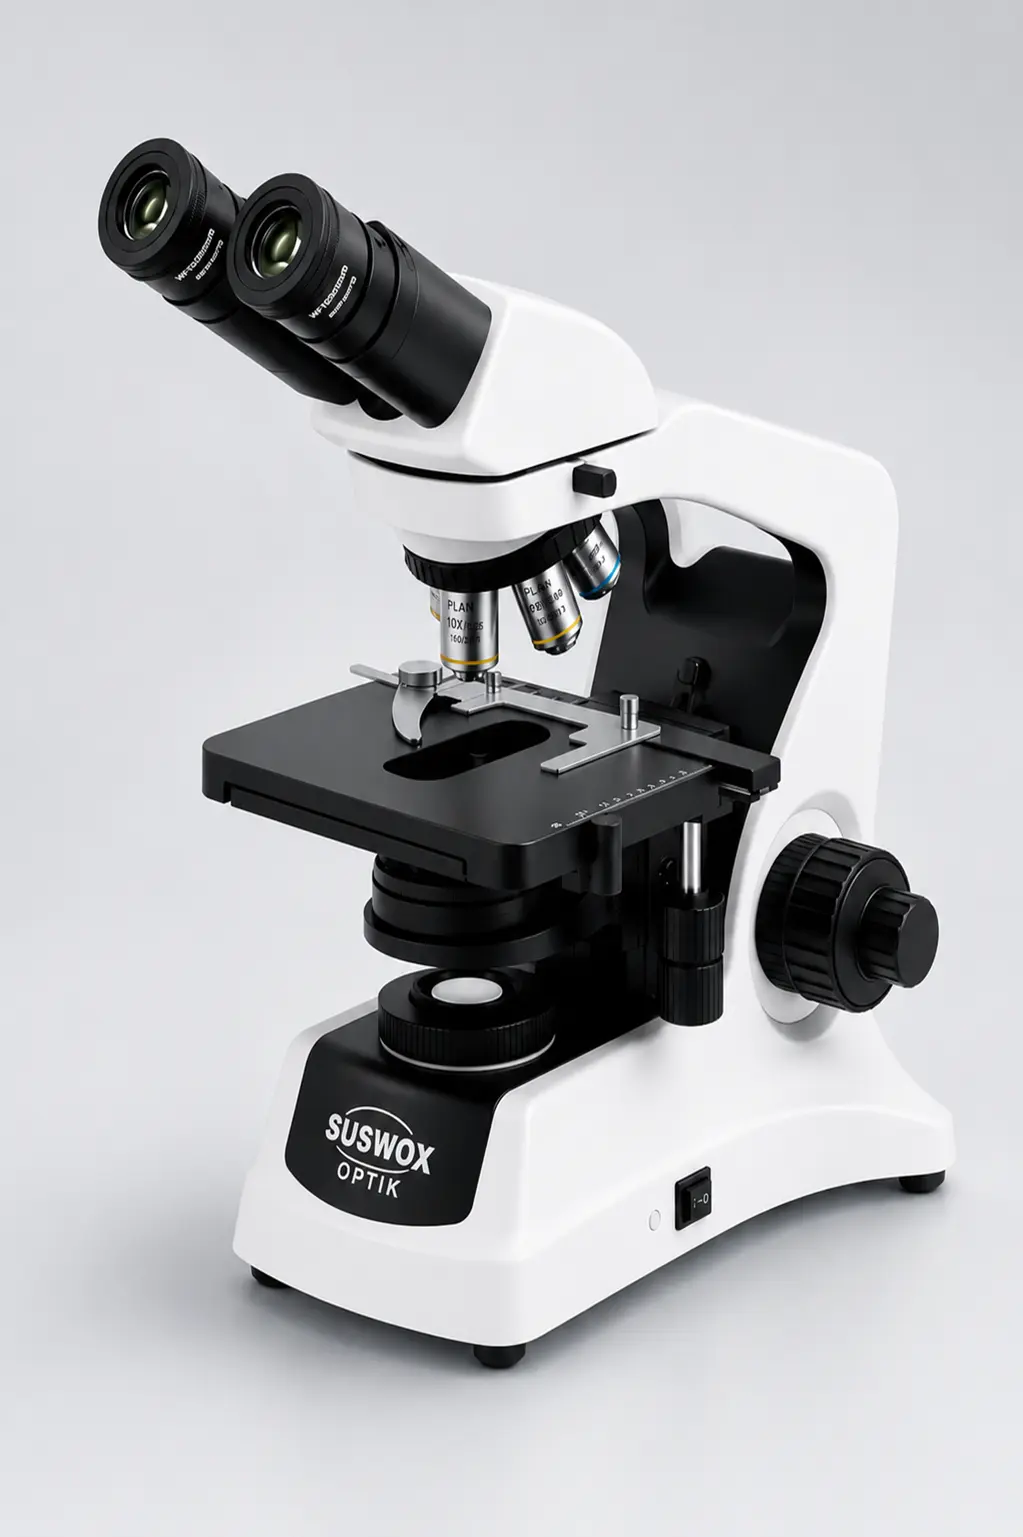
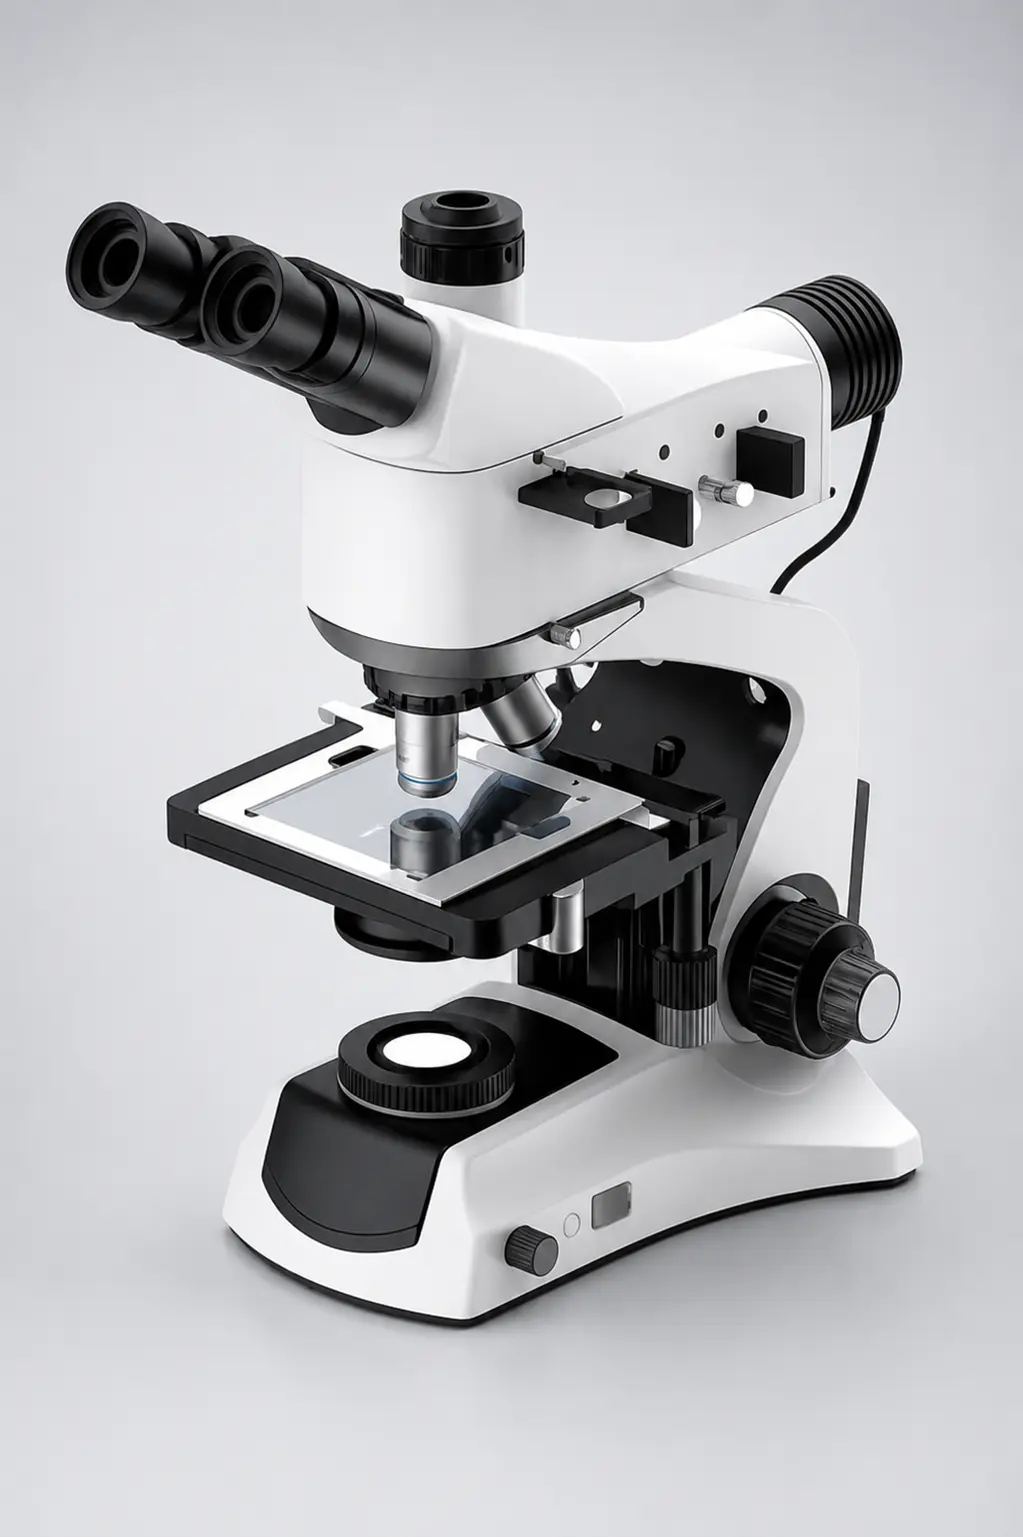
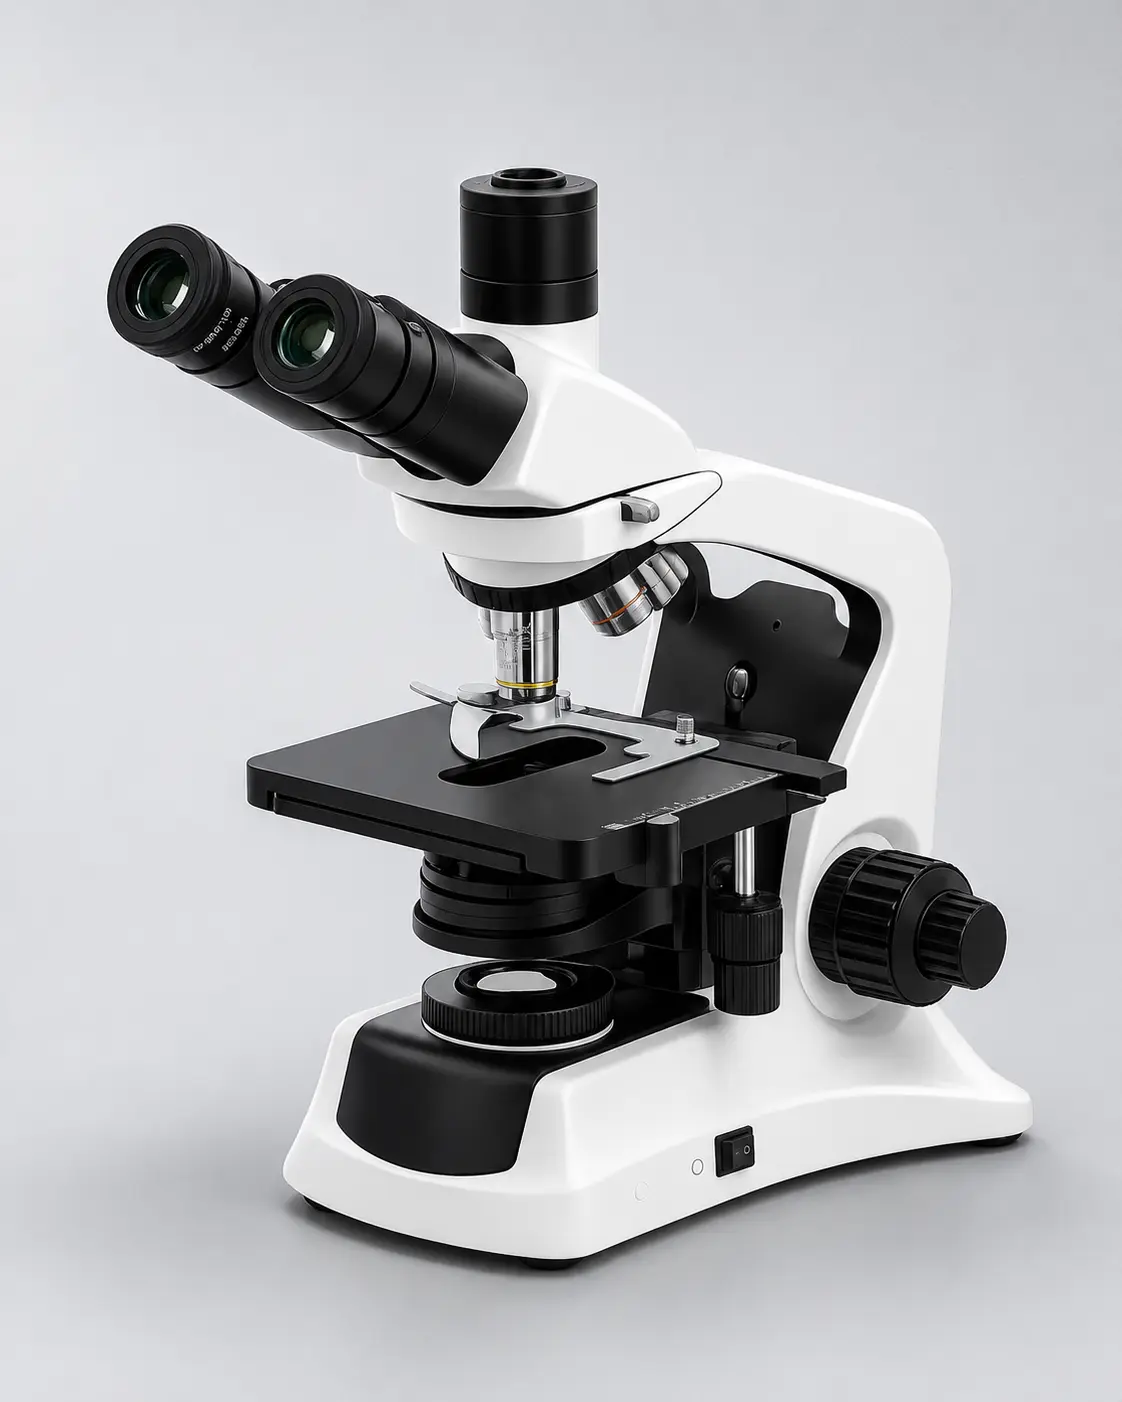
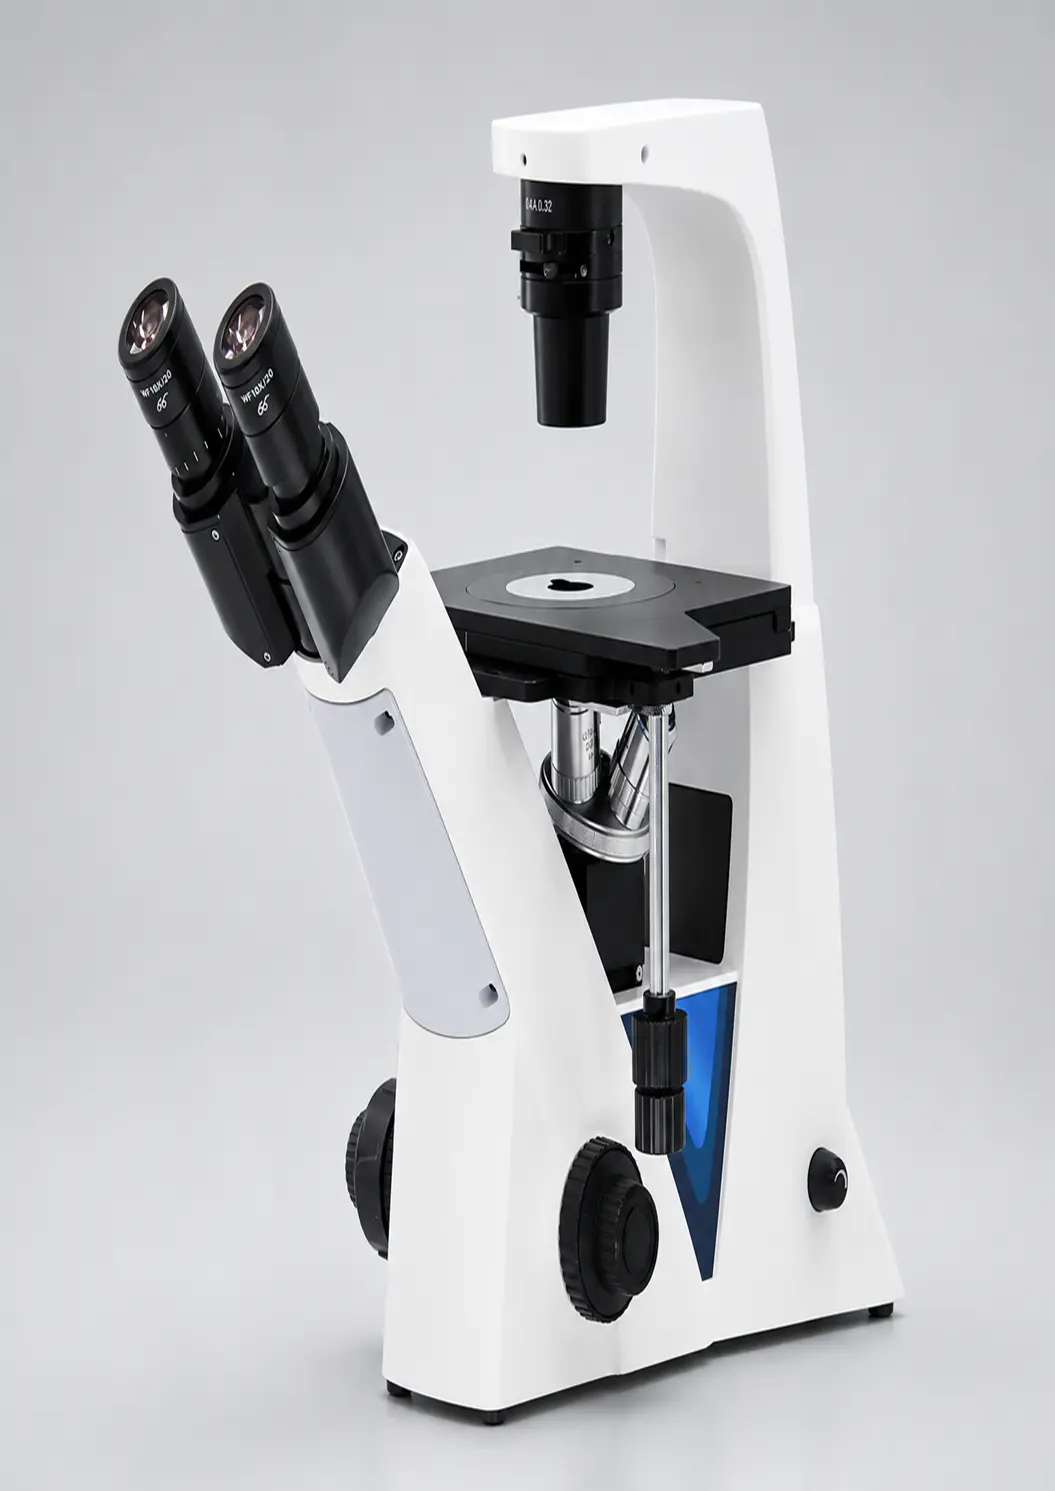
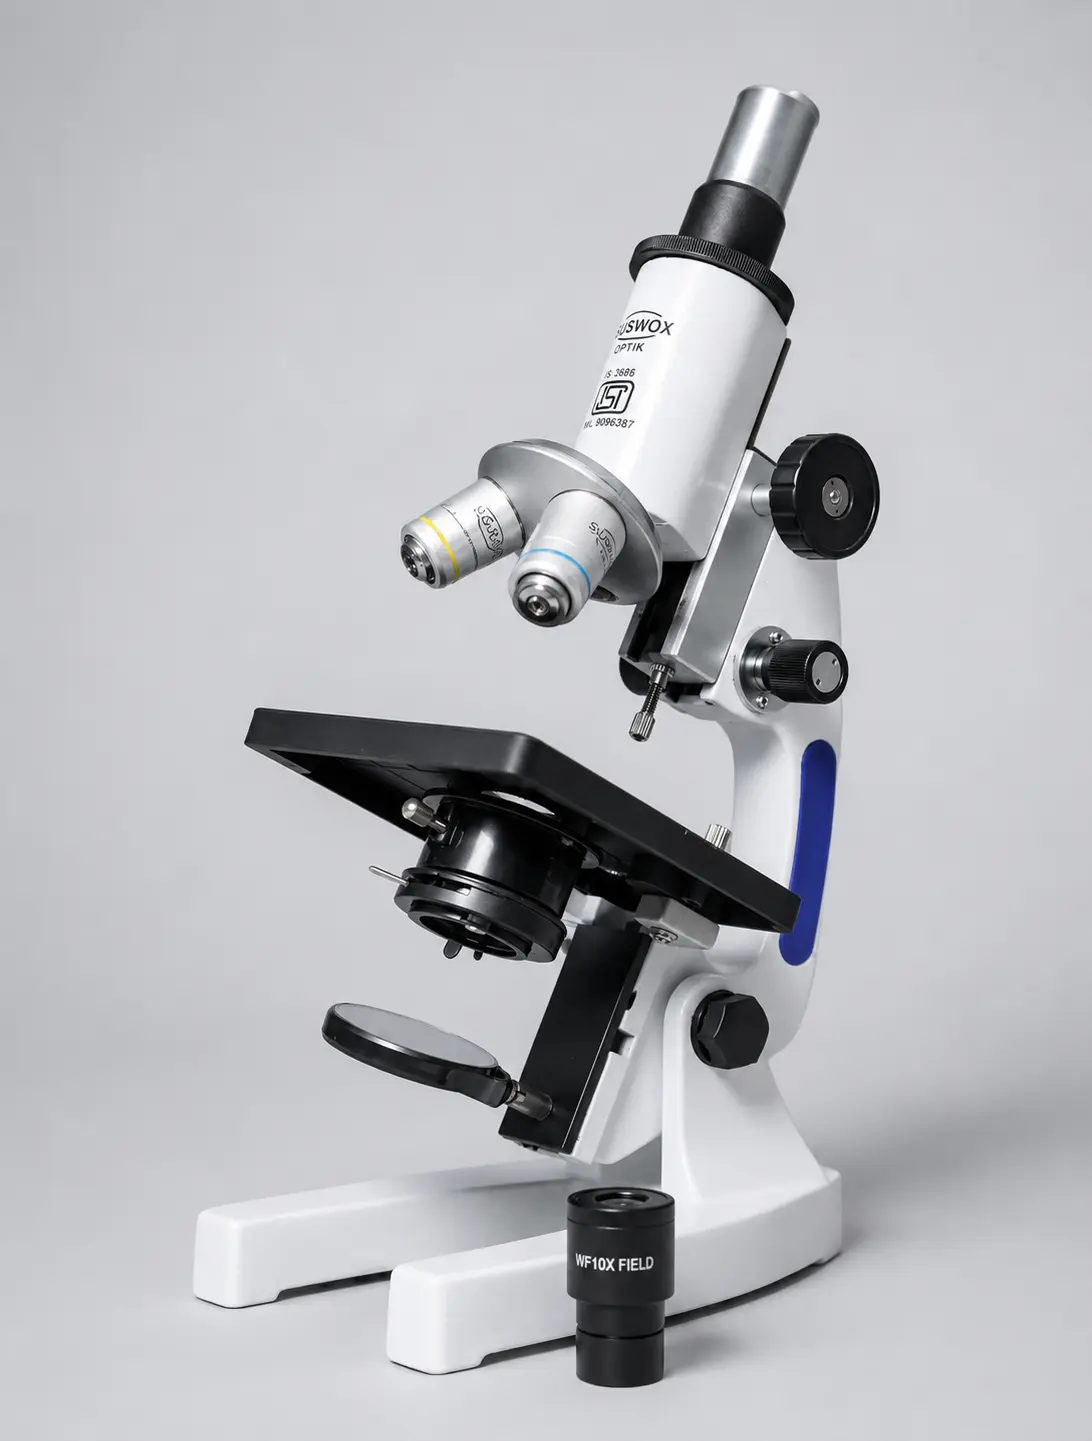
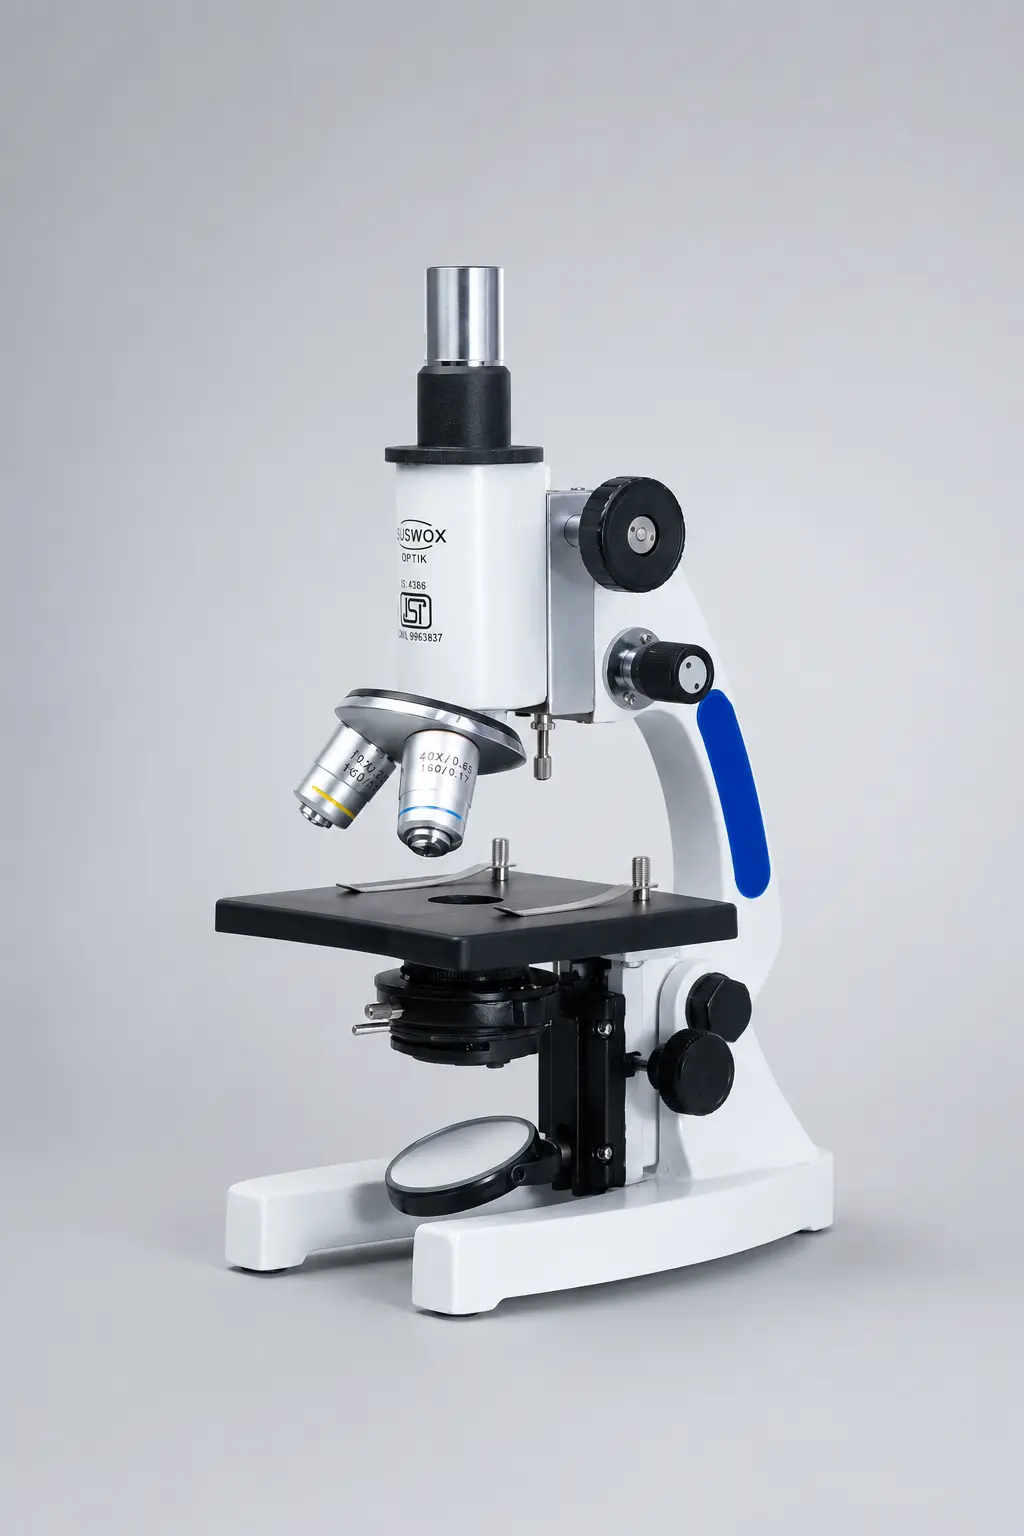
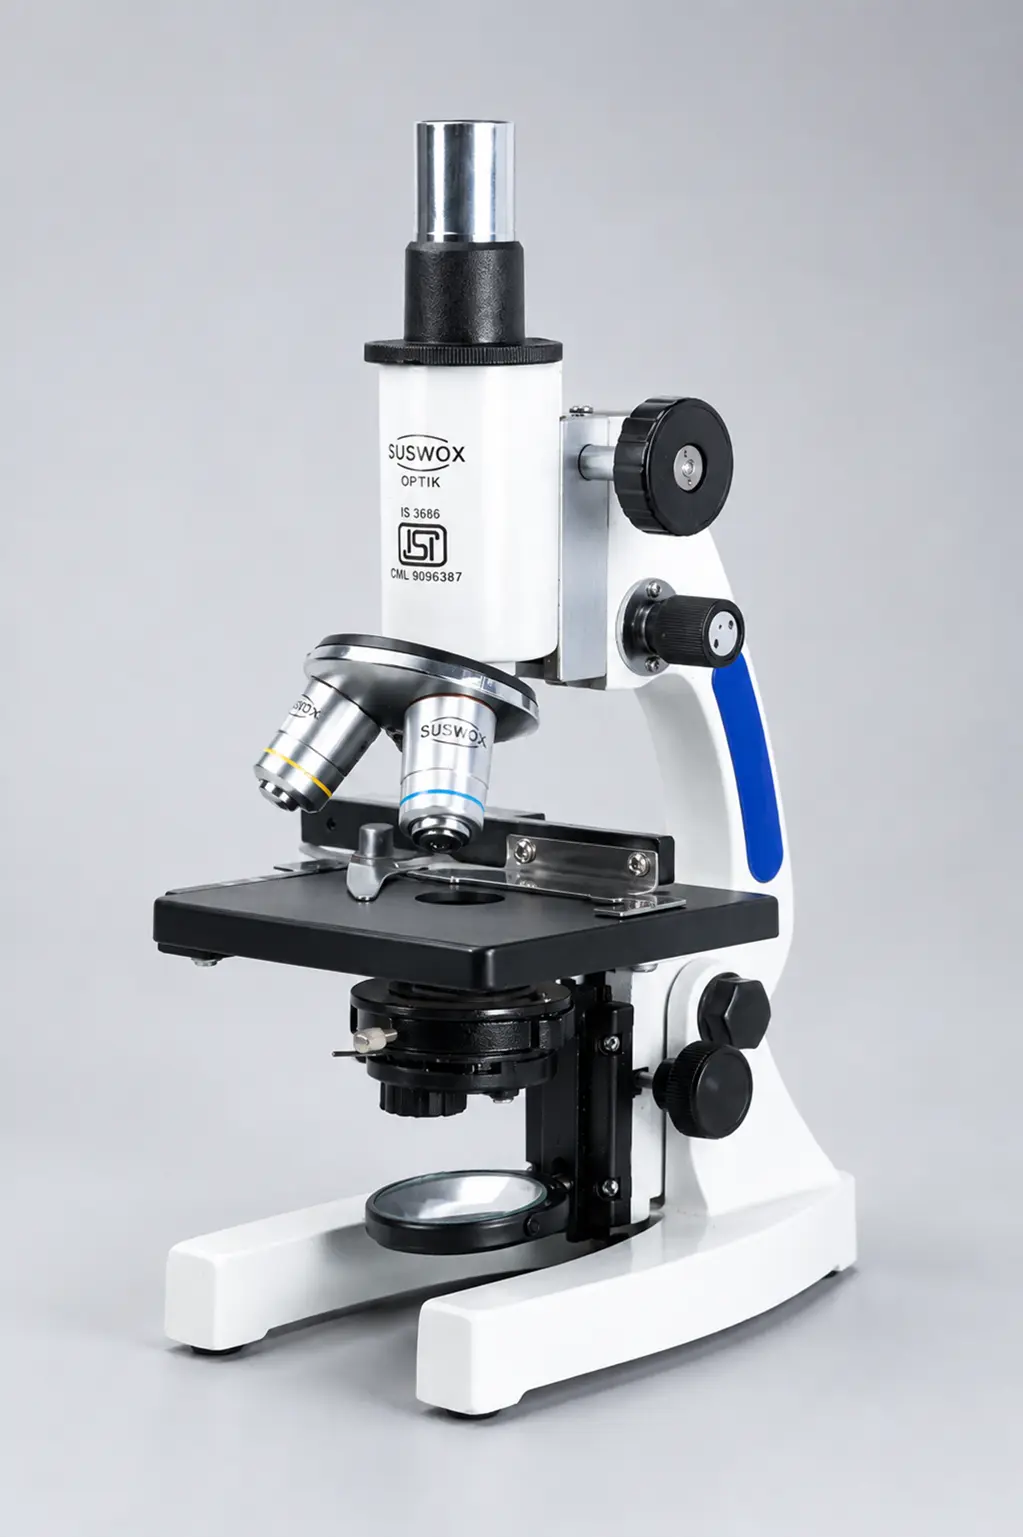
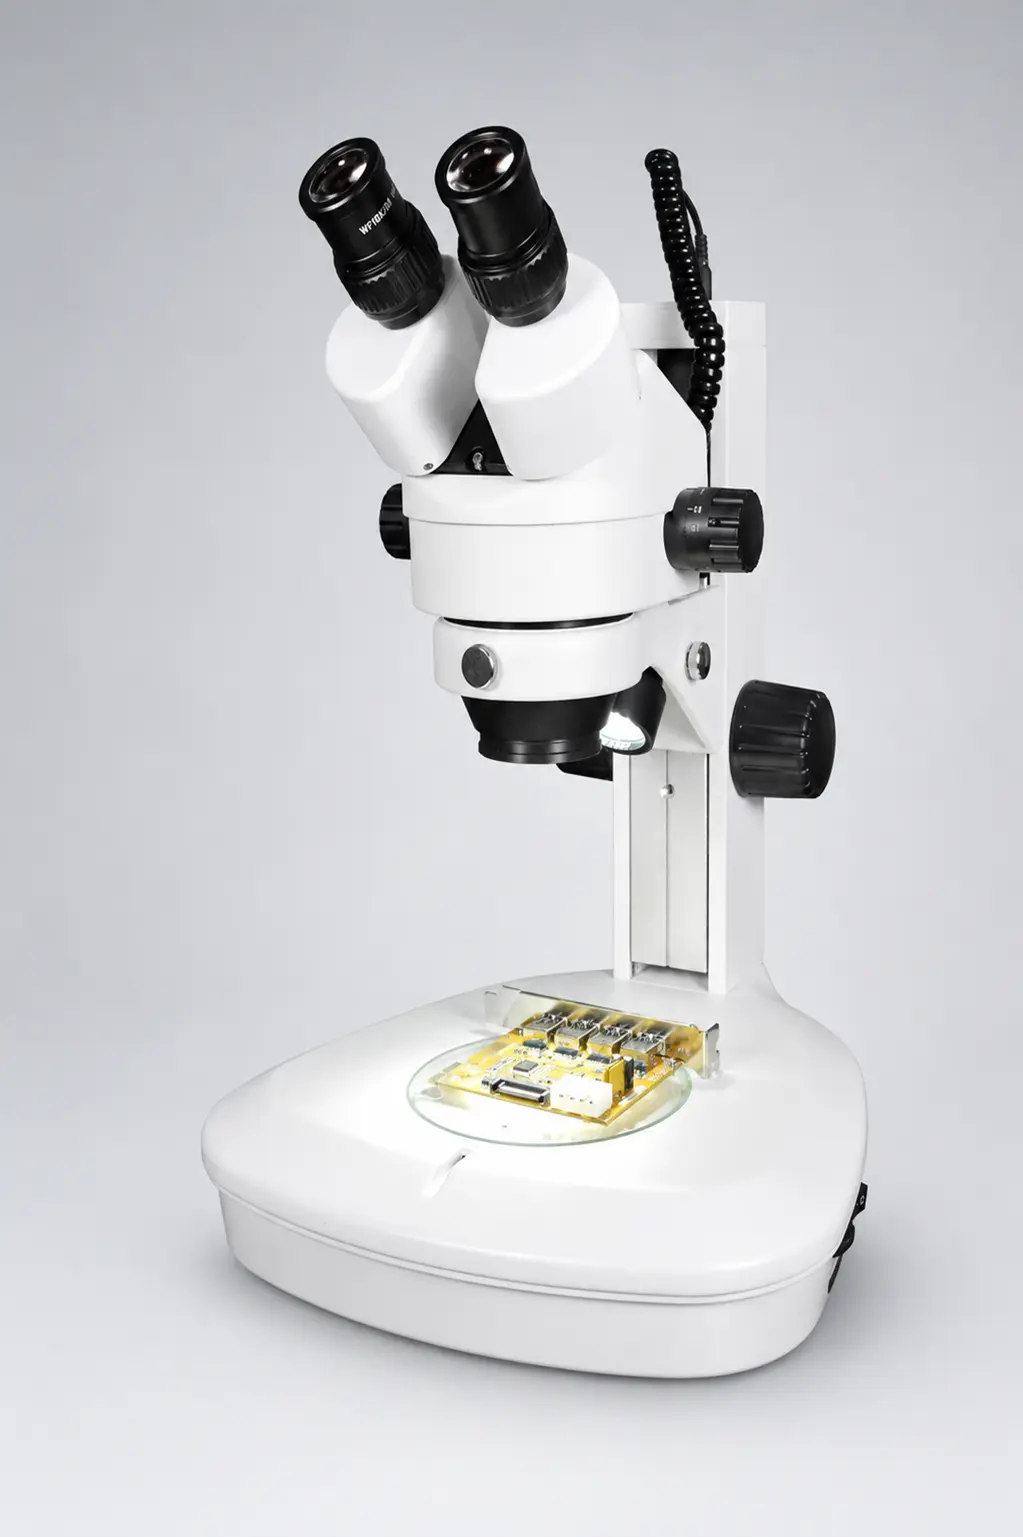
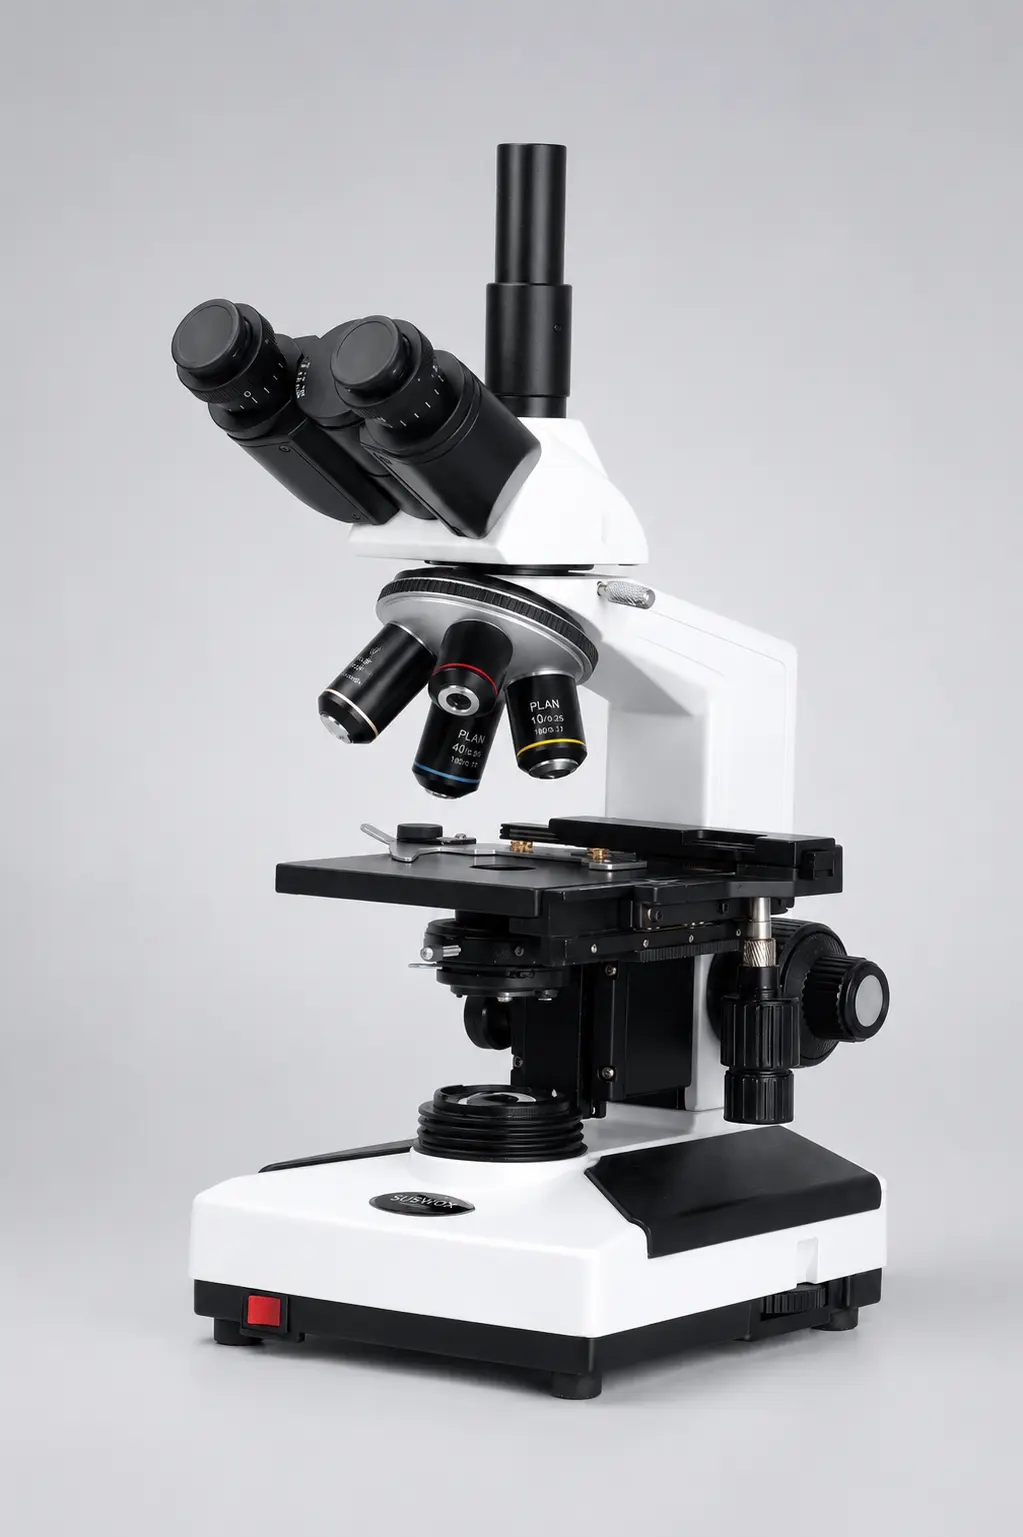
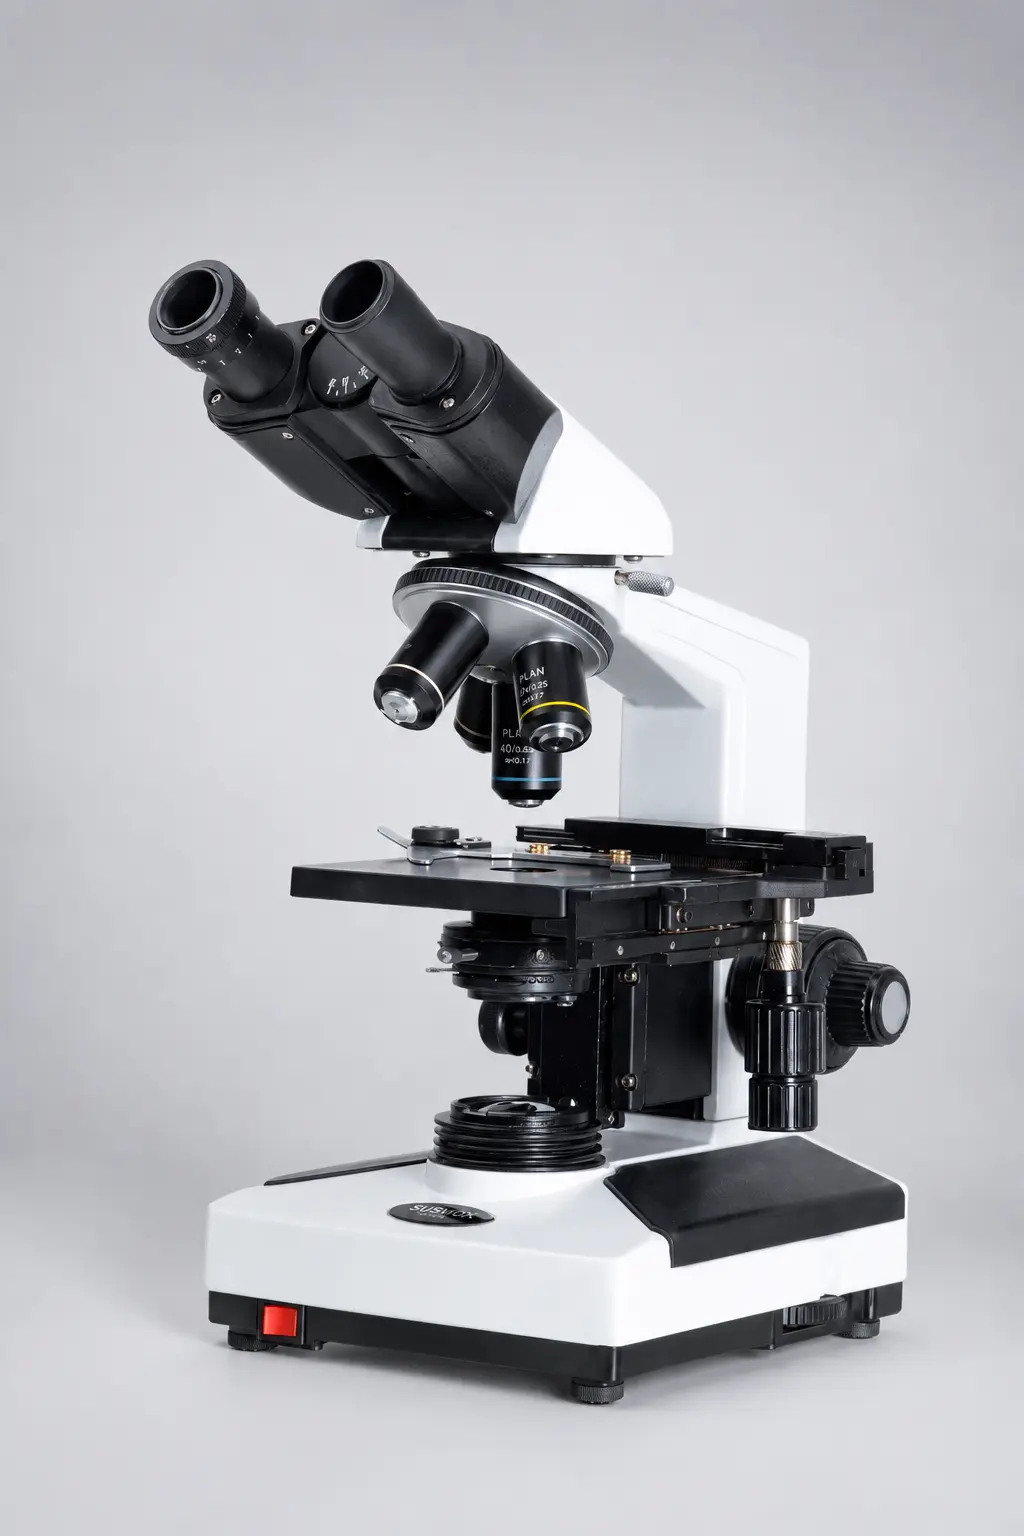
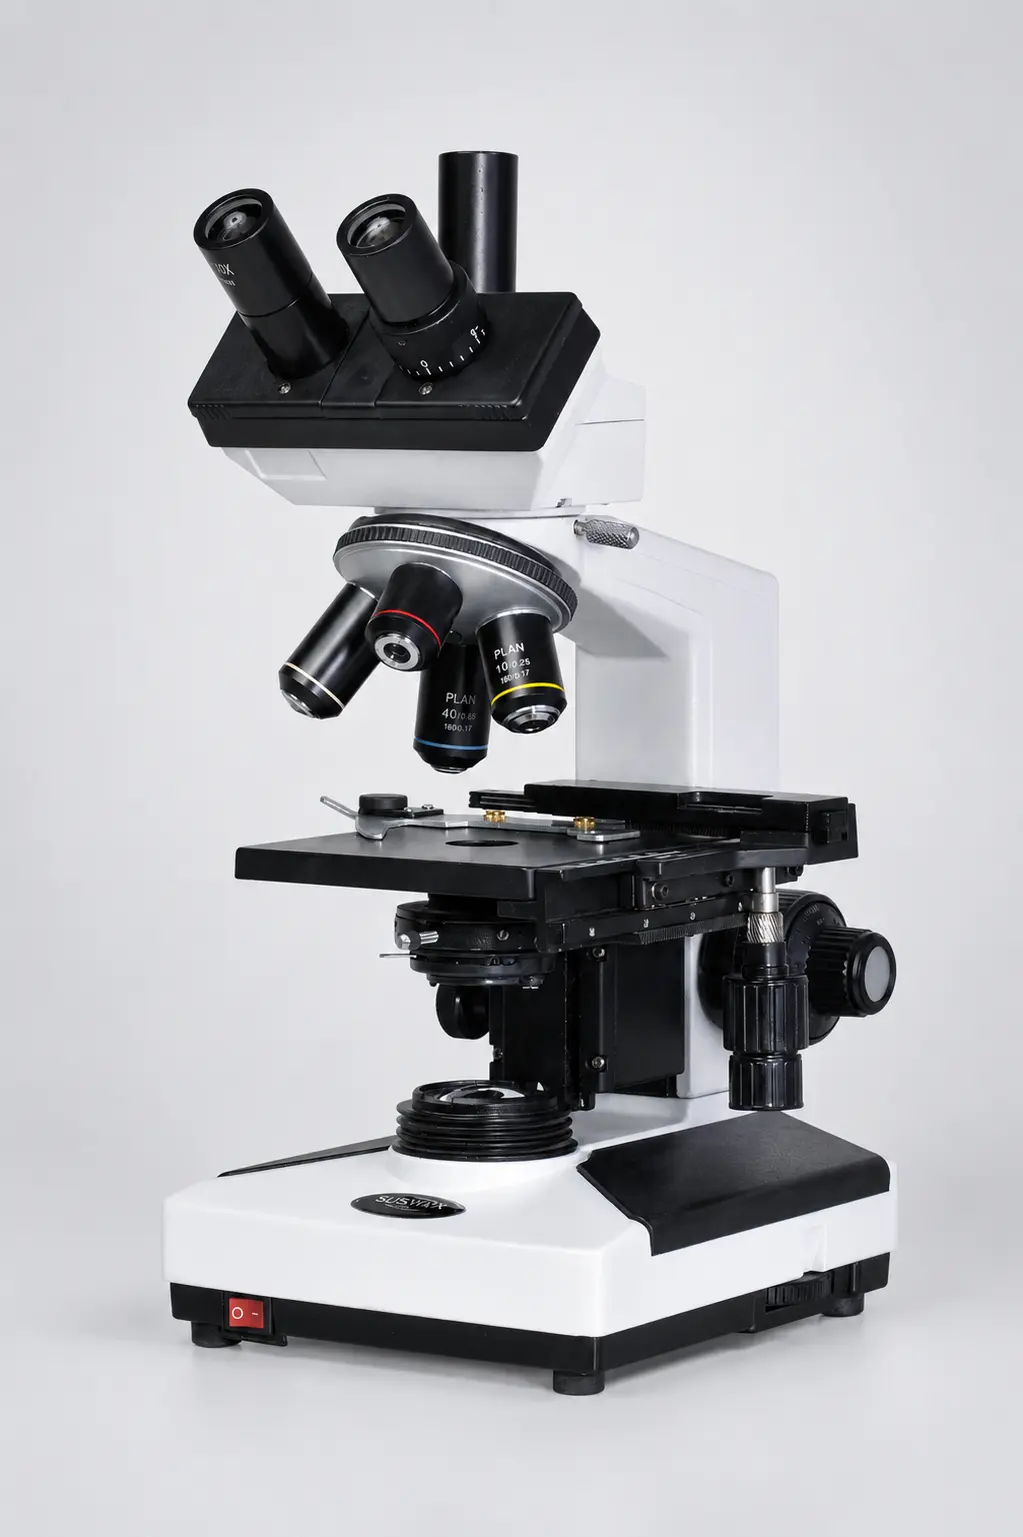
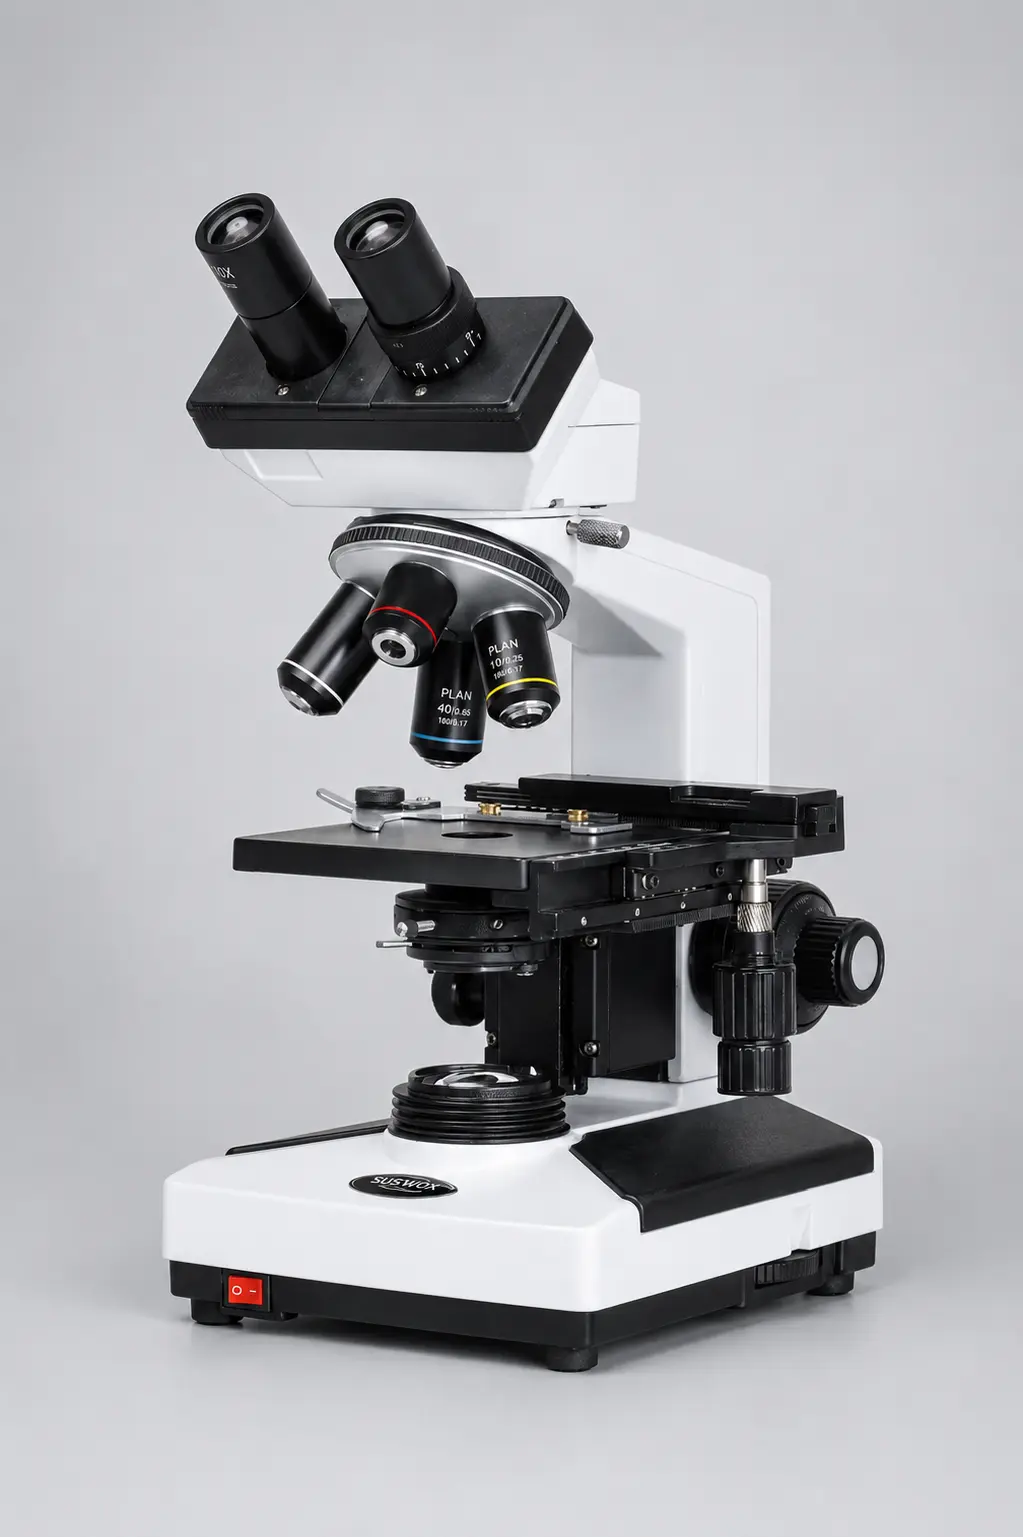
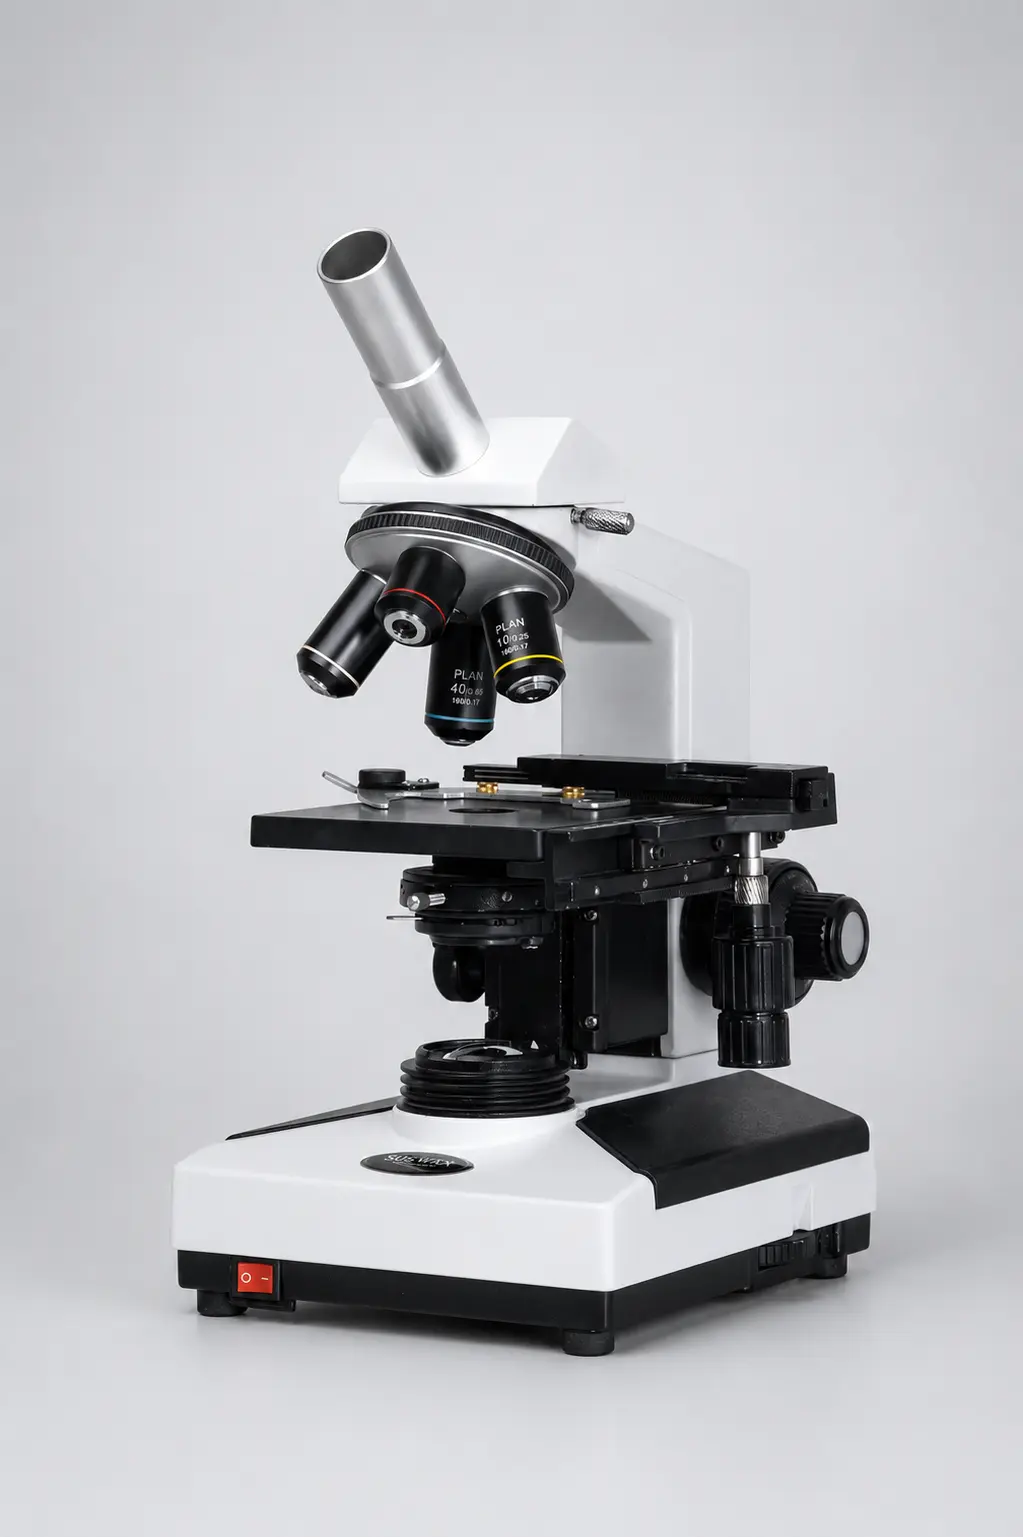
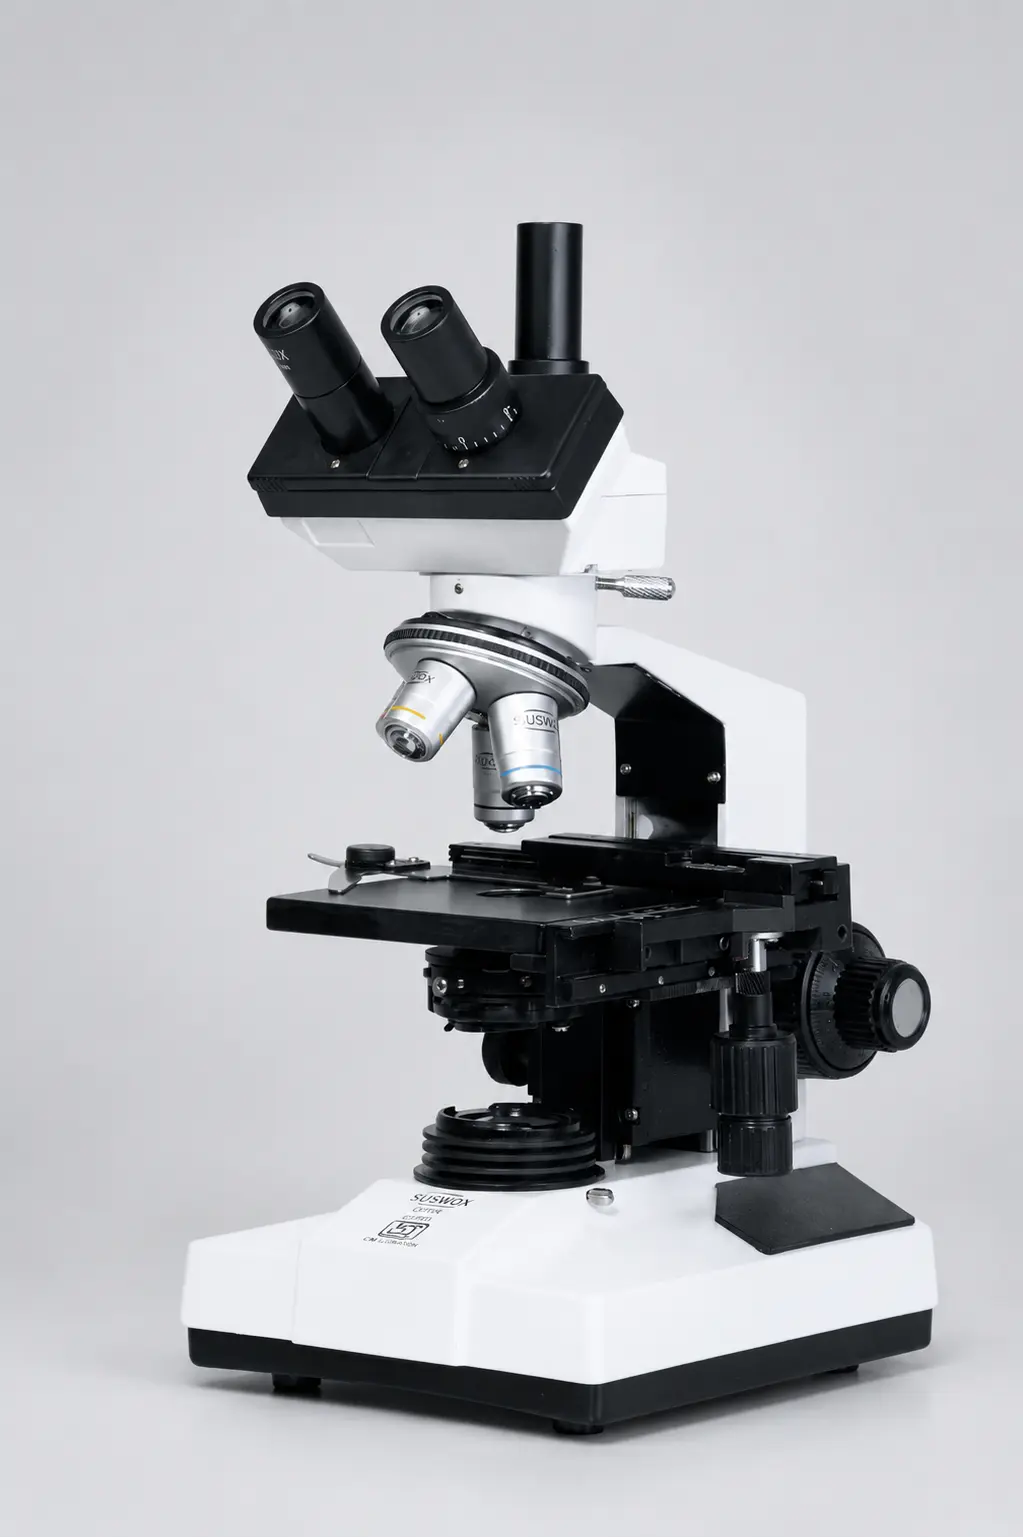
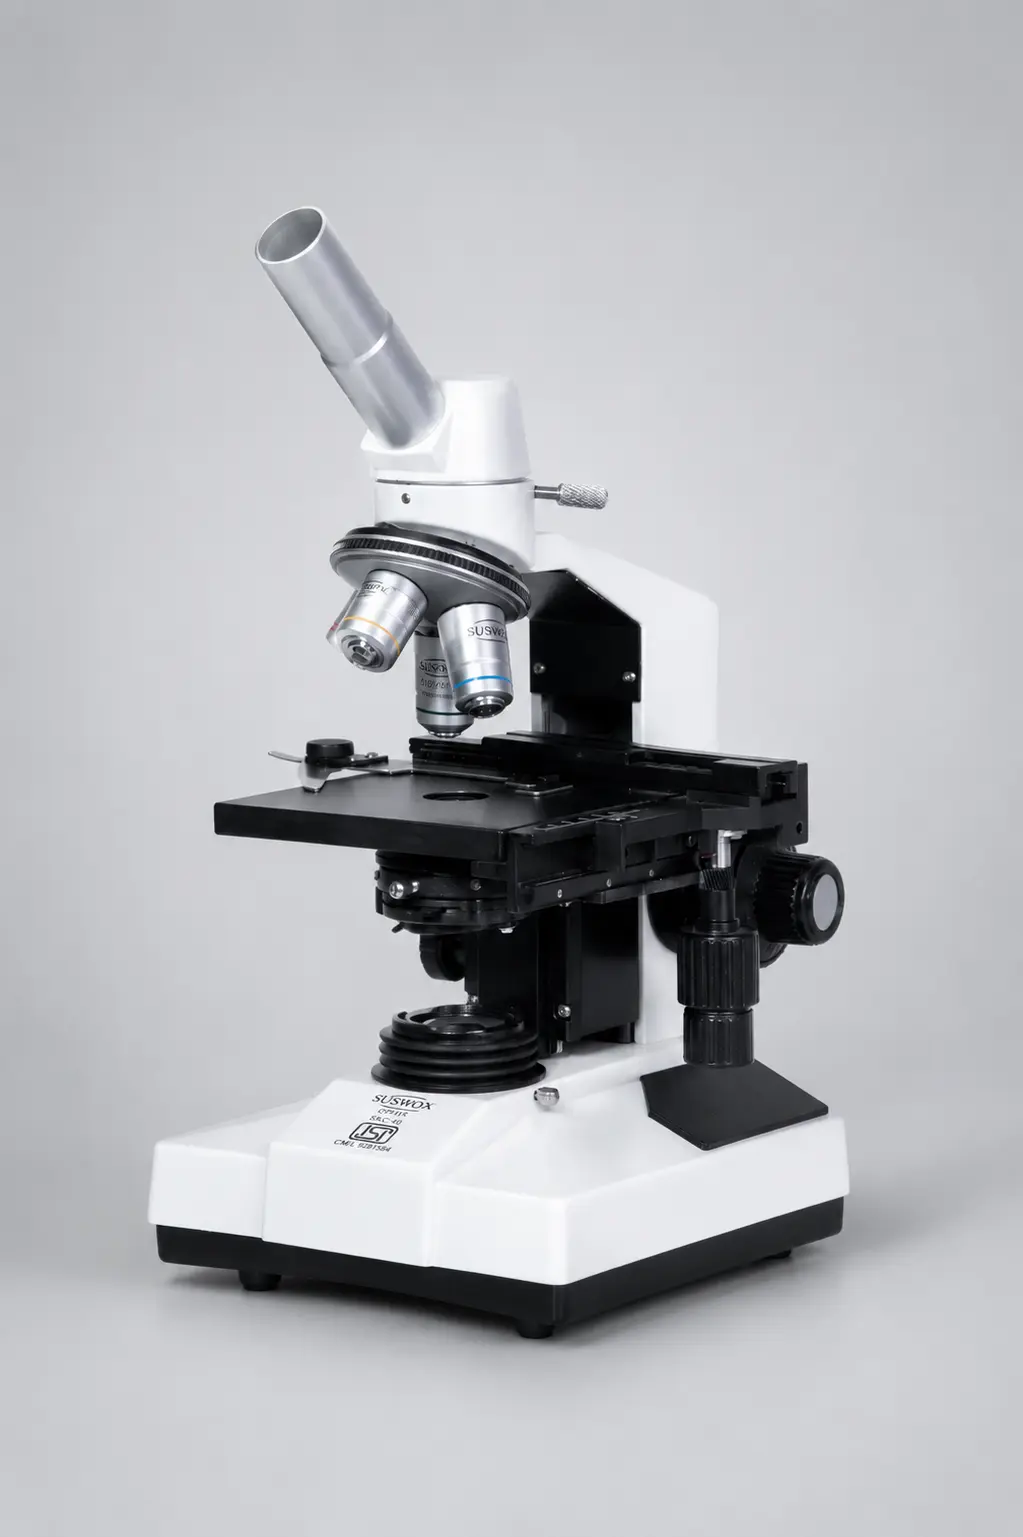
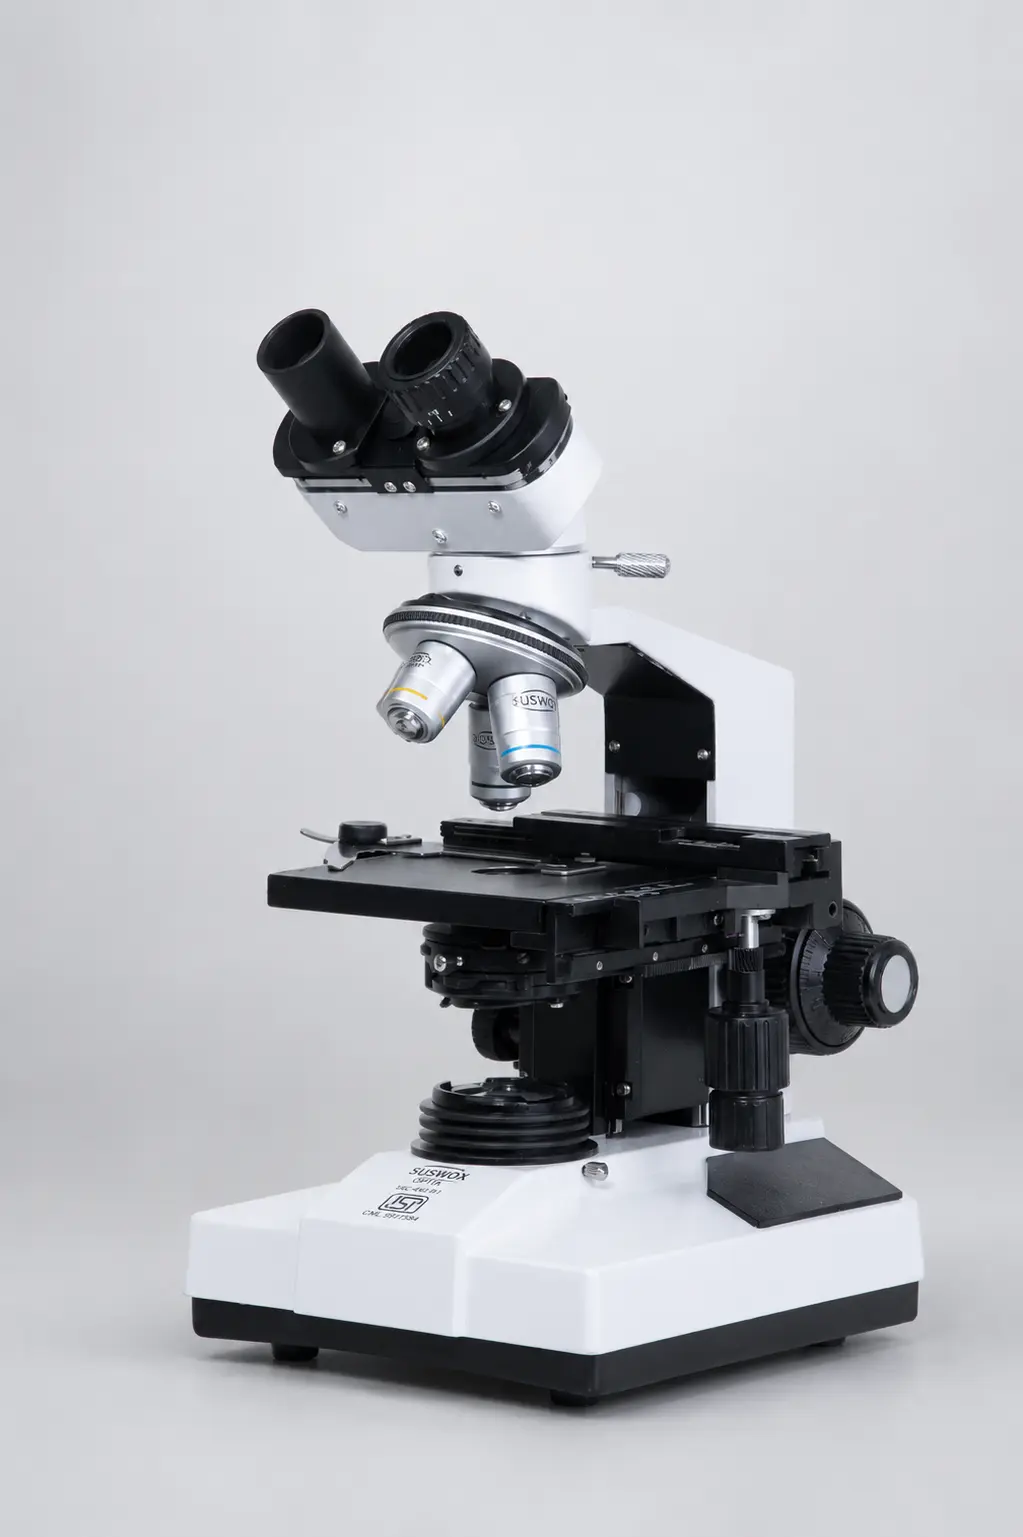
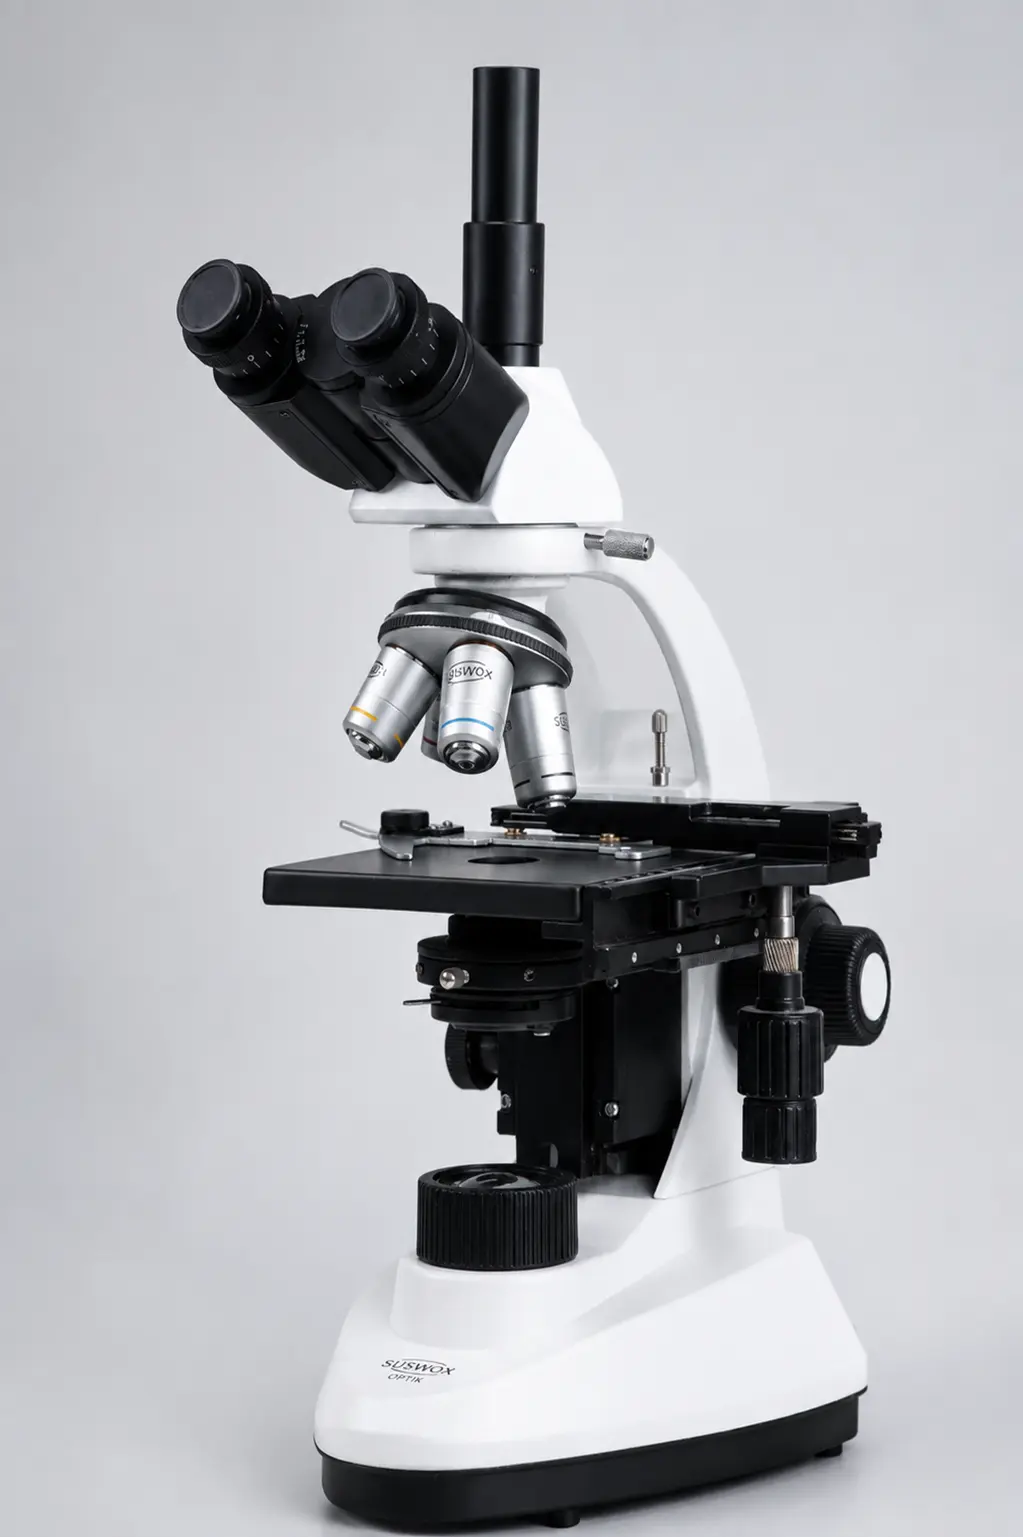
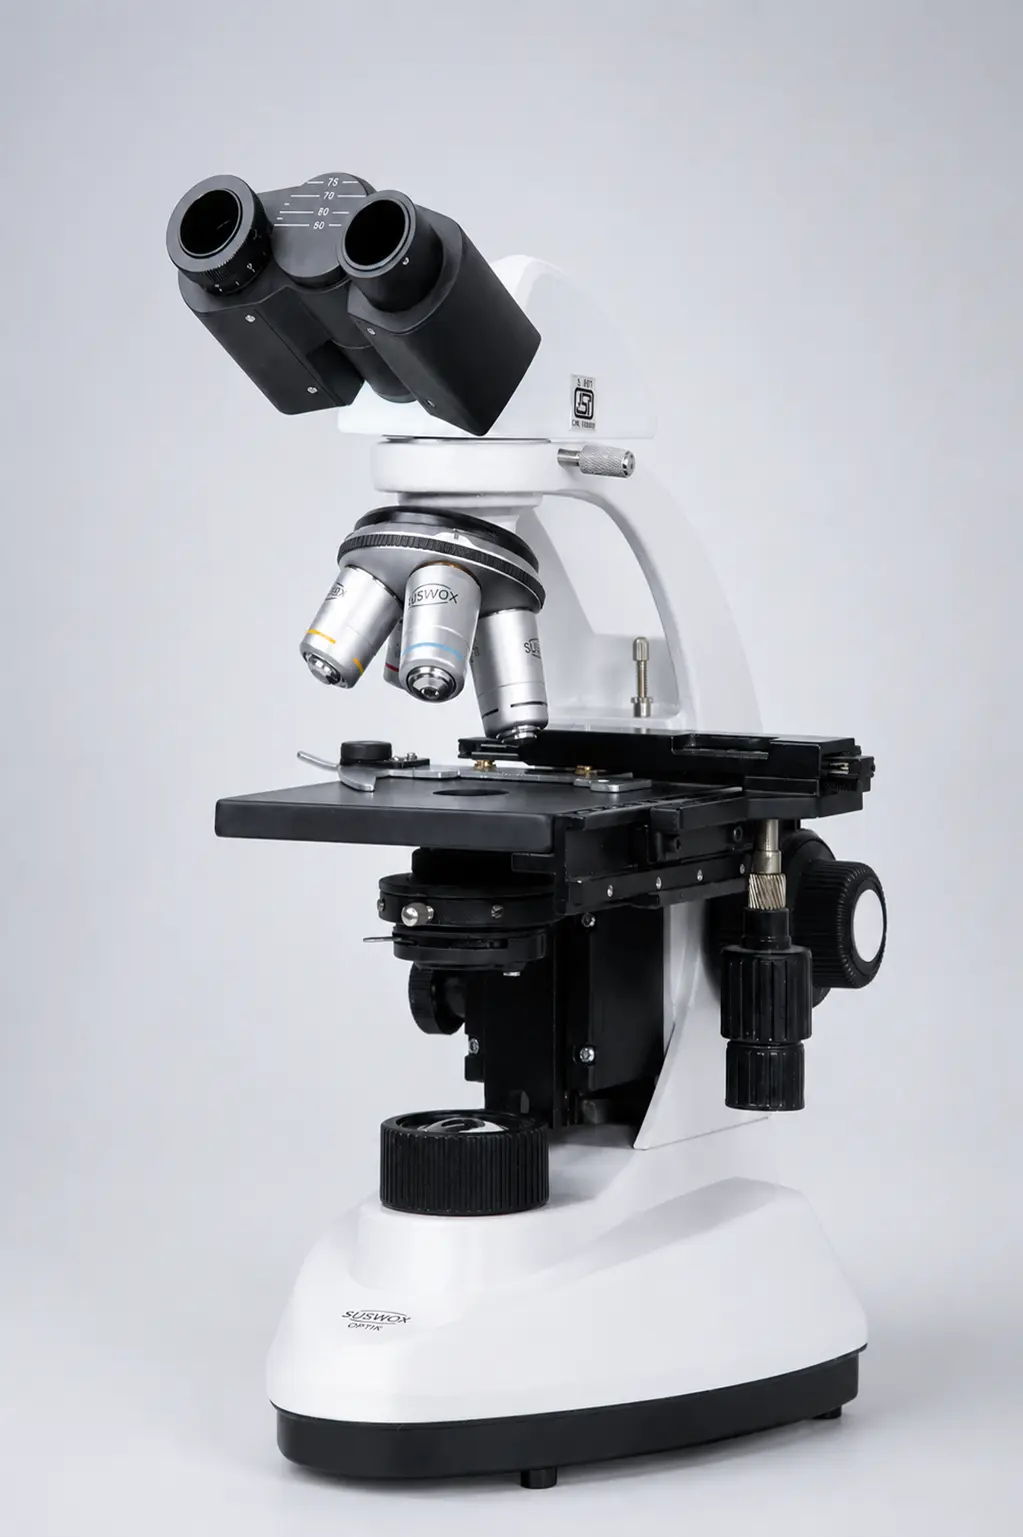
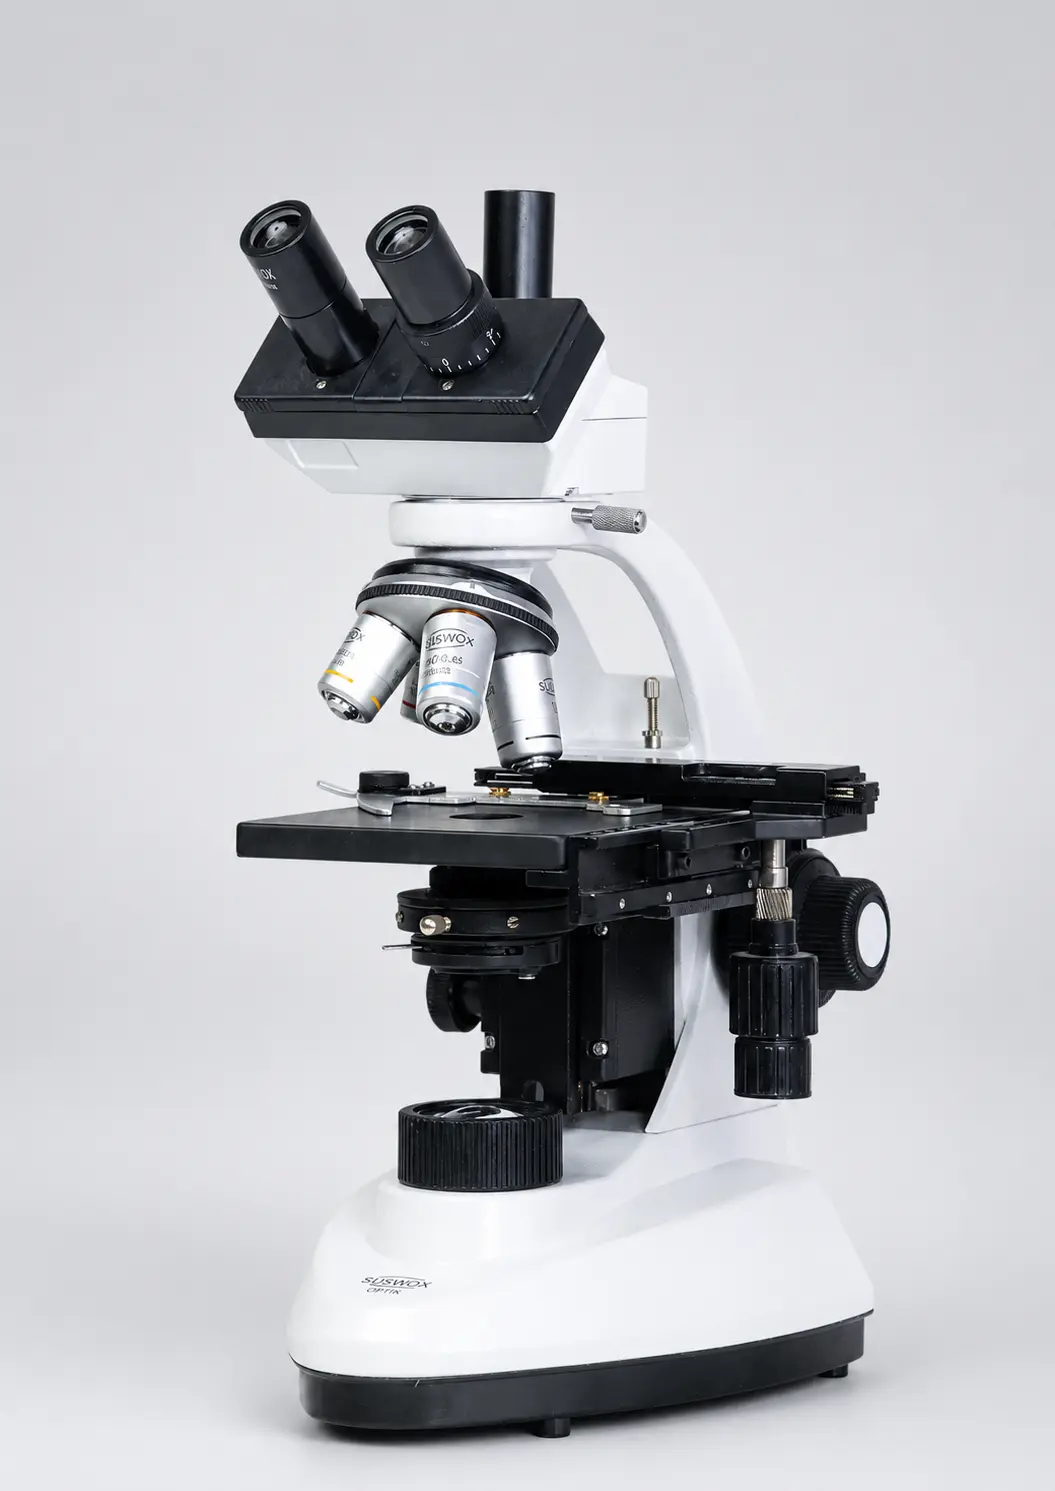
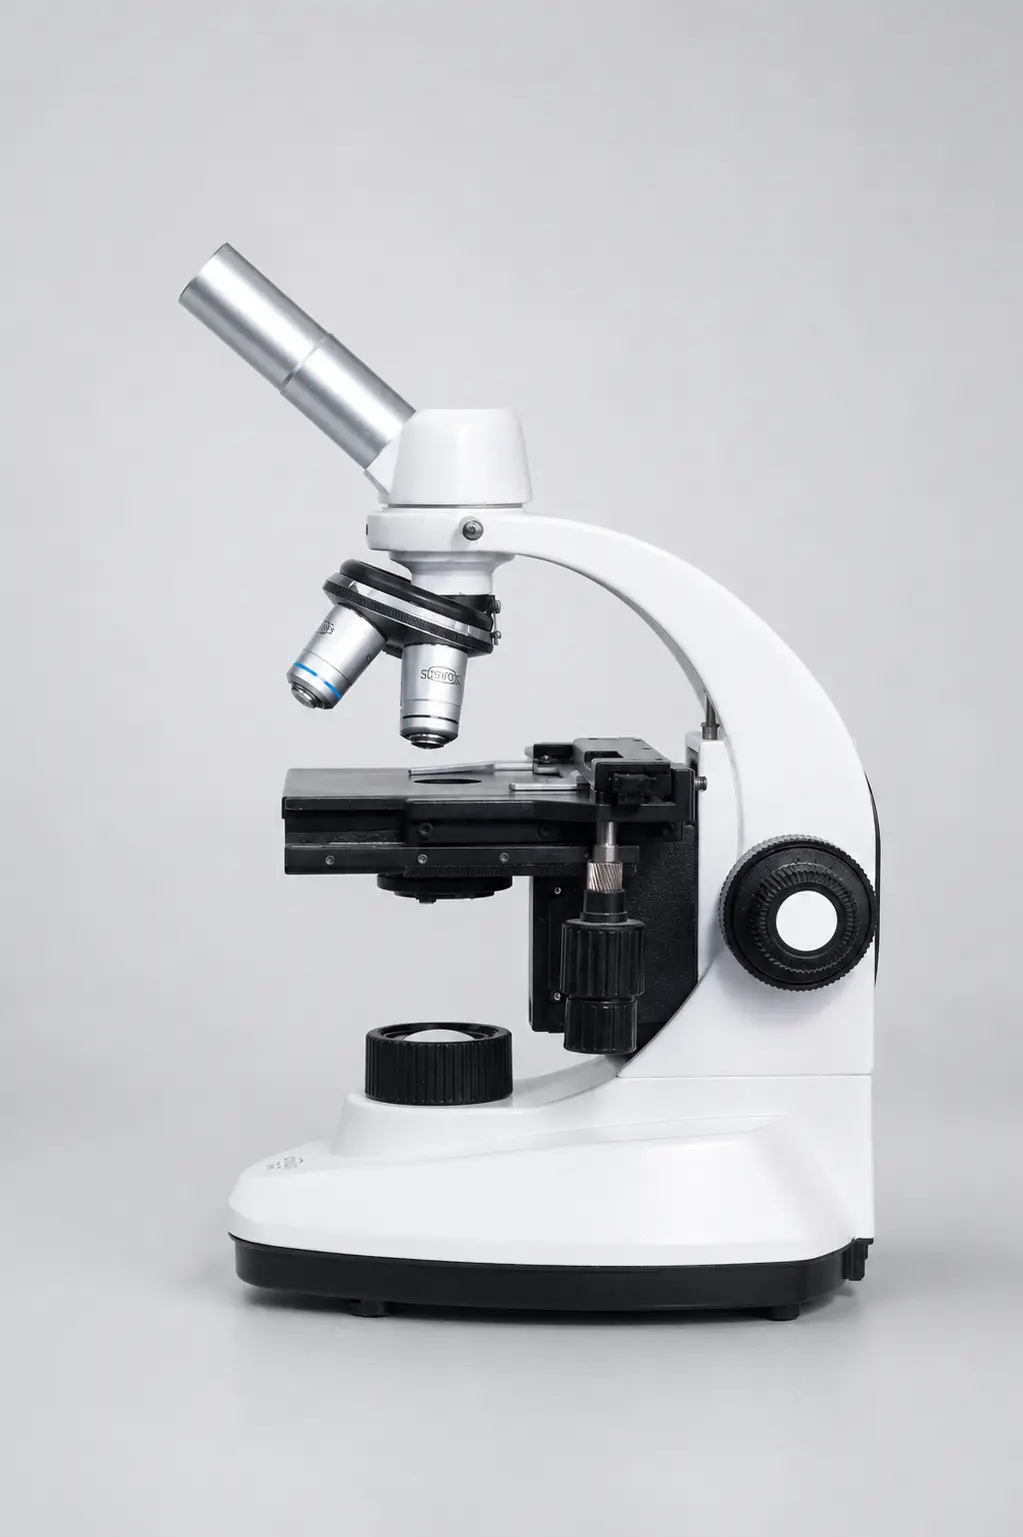
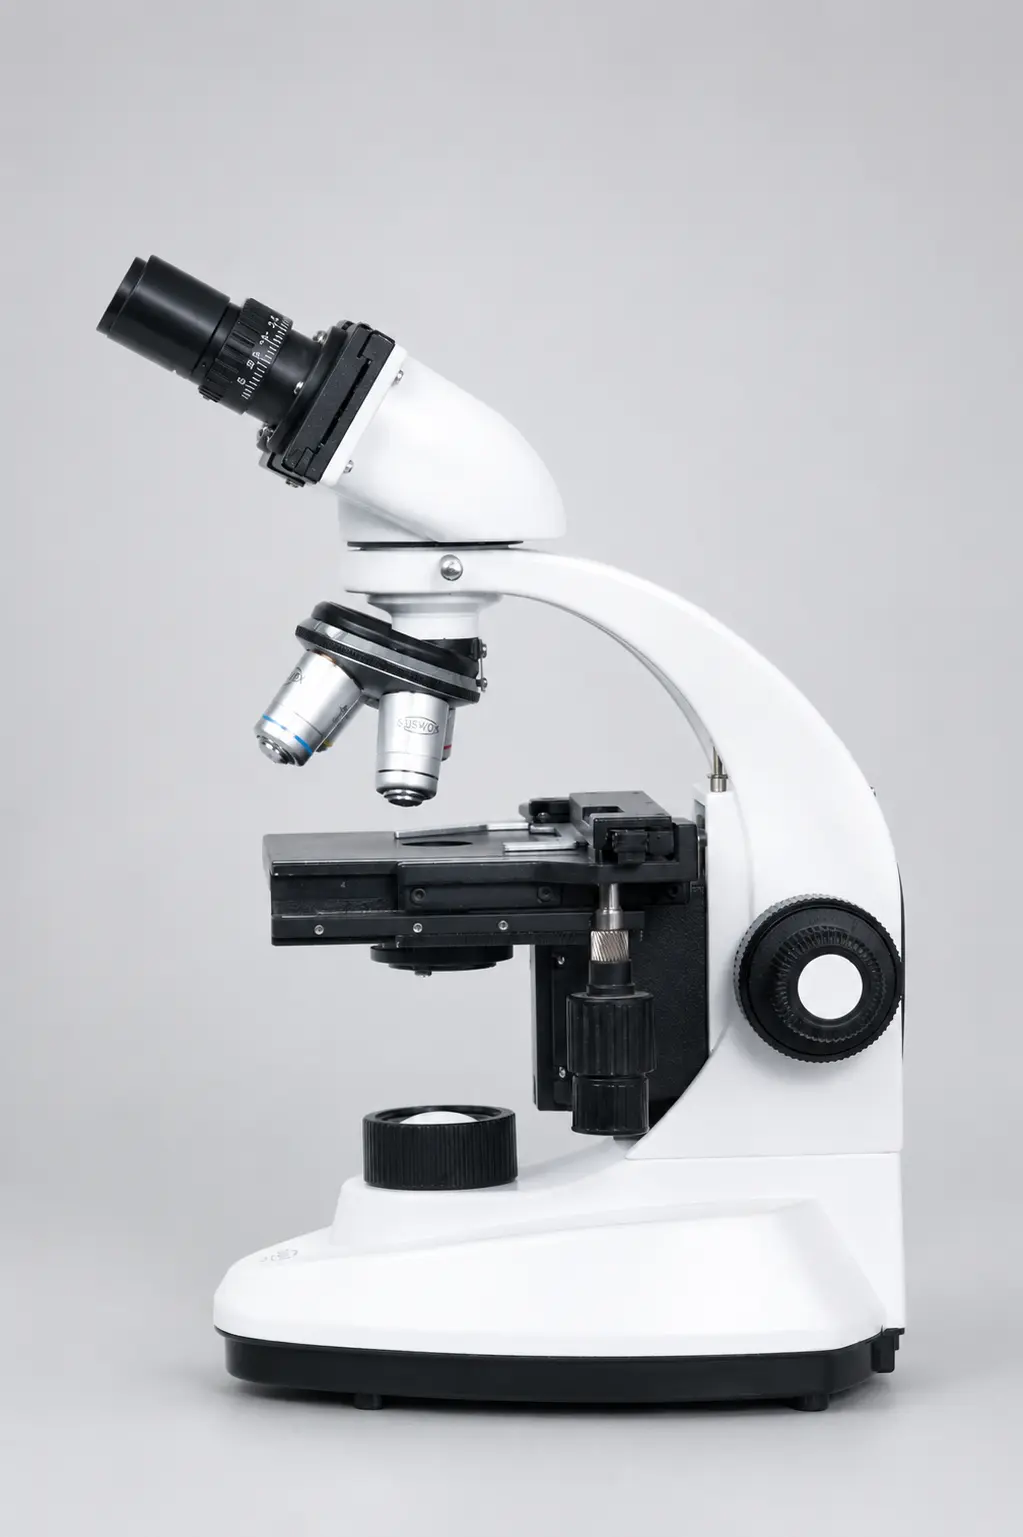
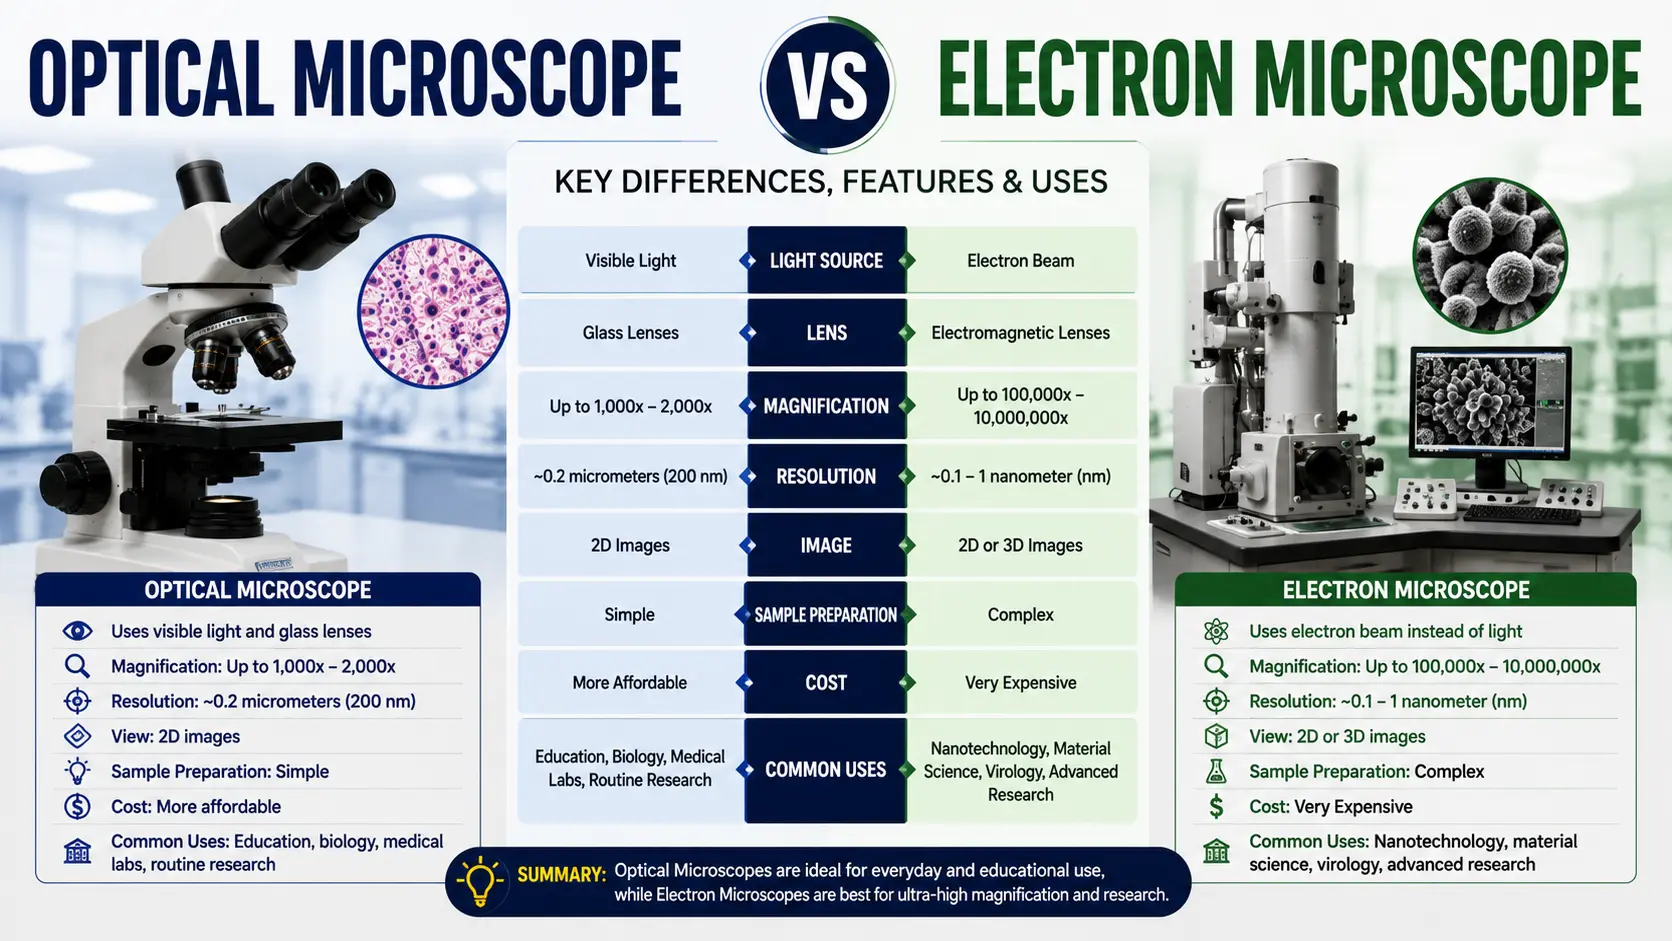
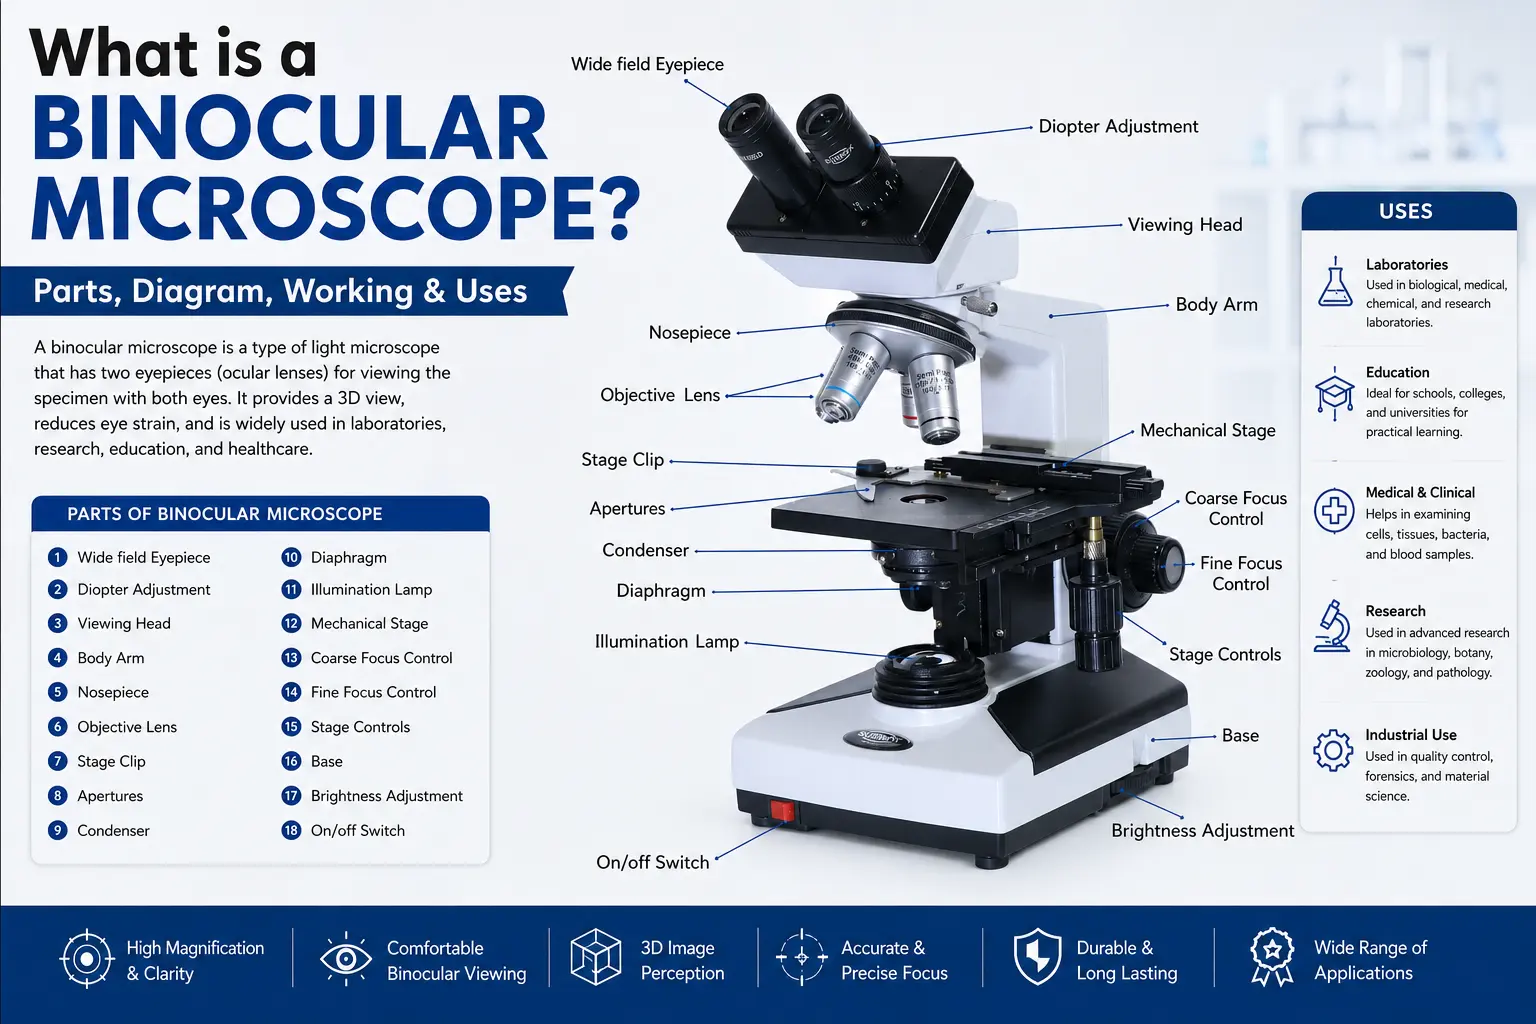
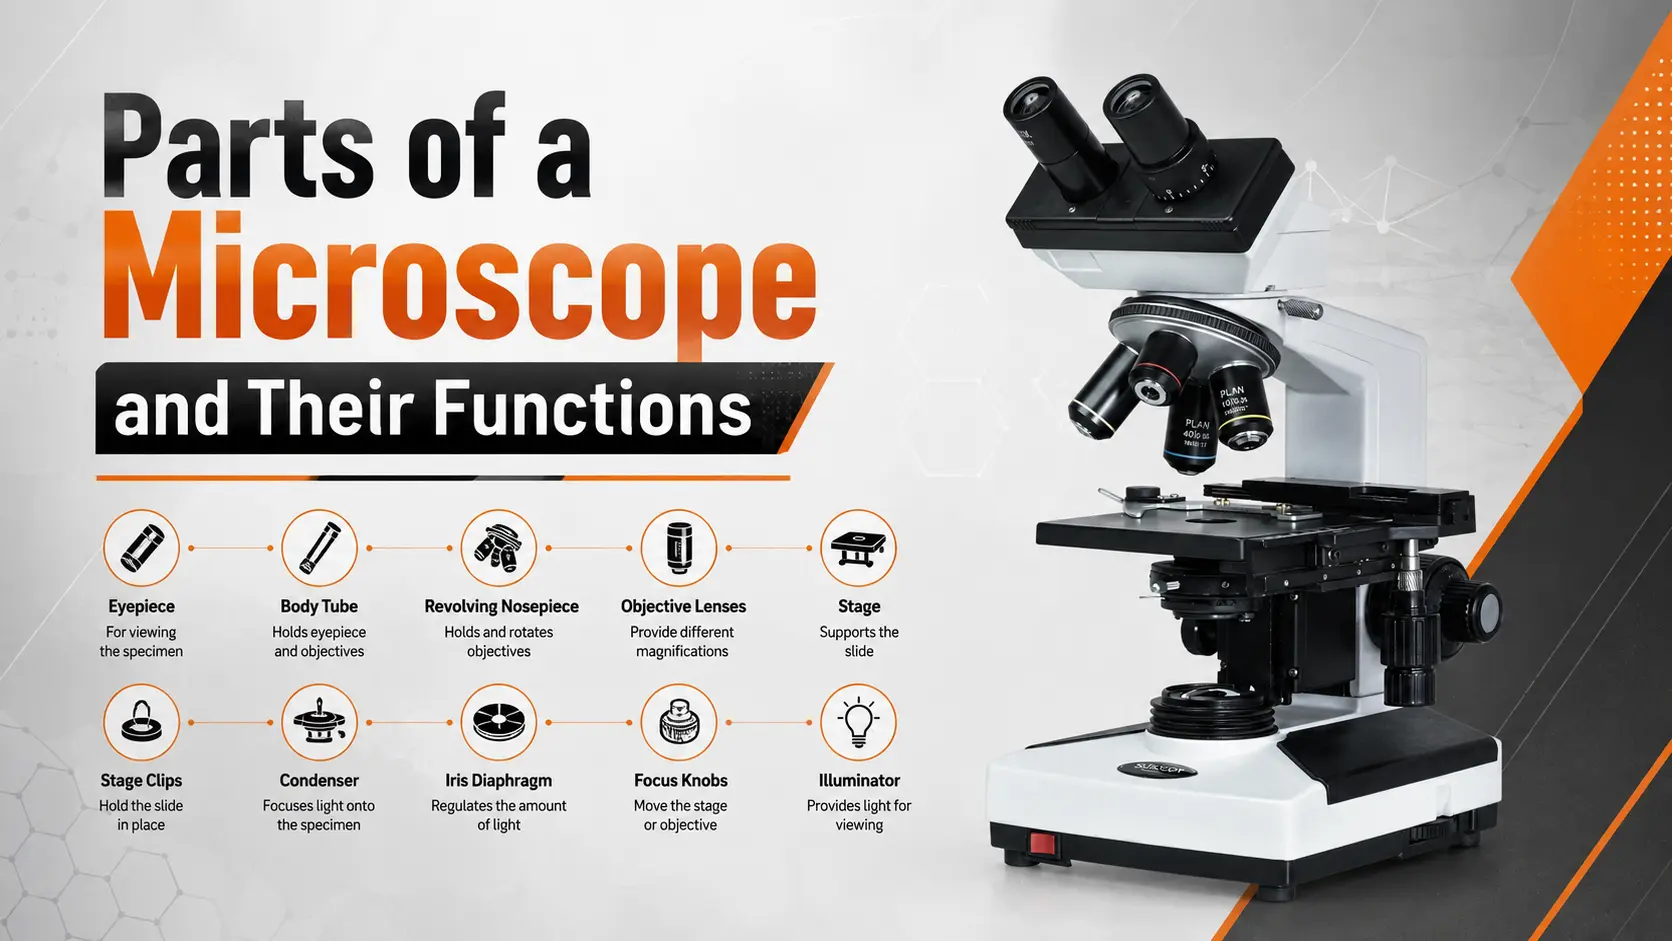
A microscope has two groups of parts. The optical parts — eyepiece, objective lenses, condenser, diaphragm and illuminator — form and light the image. The mechanical parts — base, arm, head, stage, nosepiece and focus knobs — hold everything in position and let you move the specimen and adjust focus accurately.
Here is the full list before we go through each one.
| Part | What it does |
| Eyepiece (ocular lens) | The lens you look through. Usually 10x, and it magnifies the image formed by the objective. |
| Objective lenses | The main magnifying lenses, typically 4x, 10x, 40x and 100x. These decide image quality more than anything else. |
| Revolving nosepiece | The rotating turret that holds the objectives and lets you switch magnification. |
| Condenser | Gathers light from below and focuses a cone of it onto the specimen. |
| Iris diaphragm | Controls how much light reaches the slide, which directly controls contrast. |
| Illuminator | The light source in the base, LED on most modern microscopes. |
| Stage | The flat platform the slide sits on. |
| Mechanical stage | Moves the slide precisely in X and Y using two knobs. |
| Coarse focus knob | Large movements of the stage or tube for initial focusing. |
| Fine focus knob | Very small movements for sharp focus at high magnification. |
| Arm | The curved support connecting the head to the base, and the part you carry it by. |
| Base | The bottom support that holds the illuminator and keeps the instrument stable. |
| Head or body tube | Holds the eyepieces and carries the image from the objective to your eye. |
| Diopter adjustment | Compensates for the difference between your two eyes on a binocular head. |
The optical parts and their functions
These are the parts that actually produce the image. Everything else exists to hold them steady.
Eyepiece, also called the ocular lens
This is the lens at the top that you look into. Most laboratory microscopes use a 10x eyepiece, and it magnifies the image that the objective has already formed. Total magnification is simply the eyepiece multiplied by the objective, so a 10x eyepiece with a 40x objective gives you 400x.
Wide-field eyepieces show a larger field of view, which makes scanning a slide far less tiring over a long session.
Objective lenses
These are the small lenses mounted on the nosepiece, usually 4x, 10x, 40x and 100x oil immersion. They do the real magnifying work, and their quality decides how good your image is more than any other component.
Objectives come in grades. Achromatic objectives correct colour error for two wavelengths and are standard on lab microscopes. Semi-plan and plan objectives flatten the field so the edges stay as sharp as the centre, which matters when you are photographing a slide or scanning a large tissue section.
The 100x objective needs immersion oil between the lens and the slide. Without oil, light refracts away at the glass-to-air boundary and you lose most of the resolution that objective was built to give you.
Revolving nosepiece or turret
The rotating mount that holds the objectives. Rotating it lets you move from low to high magnification without disturbing the slide.
On a properly built instrument, the objectives are parfocal and parcentric, meaning the image stays roughly in focus and the same feature stays centred when you switch. That only works when the objective set was matched together, which is one of the things worth checking when you compare microscope models.
Condenser
Mounted under the stage, the condenser collects light from the illuminator and focuses it into a cone that fills the objective. Get this wrong and even an excellent objective produces a flat, washed-out image.
An Abbe condenser is standard on most lab microscopes. Its height should be set so the light cone converges at the specimen, not above or below it. This is the part the student in that college lab had accidentally lowered.
Iris diaphragm
A lever-operated adjustable opening built into the condenser. It controls how much light passes through, which in practice means it controls contrast.
Open it too far and a stained slide looks pale and washed out. Close it too far and you gain contrast but lose resolution and start seeing artificial edges. Most technicians learn to set it by feel for each specimen type.
Illuminator
The light source in the base. Older microscopes used a mirror or a tungsten halogen lamp. Modern instruments use LED, which runs cooler, lasts many thousands of hours and holds its colour temperature steady as you dim it.
Above the illuminator sits a collector lens and, on better models, a field diaphragm that controls the diameter of the illuminated area.
The mechanical parts and their functions
Less glamorous, but this is where most day-to-day frustration comes from.
Base
The bottom support. It houses the illuminator and gives the instrument its stability. A light base means a microscope that shifts when you touch the focus knob, which is exactly what you do not want at 1000x.
Arm
The curved section connecting the head to the base. It is also the part you should hold when carrying a microscope, with your other hand under the base. Carrying one by the head or the stage is how eyepieces end up on the floor.
Head or body tube
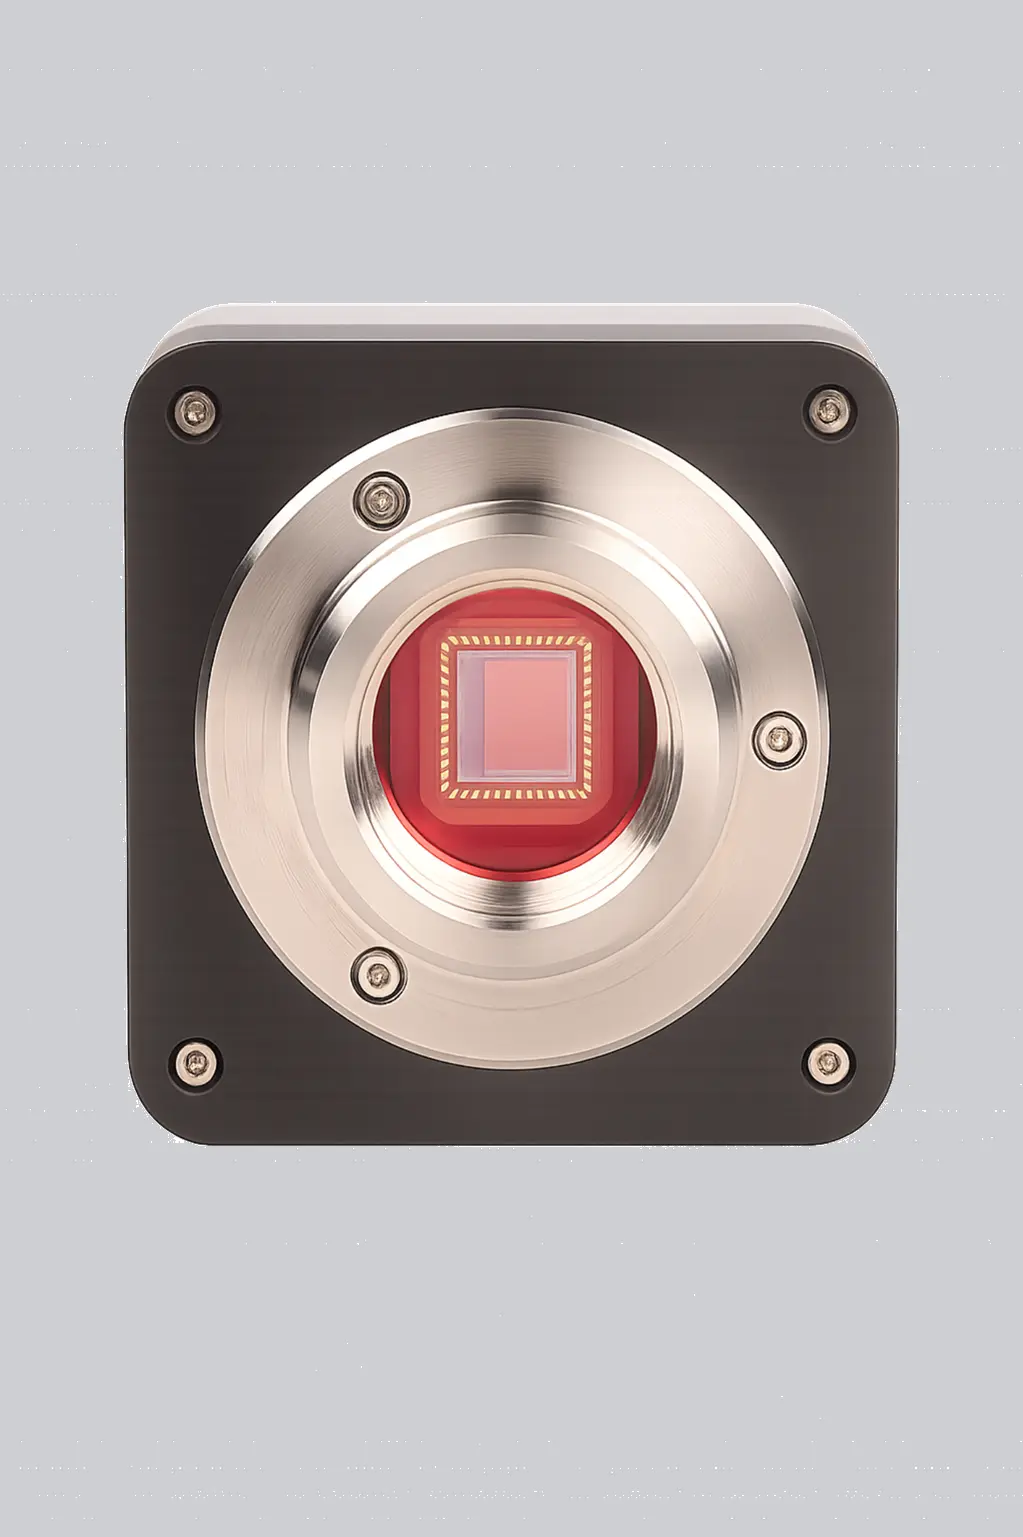
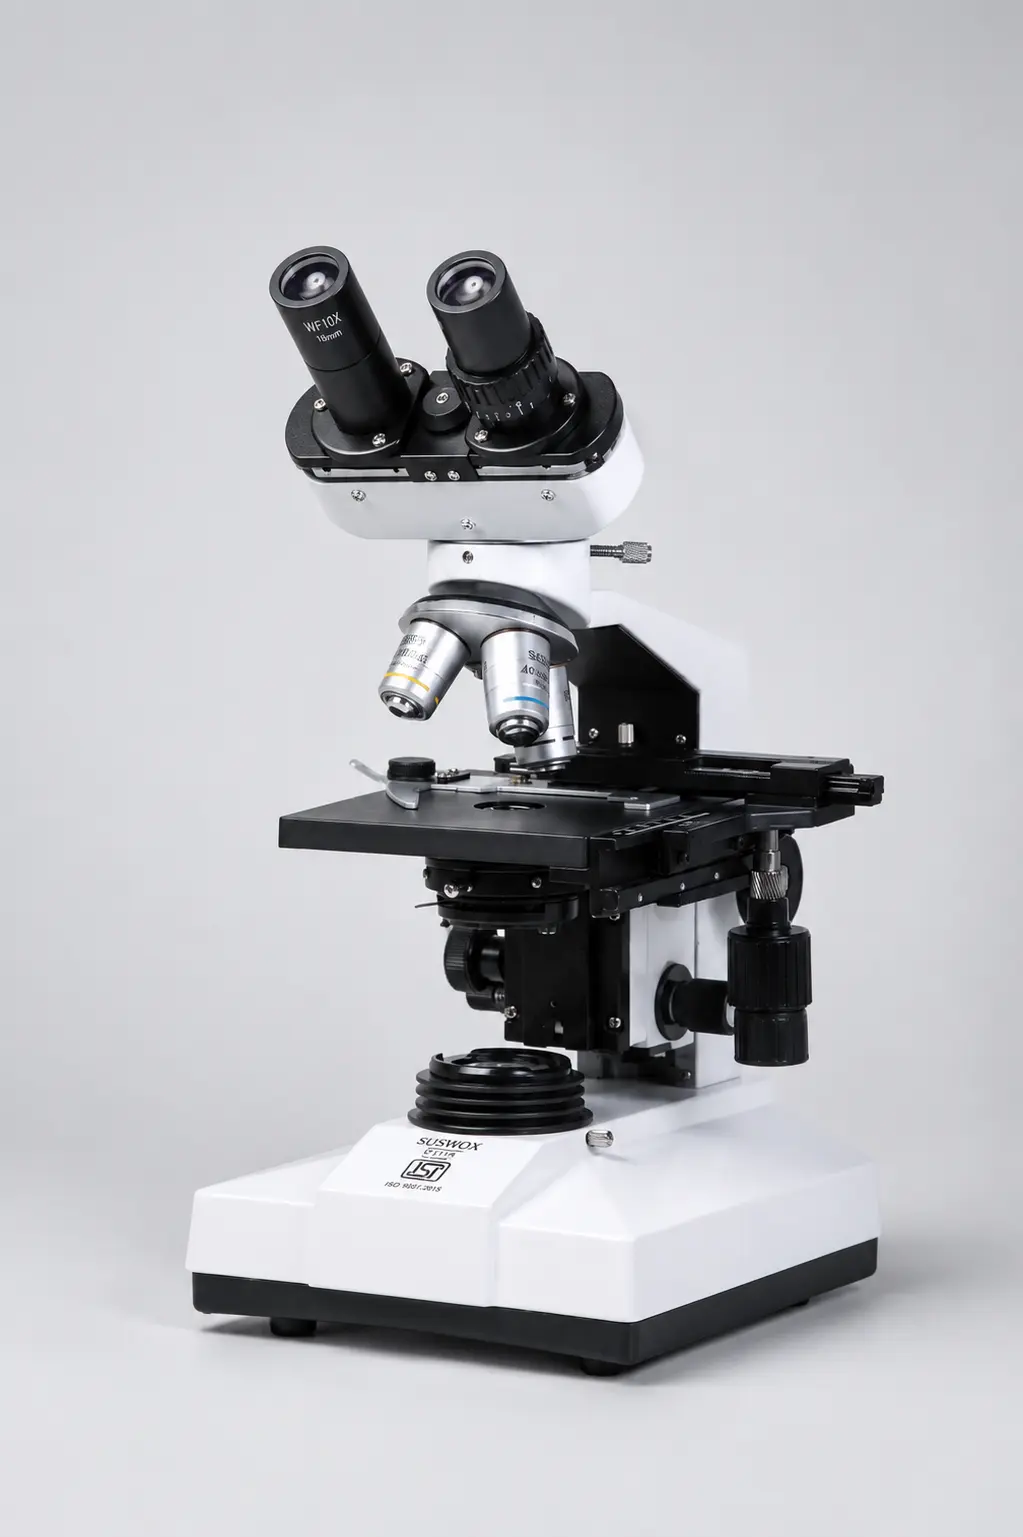
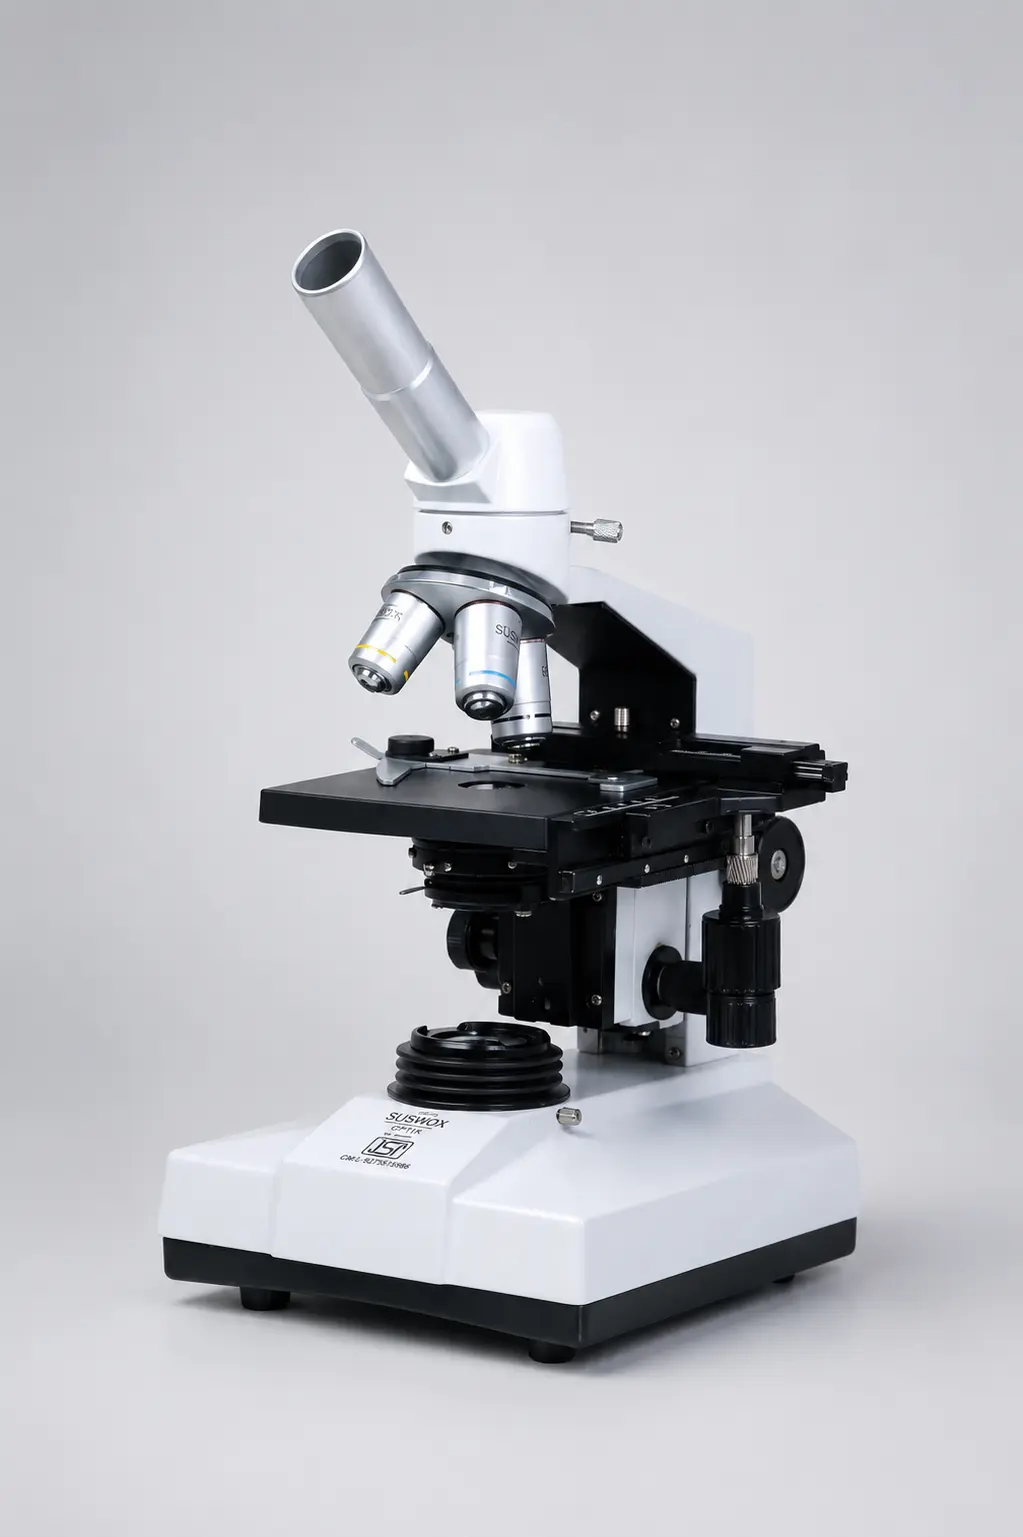
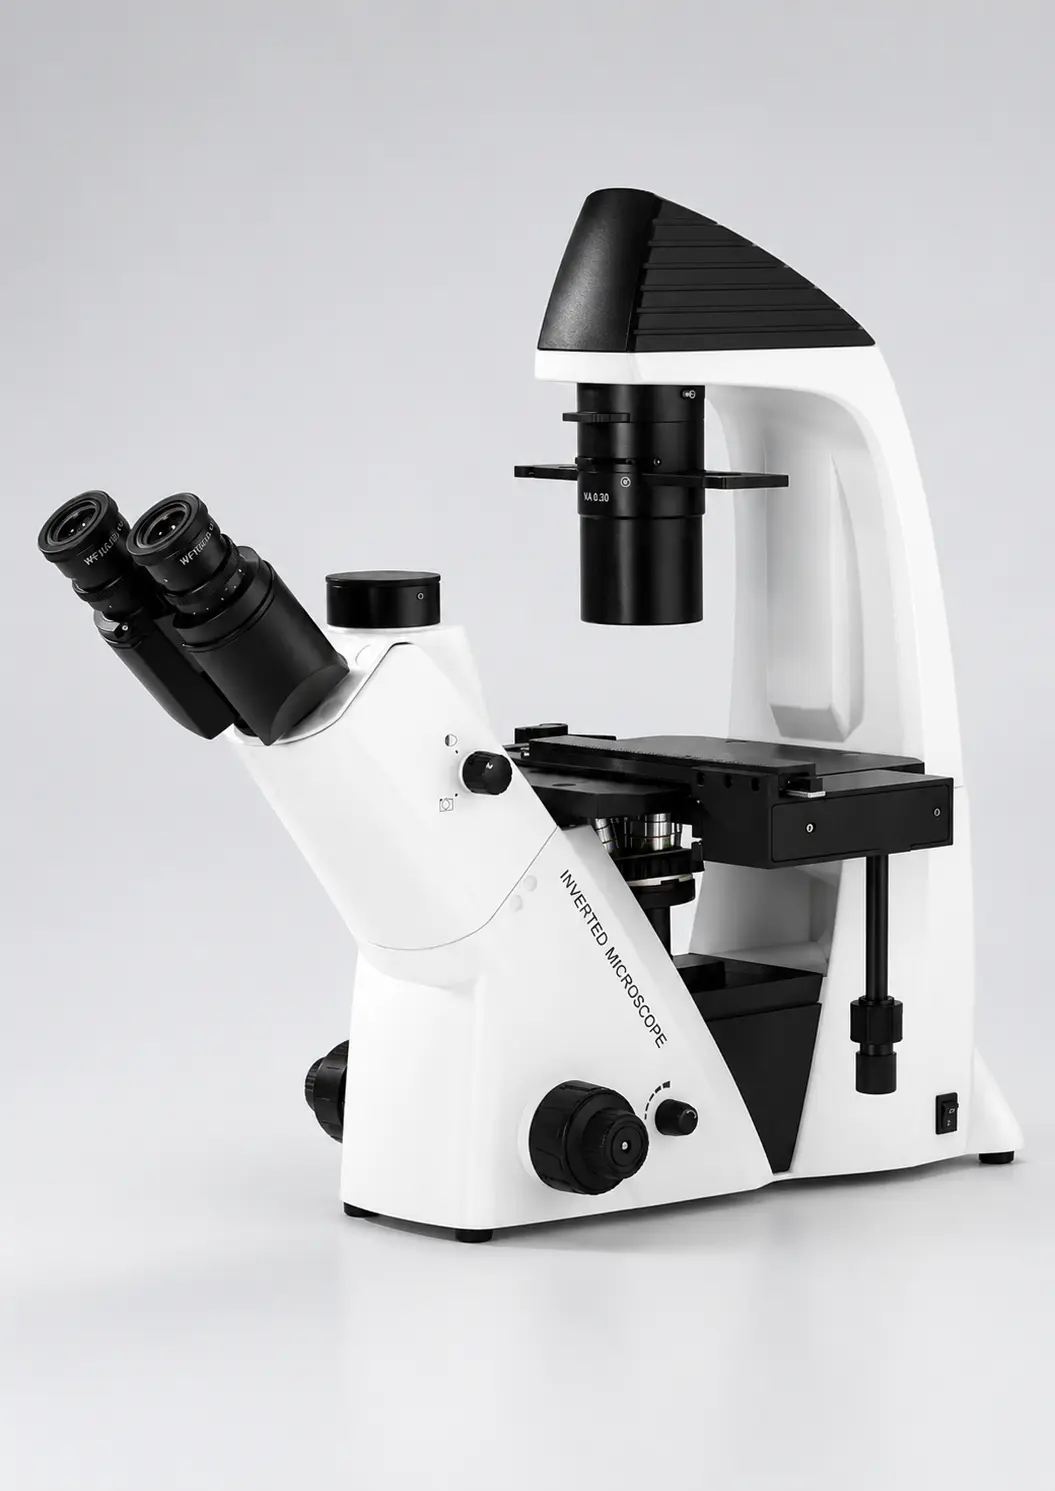
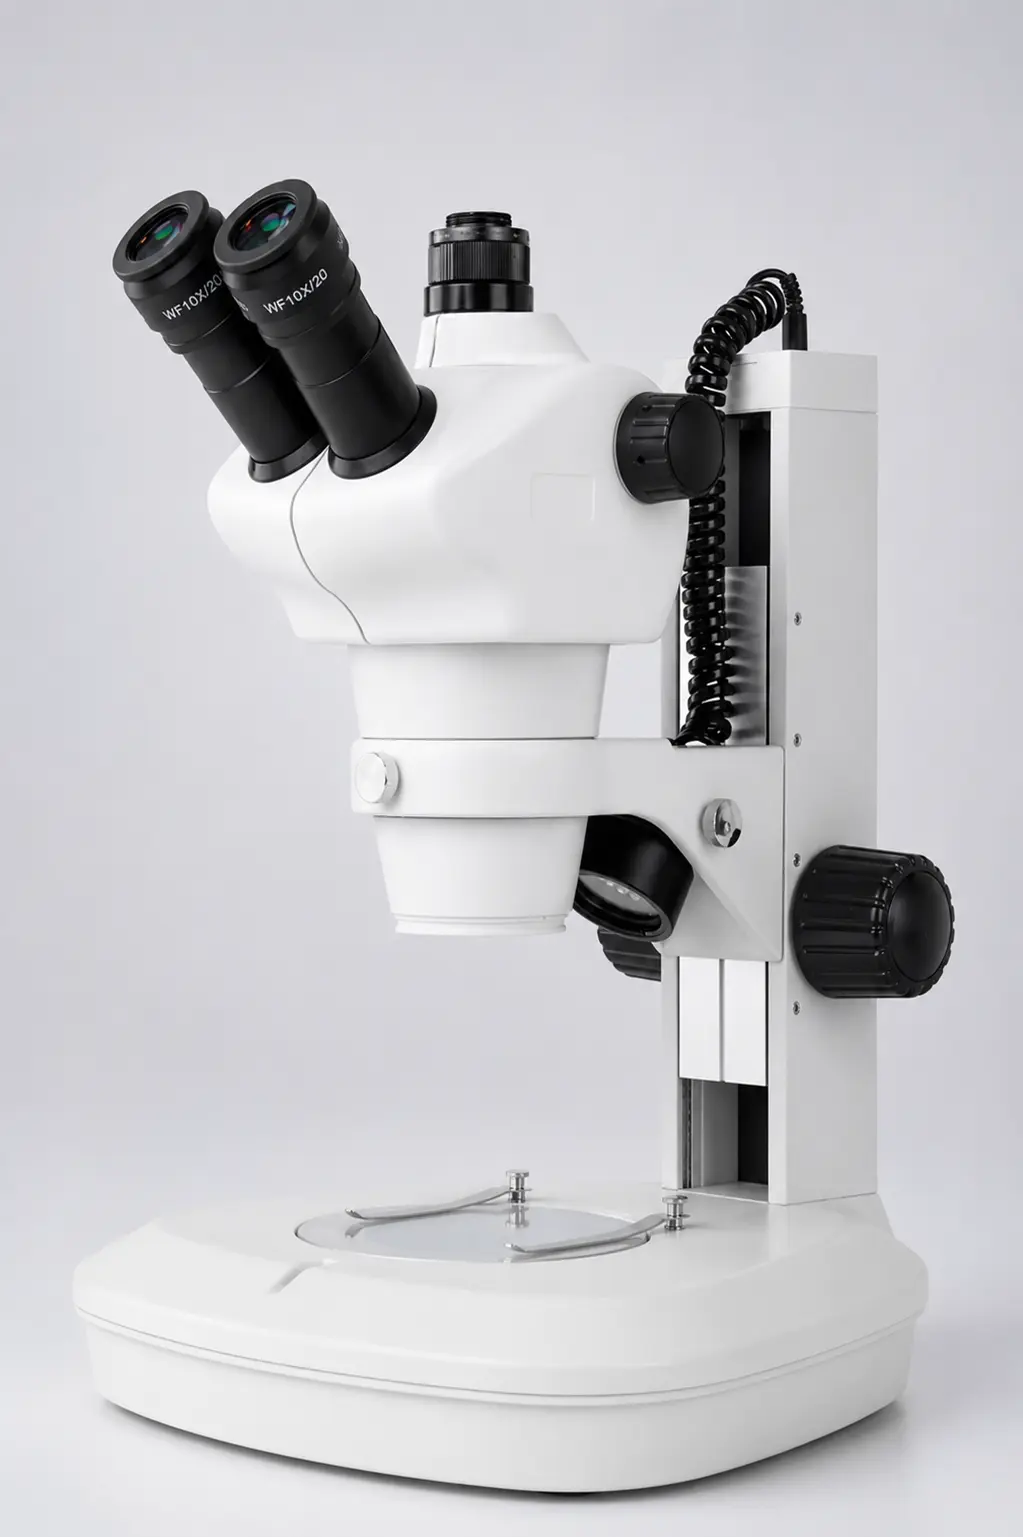
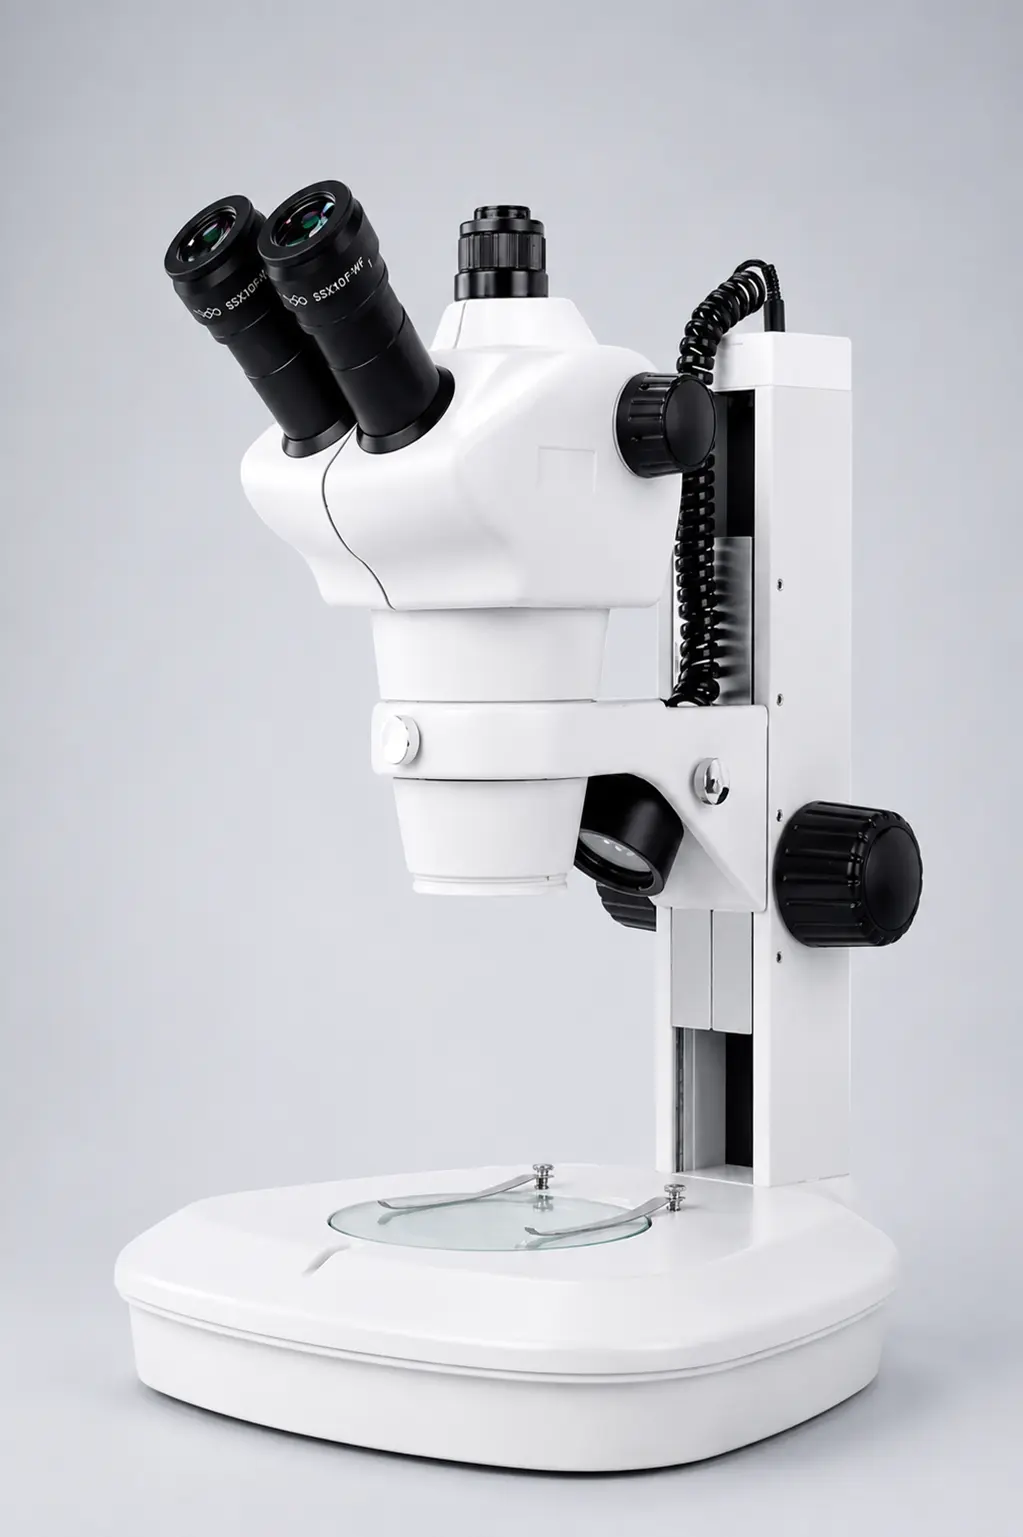
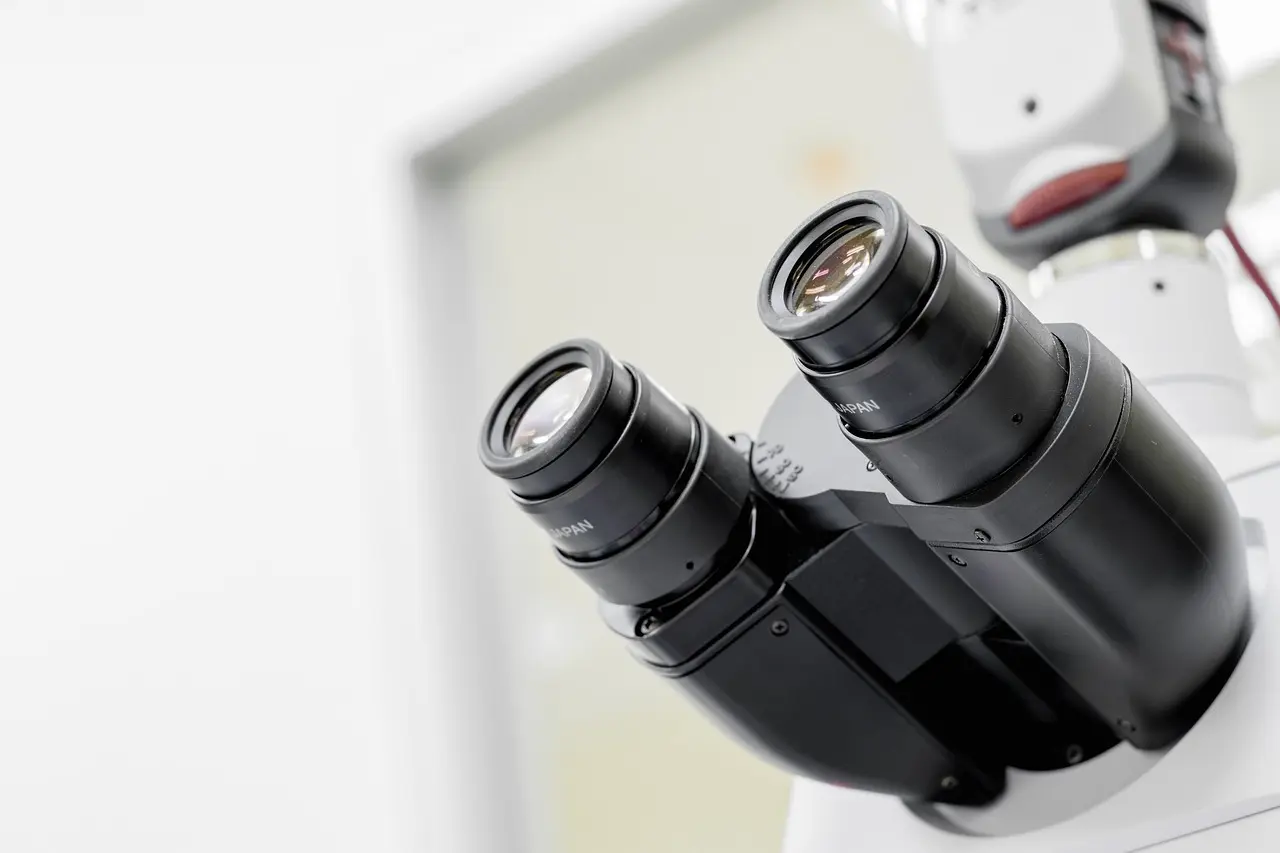
Holds the eyepieces and carries the image up from the objective. Monocular heads have one eyepiece, binocular heads have two, and trinocular heads add a third port for a camera.
Binocular is the practical choice for anyone working long shifts, because using one eye for hours causes real strain.
Stage and mechanical stage
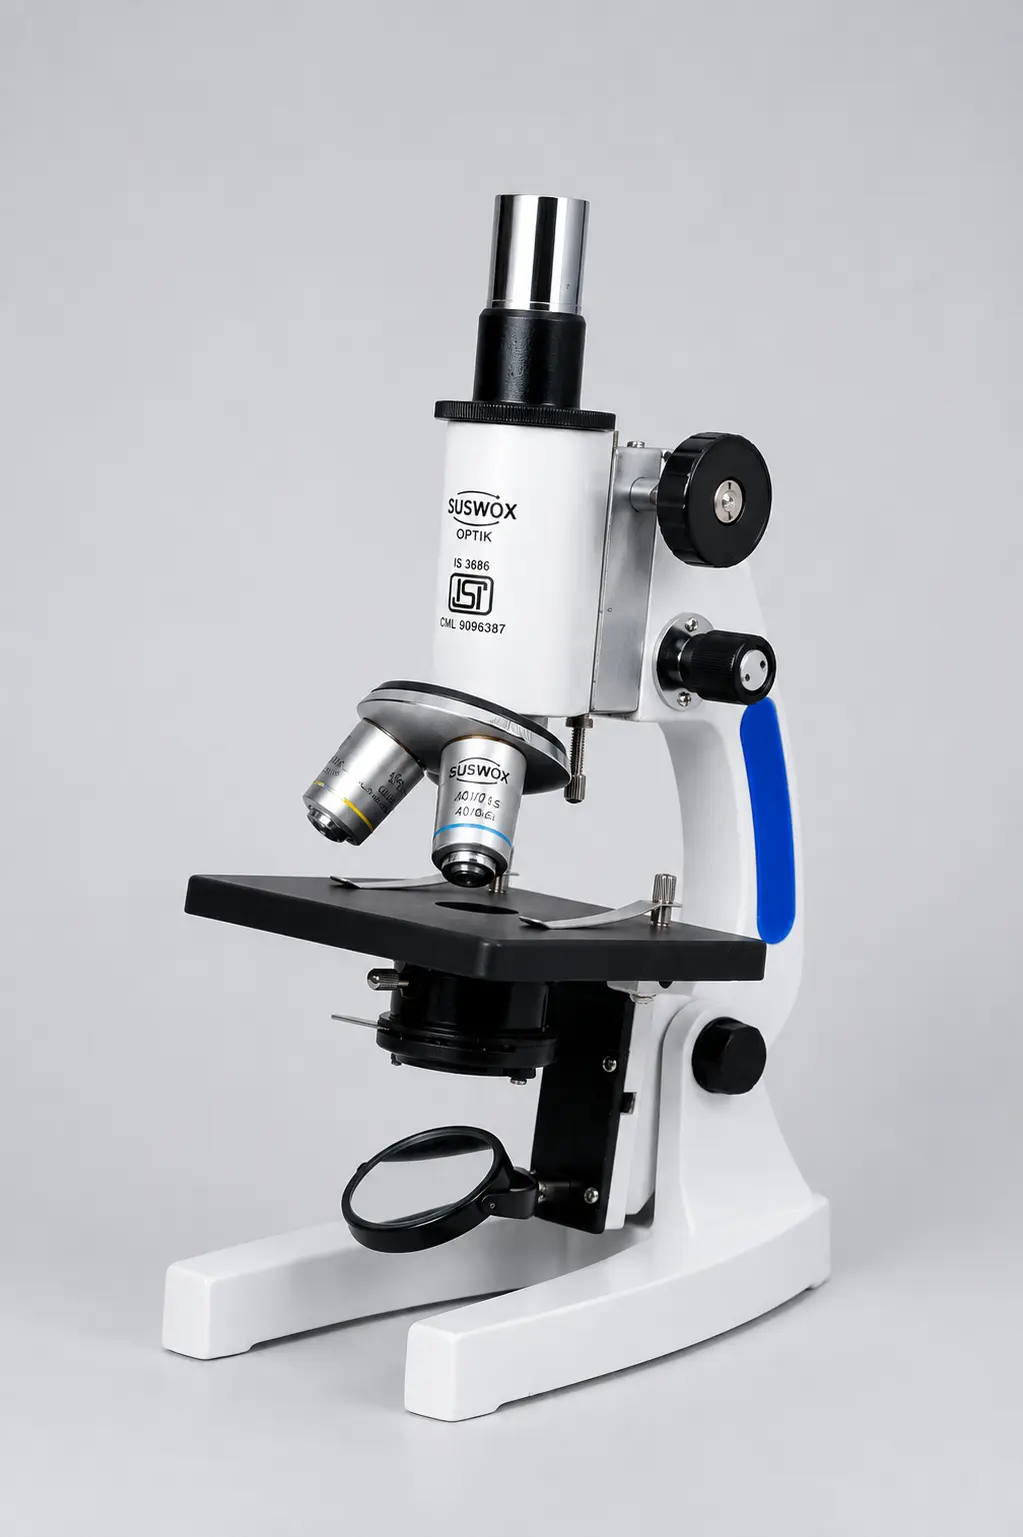
The stage is the flat platform the slide rests on. A plain stage uses simple spring clips. A mechanical stage adds a slide holder and two knobs that move the specimen precisely in X and Y.
For any systematic work — counting cells, scanning a smear in a grid pattern — a mechanical stage stops being a luxury very quickly.
Coarse and fine focus knobs
The coarse knob moves the stage or tube a long distance and is used to find focus at low magnification. The fine knob moves it in tiny increments, often around two microns per graduation, for sharp focus at high power.
On most lab microscopes these are coaxial, meaning both sit on the same shaft. A well-built focus mechanism has almost no backlash. If the knob has play in it, oil immersion work becomes genuinely difficult, and that play usually means worn rack and pinion teeth rather than anything you can adjust away.
Diopter and interpupillary adjustment
On a binocular head, the interpupillary adjustment sets the spacing between the eyepieces to match your eyes. The diopter ring on one eyepiece compensates for the difference in focus between your left and right eye.
Almost nobody sets these correctly, and almost everybody who does report less eye strain afterwards. Worth two minutes at the start of a session.
Rack stop
A safety stop that limits how far the stage can rise, so a 40x or 100x objective cannot be driven into the slide. It is factory set, and it is the reason careless focusing usually costs nothing.
How the parts work together
Light leaves the illuminator, passes through the field diaphragm and collector lens, then hits the condenser. The condenser shapes it into a cone and focuses it on the specimen. Light that passes through the stained slide enters the objective, which forms a magnified real image inside the body tube. The eyepiece then magnifies that image again for your eye.
Every part in that chain can limit the result.
A 100x objective paired with a condenser set at the wrong height gives you a worse image than a 40x used properly. This is why understanding the parts of a microscope matters more than knowing the highest magnification number printed on the box. If you want the underlying theory in more depth, our explainer on what a compound microscope is covers the optical path in detail.
Which parts decide image quality?
Three, in order.
Objectives come first by a wide margin. Grade, numerical aperture and coating quality determine resolution, contrast and field flatness, and no adjustment elsewhere compensates for weak objectives.
The condenser and diaphragm come second, because numerical aperture has to be matched between condenser and objective for the objective to deliver what it is capable of. Third is the mechanical build, which does not create the image but determines whether you can hold it steady and repeat it tomorrow.
Eyepieces matter least. Going from 10x to 15x eyepieces gives you empty magnification, a bigger but not more detailed image. This is worth knowing before you upgrade anything. SUSWOX has been building microscopes at its own unit in Ambala since 1973, and objective quality is where we tell buyers to spend first.
Frequently Asked Questions
What are the three main parts of a microscope?
Broadly, the head with the eyepieces and objectives, the arm connecting it, and the base holding the illuminator. Functionally it is more useful to divide a microscope into optical parts that form the image and mechanical parts that hold and move it.
What is the function of the objective lens?
The objective lens gathers light from the specimen and forms the primary magnified image. It is the single most important optical component, because resolution, contrast and image flatness are all decided at this stage before the eyepiece ever sees the image.
What does the condenser do in a microscope?
The condenser collects light from the illuminator and focuses it into a cone that matches the objective. Correct condenser height and aperture setting produce even illumination and full resolution. An incorrectly set condenser makes a good objective look poor.
How do you calculate total magnification?
Multiply the eyepiece magnification by the objective magnification. A 10x eyepiece with a 40x objective gives 400x, and with a 100x oil immersion objective gives 1000x, which is the practical upper limit for a light microscope.
Why does the 100x objective need oil?
Oil has a refractive index close to glass, so it stops light bending away at the glass-to-air gap between slide and lens. Using the 100x objective dry loses most of its resolving power and produces a dim, unclear image.
What is the difference between coarse and fine focus?
Coarse focus moves the stage a large distance and is used at low magnification to find the specimen. Fine focus moves it in very small steps for precise sharpness at 40x and above, where depth of field is only a few microns.
Choosing a microscope once you know the parts
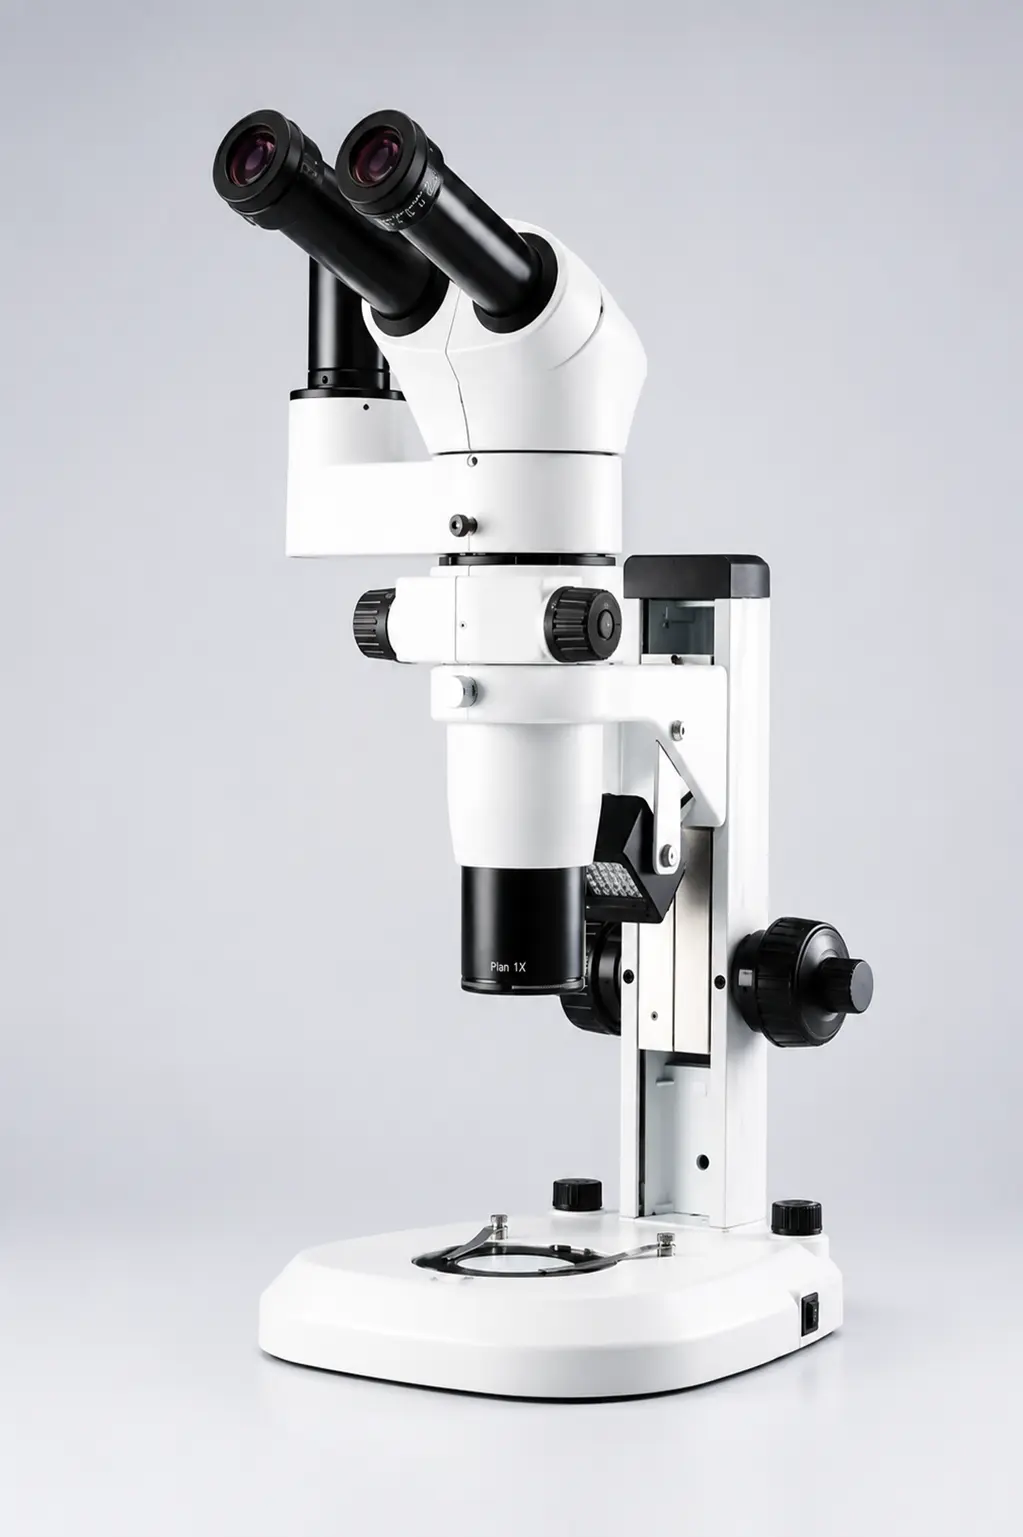
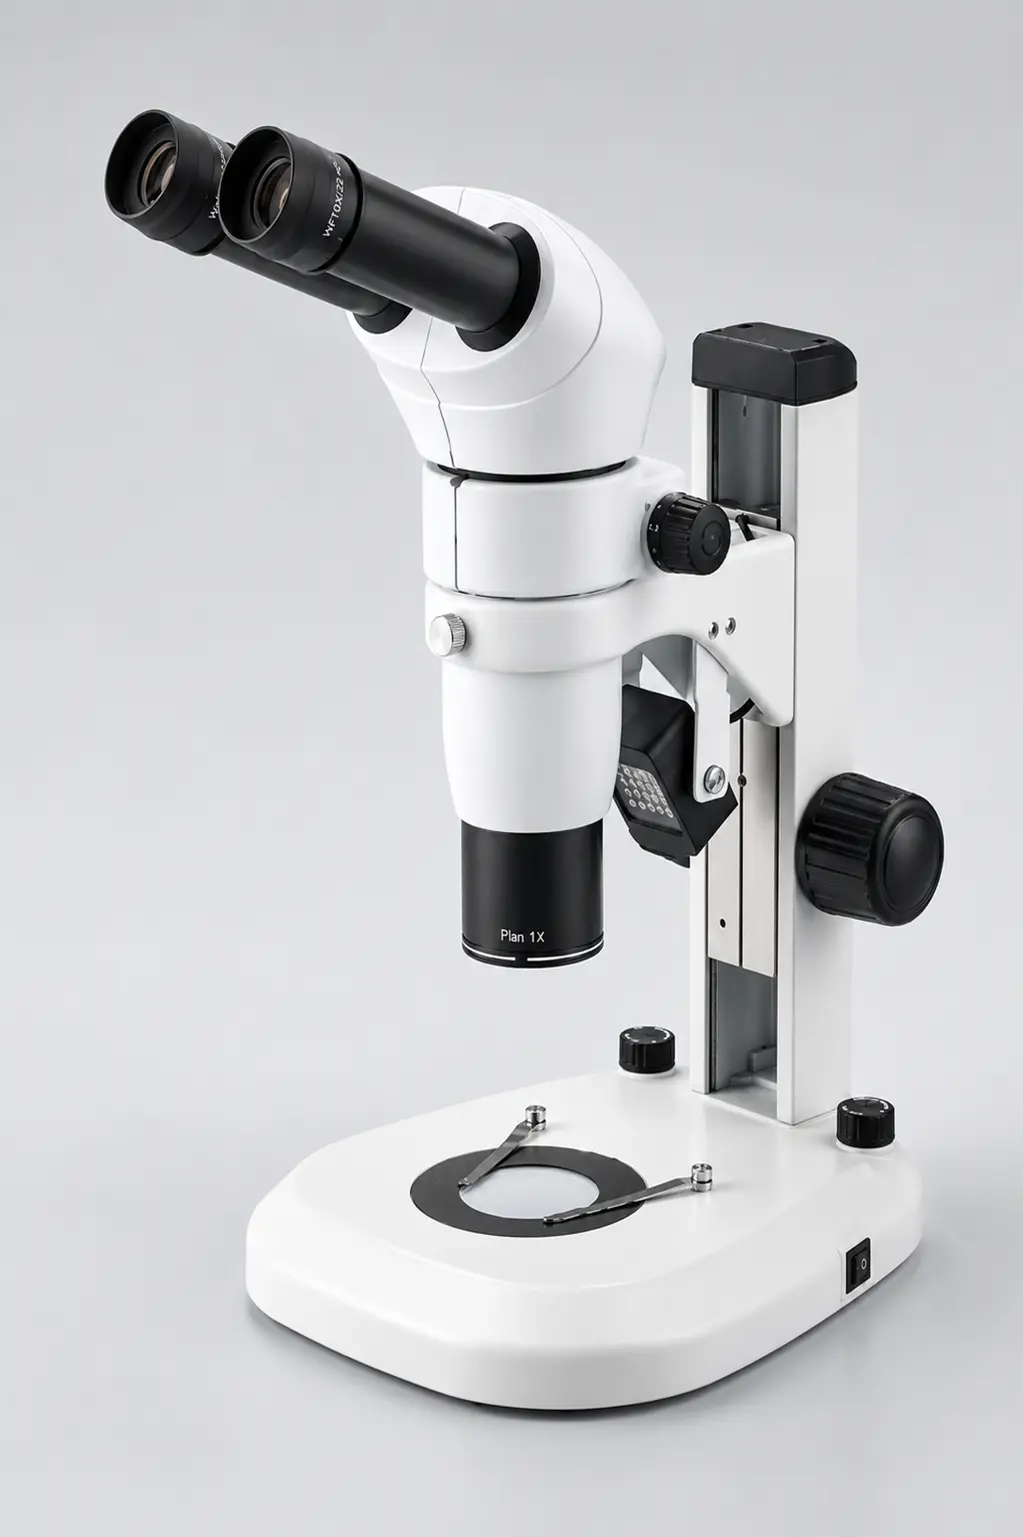
Understanding what each part does makes specification sheets far easier to read, because you know which numbers matter. If you are deciding between instrument types for your samples, start with our guide to the different types of microscopes, then share your application and quantity with our team for a configuration recommendation and a formal quotation.
Call +91 87270 15757 or write to sales@suswox.com. 1265 Bengali Mohalla, Ambala, Haryana 133001.