Every first-year biology student has the same bad morning.
You get handed a slide of onion peel. You put it on the stage, look through the eyepiece, and see — nothing. A grey blur. Maybe a bright circle with a hair-like shadow that turns out to be an eyelash. The person next to you is already drawing neat hexagonal cells in their record book, and you are still turning the knob in the wrong direction.
Then someone shows you that the 4x objective exists, that you focus on low power first, and that the mirror or LED underneath actually needs to be pointed at something.
And suddenly there they are. Cells. Real ones, with walls and nuclei, sitting in rows like brickwork.
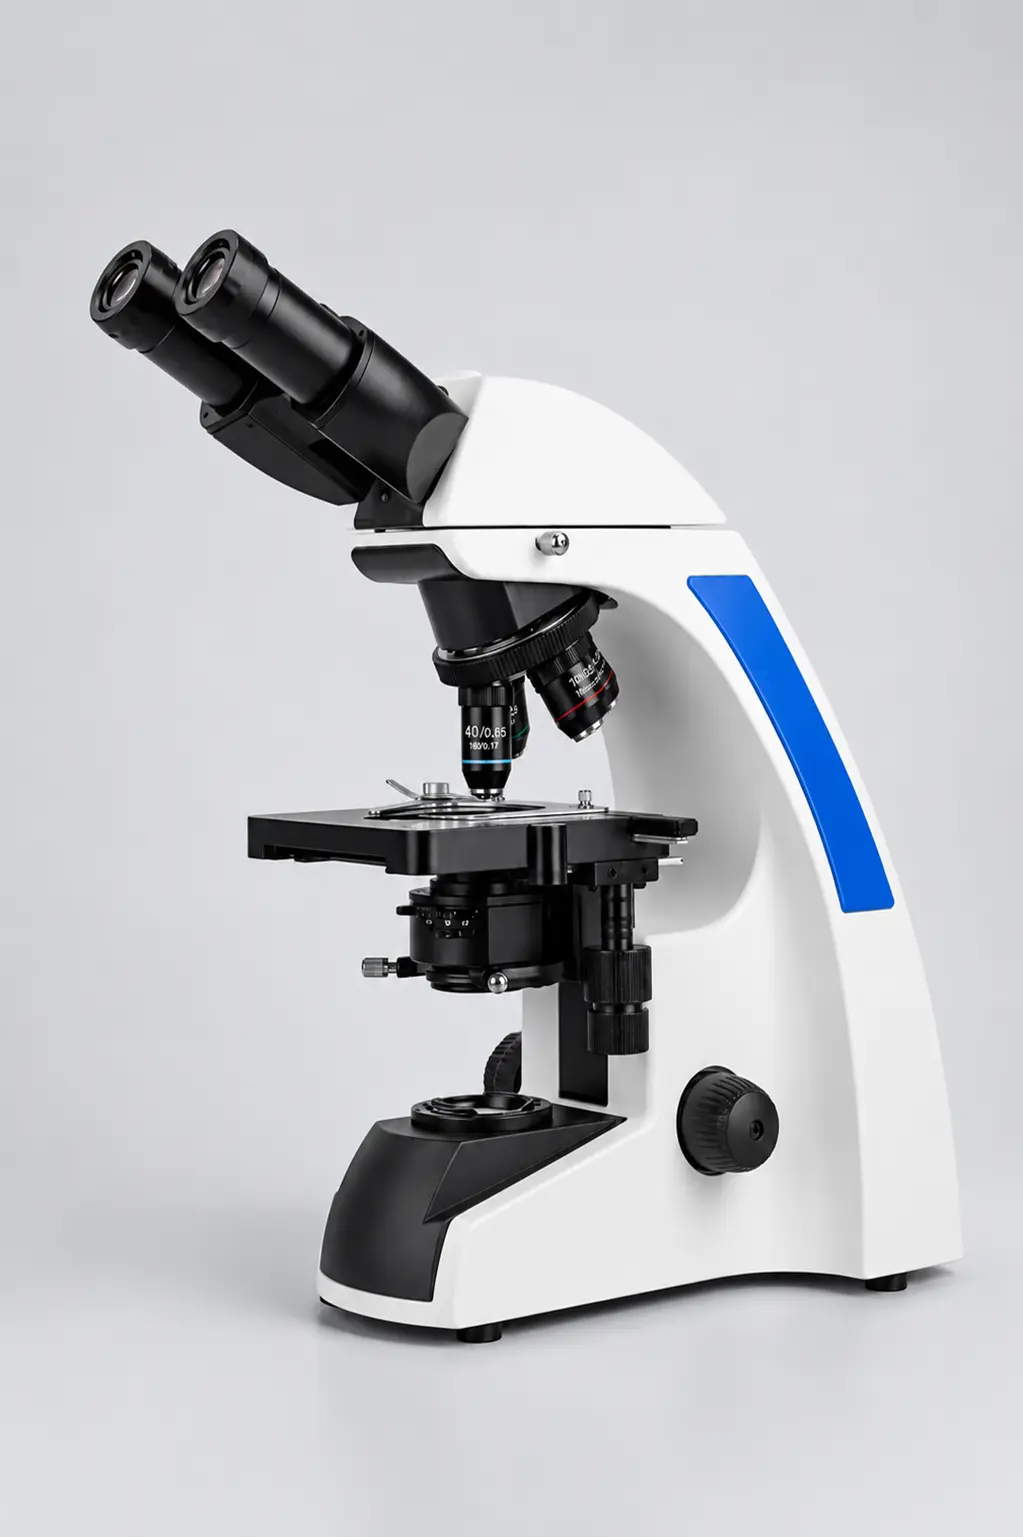
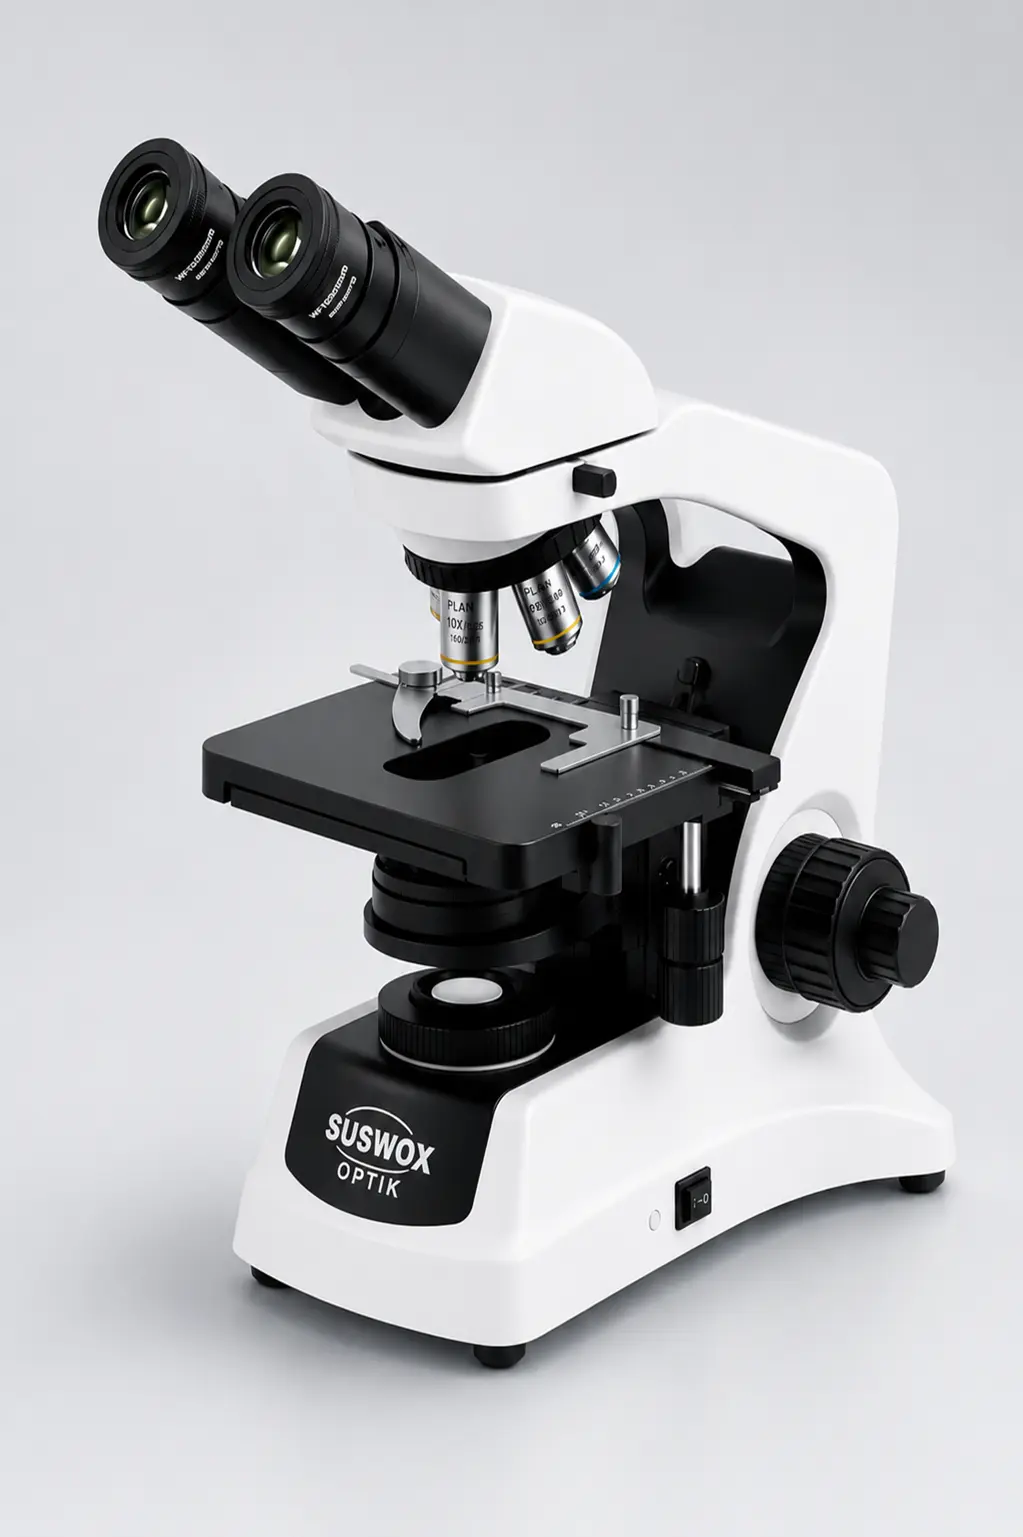
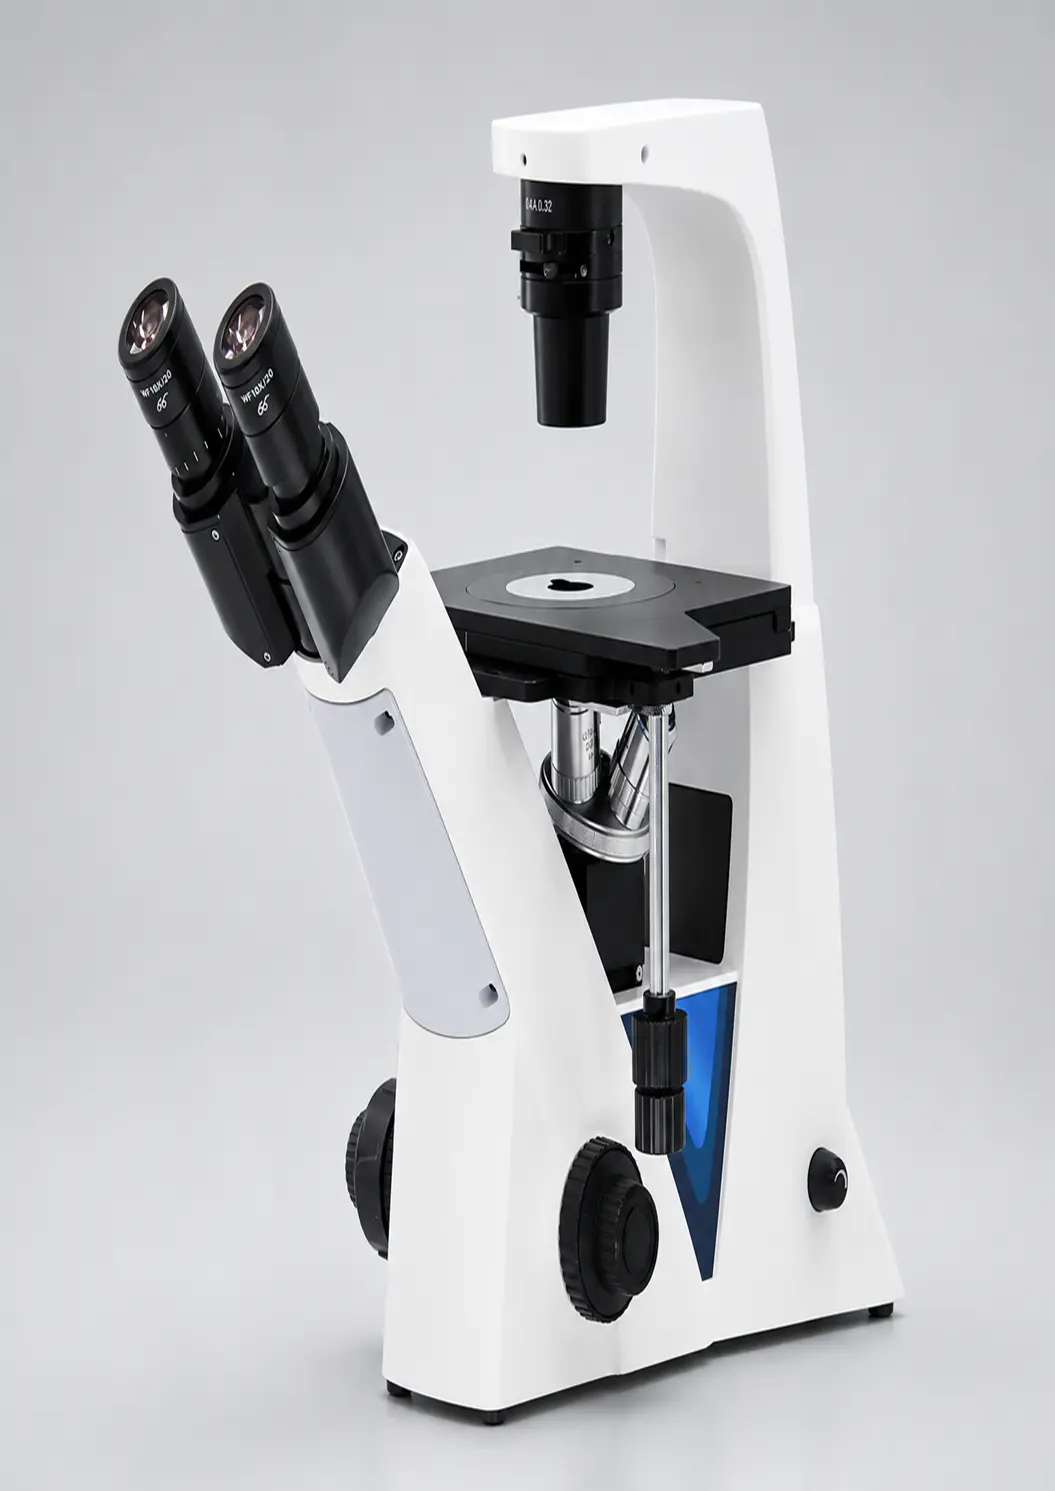
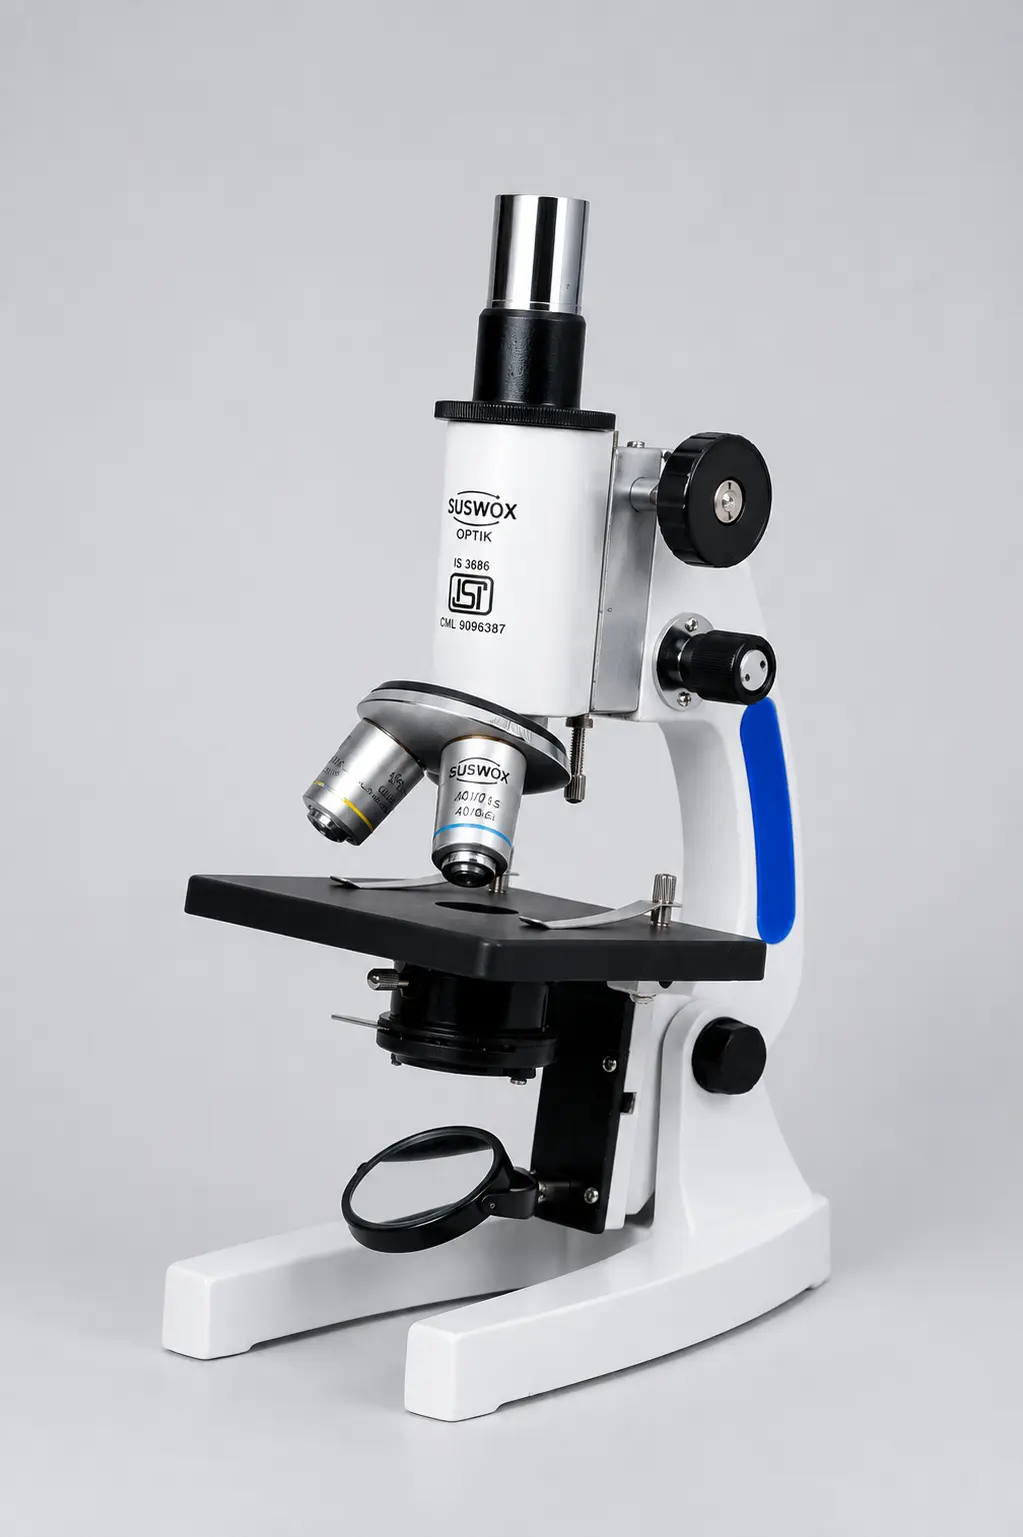
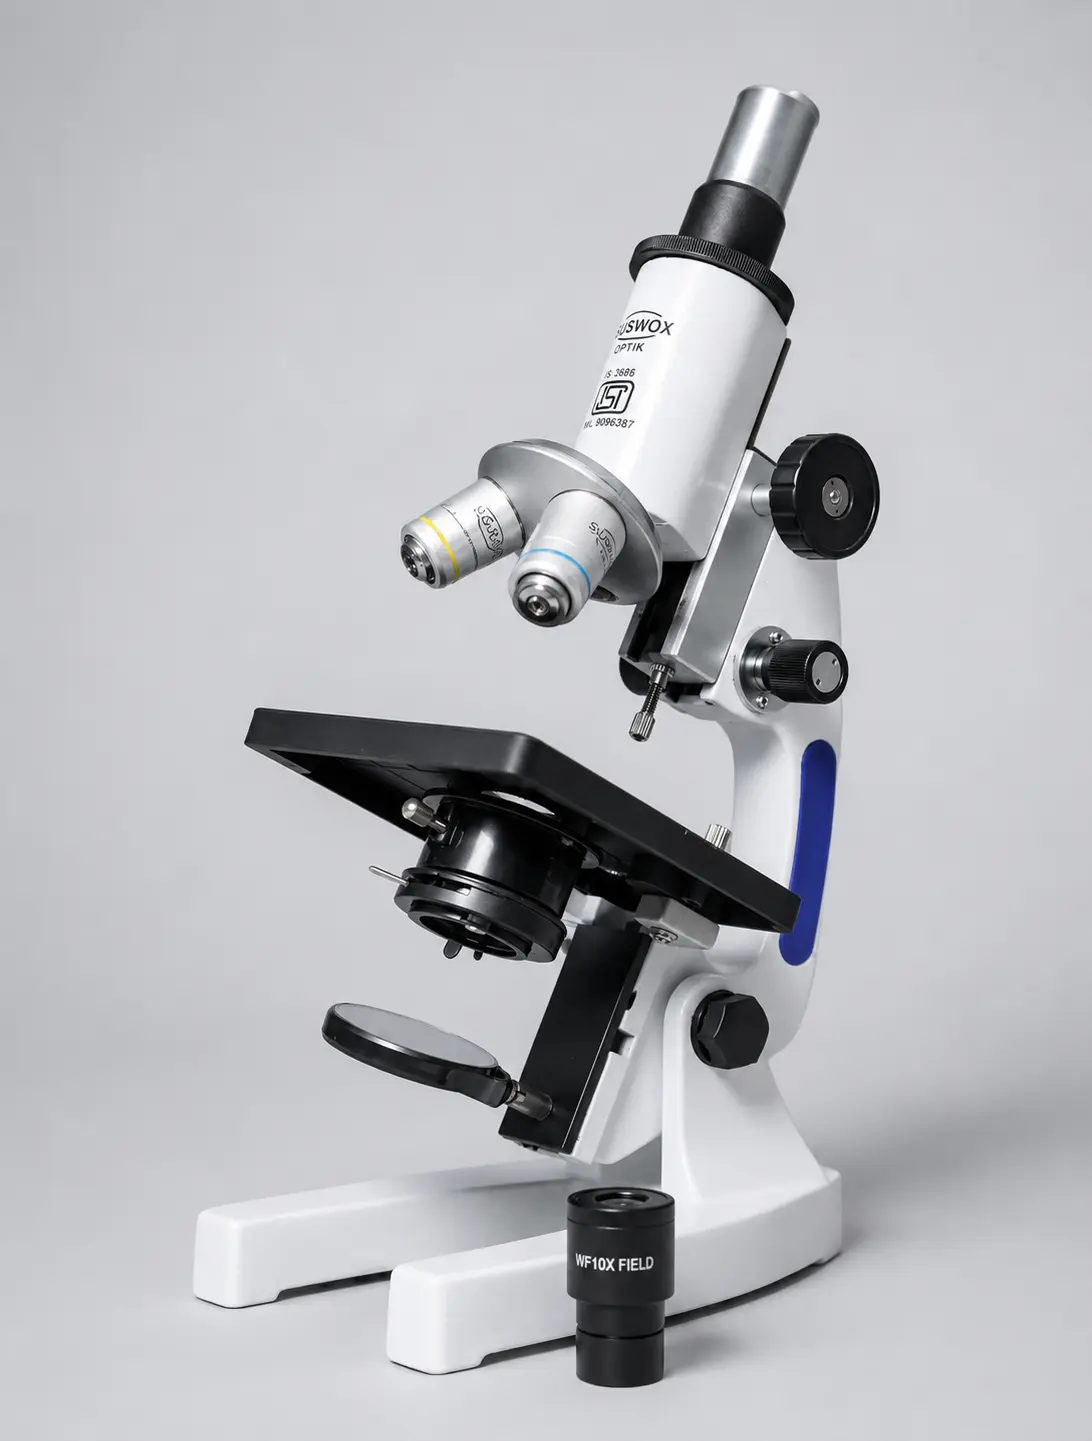
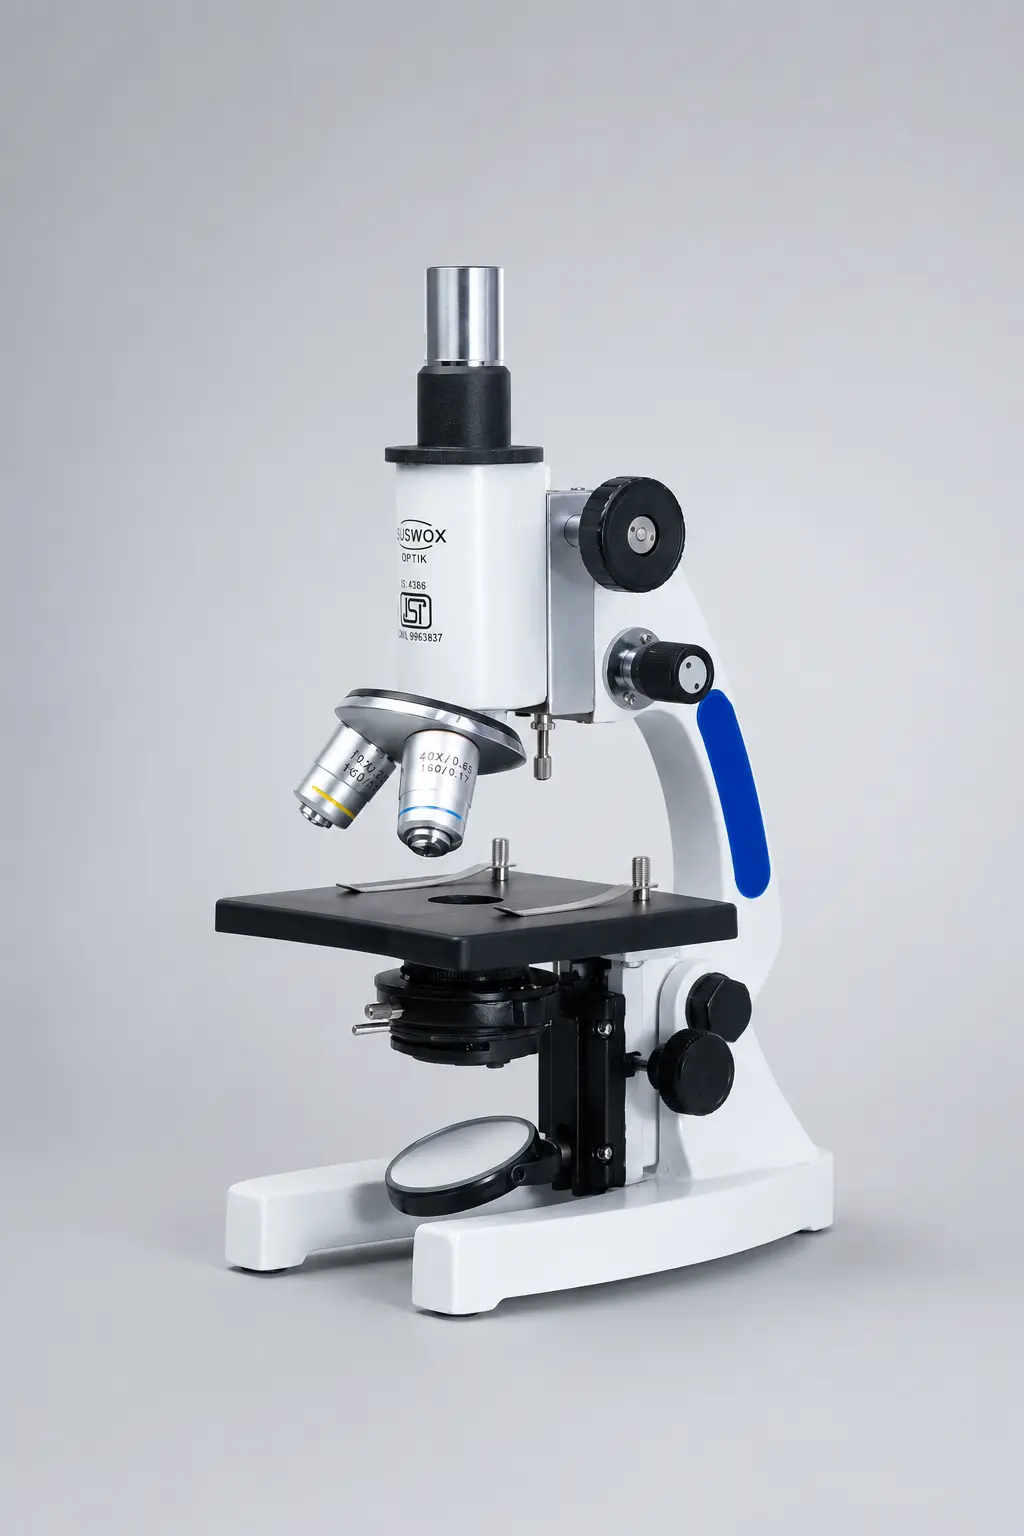
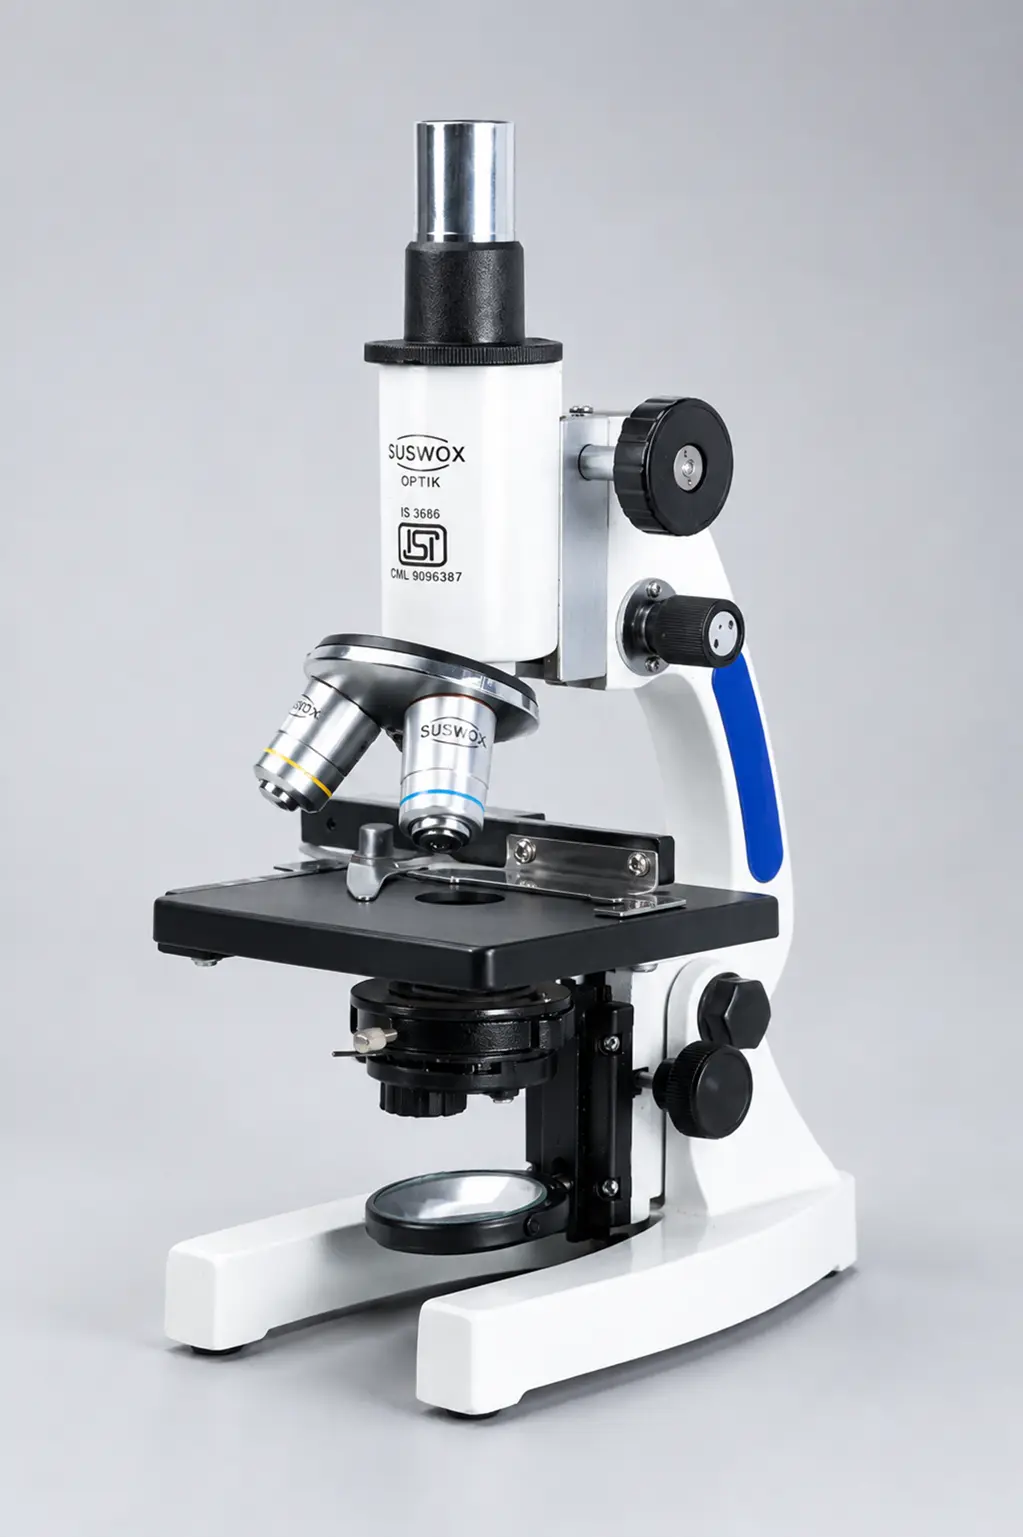
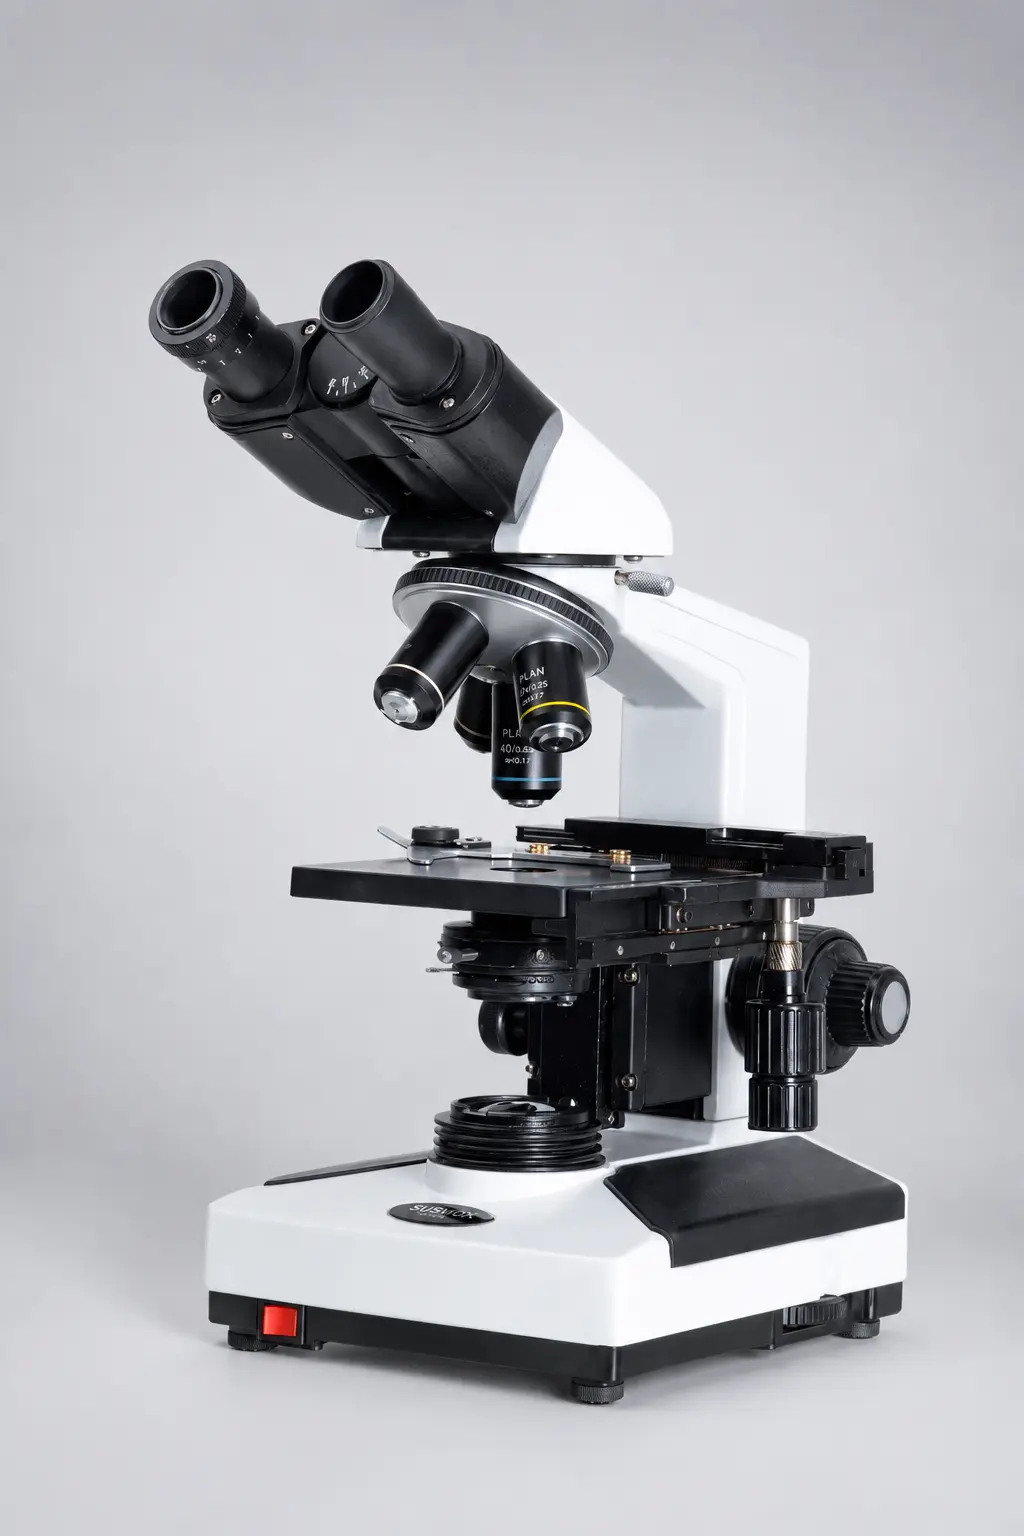
That instrument you were fighting with is a compound microscope, and it is easily the most widely used laboratory microscope in the world. This guide explains what it is, how it works, what every part does, and what it is actually used for.
What is a compound microscope?
A compound microscope is an optical microscope that uses two sets of lenses — an objective lens close to the specimen and an eyepiece lens close to the eye — to produce a highly magnified image of small, thin, transparent samples. It magnifies from 40x up to 1000x and is used to view cells, bacteria, tissue sections and blood smears.
The word “compound” is doing real work in that sentence.
It does not mean complicated. It means the magnification is compounded — multiplied — because the image is enlarged twice. Once by the objective, and then again by the eyepiece. A magnifying glass enlarges once and stops. A compound microscope enlarges, then enlarges the enlargement.
That is the entire idea behind it, and it has not changed since Zacharias Janssen’s family workshop in the Netherlands put two lenses in a sliding tube around 1590. Robert Hooke used an early compound microscope to look at a sliver of cork in 1665, saw tiny empty chambers that reminded him of monk’s rooms, and called them “cells”. The name stuck.
Why not just use a stronger single lens?
Fair question. And people did try.
The problem is that a single lens hits a wall fast. Push the curvature far enough to get high magnification and the lens becomes a tiny bead — hard to make, harder to look through, and the image goes soft and rainbow-edged at the borders.
Splitting the job across two lens systems solves this. The objective does the heavy magnification while staying a manageable size, and the eyepiece takes that already-enlarged image and blows it up again. Each lens only has to do part of the work, so each one can be made properly corrected.
Sharper image. Higher power. Less strain on the optics.
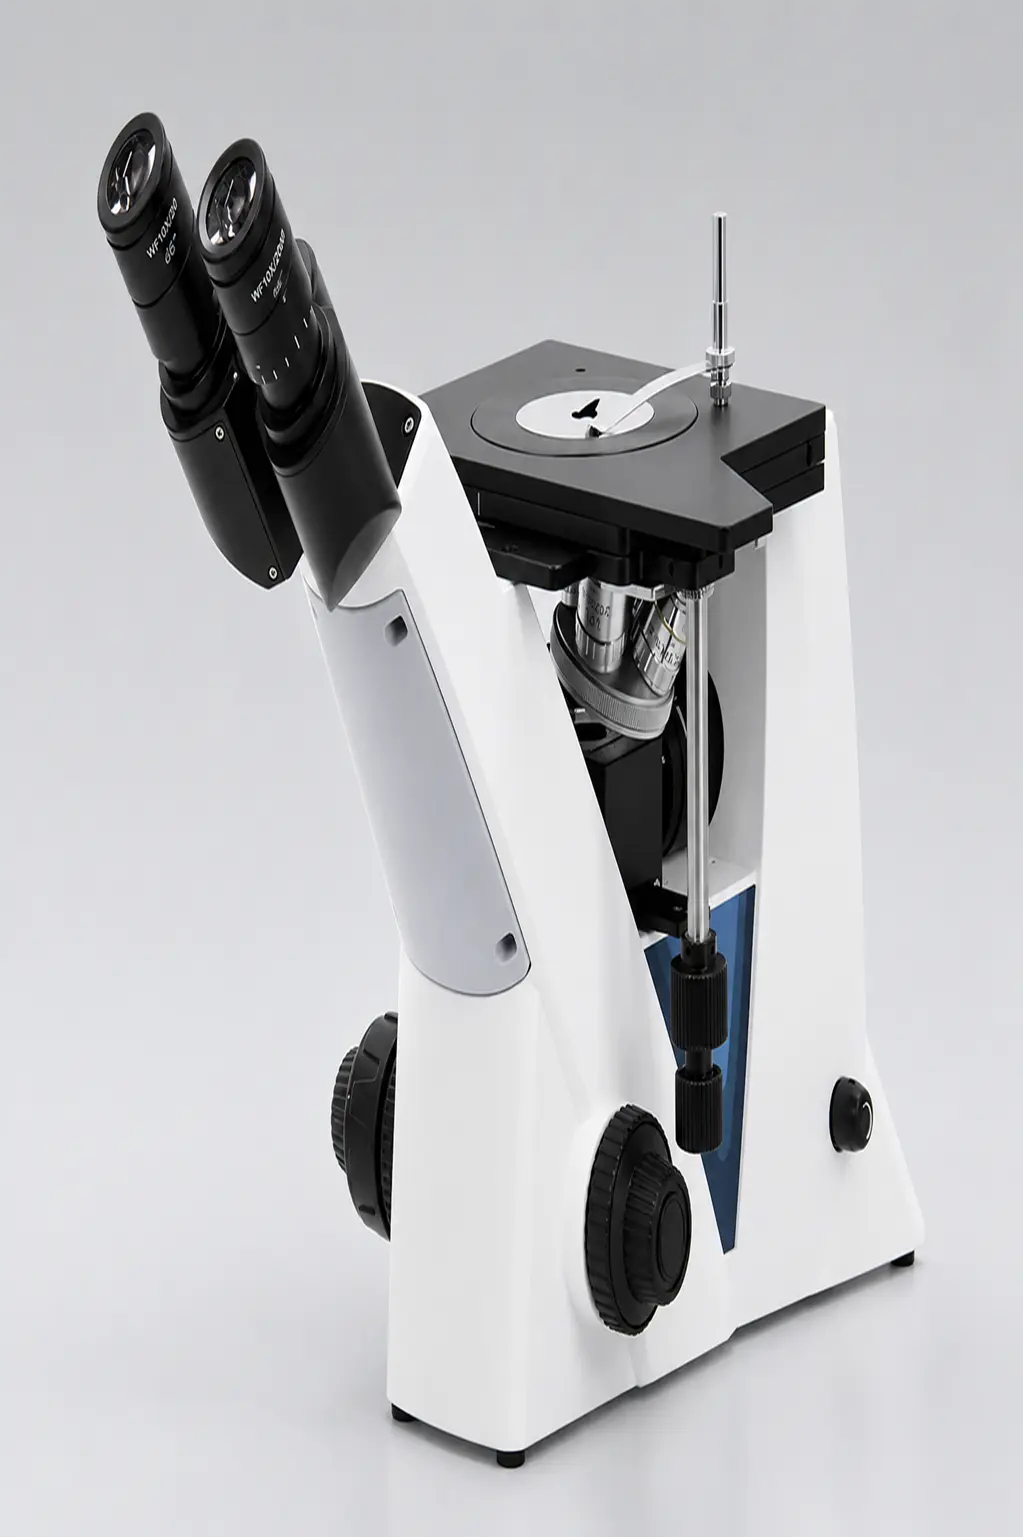
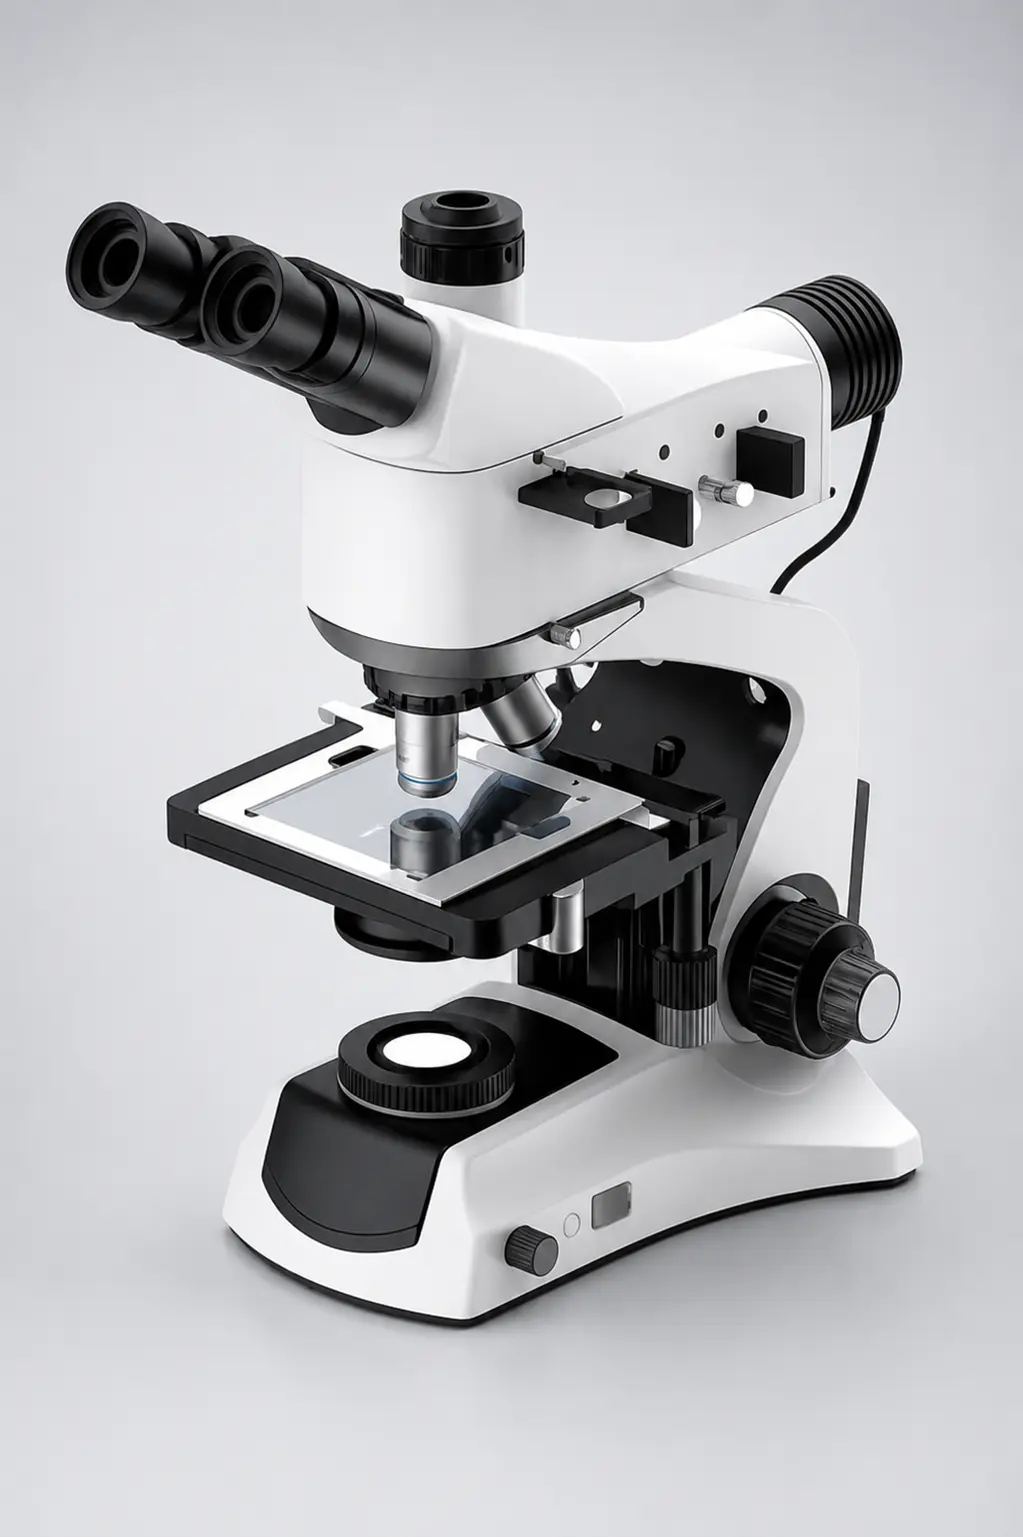
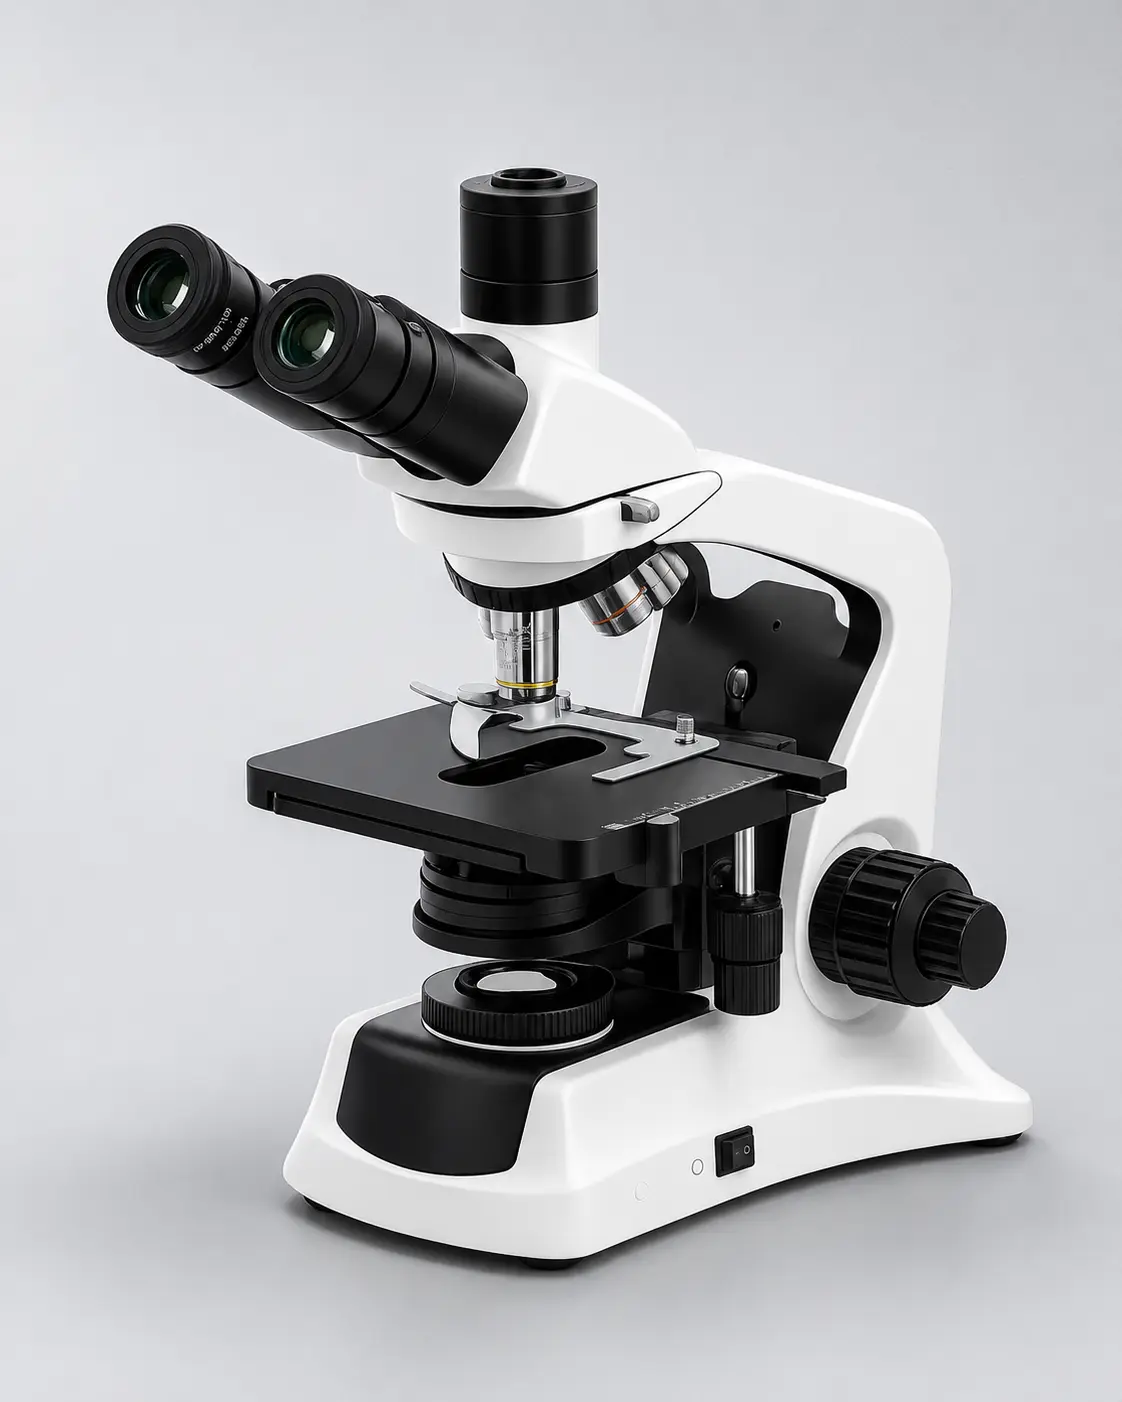
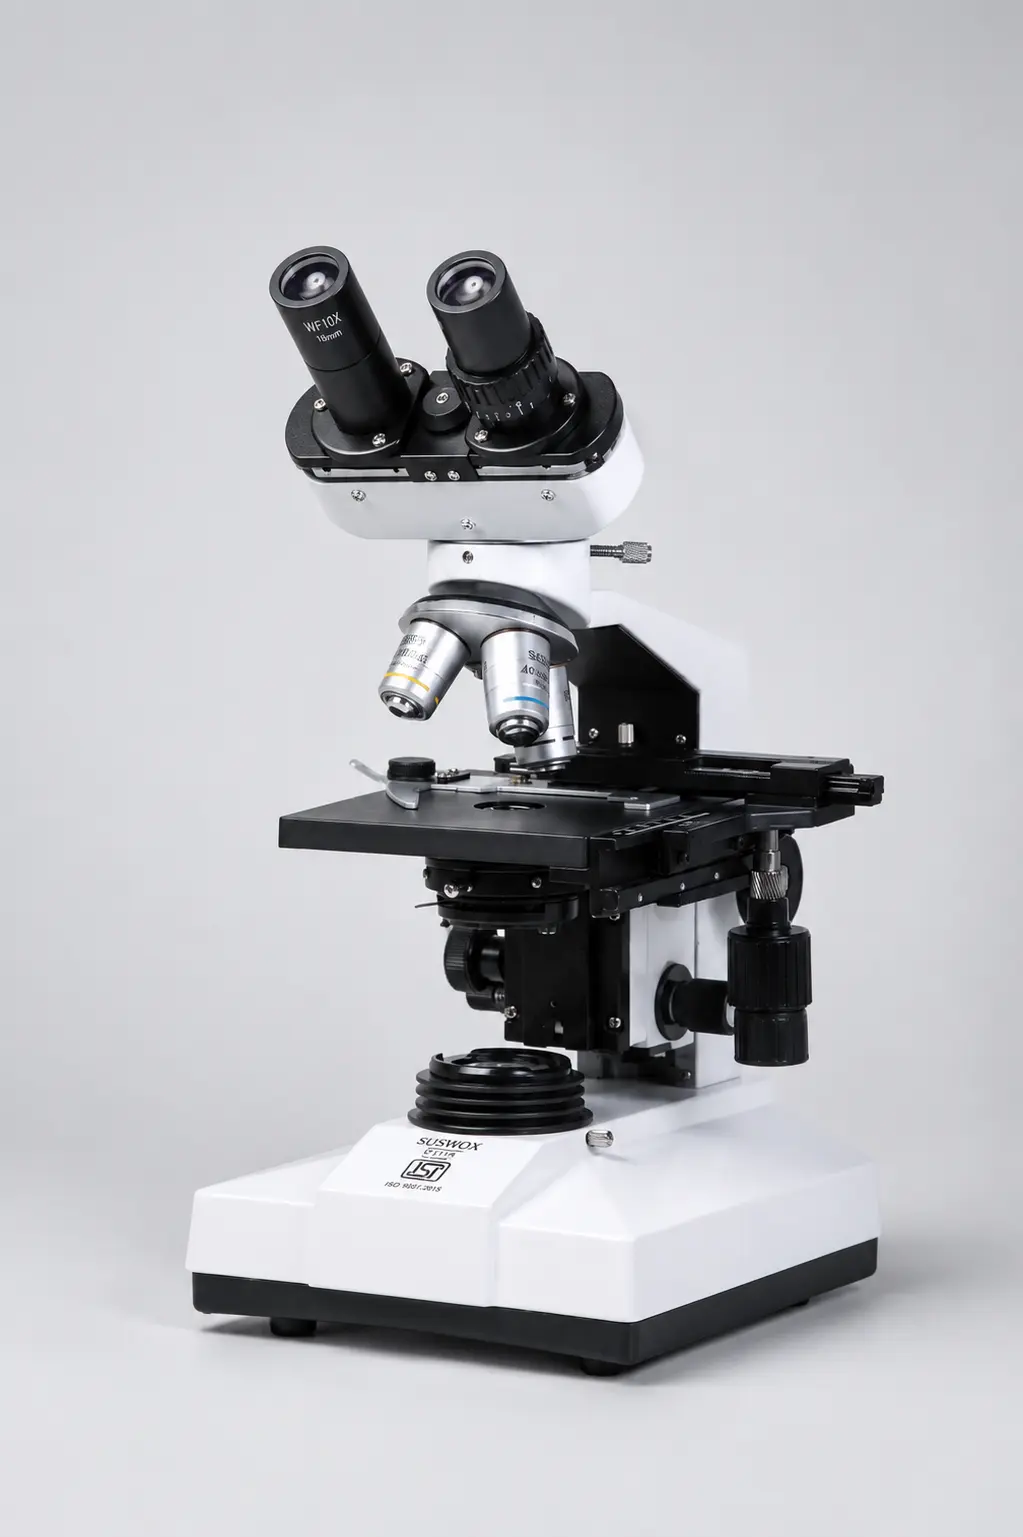
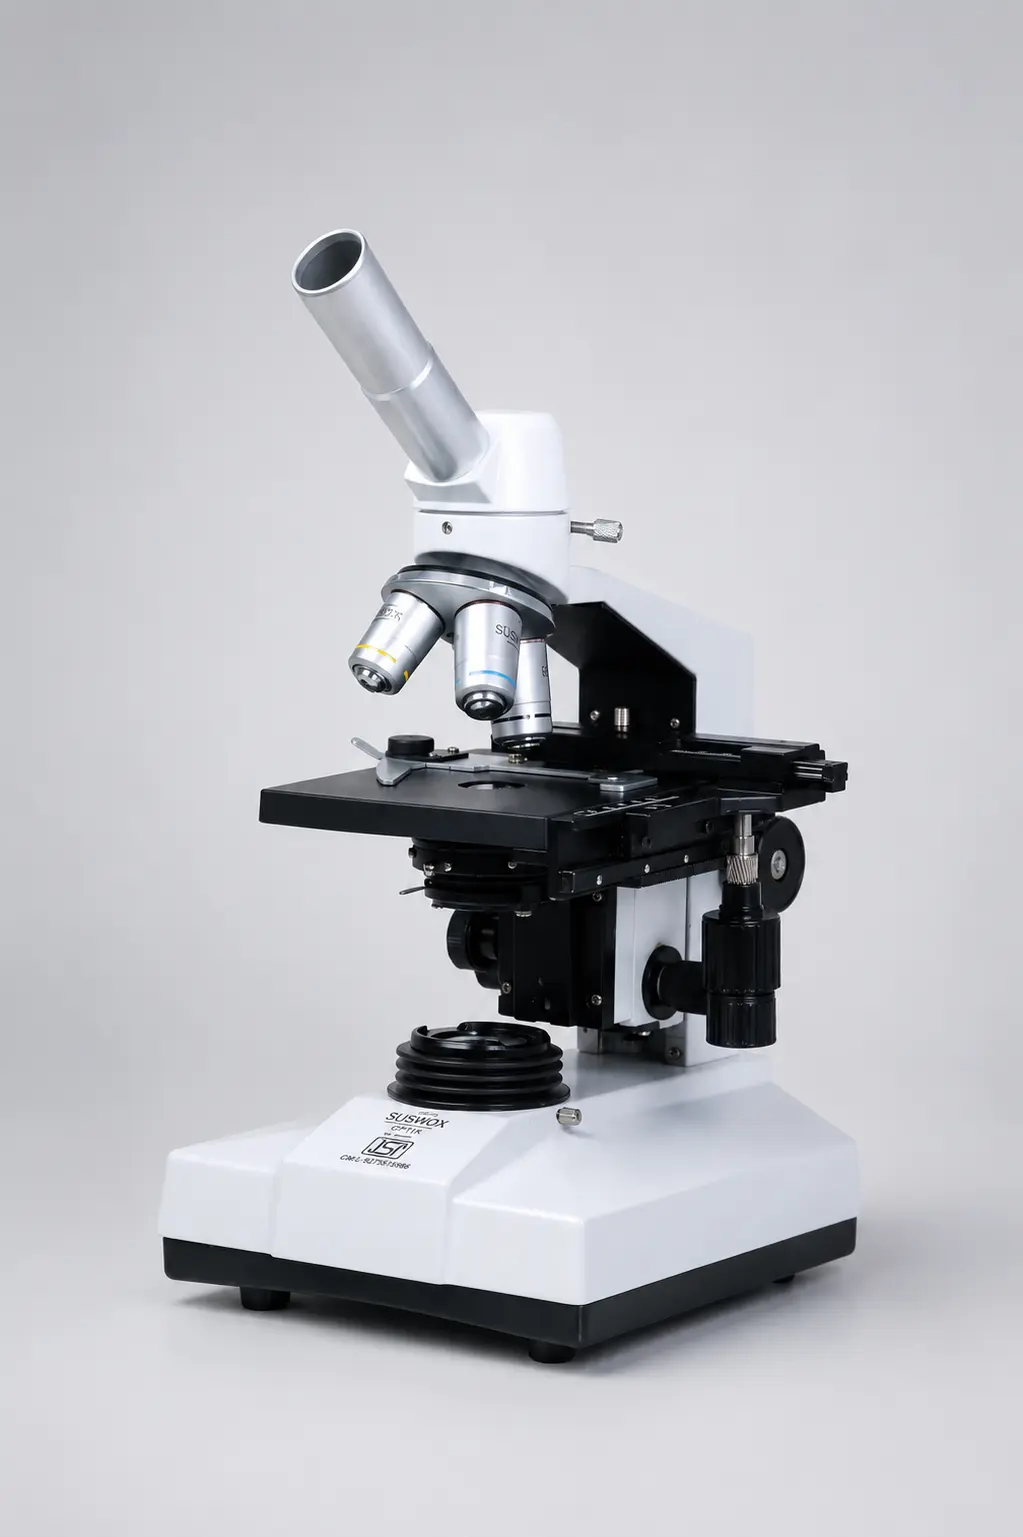
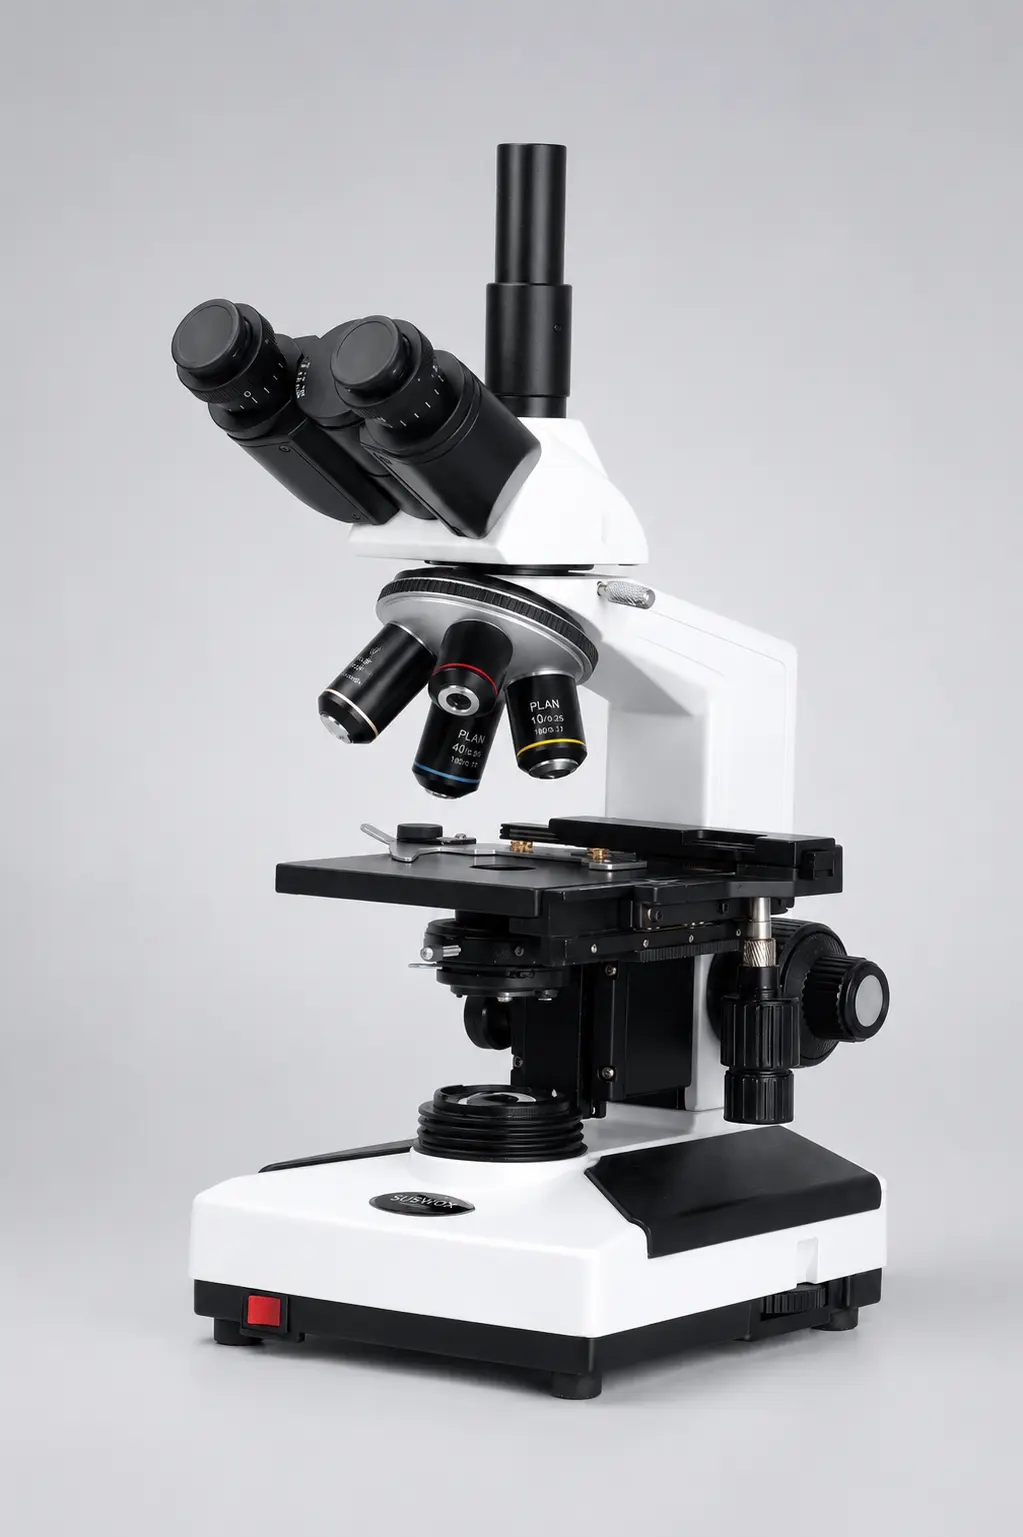
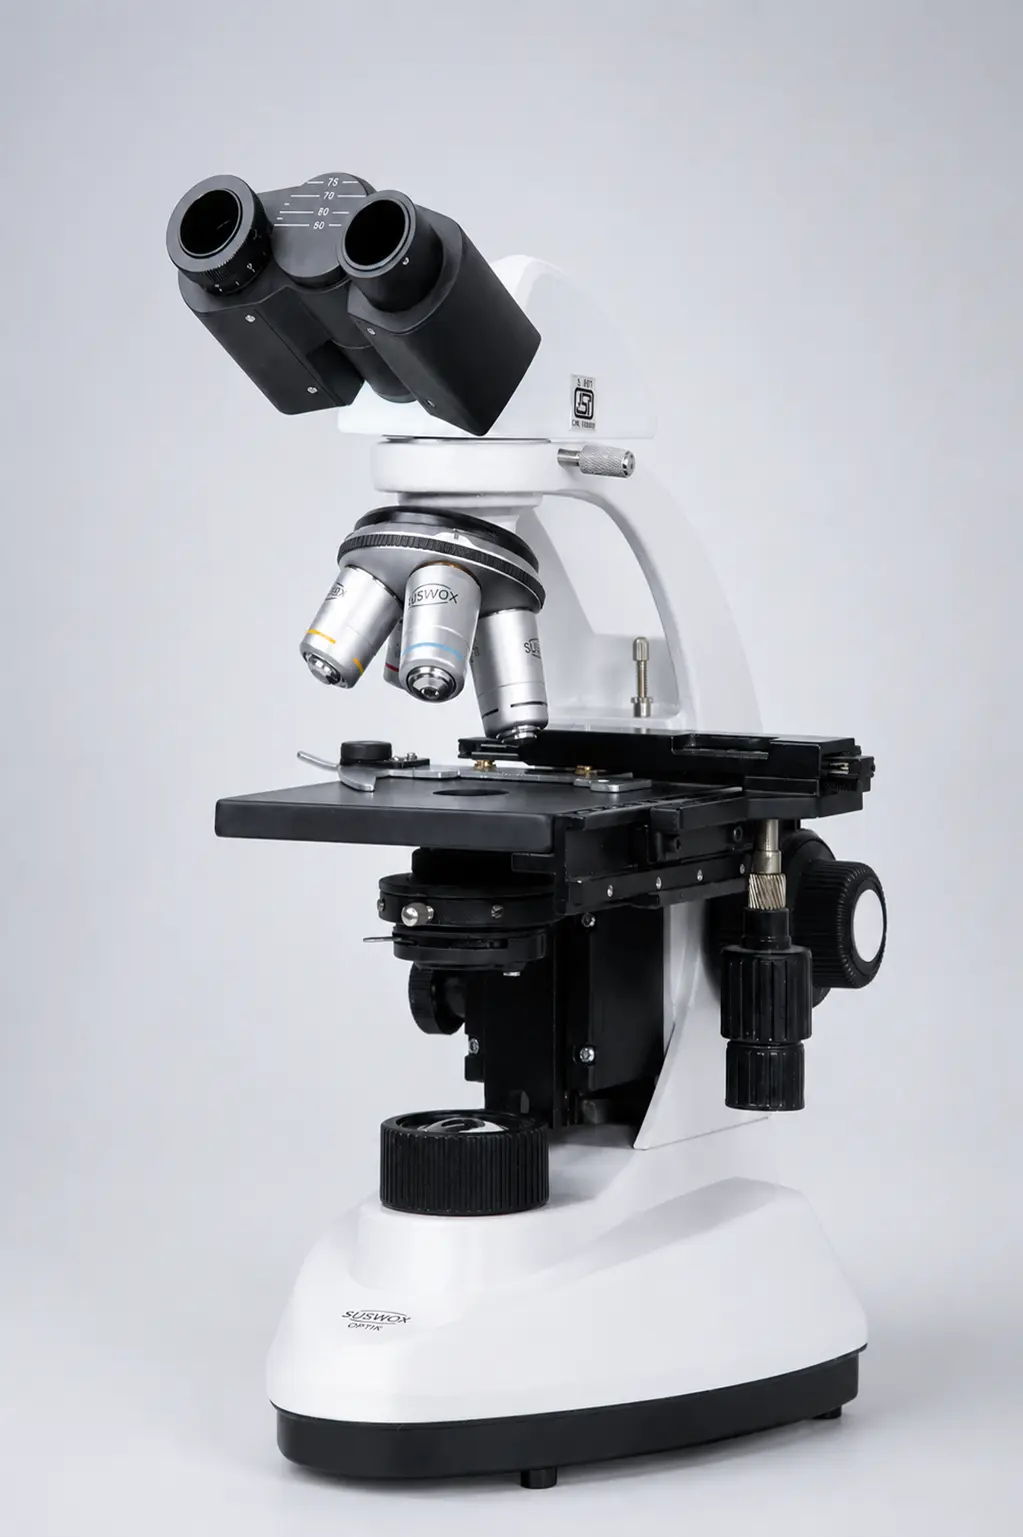
Parts of a Compound Microscope
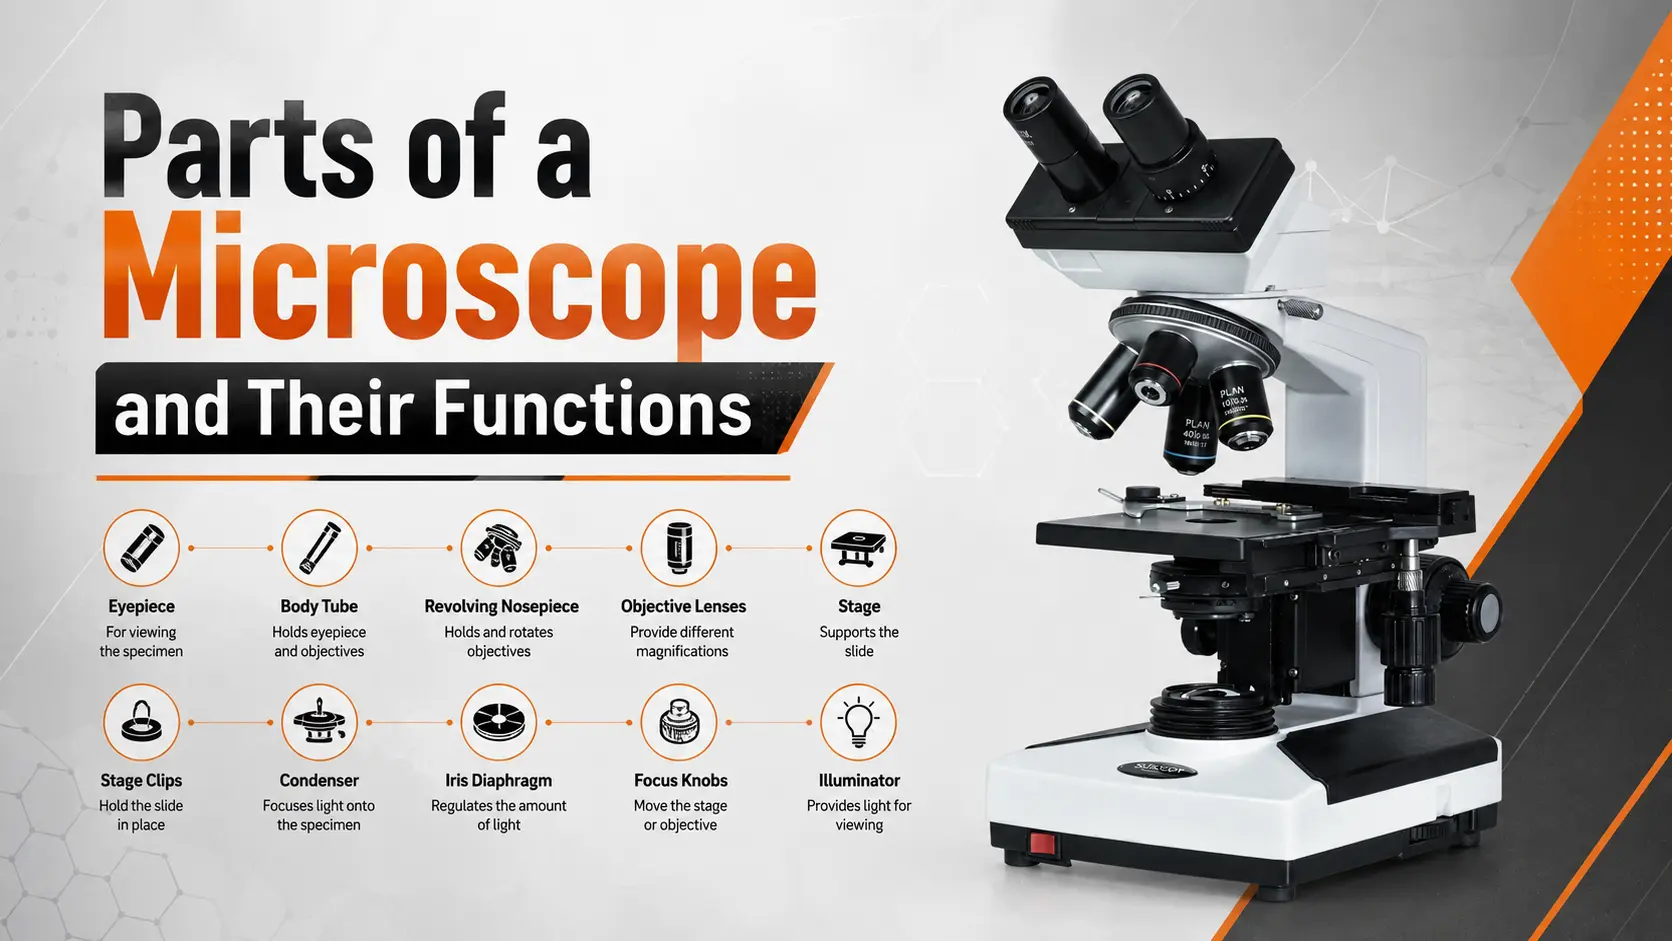
A compound microscope has two sets of parts — mechanical parts that hold and move things, and optical parts that handle light and magnification. Both matter. A perfect lens on a wobbly stand is useless, as anyone who has tried to focus at 1000x on a shaky table already knows.
Optical Parts
| Part | What It Does |
| Eyepiece (ocular lens) | The lens you look through. Usually 10x, sometimes 15x or 20x. Magnifies the image formed by the objective. |
| Objective lenses | The lenses closest to the specimen. Standard set is 4x, 10x, 40x and 100x oil immersion. These do the primary magnification and decide image quality. |
| Condenser | Sits under the stage and focuses light into a tight cone on the specimen. An Abbe condenser is the common type. |
| Iris diaphragm | Controls how much light reaches the sample. Getting this right is the difference between a flat washed-out image and a crisp one. |
| Illuminator | The light source. LED on modern models, tungsten halogen on older ones, a mirror on the oldest. |
Mechanical Parts
| Part | What It Does |
| Head / body tube | Holds the eyepiece and prisms, connects the eyepiece to the objectives. |
| Revolving nosepiece (turret) | Rotating disc holding the objectives. Click-stops tell you when a lens is properly in place. |
| Stage | Flat platform where the slide sits. A mechanical stage adds X-Y knobs to move the slide precisely. |
| Stage clips | Hold the slide down. Basic, but the first thing to break in a school lab. |
| Coarse adjustment knob | Big knob. Moves the stage or tube in large steps. Use only on 4x and 10x. |
| Fine adjustment knob | Small knob. Tiny movements for sharp focus at 40x and 100x. |
| Arm | The curved back. This is what you hold when carrying the microscope — with your other hand under the base. |
| Base | The foot. Houses the illuminator and takes the weight. |
Worth knowing: on most quality microscopes the objectives are parfocal. Focus sharply on 10x, switch to 40x, and the image will be nearly in focus already — needing only a small nudge on the fine knob. If yours does not do that, the objectives are either mismatched or the turret is misaligned.
How Does a Compound Microscope Work?
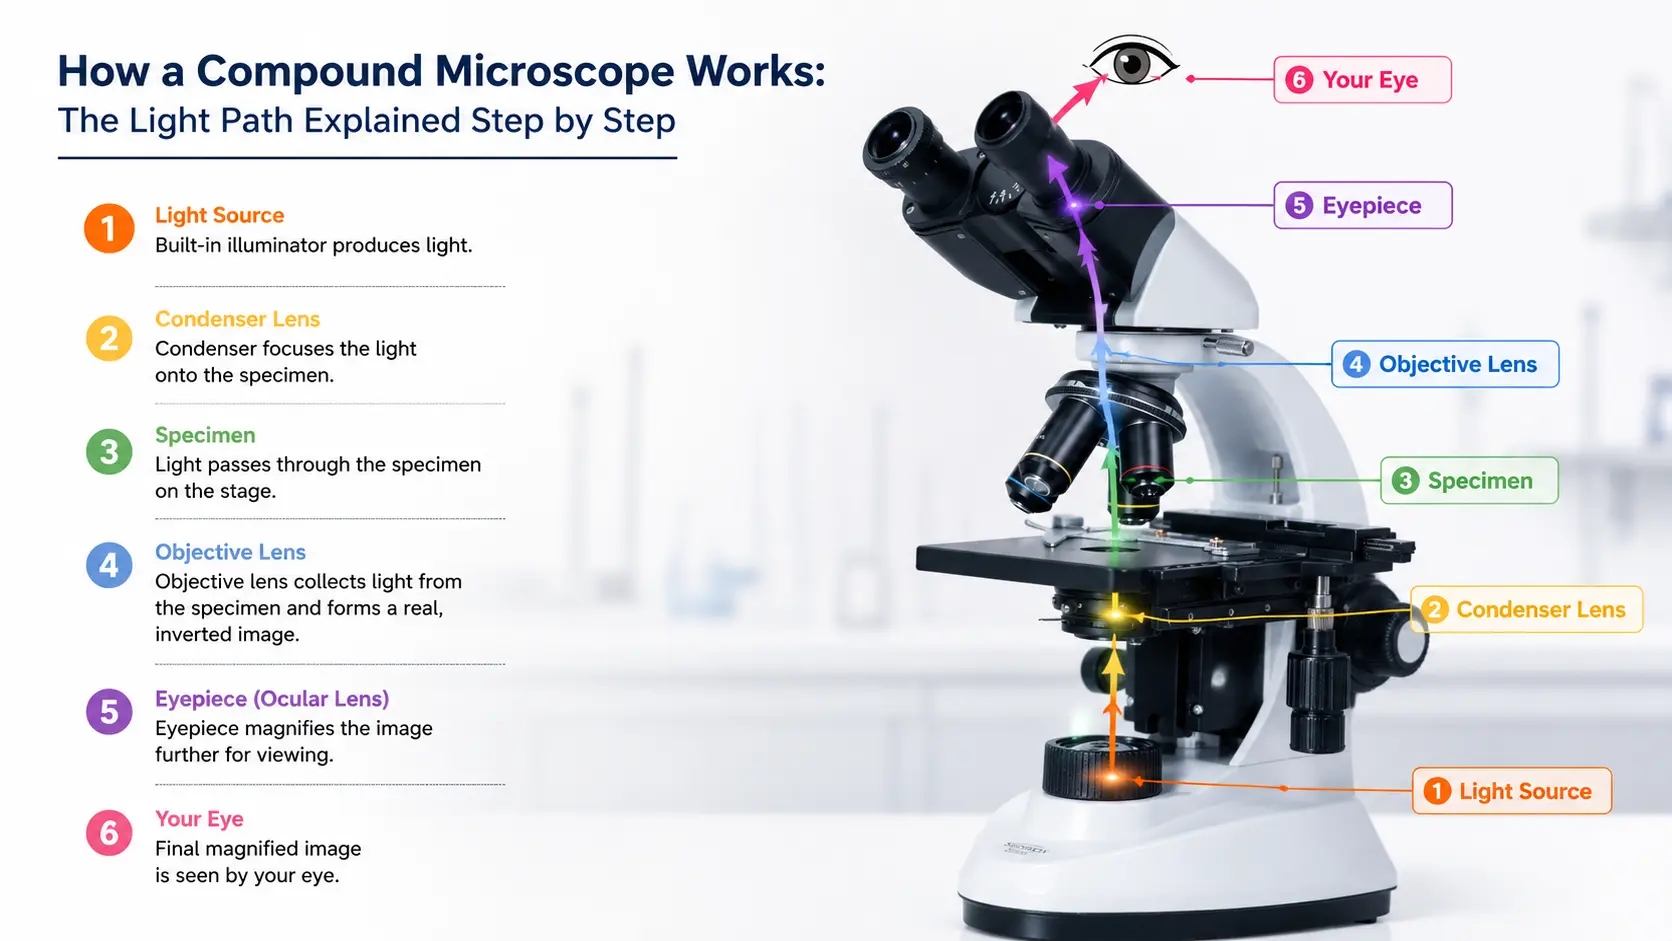
Light from the illuminator passes through the condenser, then through the specimen on the slide. The objective lens collects this light and forms a real, inverted, magnified image inside the body tube. The eyepiece then magnifies that image again, producing the large virtual image you finally see.
So there are two magnification stages, and one consequence people always find odd.
The image is upside down and reversed left to right.
Move the slide to the right and the image drifts left. Push it up, the image goes down. Every new user fights this for about ten minutes and then their brain simply adjusts and stops noticing. It is not a fault. It is what happens when a lens forms a real image.
The light path, step by step
- Light leaves the LED or mirror at the base
- The condenser gathers it and focuses it onto the slide
- The iris diaphragm trims the cone of light to the right width
- Light passes through the thin, transparent specimen
- The objective collects the light and forms a real inverted image inside the tube
- The eyepiece magnifies that image
- Your eye sees a large virtual image, roughly 25 cm in front of you
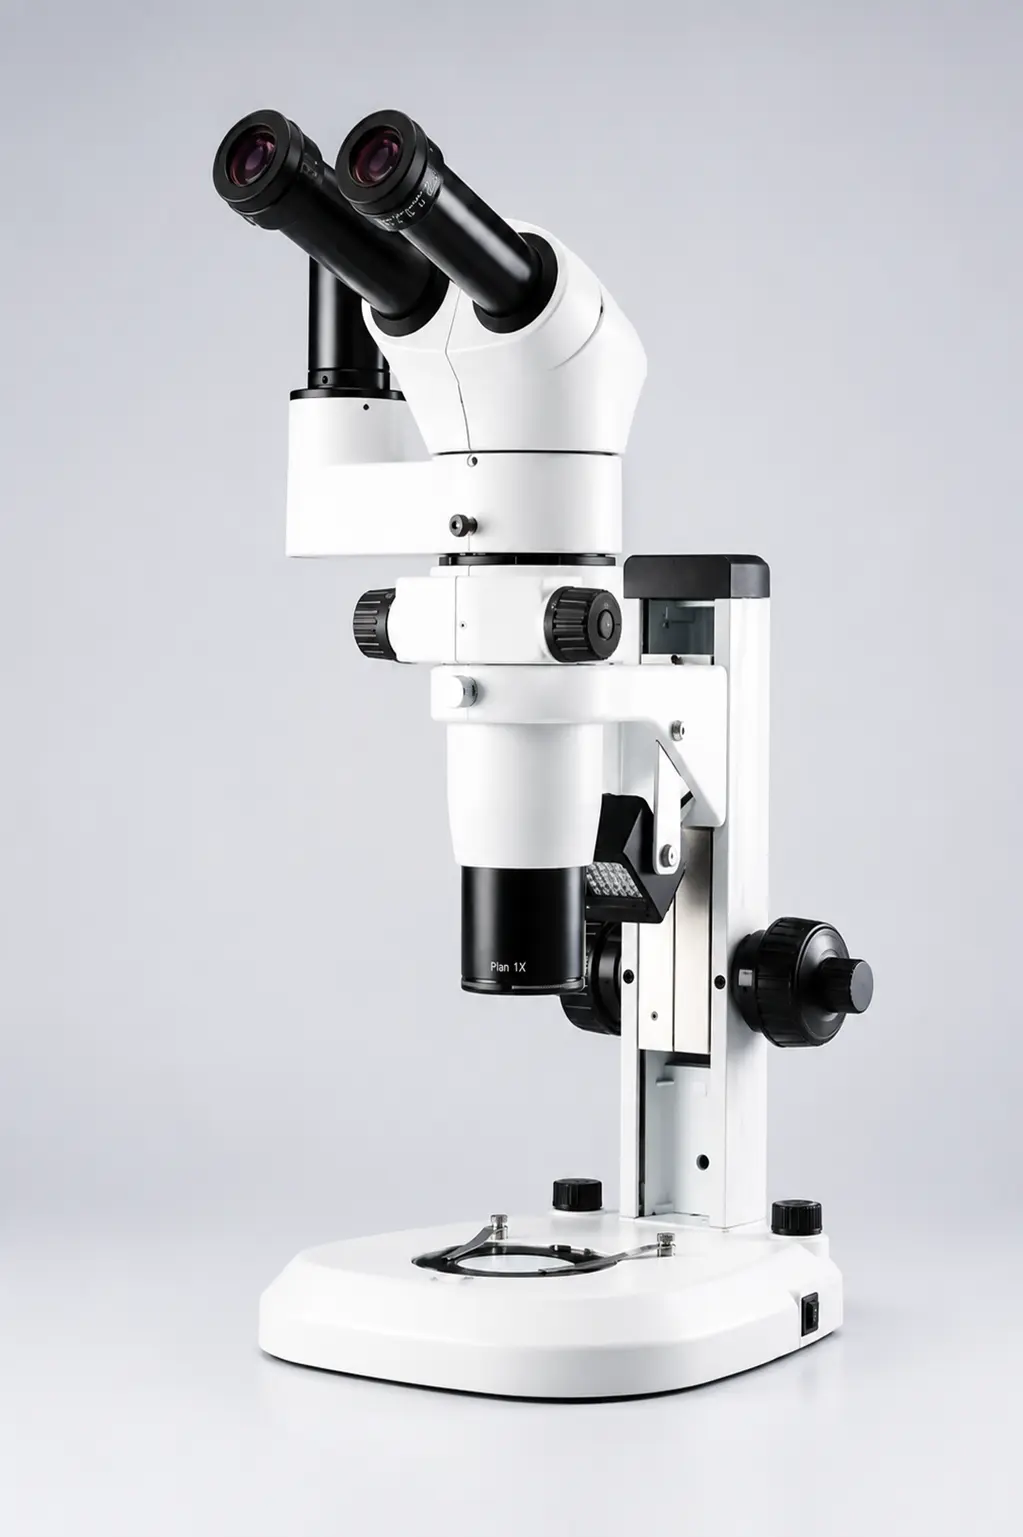
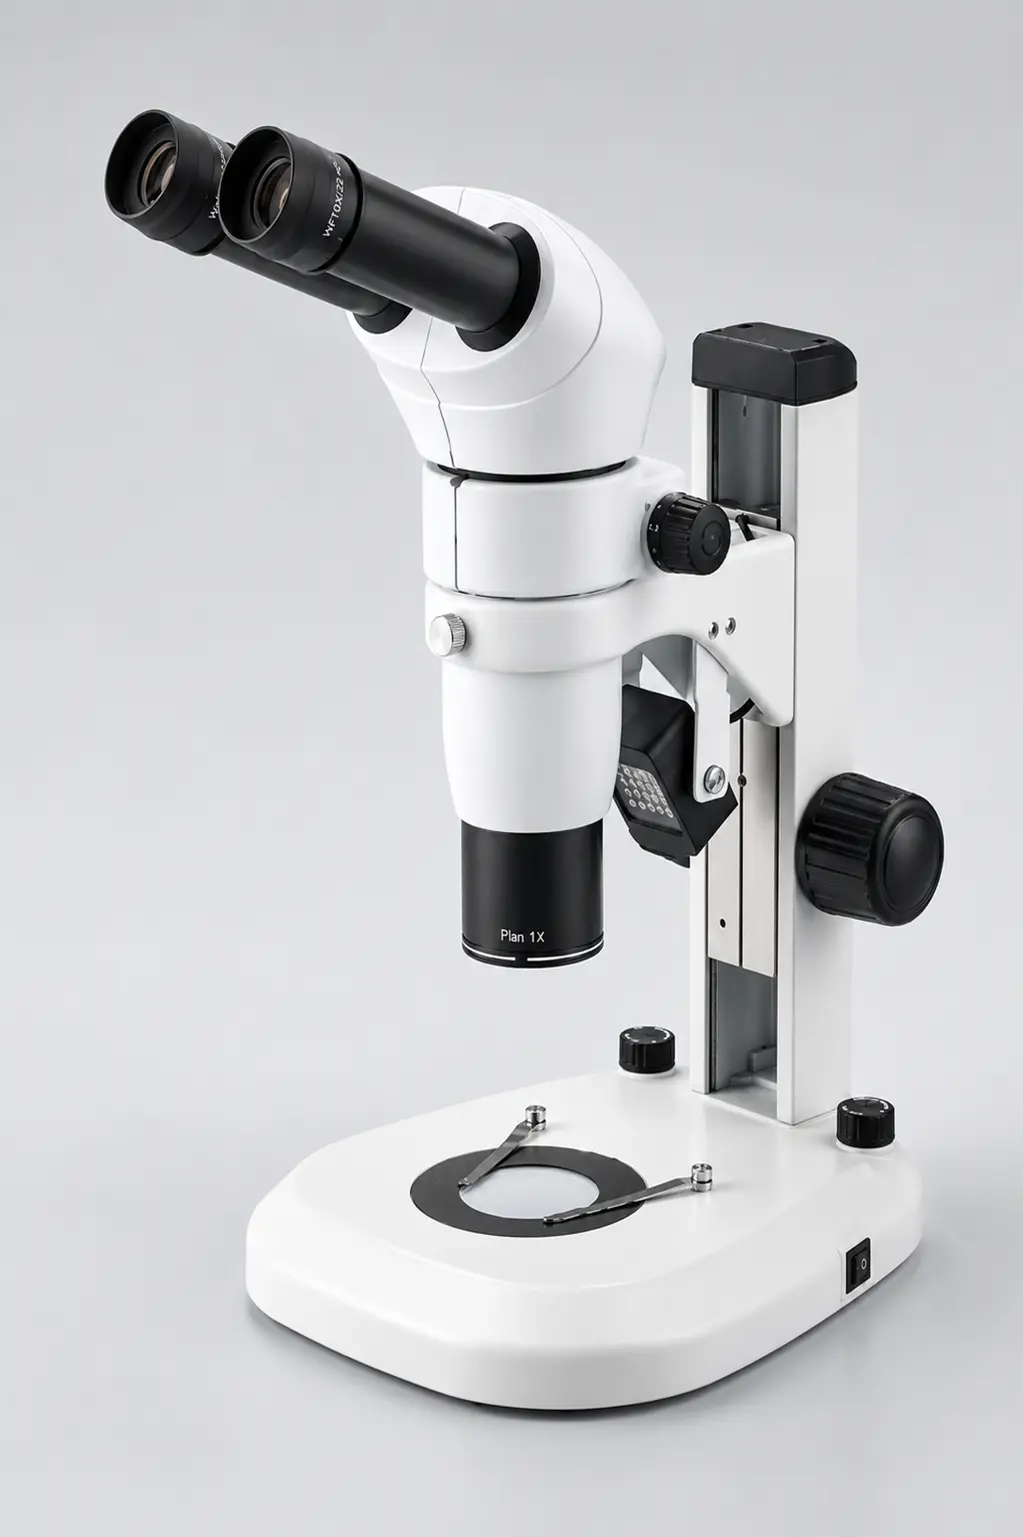
That fourth step explains why compound microscopes only work on thin, transparent samples. Light has to pass through the specimen. Put a coin on the stage and you will see a black circle, because no light is getting through it. For solid opaque objects you need a stereo microscope instead — different instrument, different job.
Compound Microscope Magnification: How to Calculate It
Total magnification = magnification of the eyepiece × magnification of the objective.
That is the whole formula. No tricks in it.
| Eyepiece | Objective | Total Magnification | Typically Used For |
| 10x | 4x | 40x | Scanning the slide, finding your sample |
| 10x | 10x | 100x | General tissue and cell structure |
| 10x | 40x | 400x | Detailed cell study, most routine lab work |
| 10x | 100x (oil) | 1000x | Bacteria, blood cell morphology |
| 15x | 40x | 600x | Higher detail without oil |
| 15x | 100x (oil) | 1500x | Practical maximum for light microscopy |
Now the part that catches people out.
More magnification does not automatically mean you see more. Beyond about 1000x to 1500x, a light microscope starts producing what is called empty magnification — the image gets bigger but no new detail appears. It just gets blurrier and bigger. This is a physical limit, not a manufacturing one. Visible light cannot resolve two points closer than roughly 0.2 micrometres apart, no matter how good the glass is.
So when a listing advertises “2000x magnification” on a cheap microscope, treat it as marketing. What actually matters is resolution, and resolution comes from the numerical aperture of the objective — not from the number printed on the eyepiece.
Why the 100x objective needs oil
Air and glass bend light differently. At very high magnification, light leaving the slide spreads out and some of it misses the objective entirely, so you lose both brightness and detail.
Immersion oil has almost the same refractive index as glass, around 1.515. Put a drop between the slide and the 100x lens and the light travels through in a straight path instead of scattering. More light reaches the lens. Resolution improves noticeably.
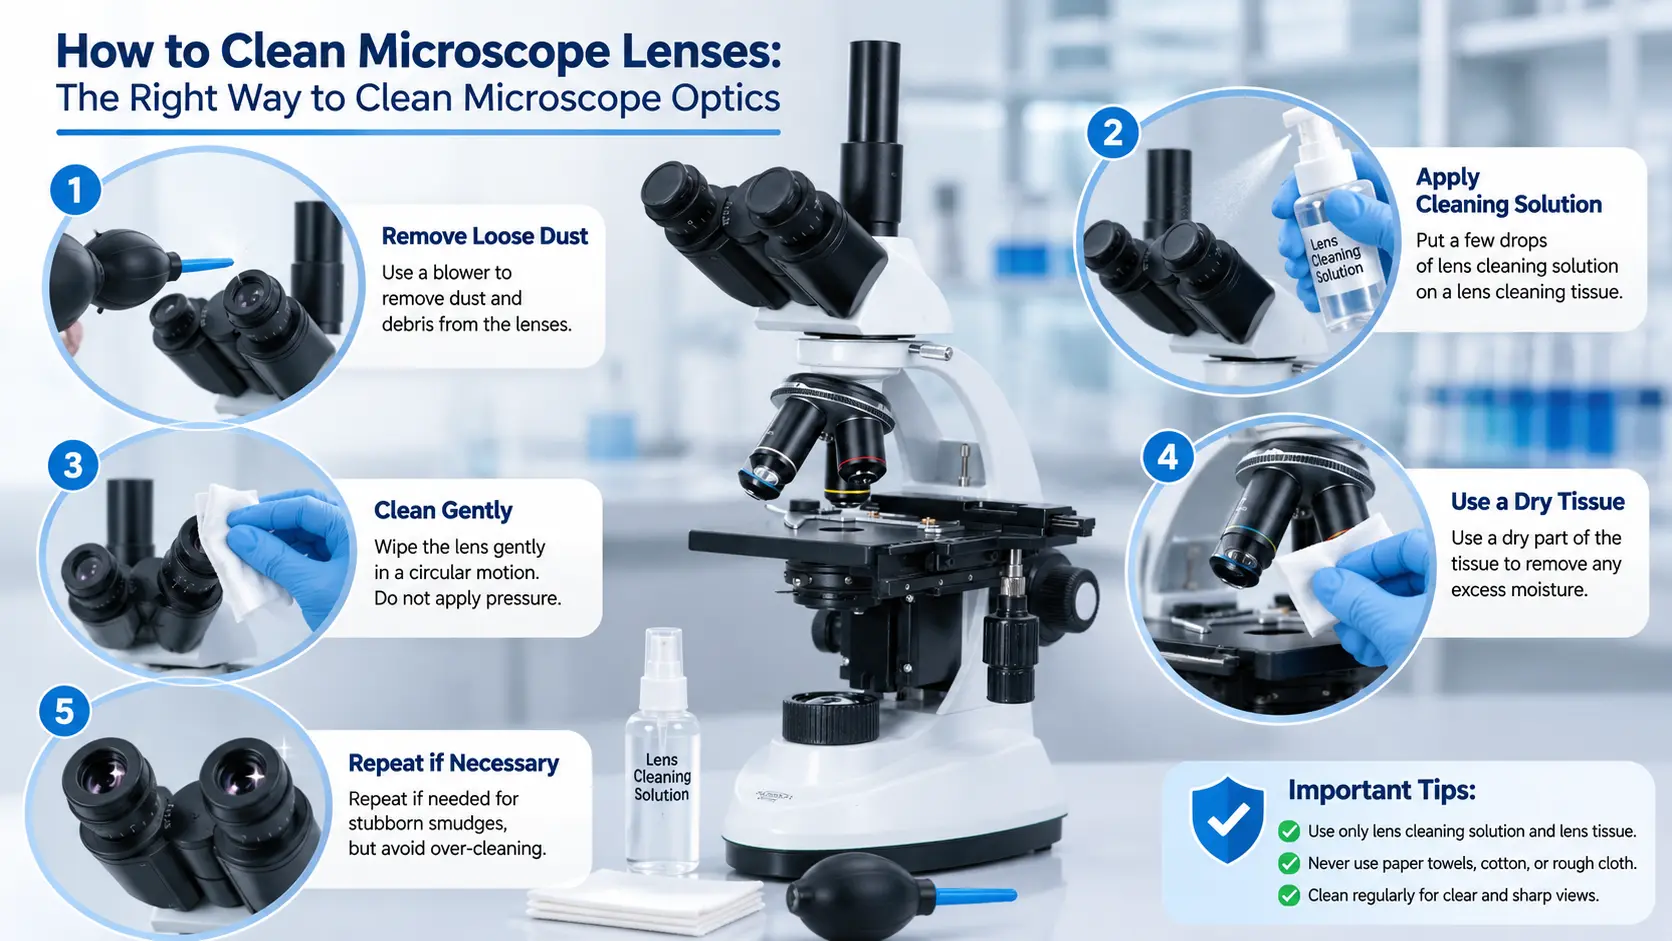
One rule though: oil goes on the 100x objective only. Never on the 40x. And wipe it off with lens tissue when you finish, because dried immersion oil is one of the most common reasons objectives end up needing service.
Types of Compound Microscopes
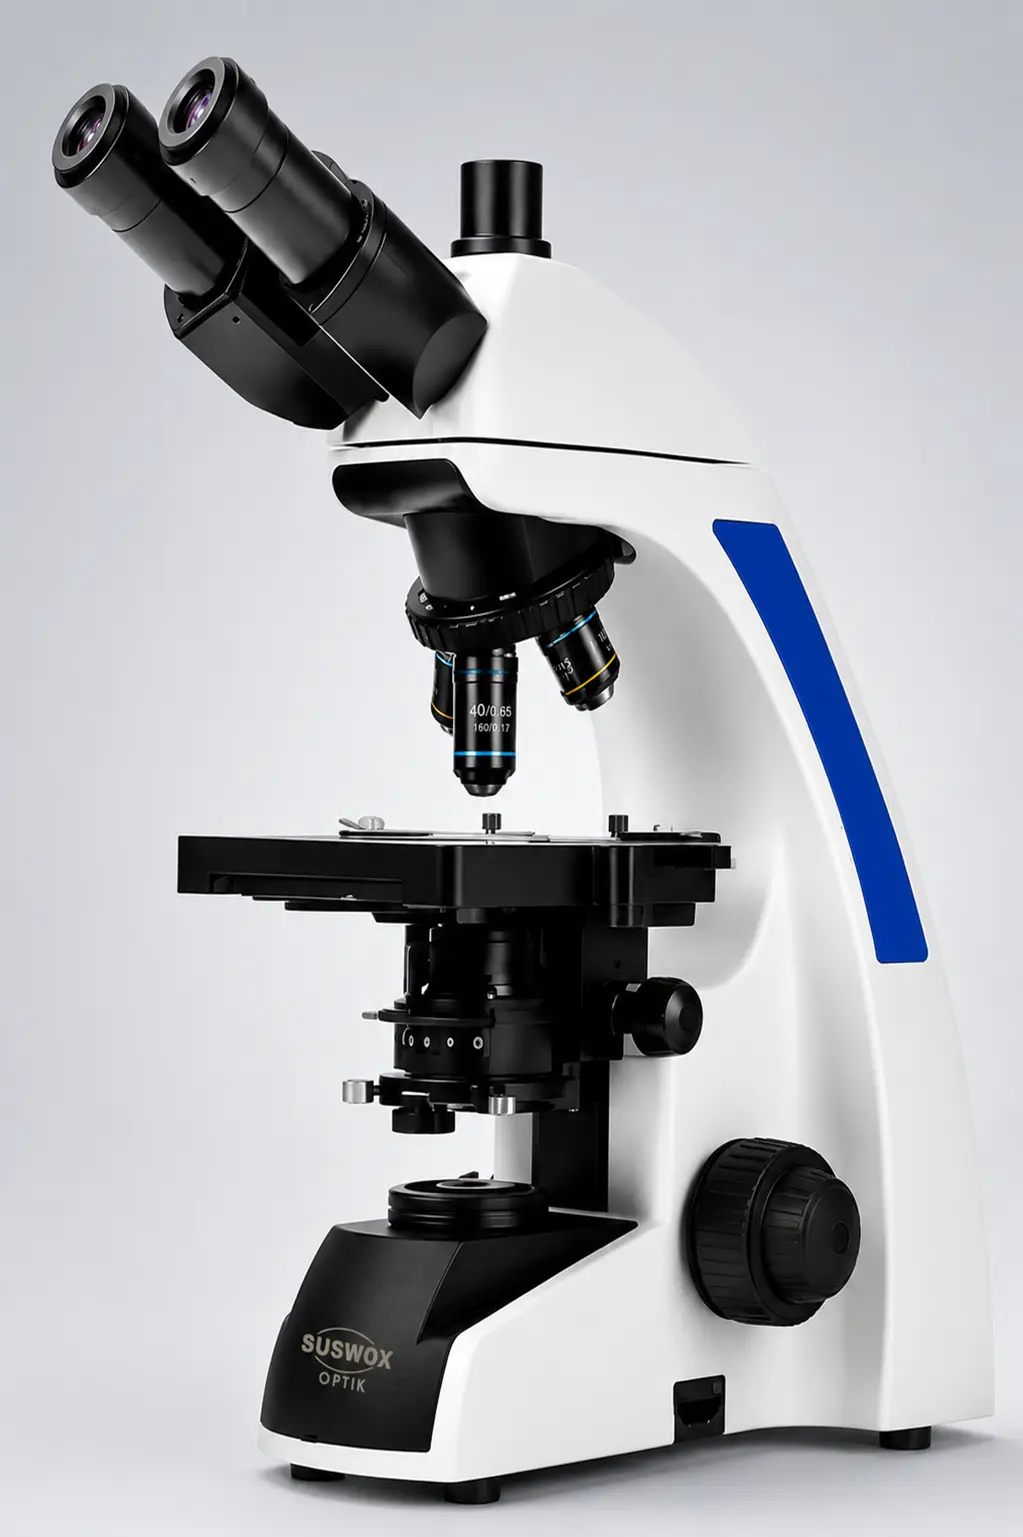
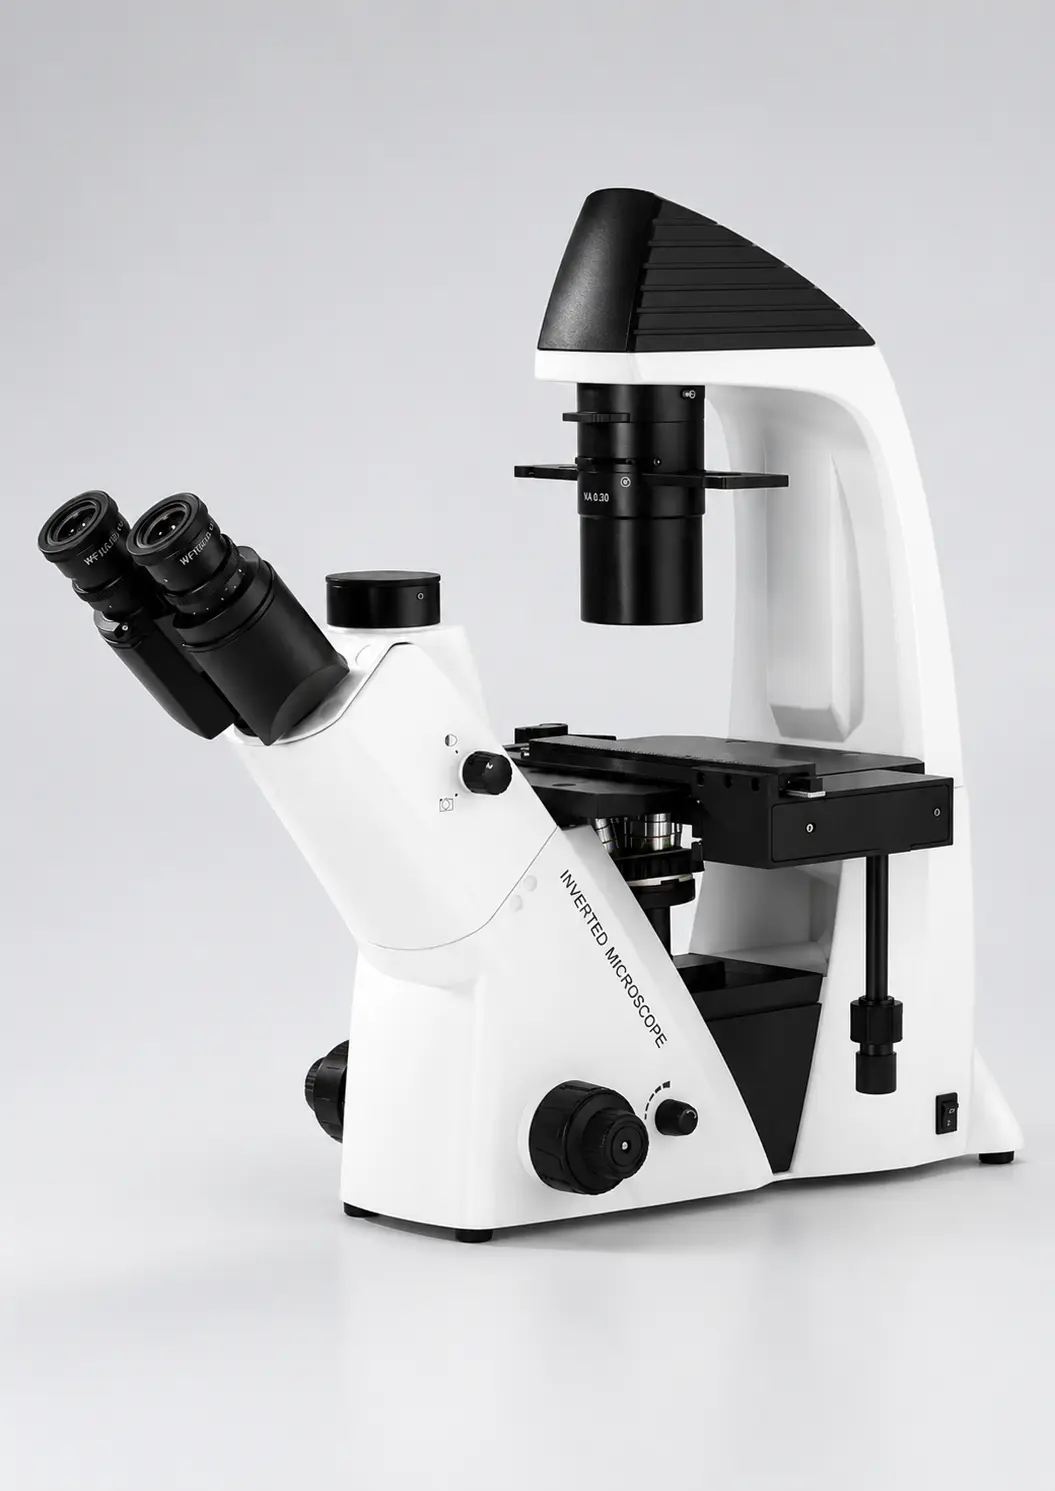
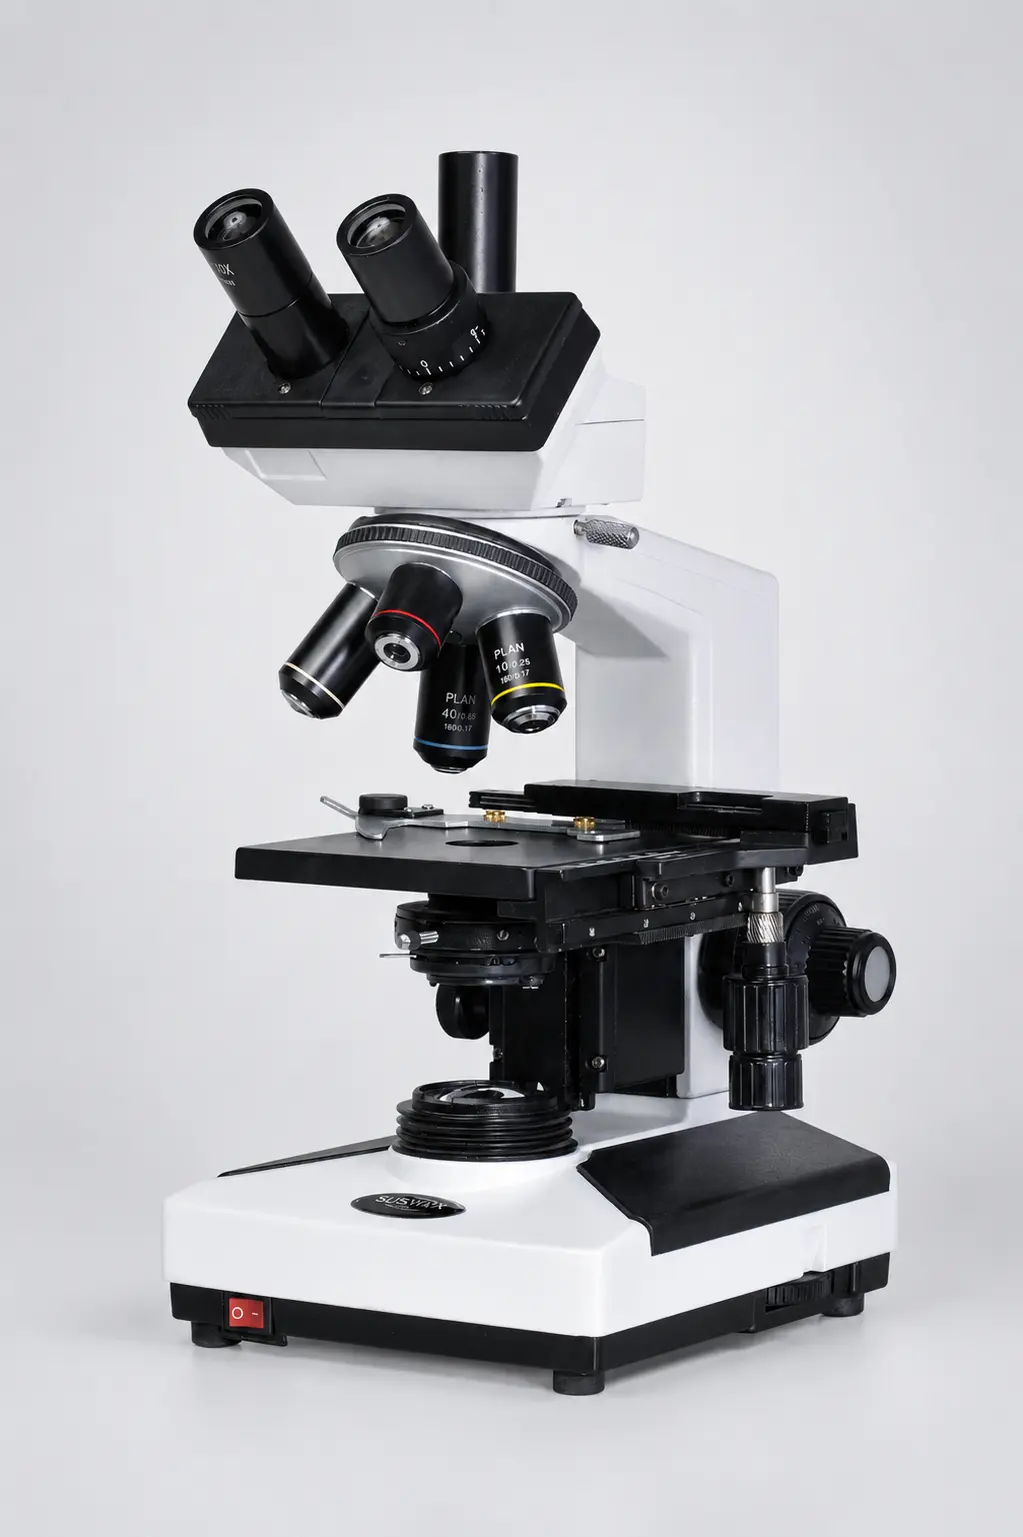
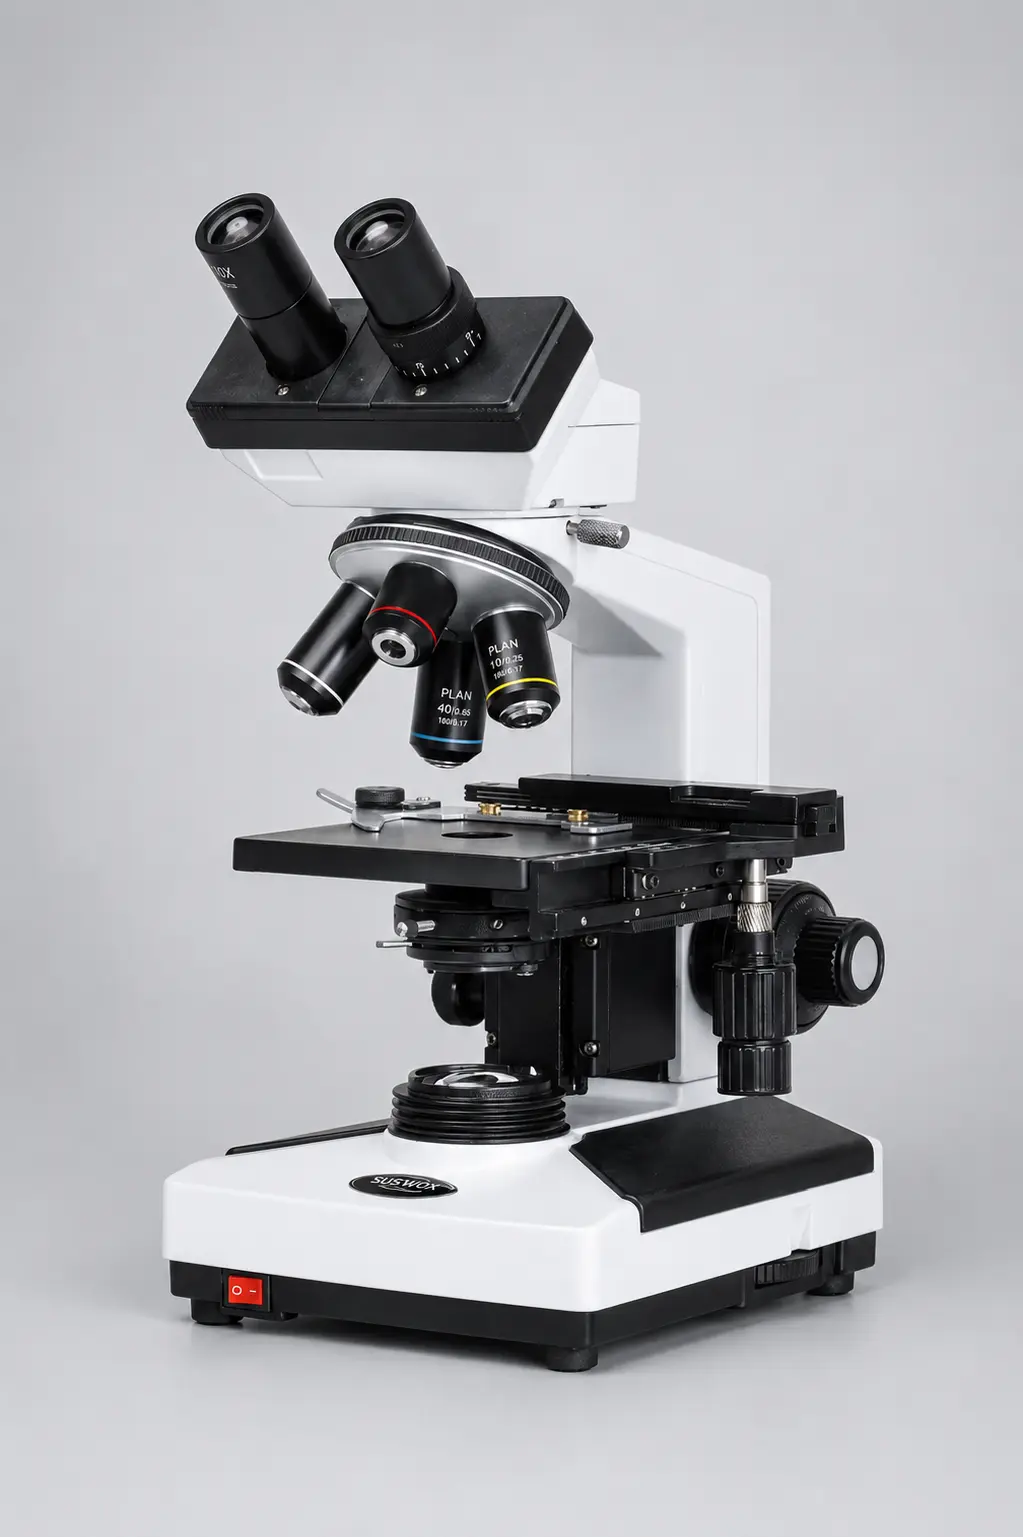
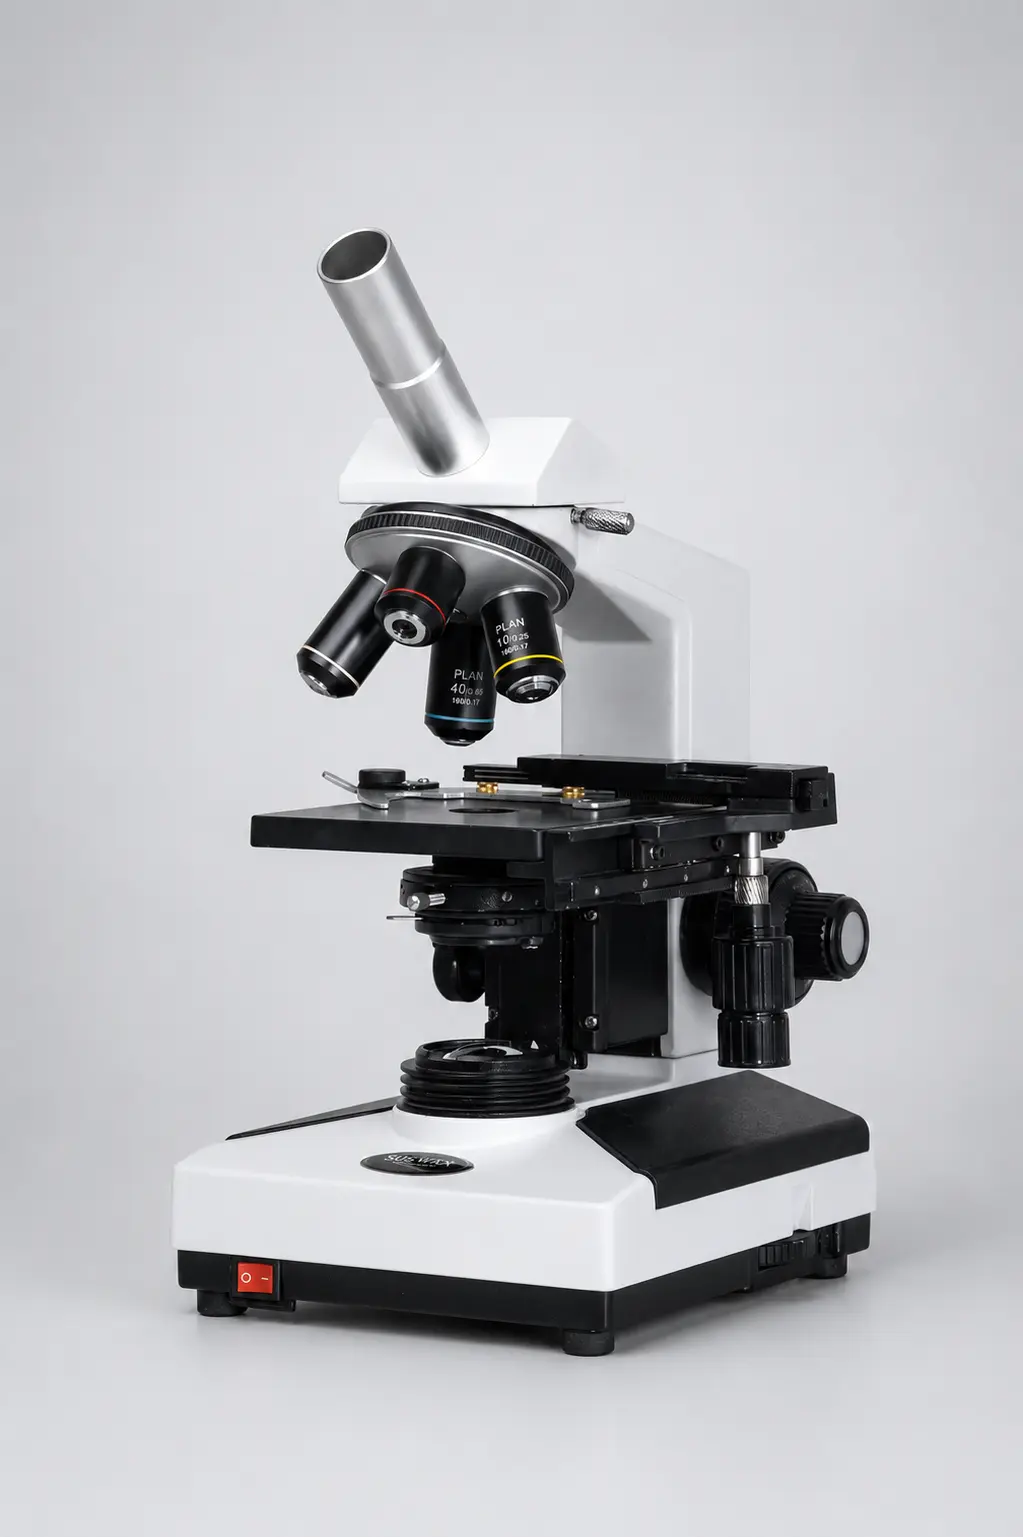
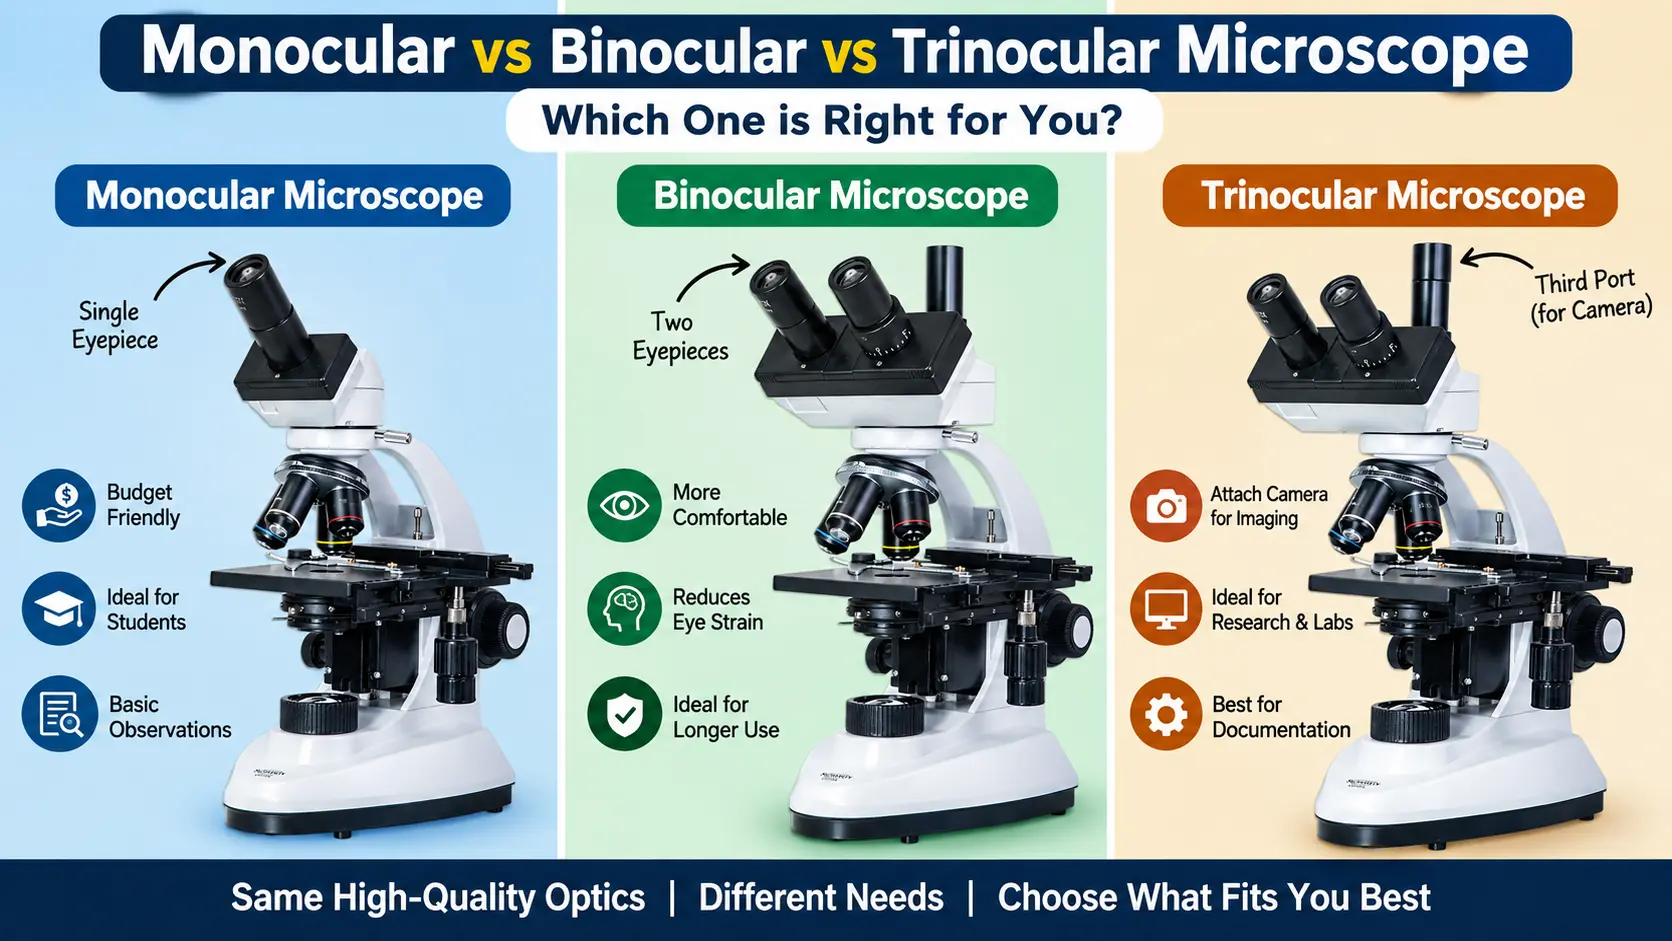
Compound microscopes are usually classified by their head — how many eyepieces they have and whether a camera can be attached.
| Type | Eyepieces | Camera Port | Best Suited For |
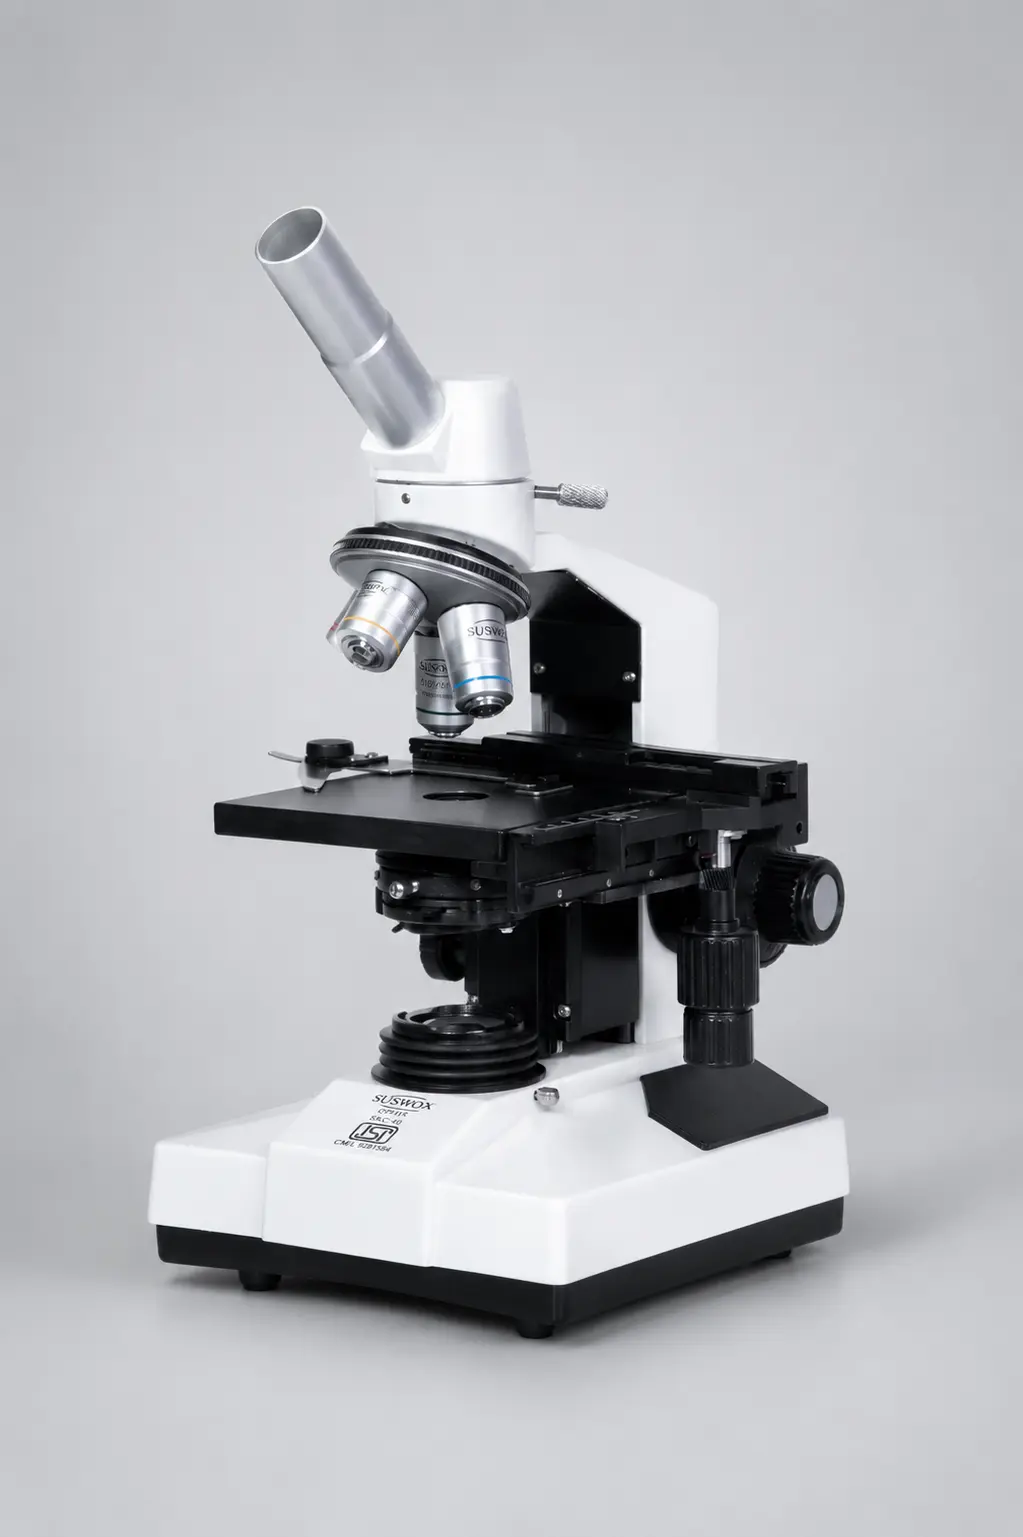
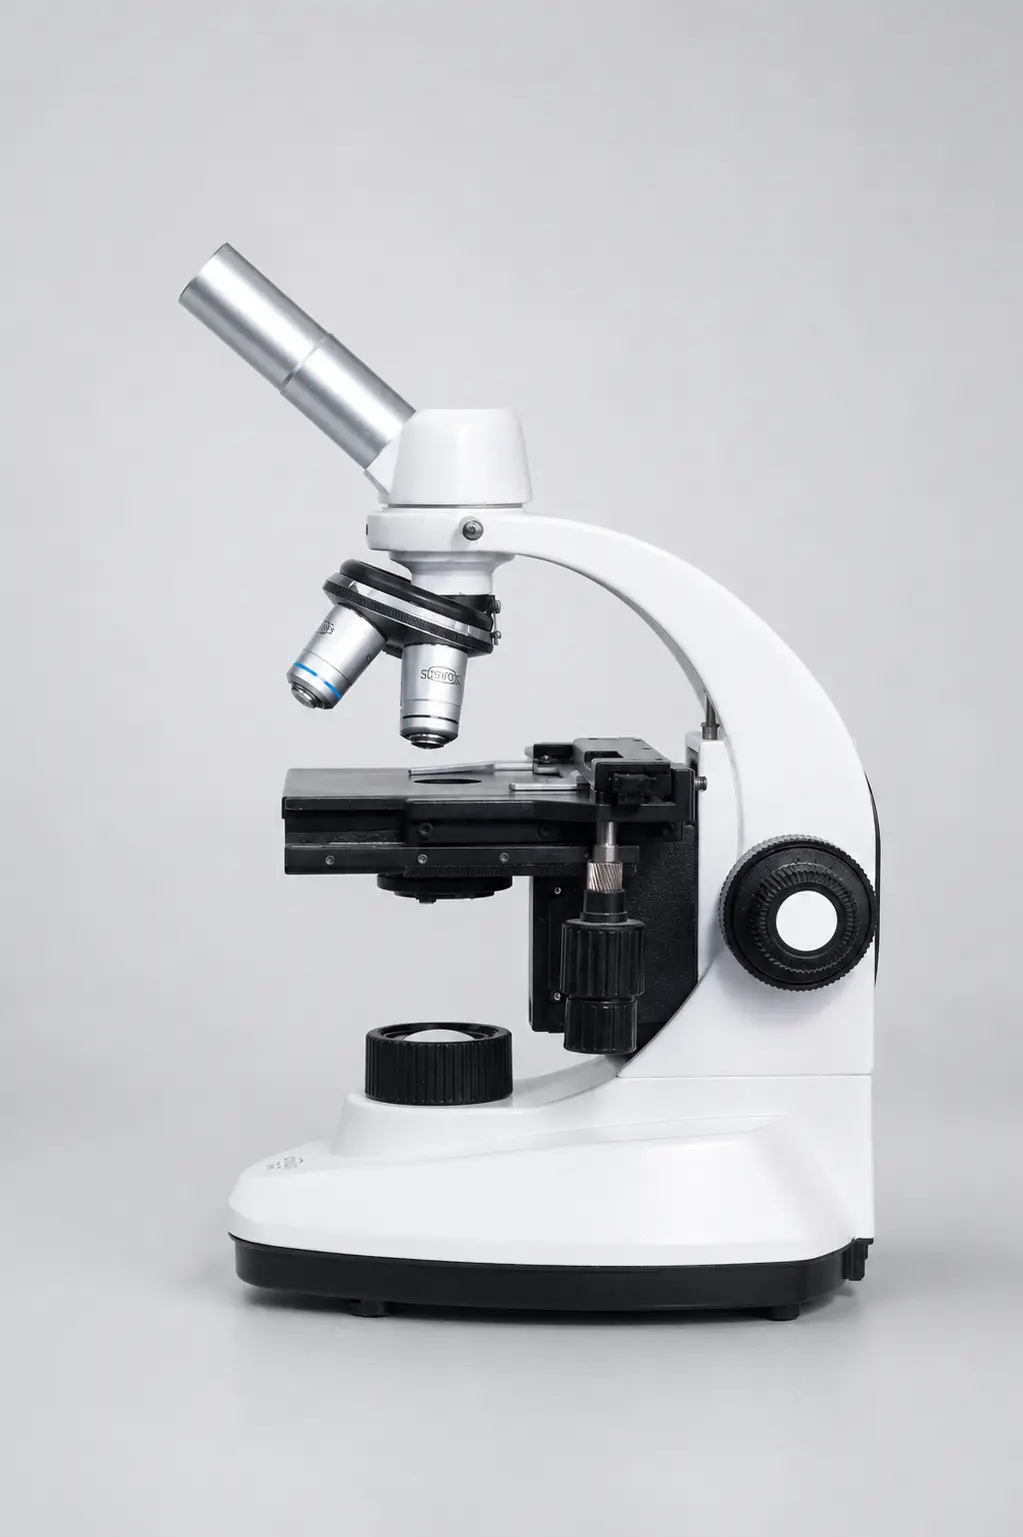
| Monocular | 1 | No | School labs, short sessions, tight budgets |
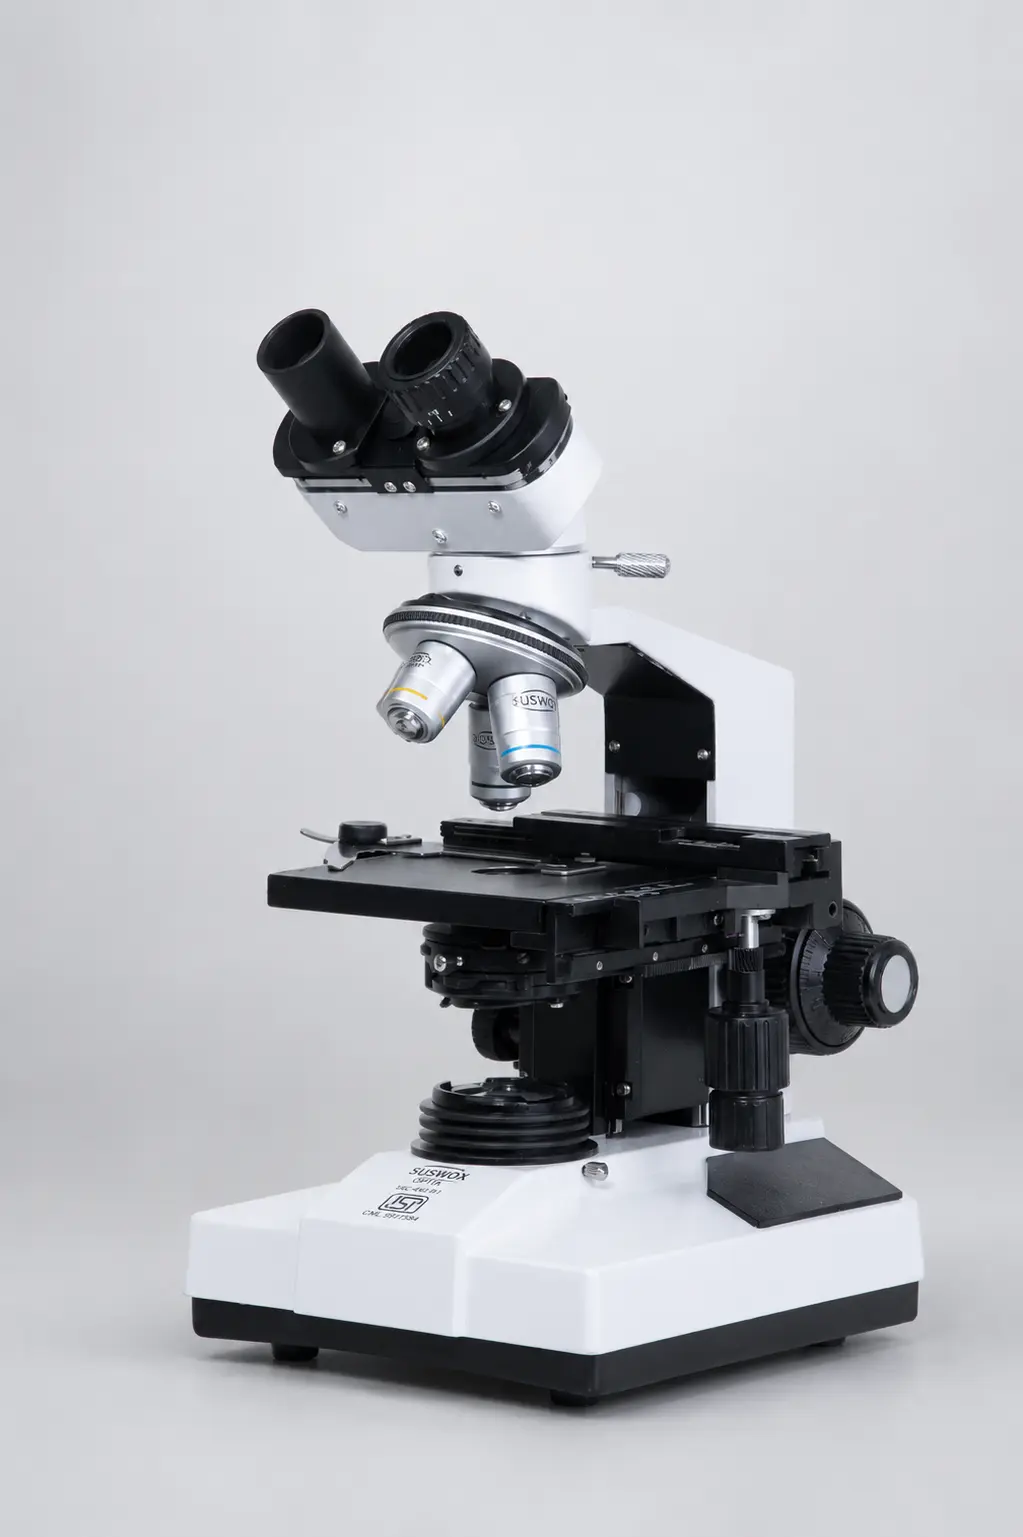
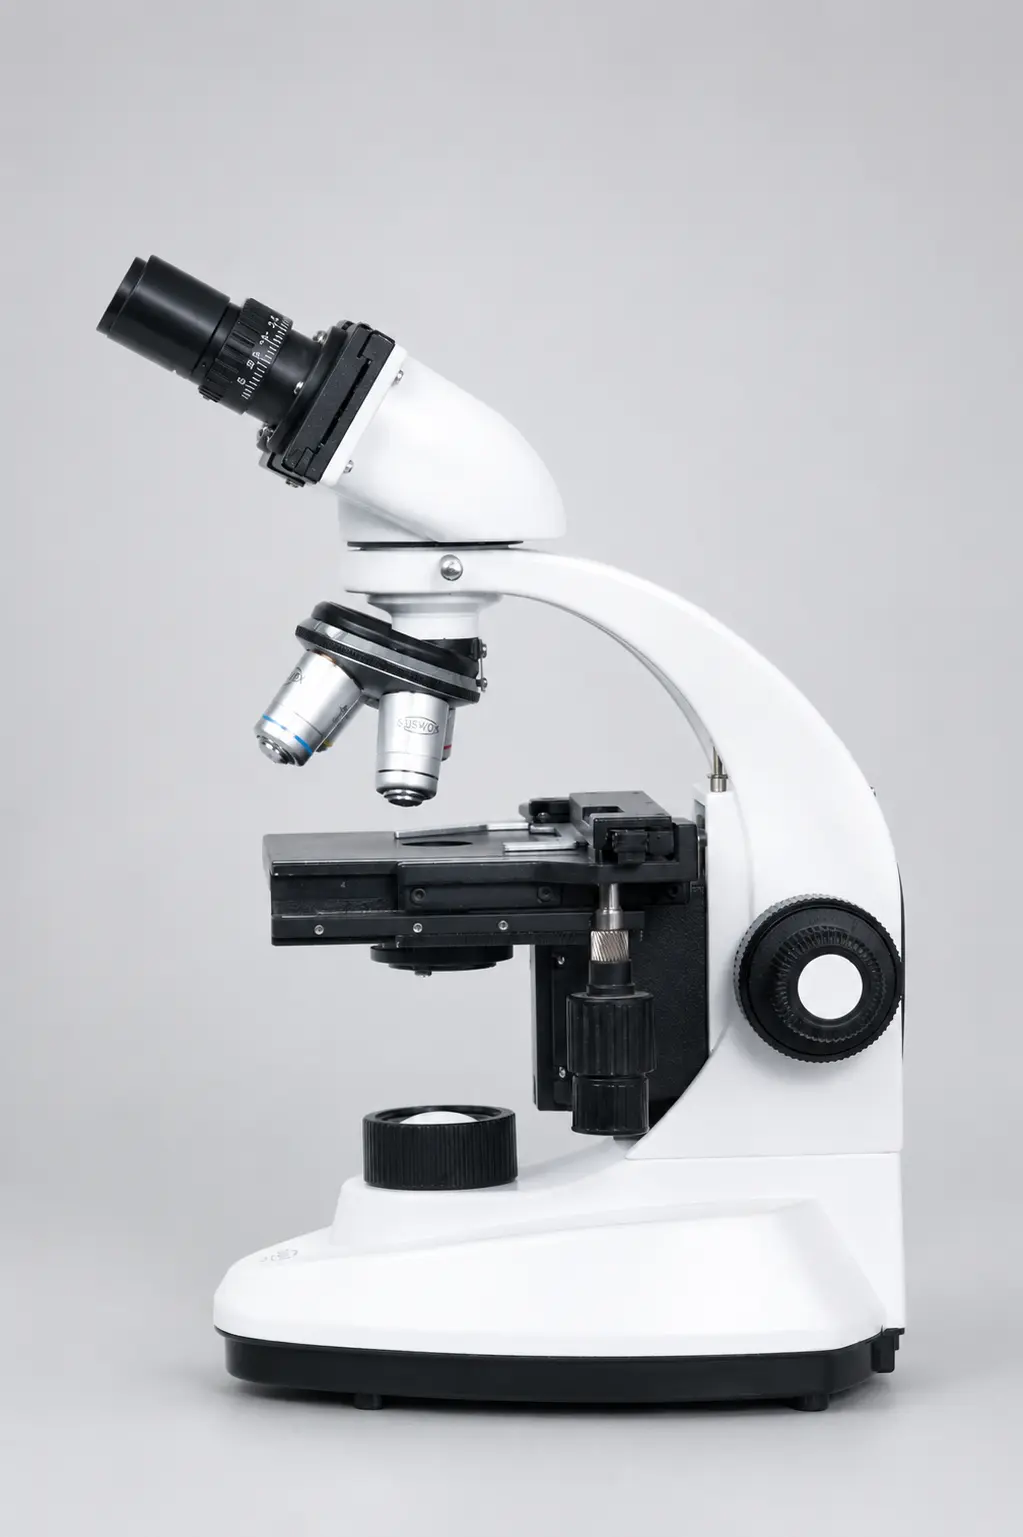
| Binocular | 2 | No | Pathology labs, daily diagnostic work, long hours |
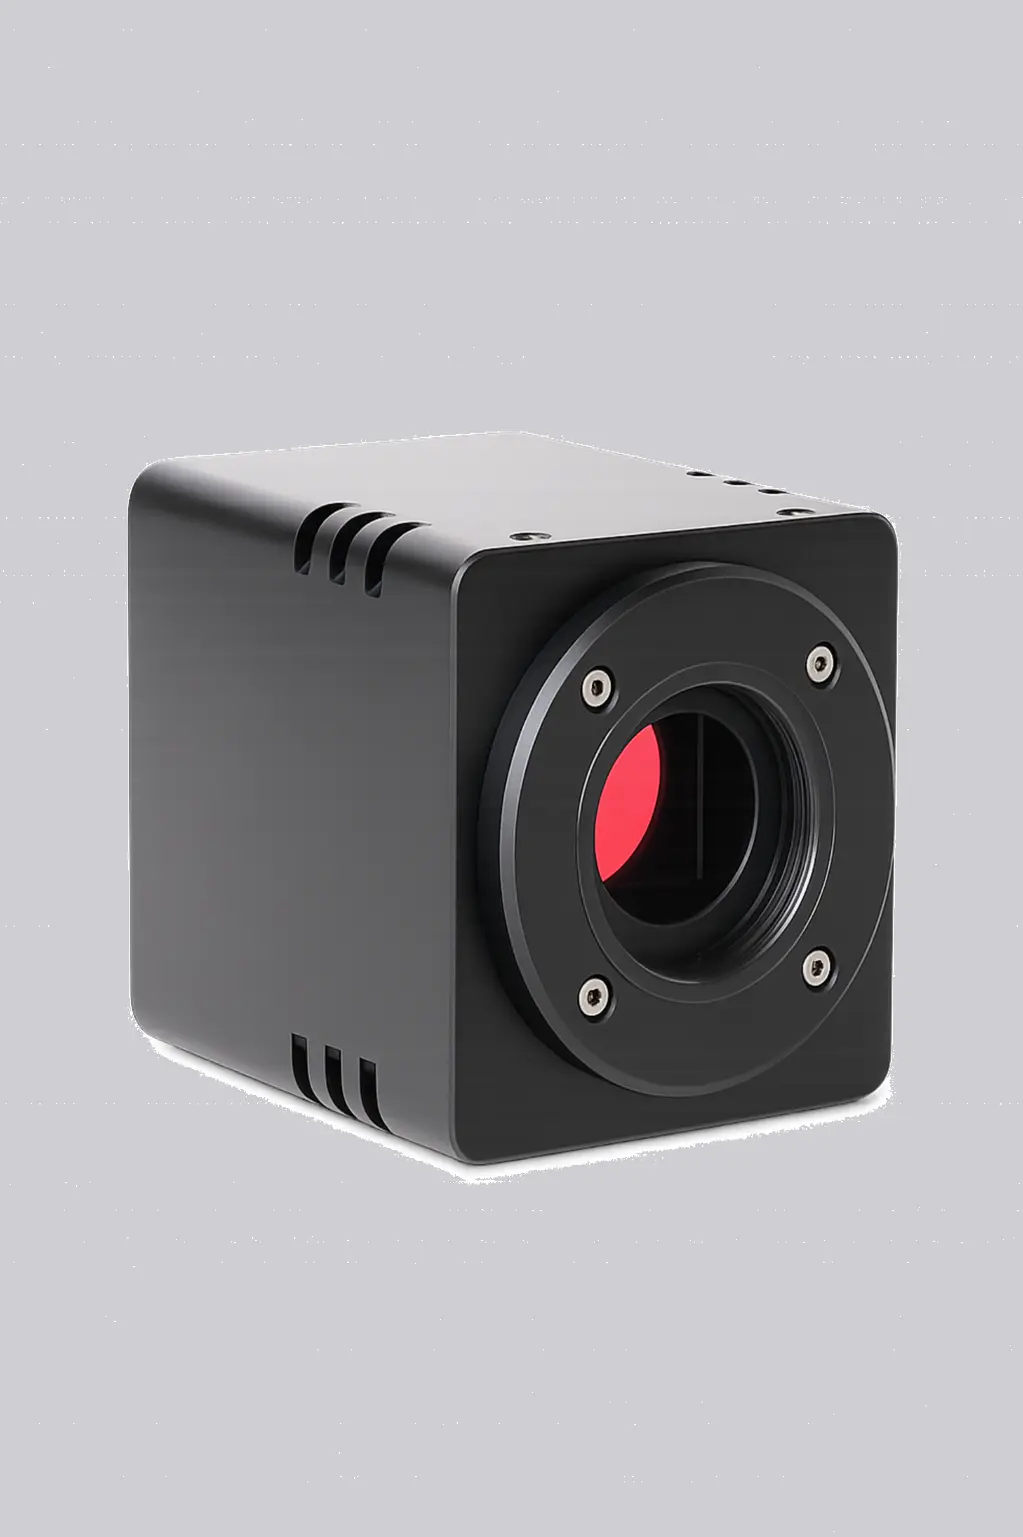
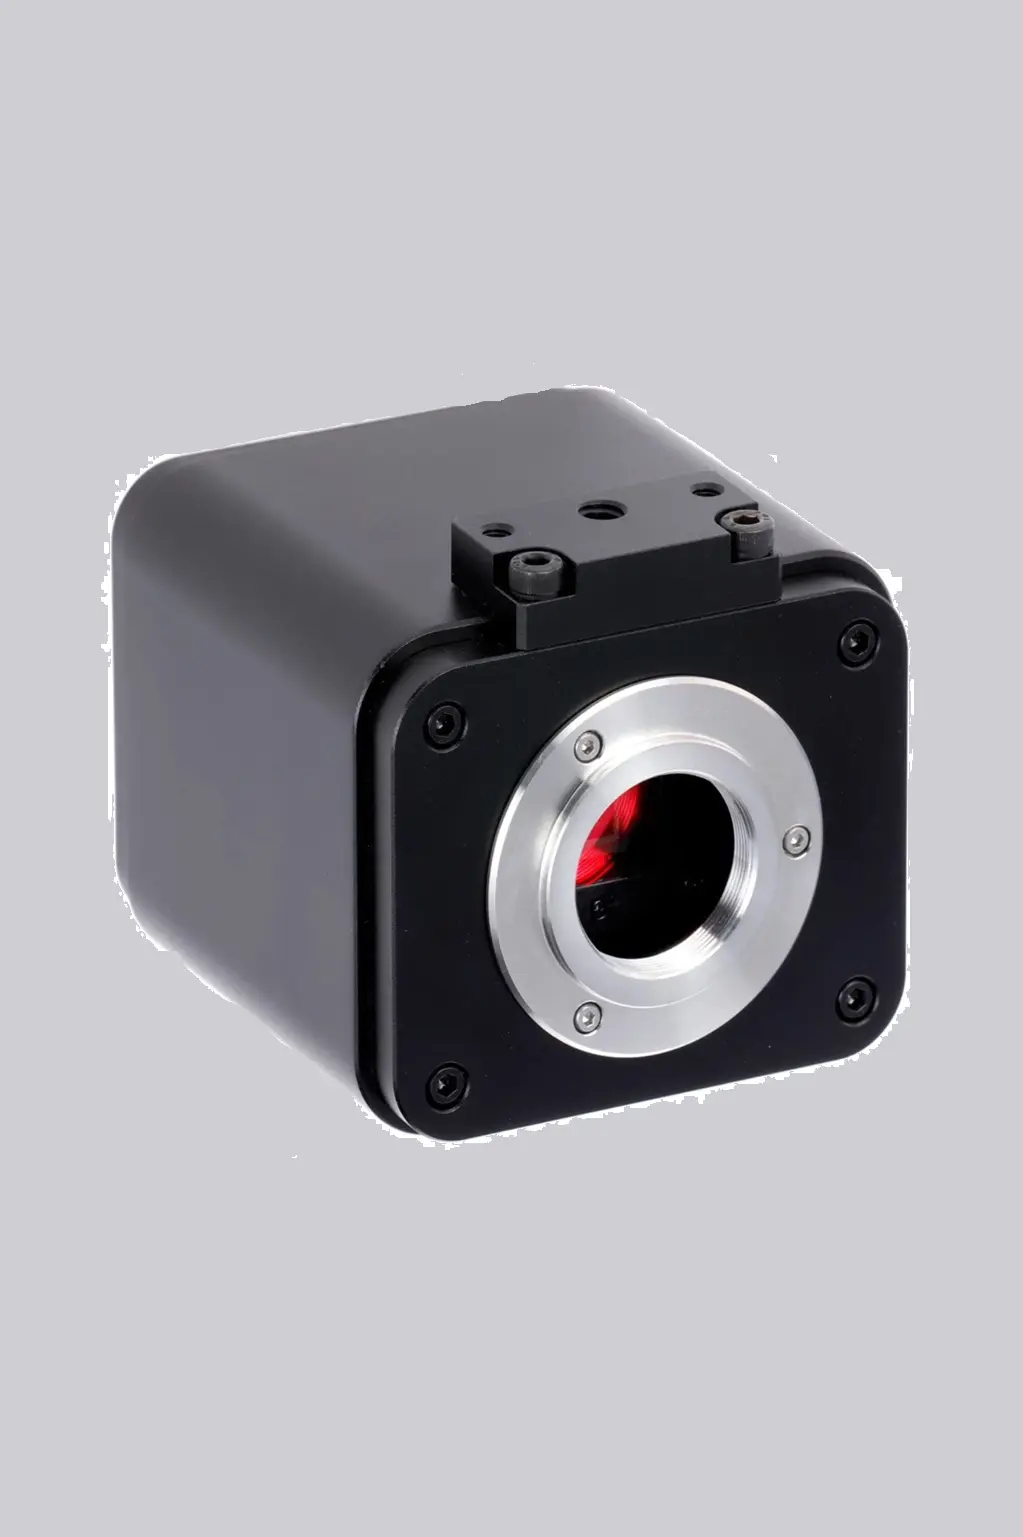
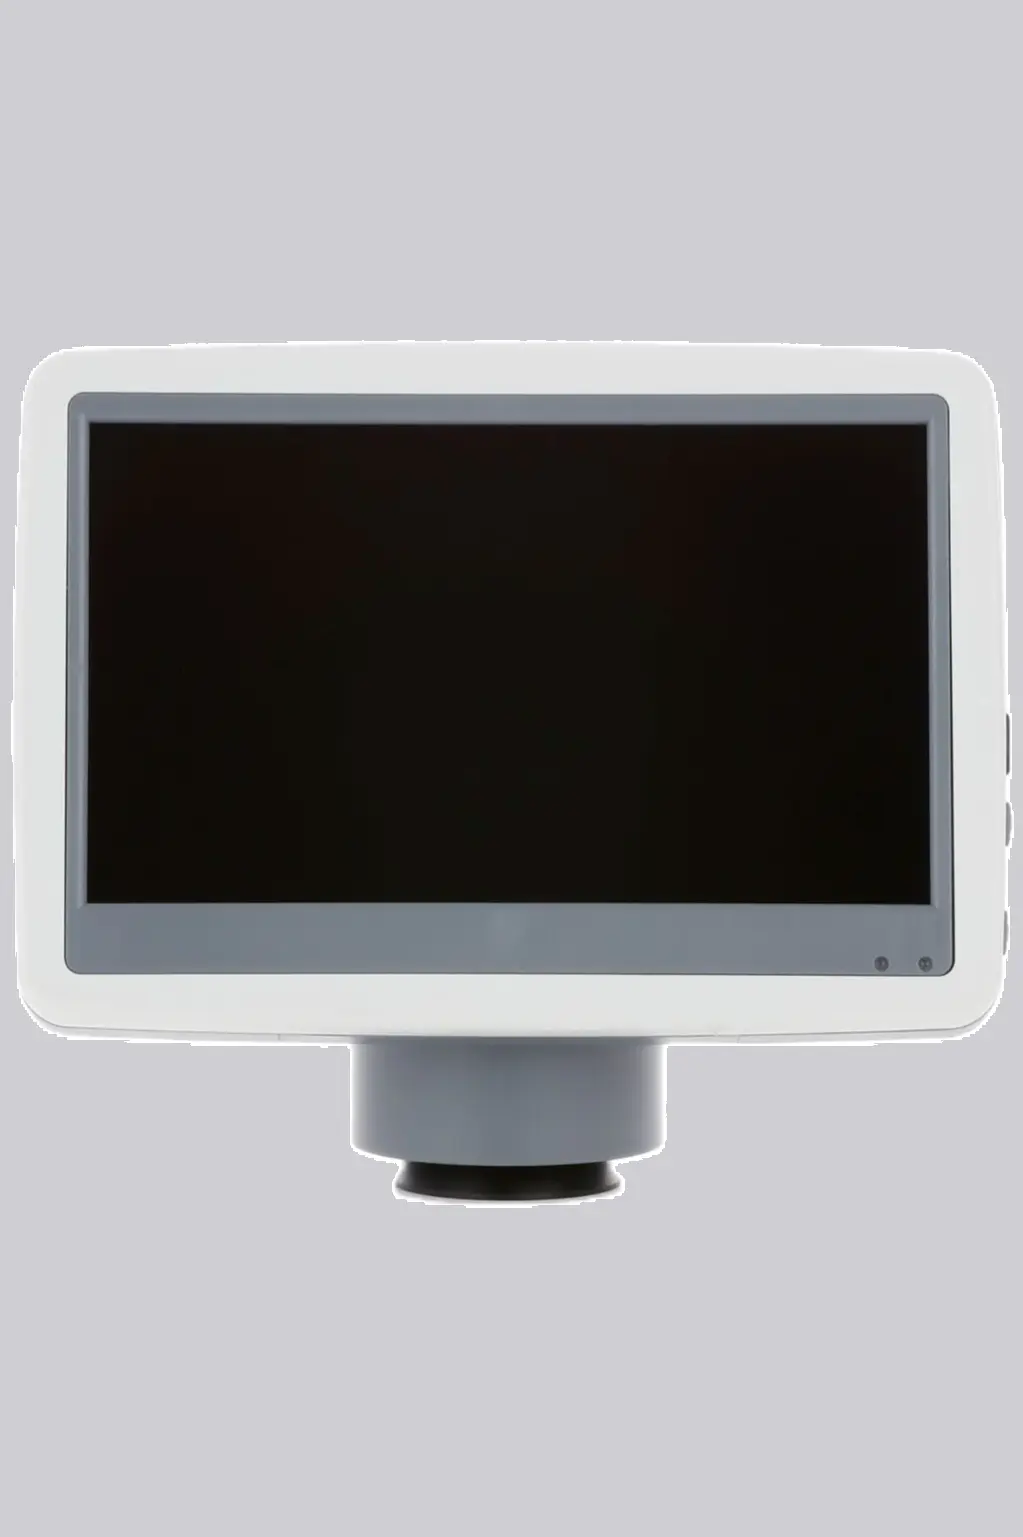
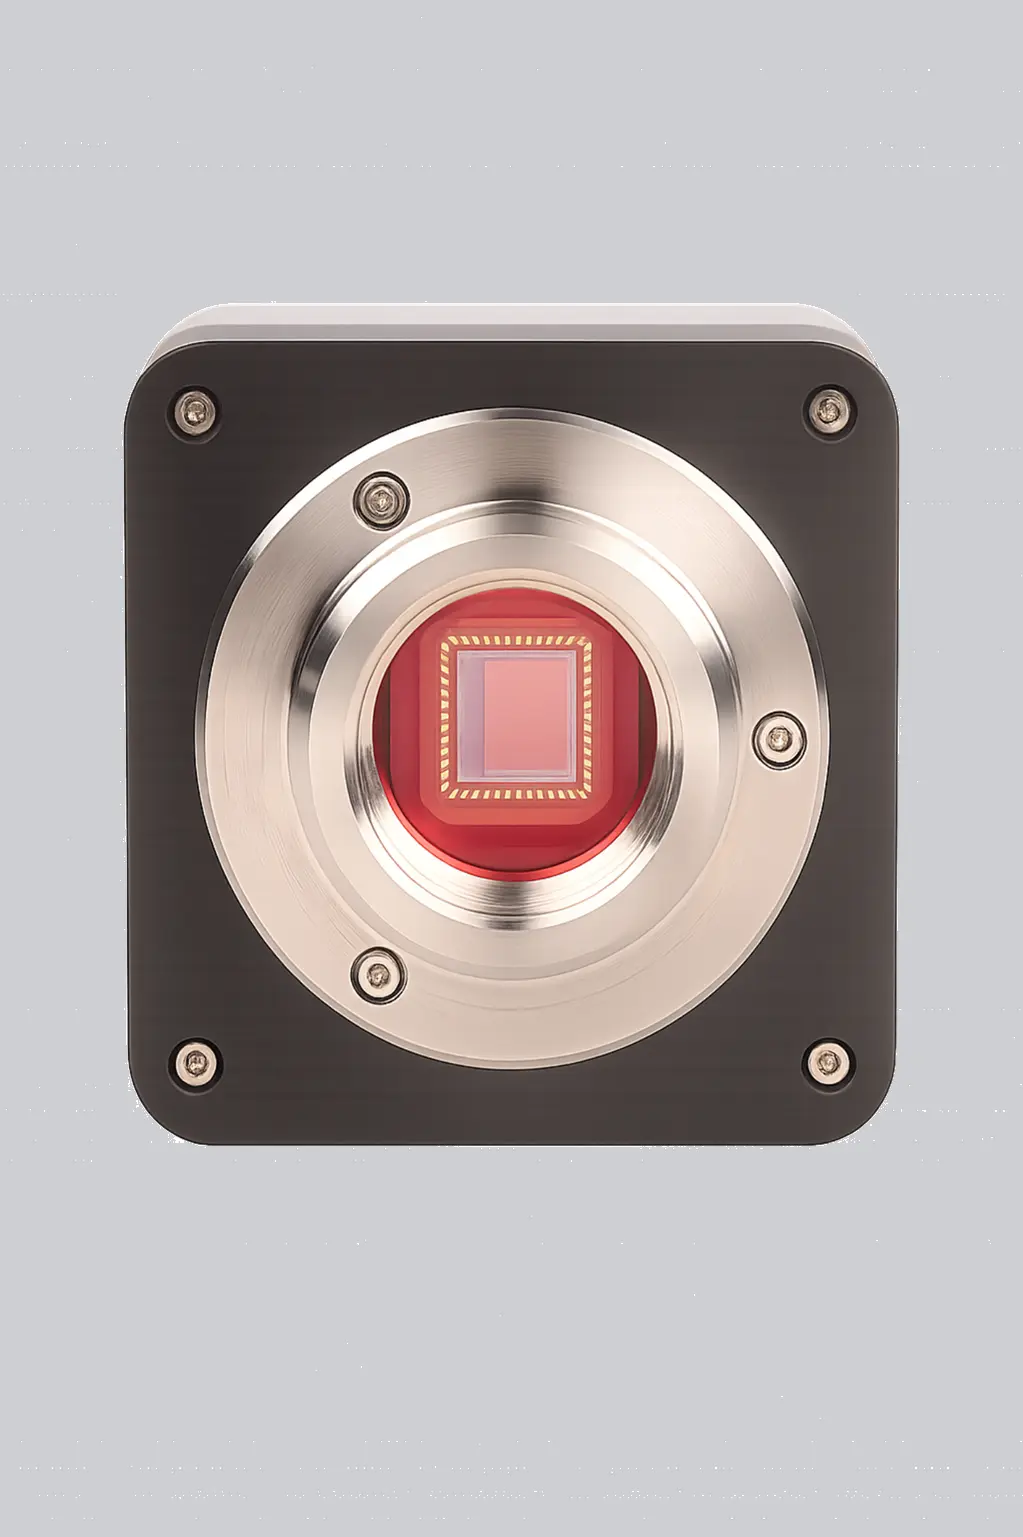
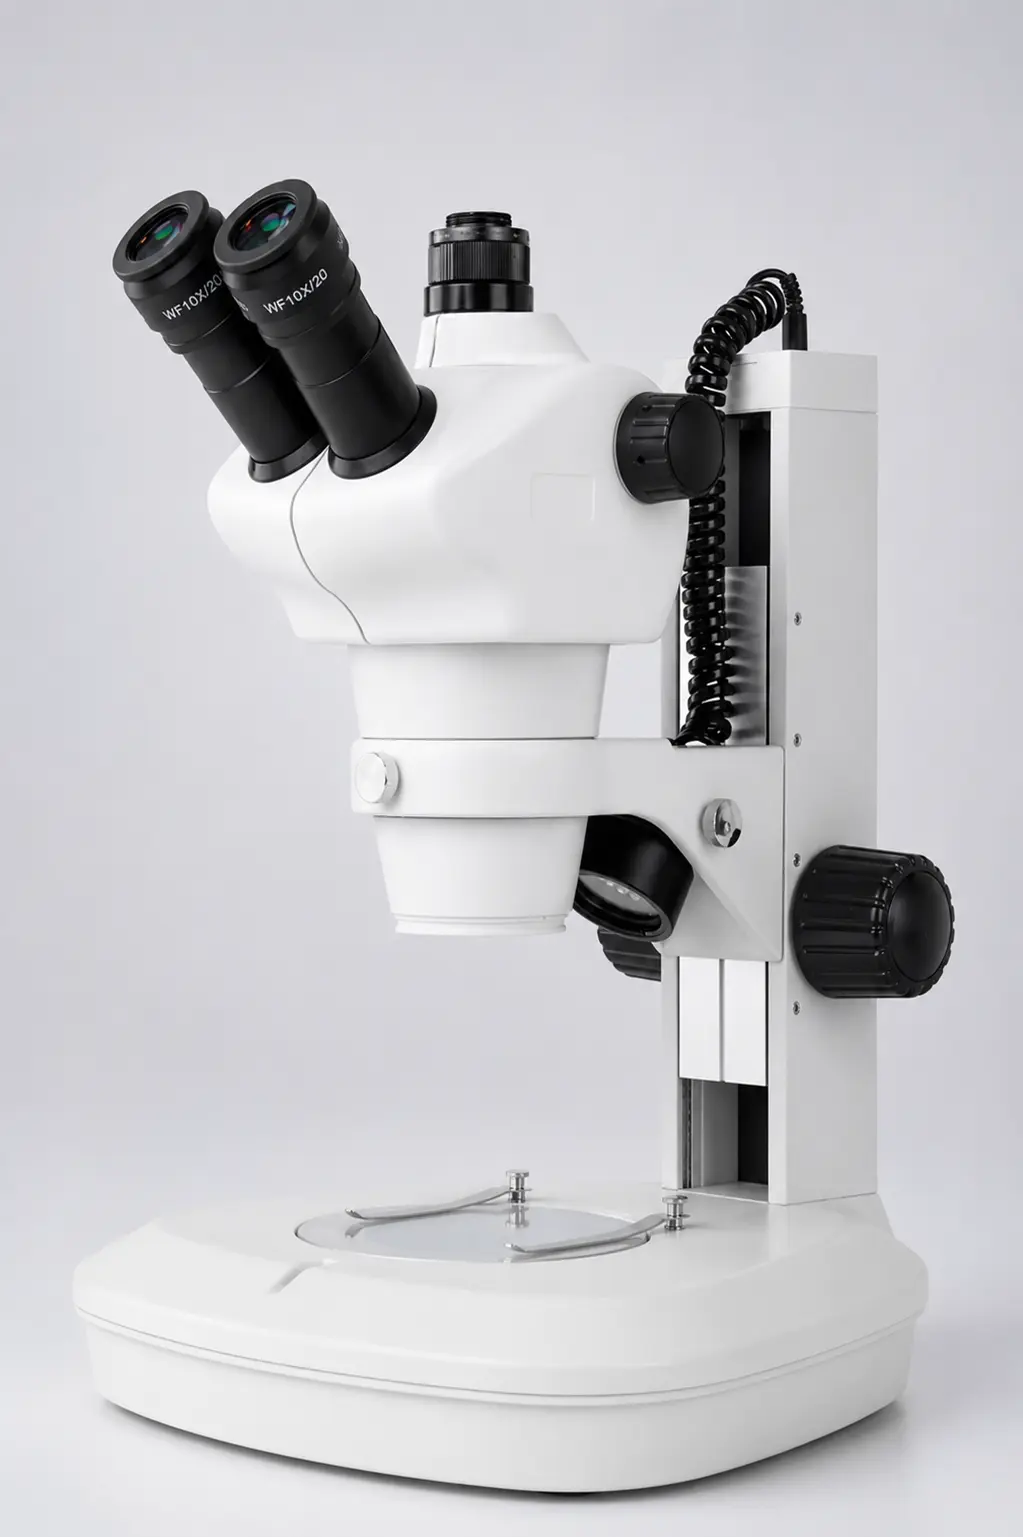
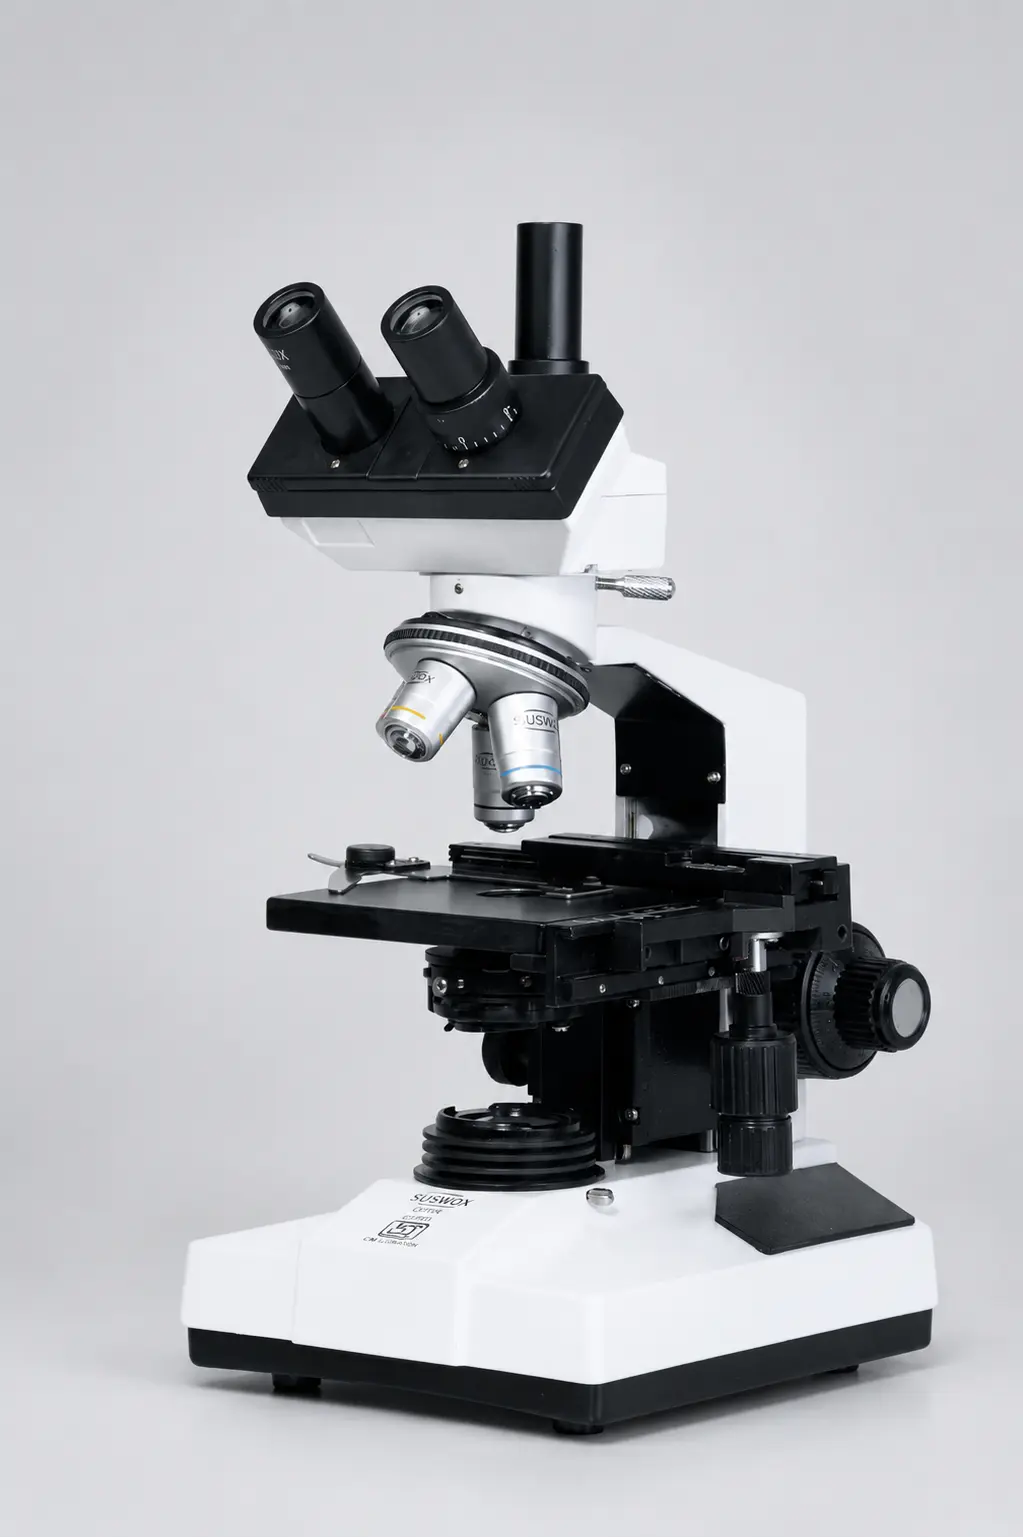
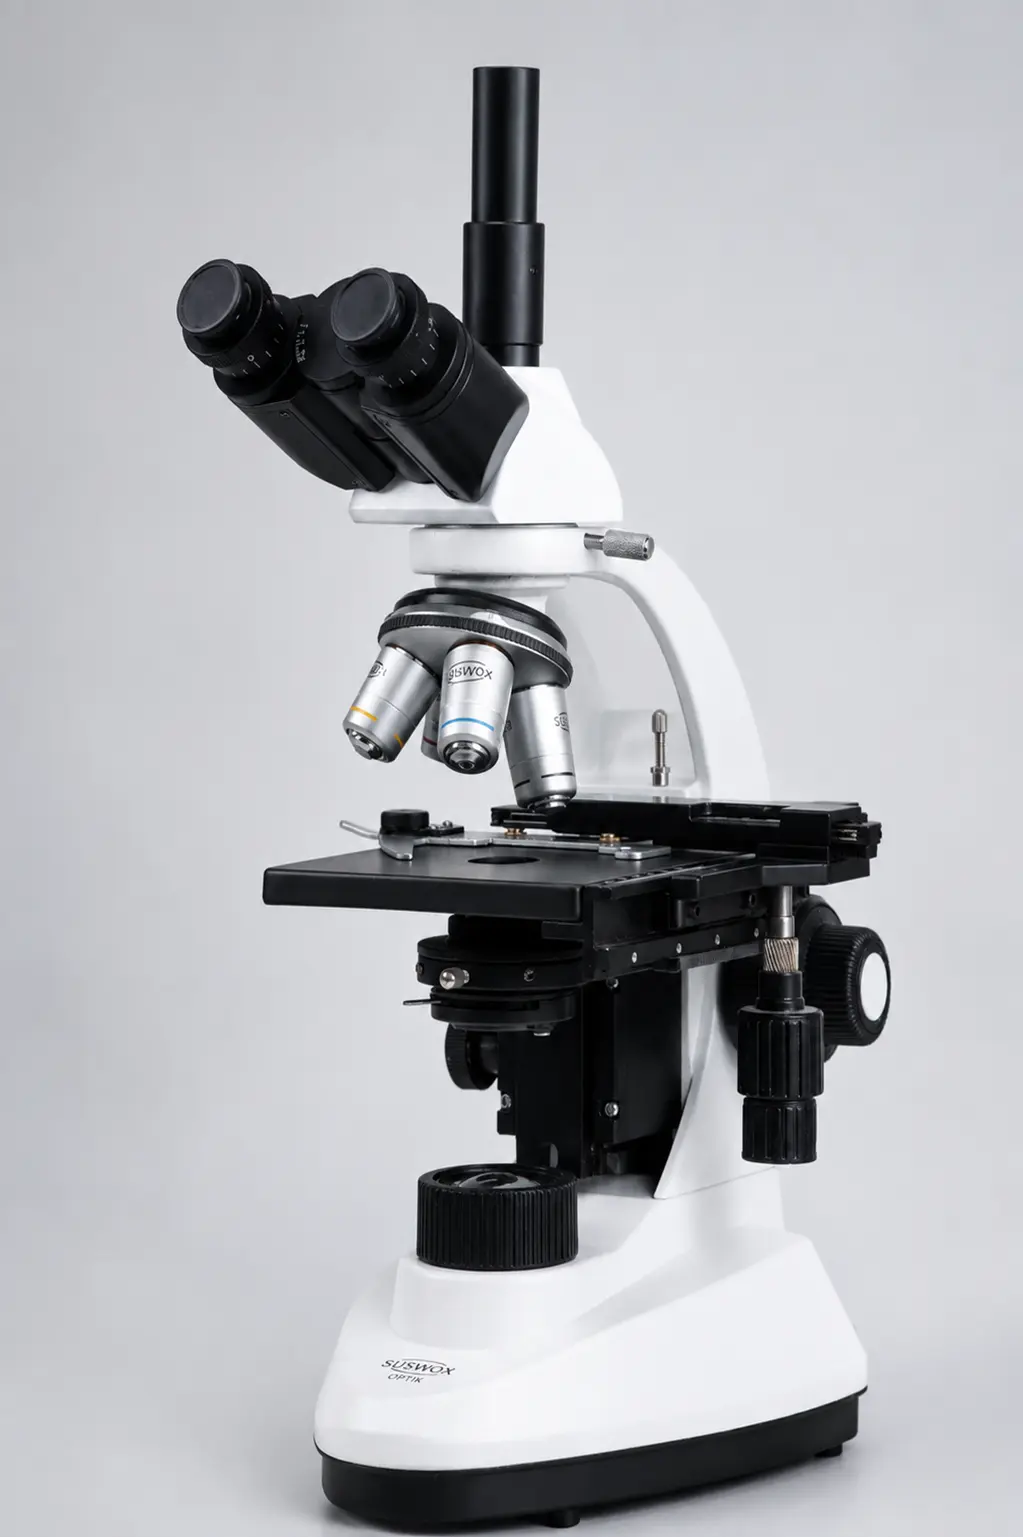
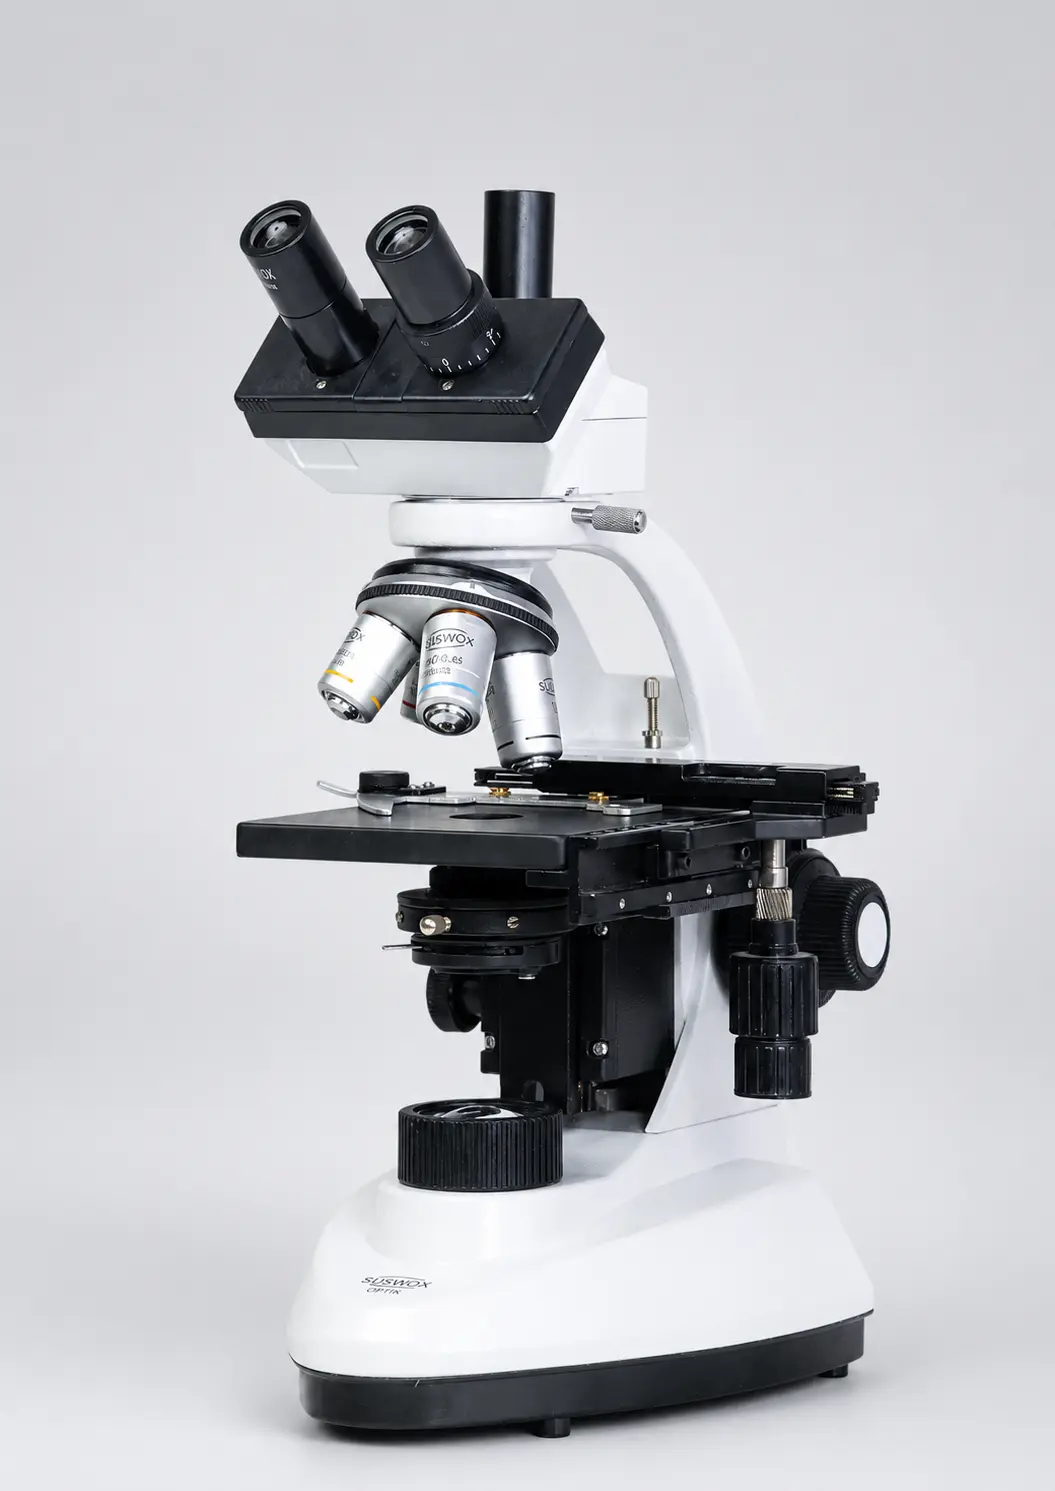
| Trinocular | 2 + one vertical tube | Yes | Teaching, documentation, NABL reports, publication images |
There is one practical thing worth saying here, because it affects real people every day.
If a technician sits at a microscope for four or five hours reading slides, a monocular head is a genuinely bad choice. Keeping one eye squinted shut for hours causes headaches, blurred vision by evening, and long-term eye fatigue. Binocular costs more upfront. It pays for itself in the first year in a busy lab.
We have covered the head styles in more detail in our post on what a binocular microscope is, and the wider categories in our guide to the types of microscopes.
Uses of a Compound Microscope
This is the instrument that carries the daily workload of nearly every laboratory in India.
In medical and pathology labs, it is the primary diagnostic tool. Blood smears for anaemia and malaria. Urine sediment analysis. Stool examination for parasites. Histopathology sections. Gram-stained slides for identifying bacteria. On any given morning in a district hospital lab, most of what happens is a technician and a compound microscope.
In education, it is what students learn cell biology on — onion peel, cheek cells, mitosis in onion root tips, transverse sections of stems and leaves. Practically every CBSE, ICSE, state board and BSc biology practical needs one.
In microbiology and water testing, it is used to check bacterial morphology, count colonies and detect contamination in drinking water samples.
In veterinary clinics, the same work — blood parasites, skin scrapings, faecal floats.
In pharmaceutical and food labs, it checks particle size, crystal form and contamination.
In forensic work, hair, fibre and paper fibre comparison.
In agriculture, seed quality testing, pollen study and plant disease diagnosis.
Different fields, same instrument. Only the slide changes.
Compound Microscope vs Simple Microscope
| Point | Simple Microscope | Compound Microscope |
| Lenses | One convex lens | Two lens systems (objective + eyepiece) |
| Magnification | 5x – 100x | 40x – 1000x |
| Image | Erect and virtual | Inverted and virtual |
| Light source | Usually natural light | Built-in LED or mirror |
| Sample | Any small object | Thin, transparent, mounted on a slide |
| Can it show cells? | Barely | Yes, clearly |
| Can it show bacteria? | No | Yes, at 1000x with oil |
| Price in India | ₹200 – ₹3,000 | ₹8,000 – ₹1,50,000 |
| Example | Hand lens, jeweller’s loupe | Lab and student microscopes |
Short version: a simple microscope makes things look bigger. A compound microscope makes things look bigger and reveals structure that was never visible at all.
How to Use a Compound Microscope Correctly
Most damaged microscopes in Indian school labs were not damaged by accident. They were damaged by the same three mistakes, repeated for years.
Step by step:
- Carry it with one hand on the arm and one under the base. Always. Never by the head or the stage.
- Place it on a firm, level table away from the edge.
- Rotate the 4x objective into position before doing anything else.
- Switch on the LED, or angle the mirror towards a light source.
- Put the slide on the stage, cover-slip up, and secure the clips.
- Adjust the condenser and open the iris diaphragm to get even brightness.
- Focus with the coarse knob on 4x until you see something.
- Centre what you want, then switch to 10x, then 40x.
- From 40x onwards, use only the fine focus knob.
- For 100x, place one drop of immersion oil directly on the cover slip, then rotate the oil objective in.
- When finished: clean the oil off, lower the stage, return to 4x, switch off, cover it.
The three mistakes that ruin objectives
Using coarse focus on 40x or 100x. The working distance at high power is a fraction of a millimetre. One firm turn of the coarse knob and the objective drives straight into the slide — cracked cover slip, scratched front lens, expensive repair.
Leaving oil on the lens. It dries, hardens, and clouds the objective permanently.
Storing it in a humid cupboard without a cover. This one is specifically an Indian problem, and it is worse than most people realise. Fungus grows on the internal glass surfaces during monsoon, spreads across the coating, and etches it. Once a fungal colony is established inside an objective, the lens is usually finished.
Keep a dust cover on it. Keep silica gel in the cabinet. Ask for anti-fungal treated optics at the time of purchase, especially if the lab is in a coastal or high-humidity region.
Frequently Asked Questions
What is a compound microscope in simple words?
A compound microscope is a microscope that uses two lenses instead of one to magnify tiny objects. The objective lens near the sample magnifies it first, and the eyepiece lens magnifies that image again, giving a total magnification of up to 1000x — enough to see cells and bacteria clearly.
What is the maximum magnification of a compound microscope?
The practical maximum is around 1000x to 1500x. Beyond that you get empty magnification, where the image becomes larger but no additional detail appears, because visible light cannot resolve structures closer than about 0.2 micrometres apart.
Why is the image in a compound microscope inverted?
Because the objective lens forms a real image, and real images formed by convex lenses are always inverted. The eyepiece then magnifies that already-inverted image, so what you see is upside down and reversed left to right compared to the actual specimen.
What are the four objective lenses on a compound microscope?
The standard set is 4x (scanning), 10x (low power), 40x (high power) and 100x (oil immersion). With a 10x eyepiece these give total magnifications of 40x, 100x, 400x and 1000x respectively.
Can a compound microscope see bacteria?
Yes. Bacteria are visible at 1000x using the 100x oil immersion objective, usually after staining — Gram staining being the most common method. Viruses, however, are far too small for any light microscope and need an electron microscope.
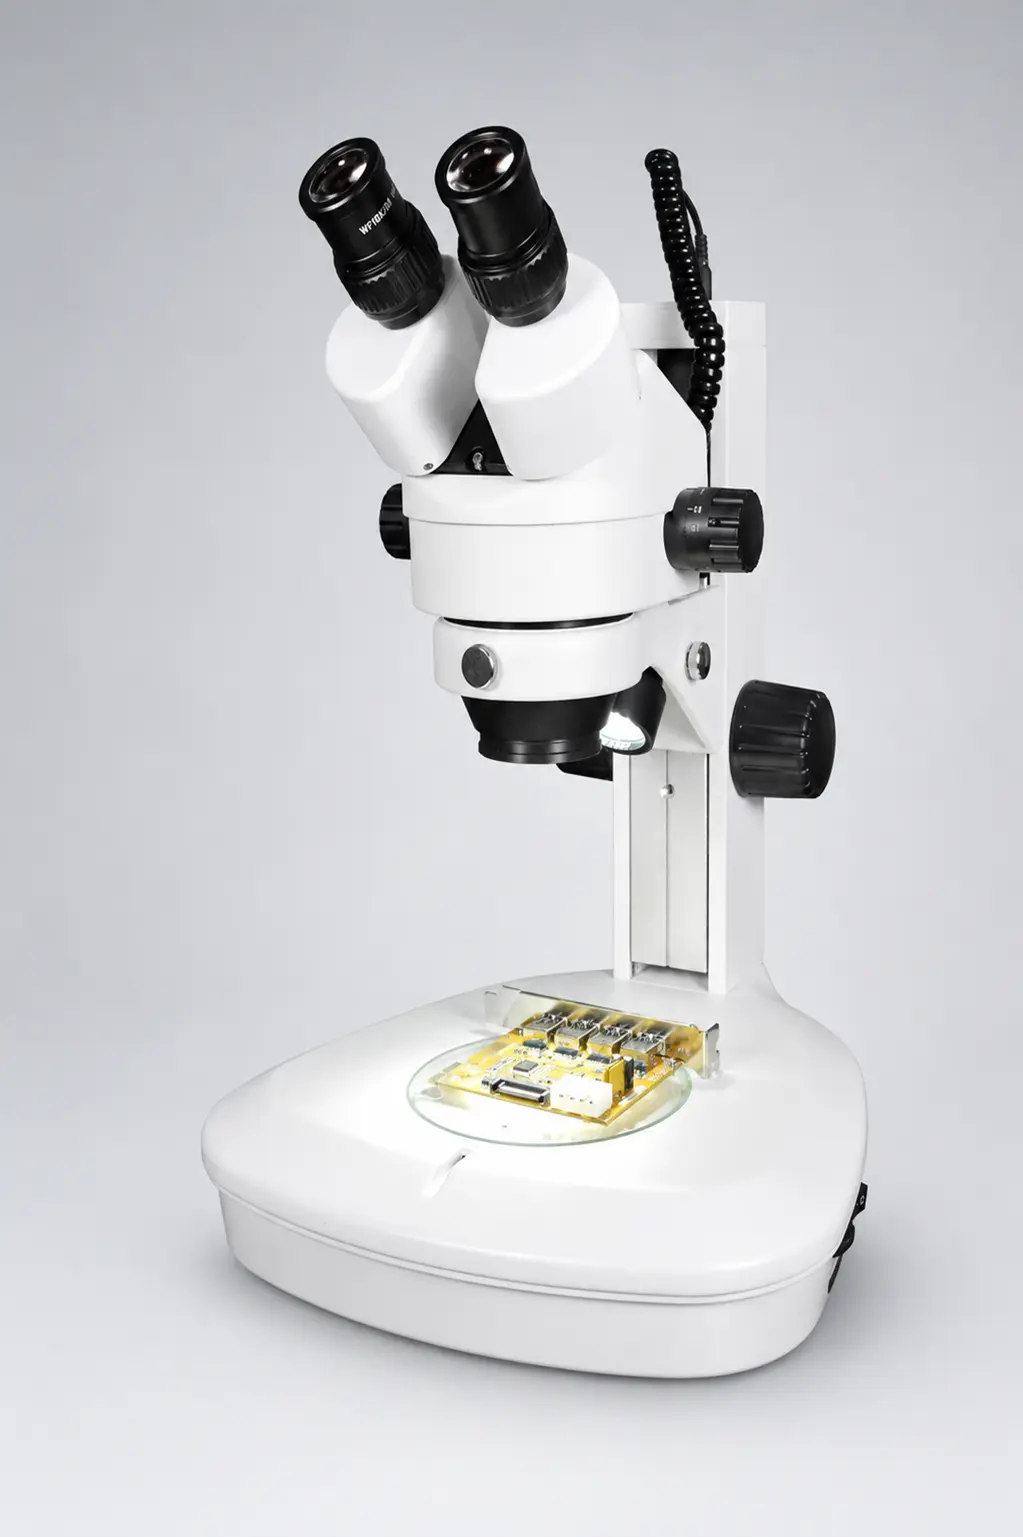
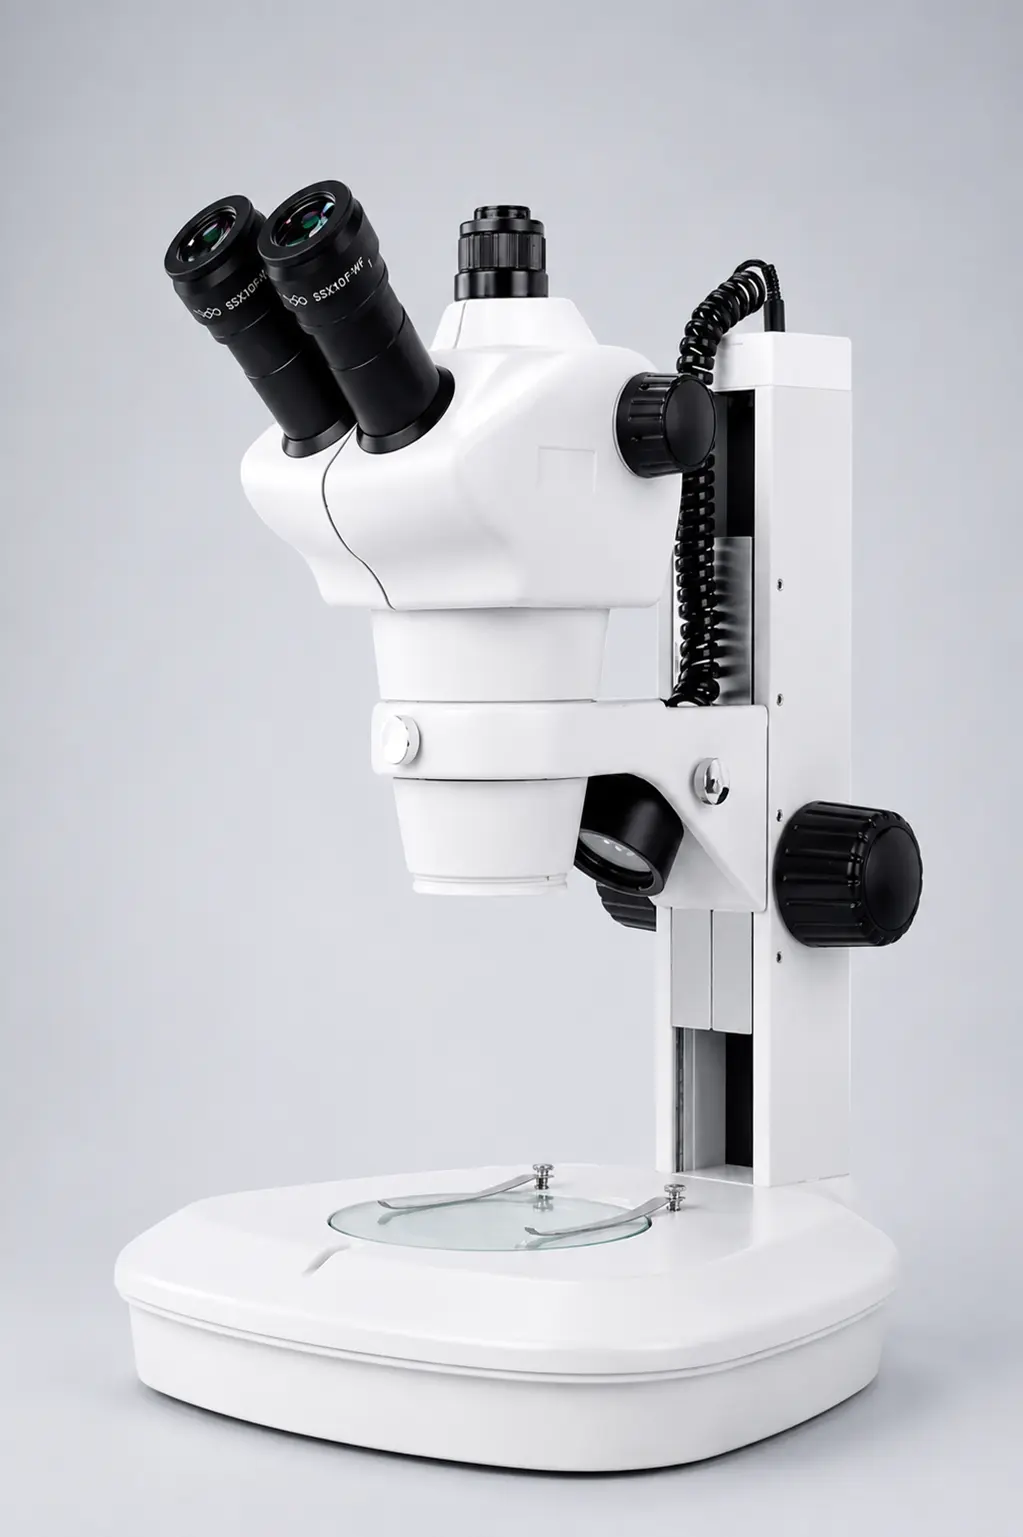
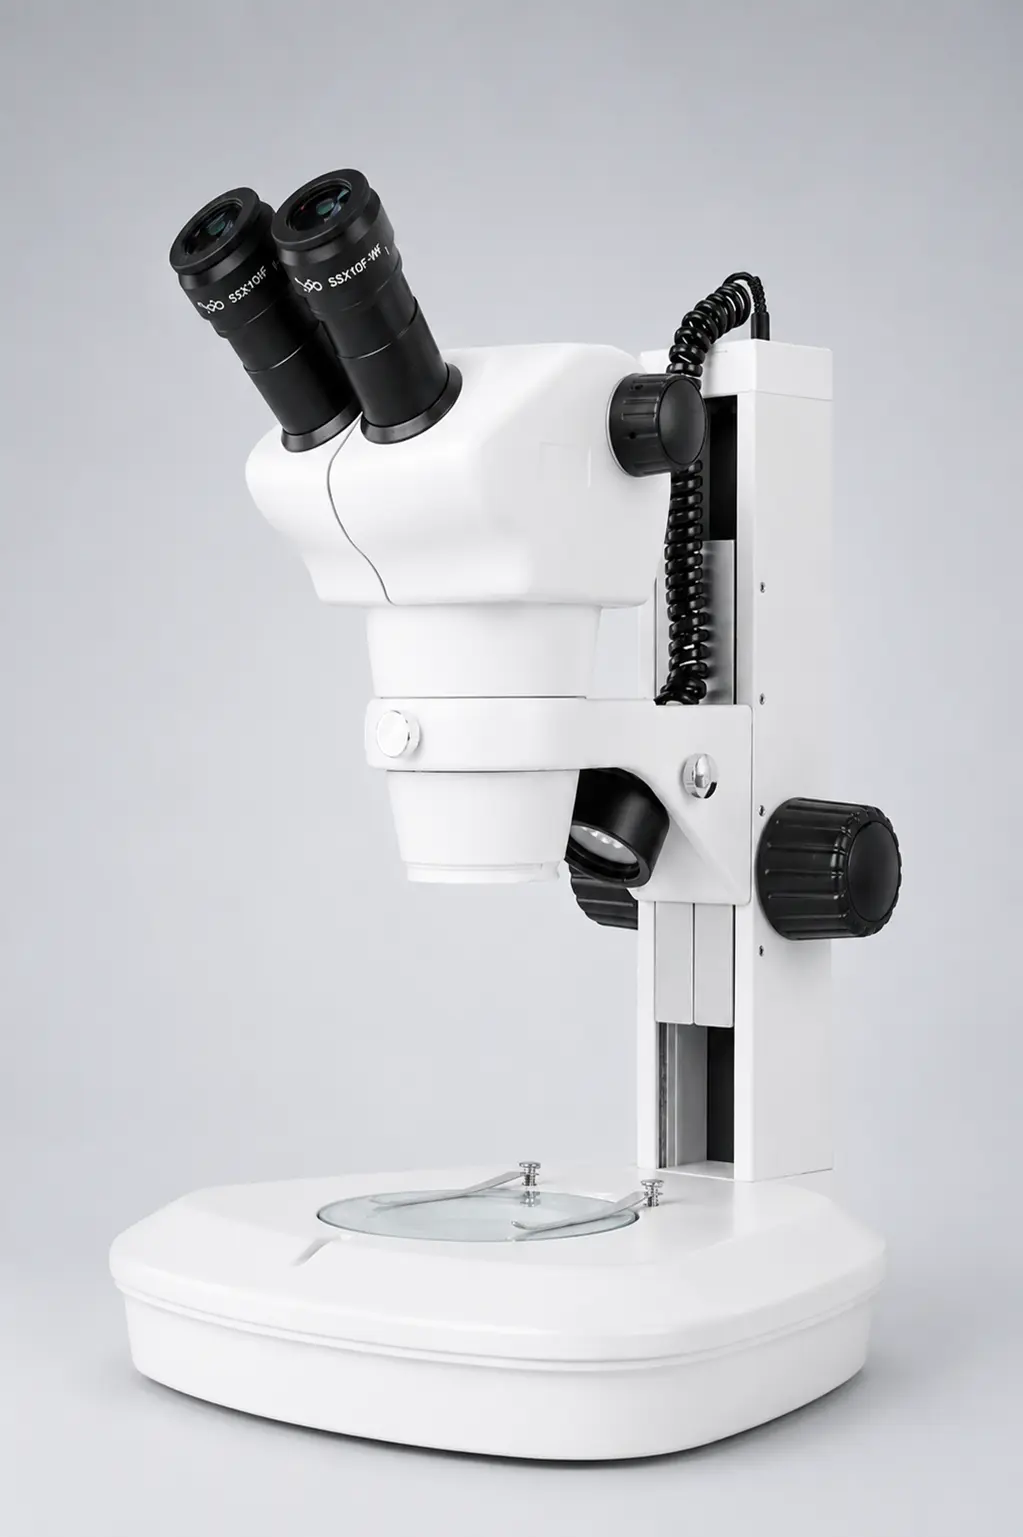
What is the difference between a compound microscope and a stereo microscope?
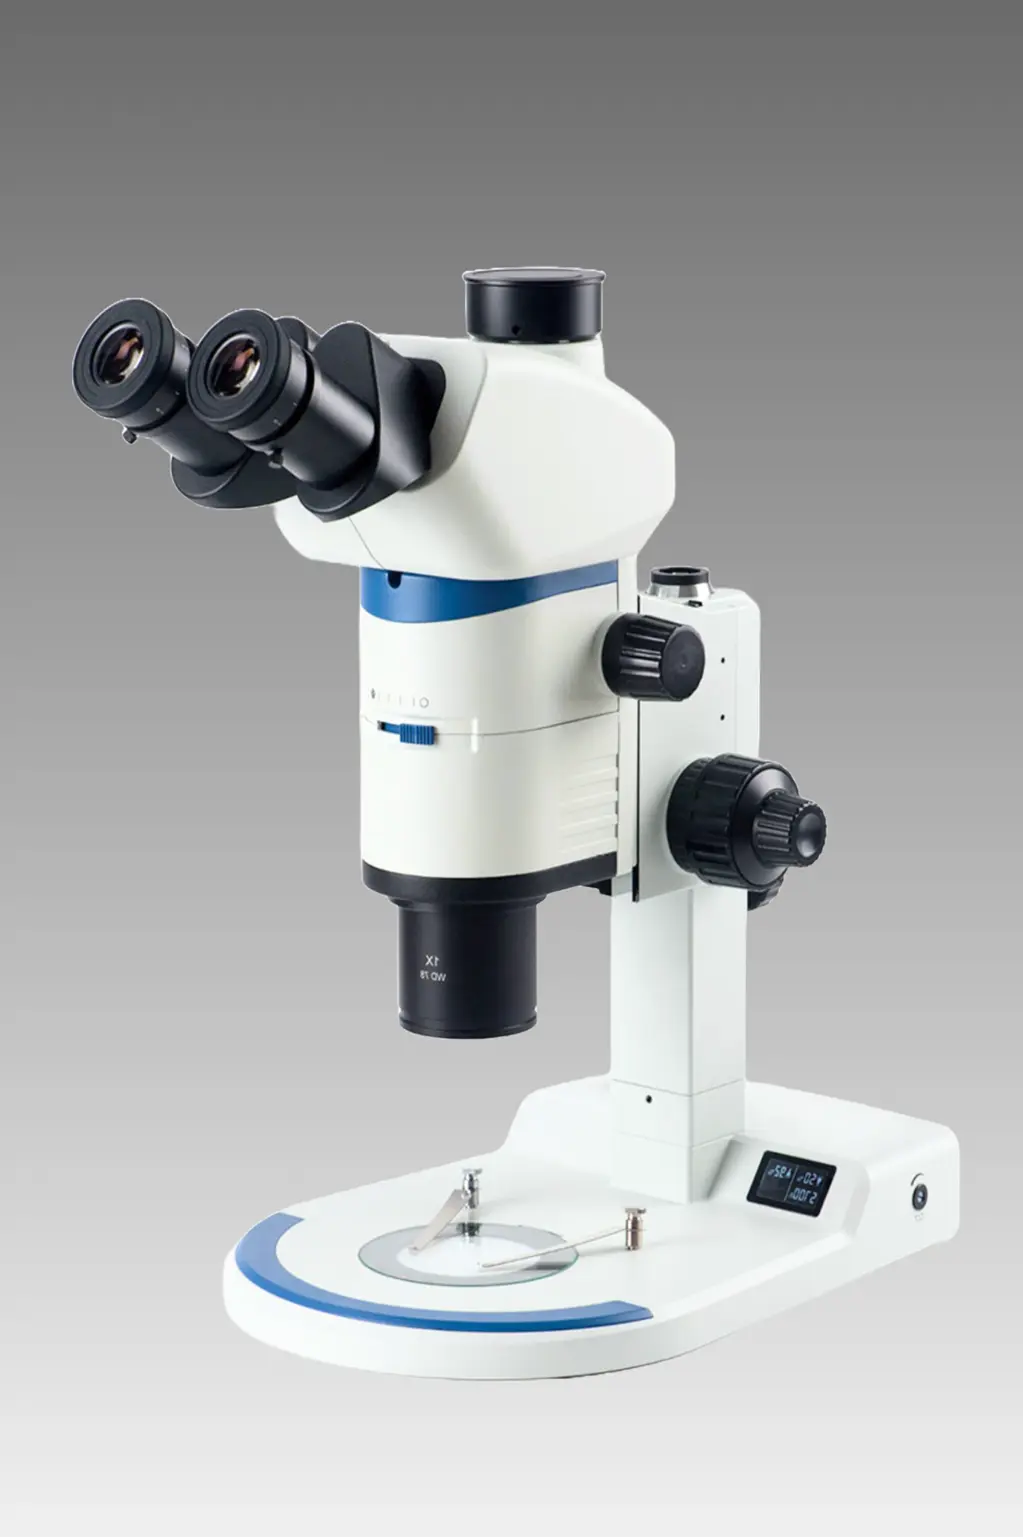
A compound microscope views thin transparent samples on a slide at high magnification and shows a flat, inverted image. A stereo microscope views solid opaque objects at low magnification and shows a three-dimensional, upright image with room to work underneath with tools.
What is the price of a compound microscope in India?
A basic student compound microscope starts around ₹8,000. Binocular laboratory models generally run between ₹15,000 and ₹45,000, and research-grade trinocular microscopes with plan achromatic optics go from ₹60,000 up to ₹1,50,000 depending on the objectives and illumination.
Which compound microscope is best for a pathology lab?
A binocular or trinocular model with 4x, 10x, 40x and 100x oil immersion achromatic objectives, LED illumination, an Abbe condenser with iris diaphragm, and a mechanical stage. Trinocular is worth the extra cost if images have to be recorded for reports or audits.
Buying One? A Word on Where It Comes From
There is a real difference between a microscope that was manufactured and one that was assembled from imported parts and given a sticker.
Suswox has been building optical microscopes at Ambala, Haryana since 1973 — the town has been India’s scientific instruments hub for decades. The compound microscope range runs from the SK student series through the SC-300, SKC and CXL laboratory series, in monocular, binocular and trinocular heads, and it is in daily use at AIIMS Bathinda, AIIMS Nagpur, AIIMS Bilaspur, BHU, Kurukshetra University, MDU Rohtak and the Haffkine Institute.
Buying direct from a manufacturer means three practical things: no trading margin on the price, spare parts available for the working life of the instrument, and the ability to specify your own configuration — objectives, illumination, head type and stage — instead of taking whatever is in stock.
For schools and colleges buying in bulk, that last point usually decides it. Eleven identical microscopes with matching optics and one service contract is something a factory can do and a reseller generally cannot.
Suswox — Sudheer Scientific Works 1265 Bengali Mohalla, Ambala (HR), India 133001 +91 8727015757 | +91 9416025615 sales@suswox.com
Browse laboratory microscopes · Student microscopes · Request a quote
Wrapping Up
A compound microscope is two lenses working in sequence — that is genuinely all it is. But that one design decision, four hundred years ago, is why we know cells exist, why we can diagnose malaria from a drop of blood, and why a fifteen-year-old in a school lab can look at a piece of onion and see the thing life is actually built from.
Learn the parts. Focus on low power first. Never touch the coarse knob at 40x.
The rest comes with practice.