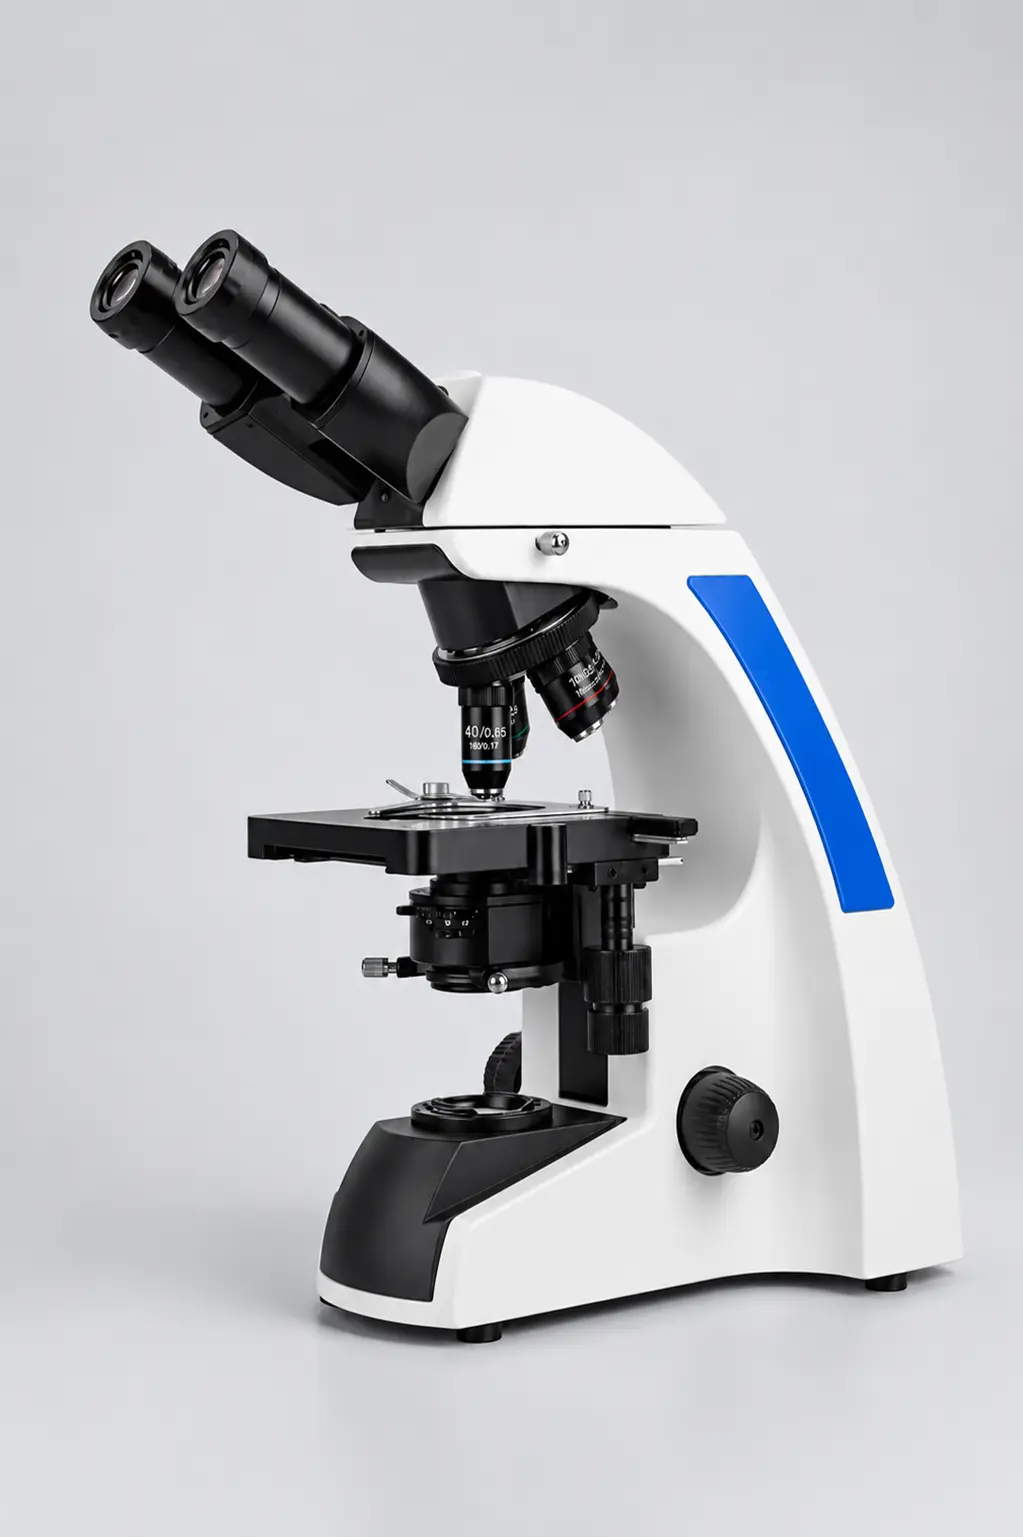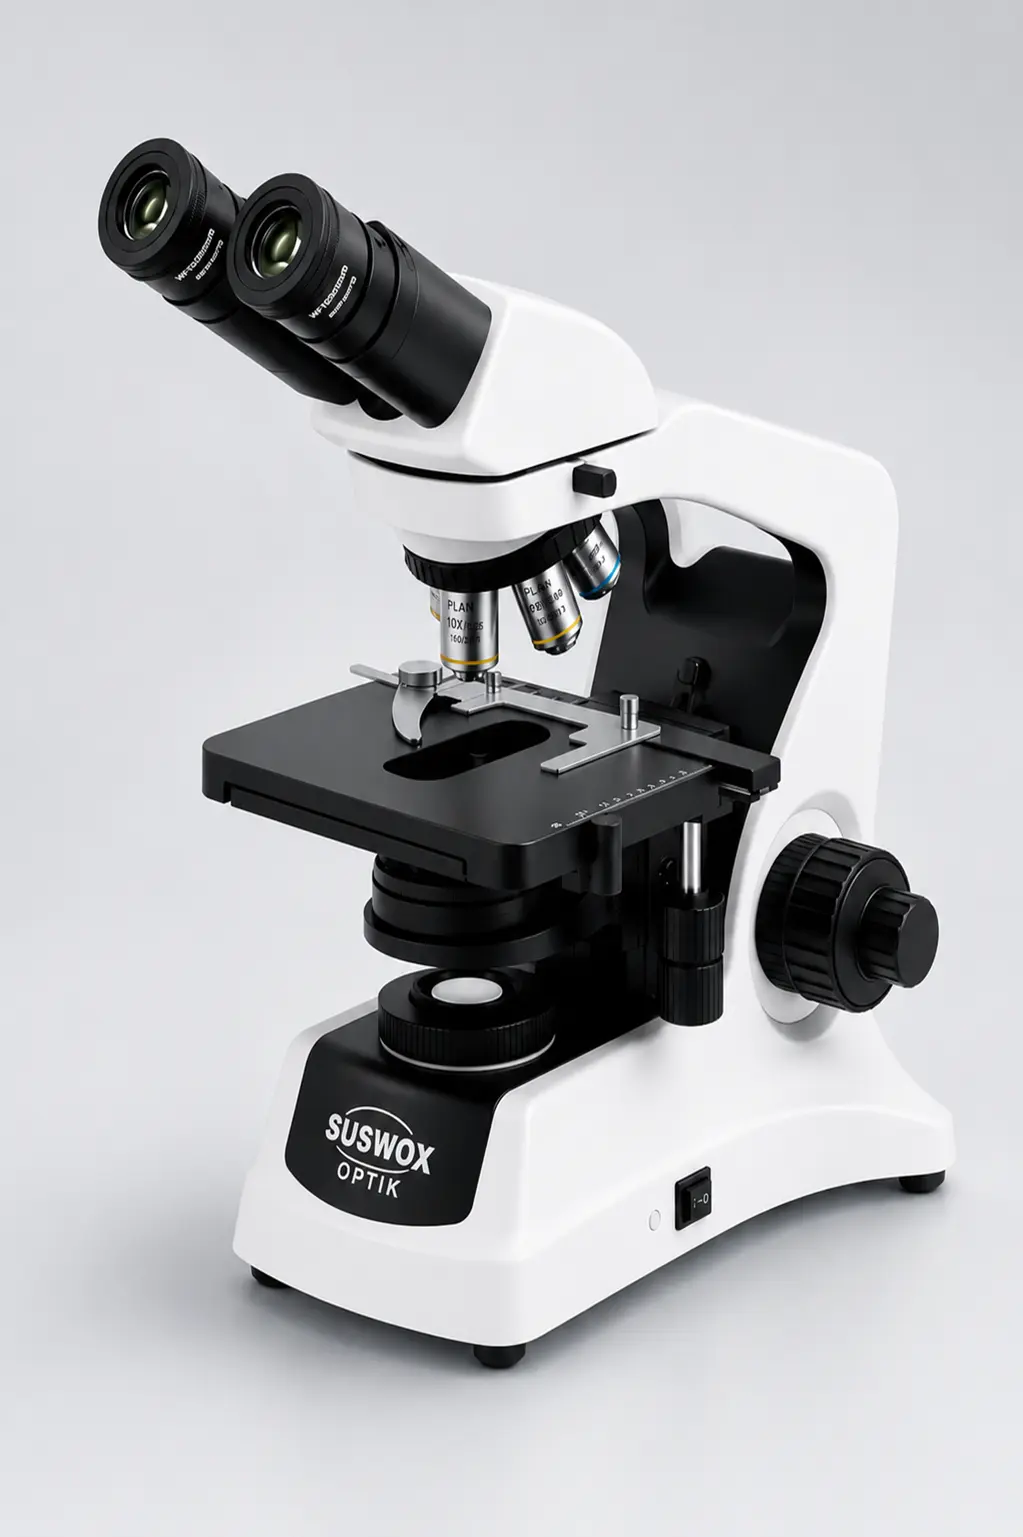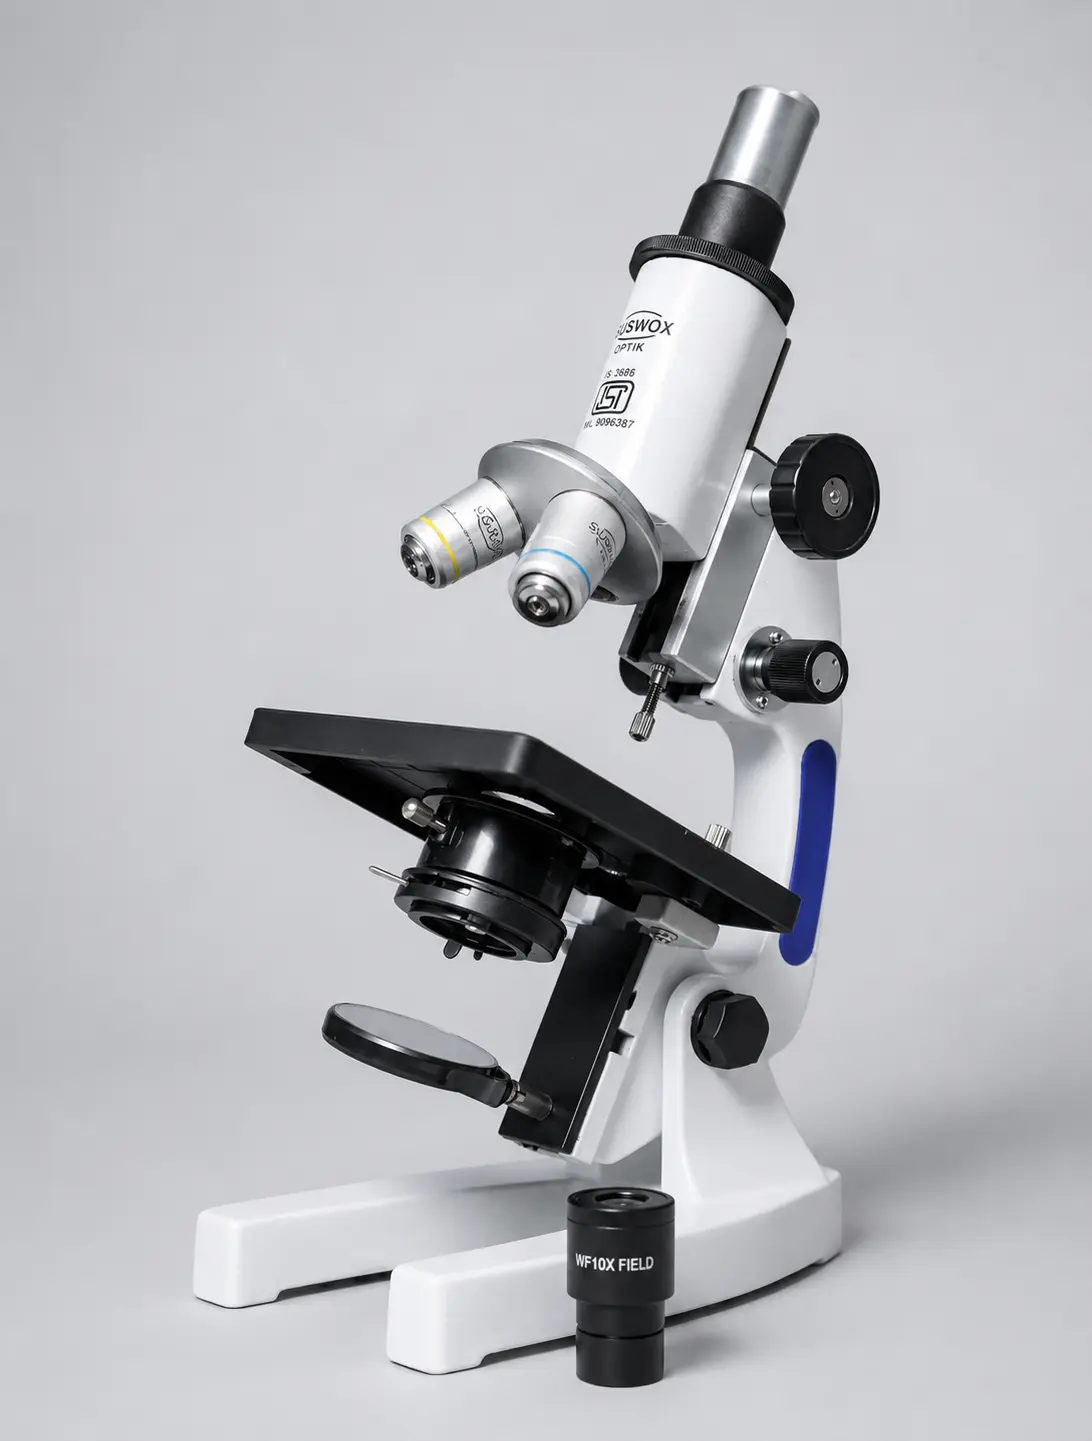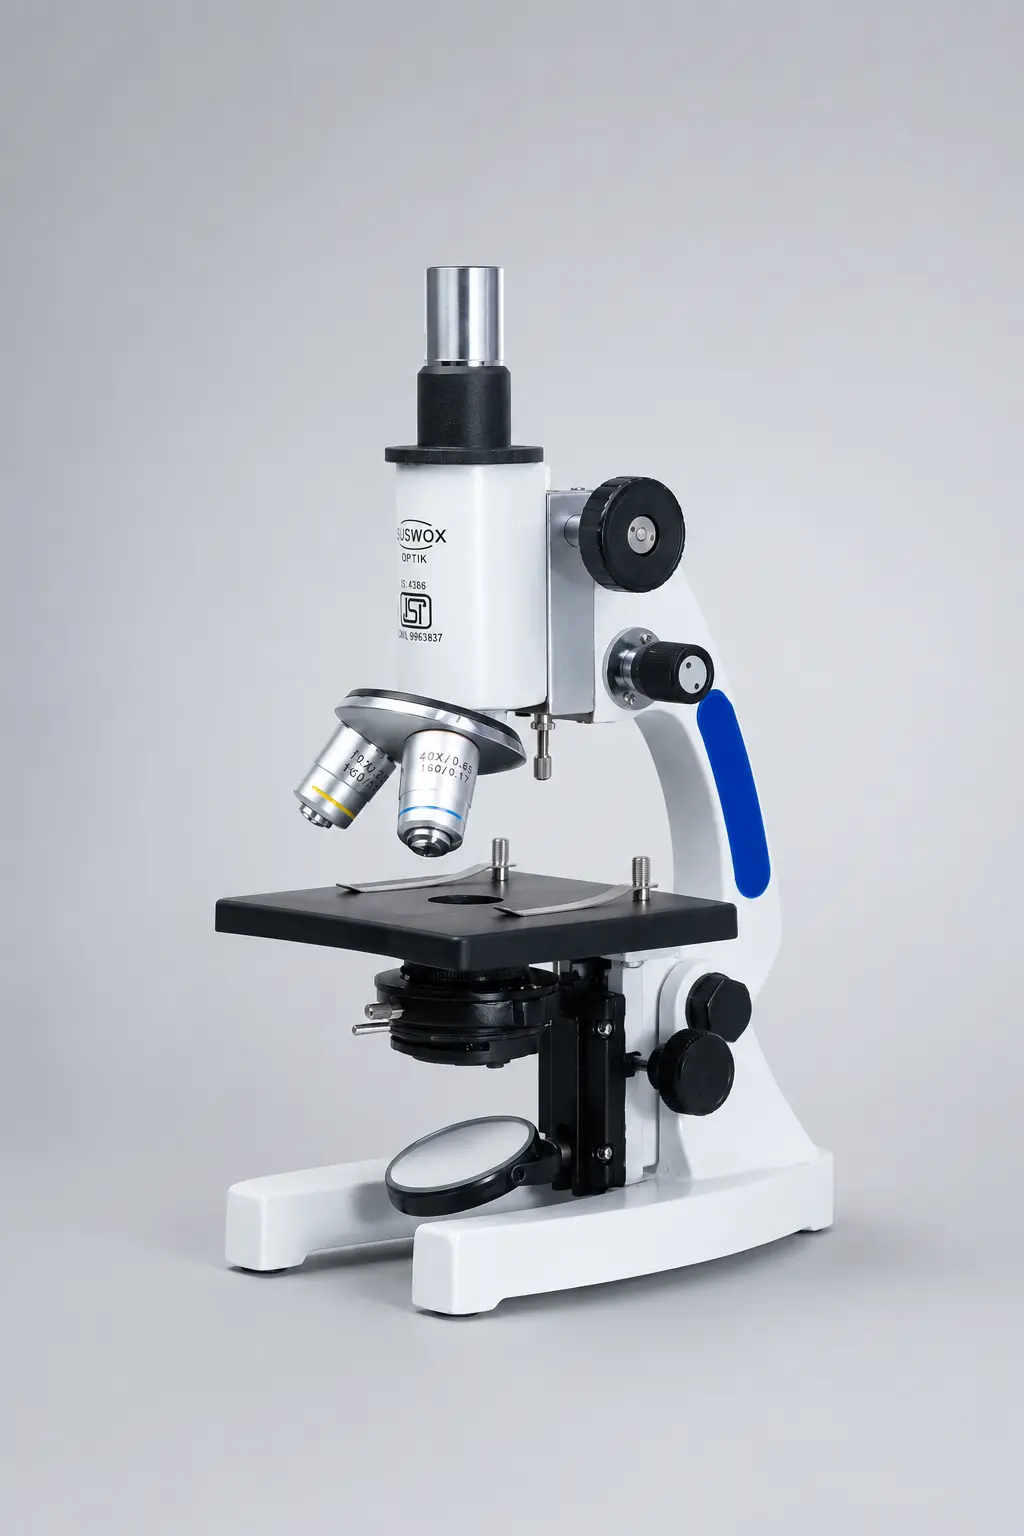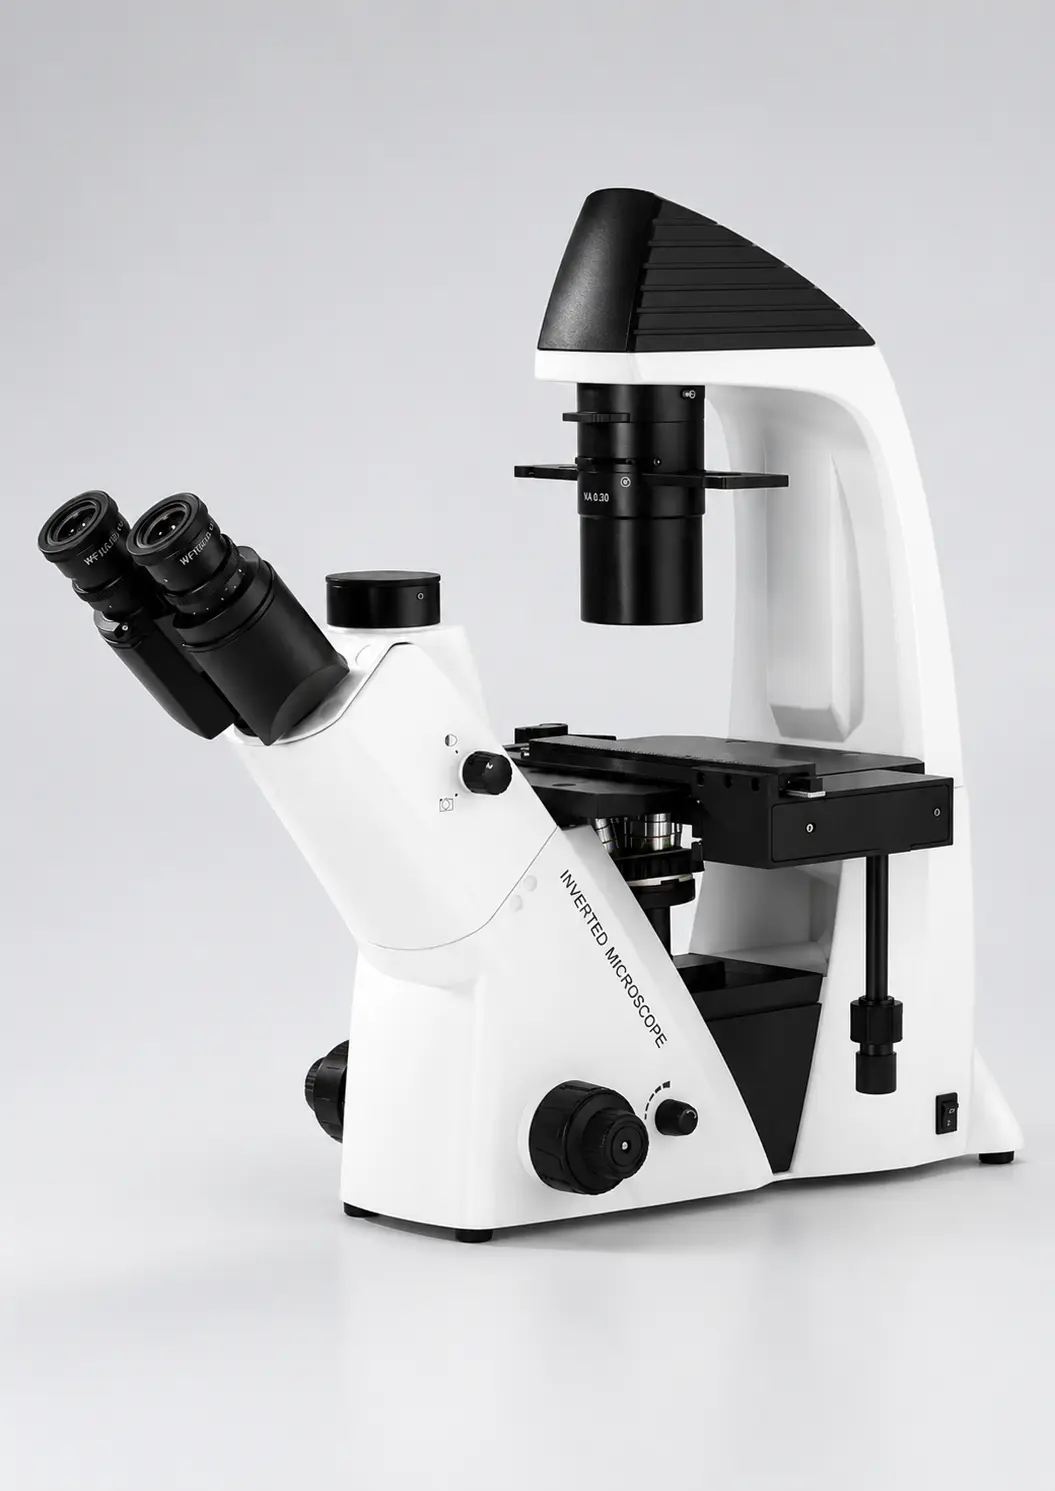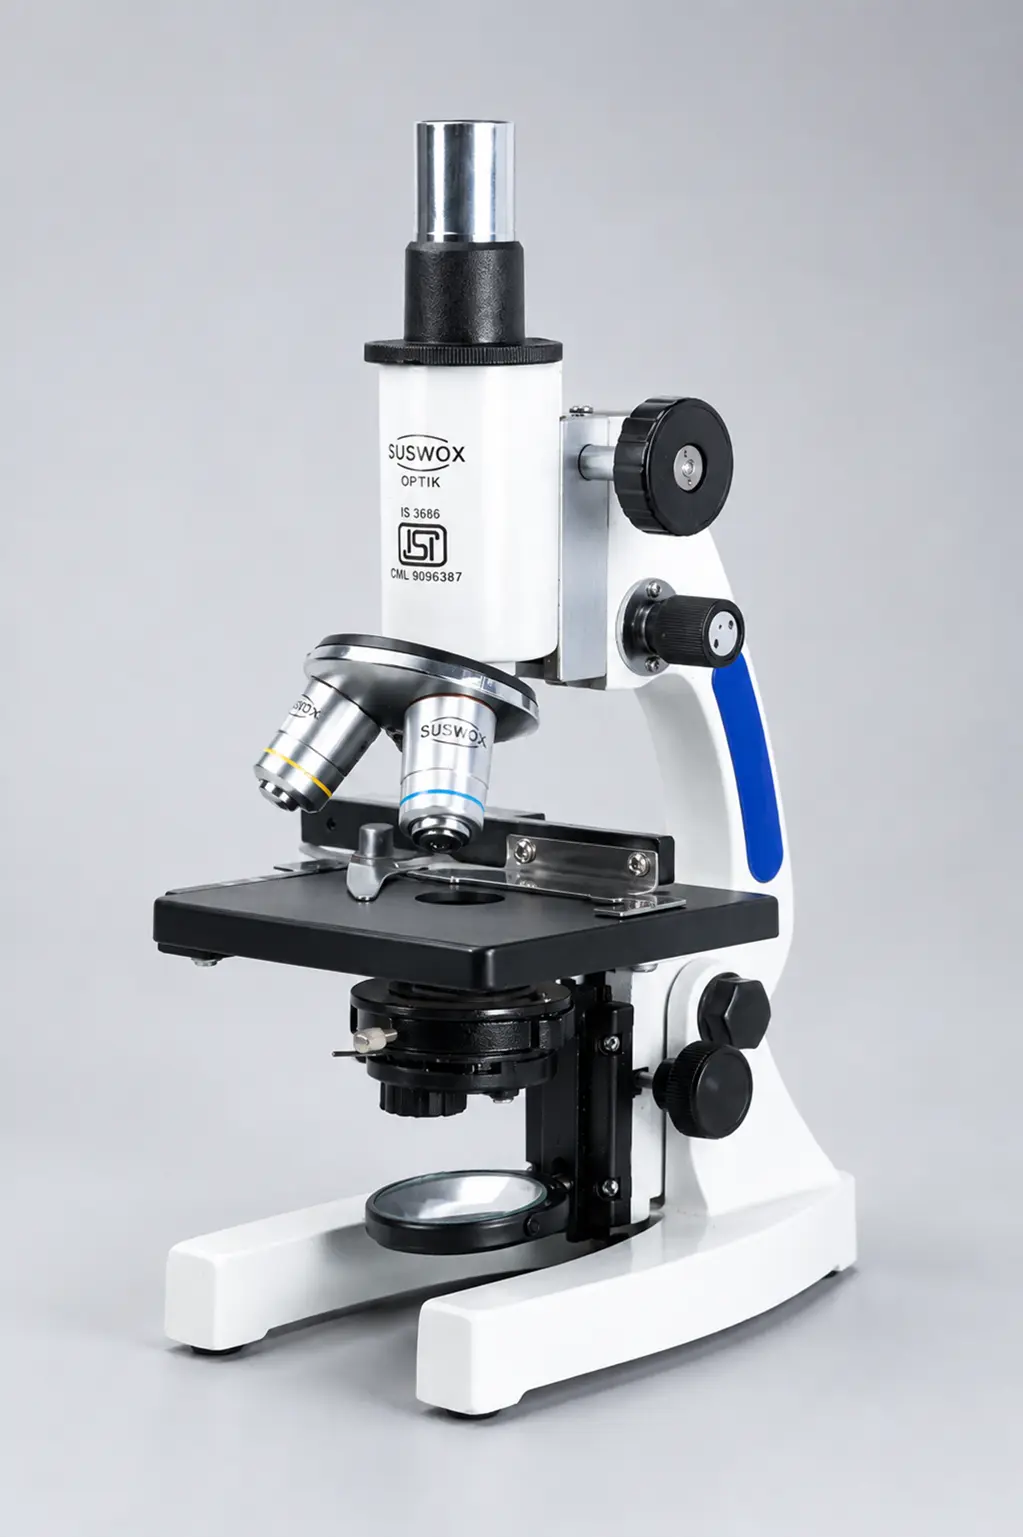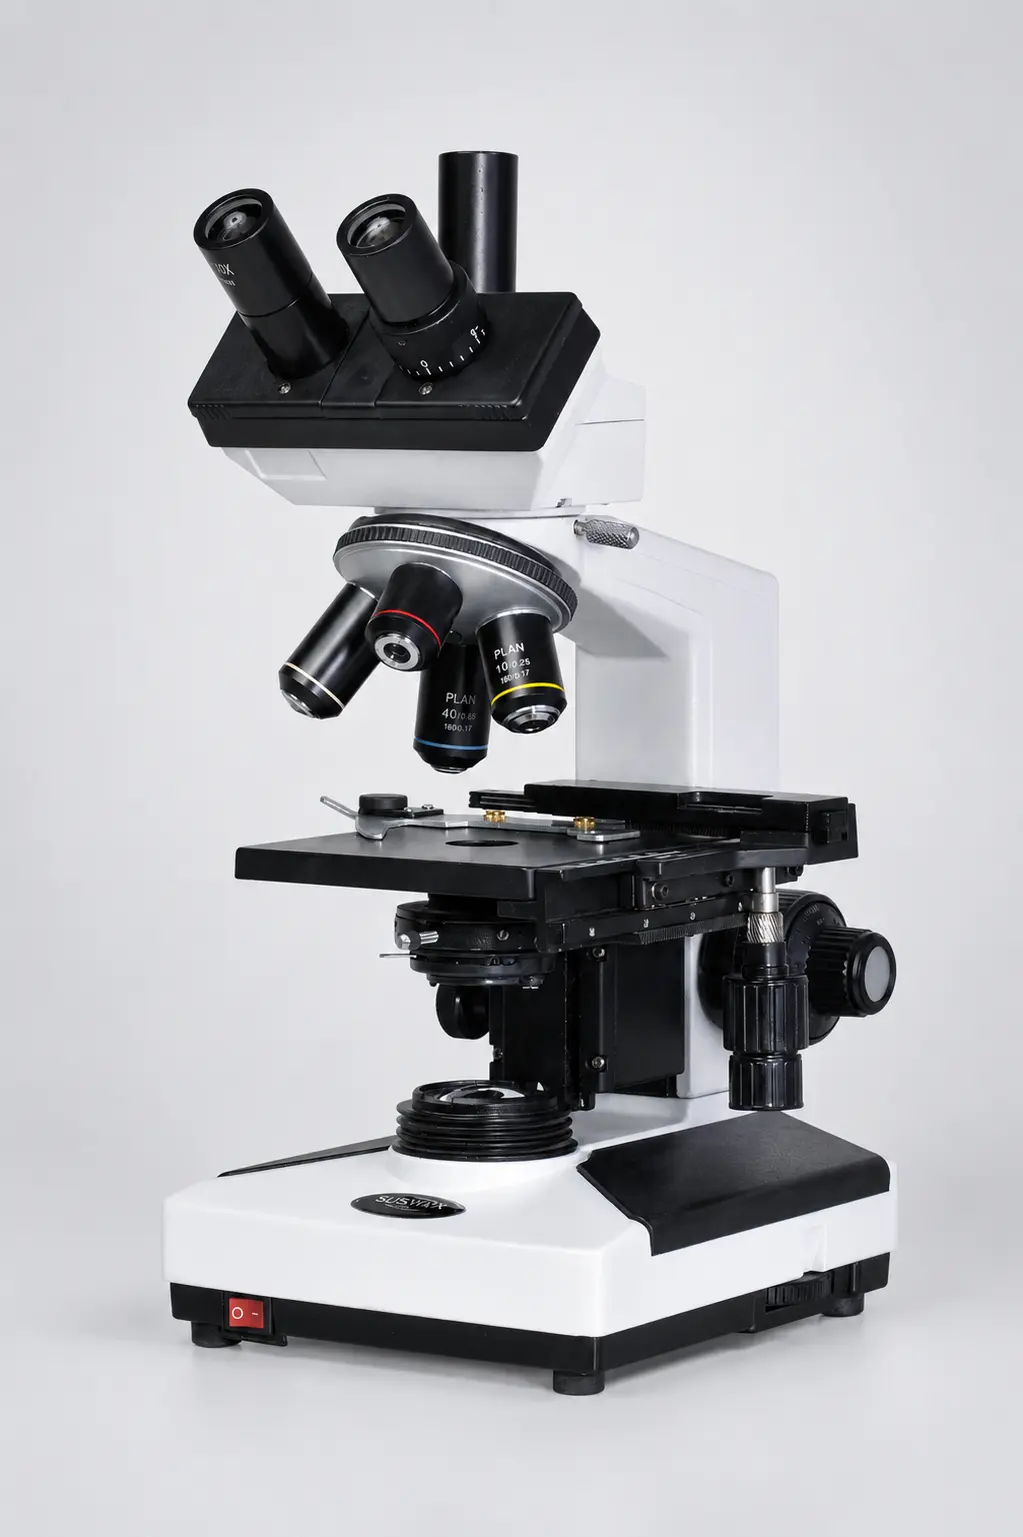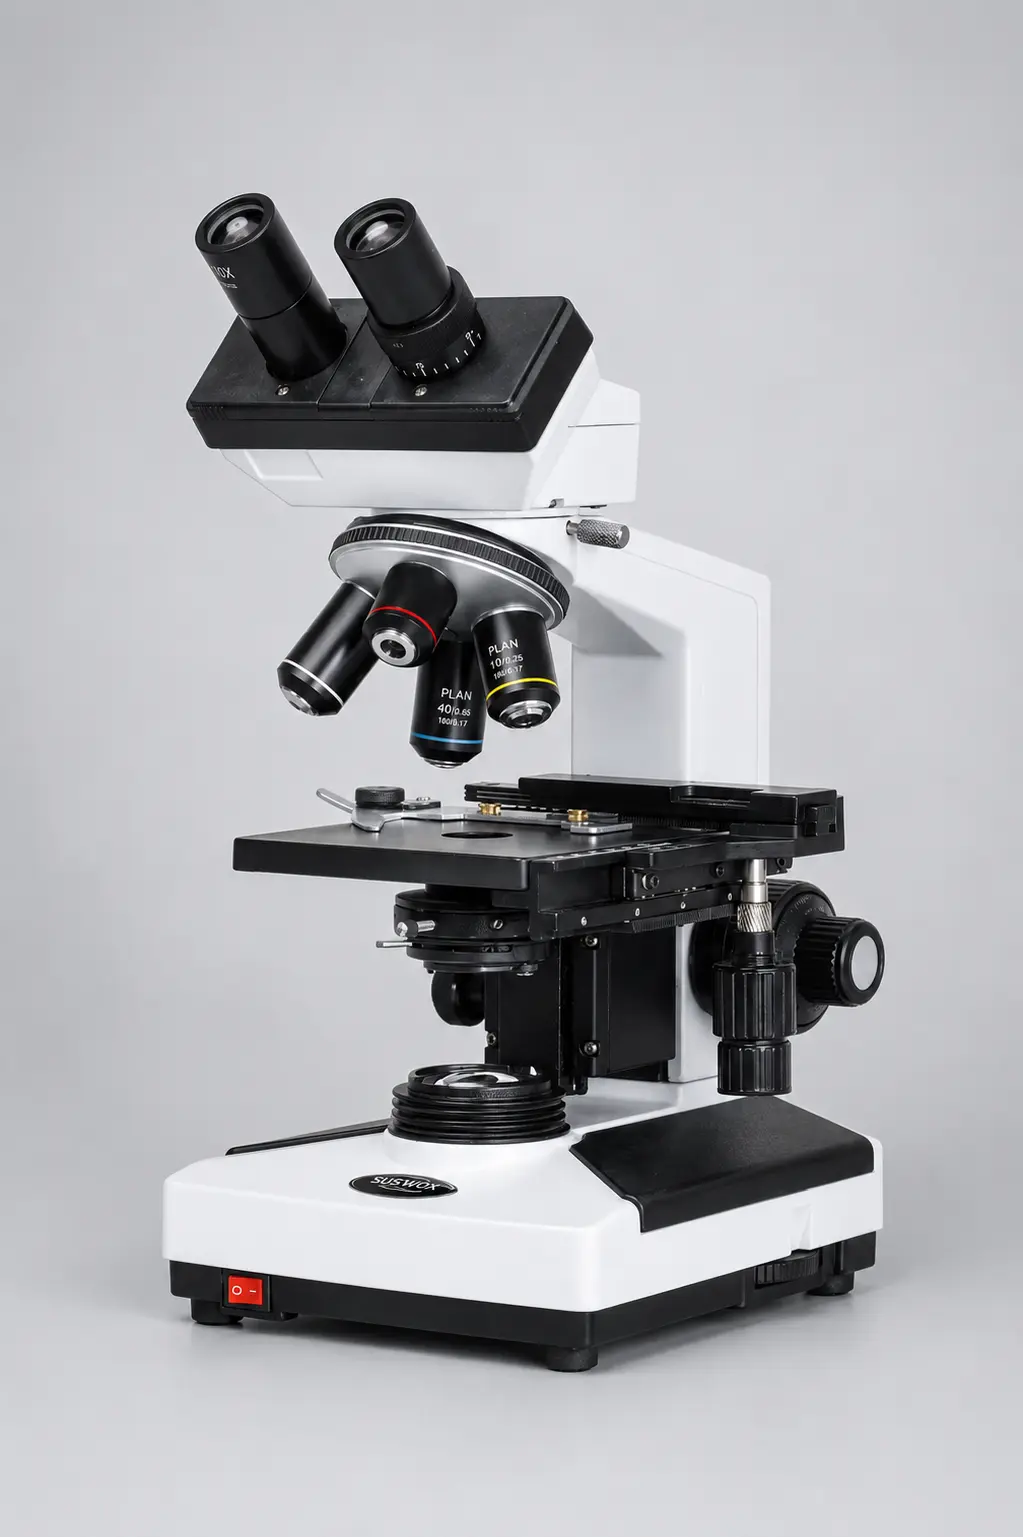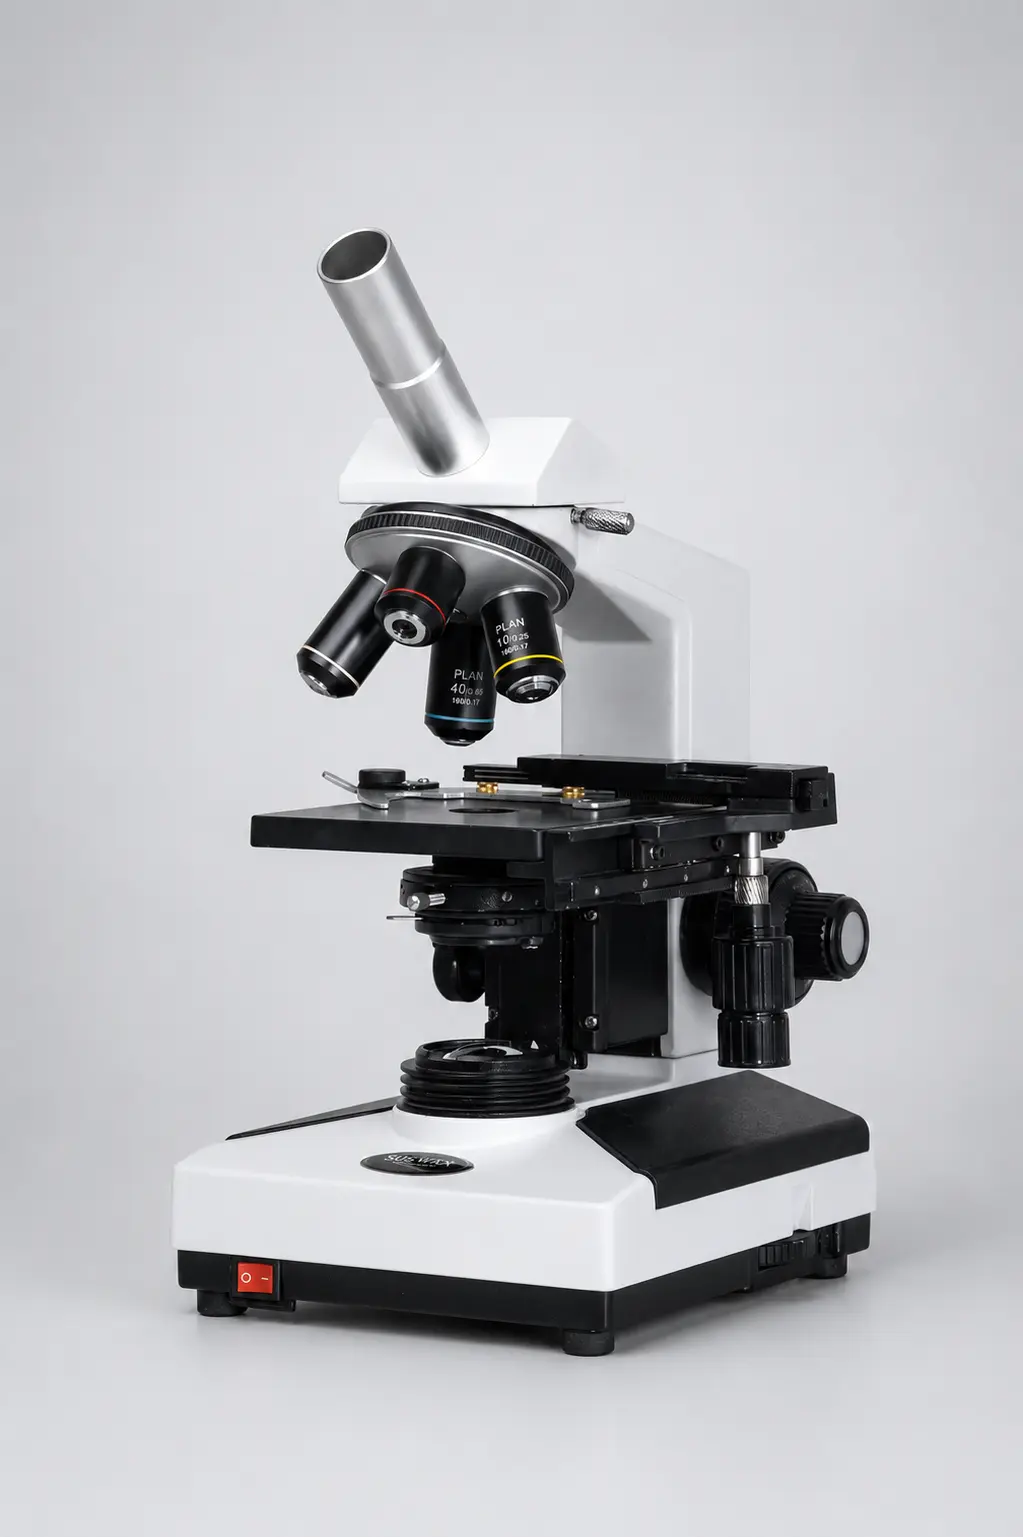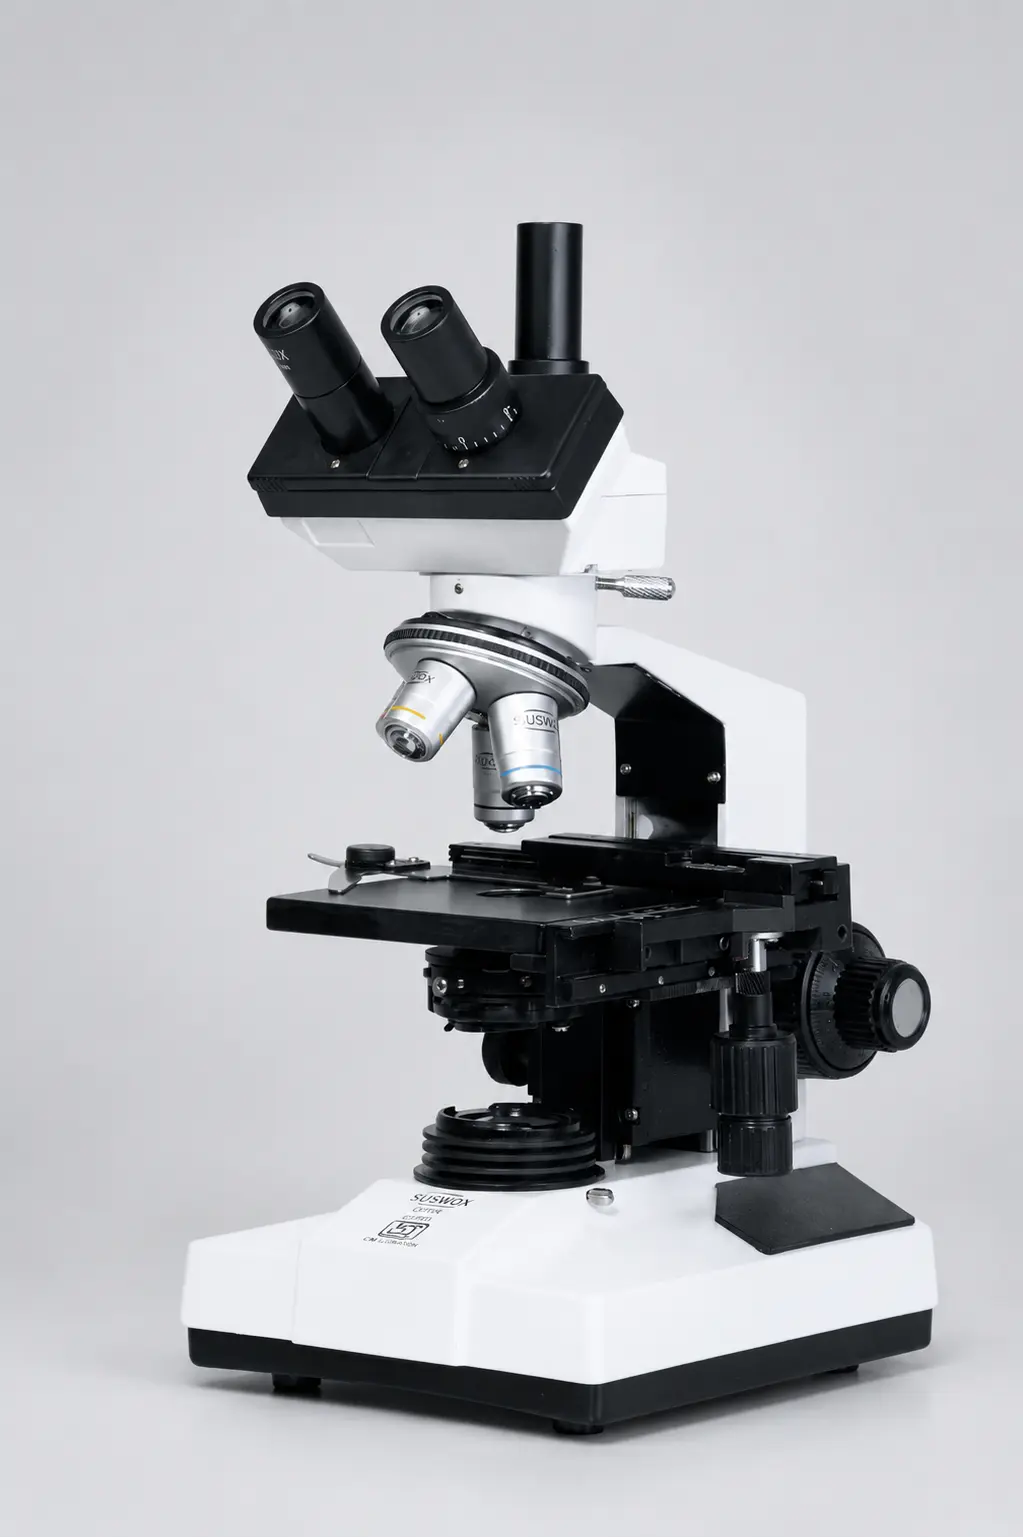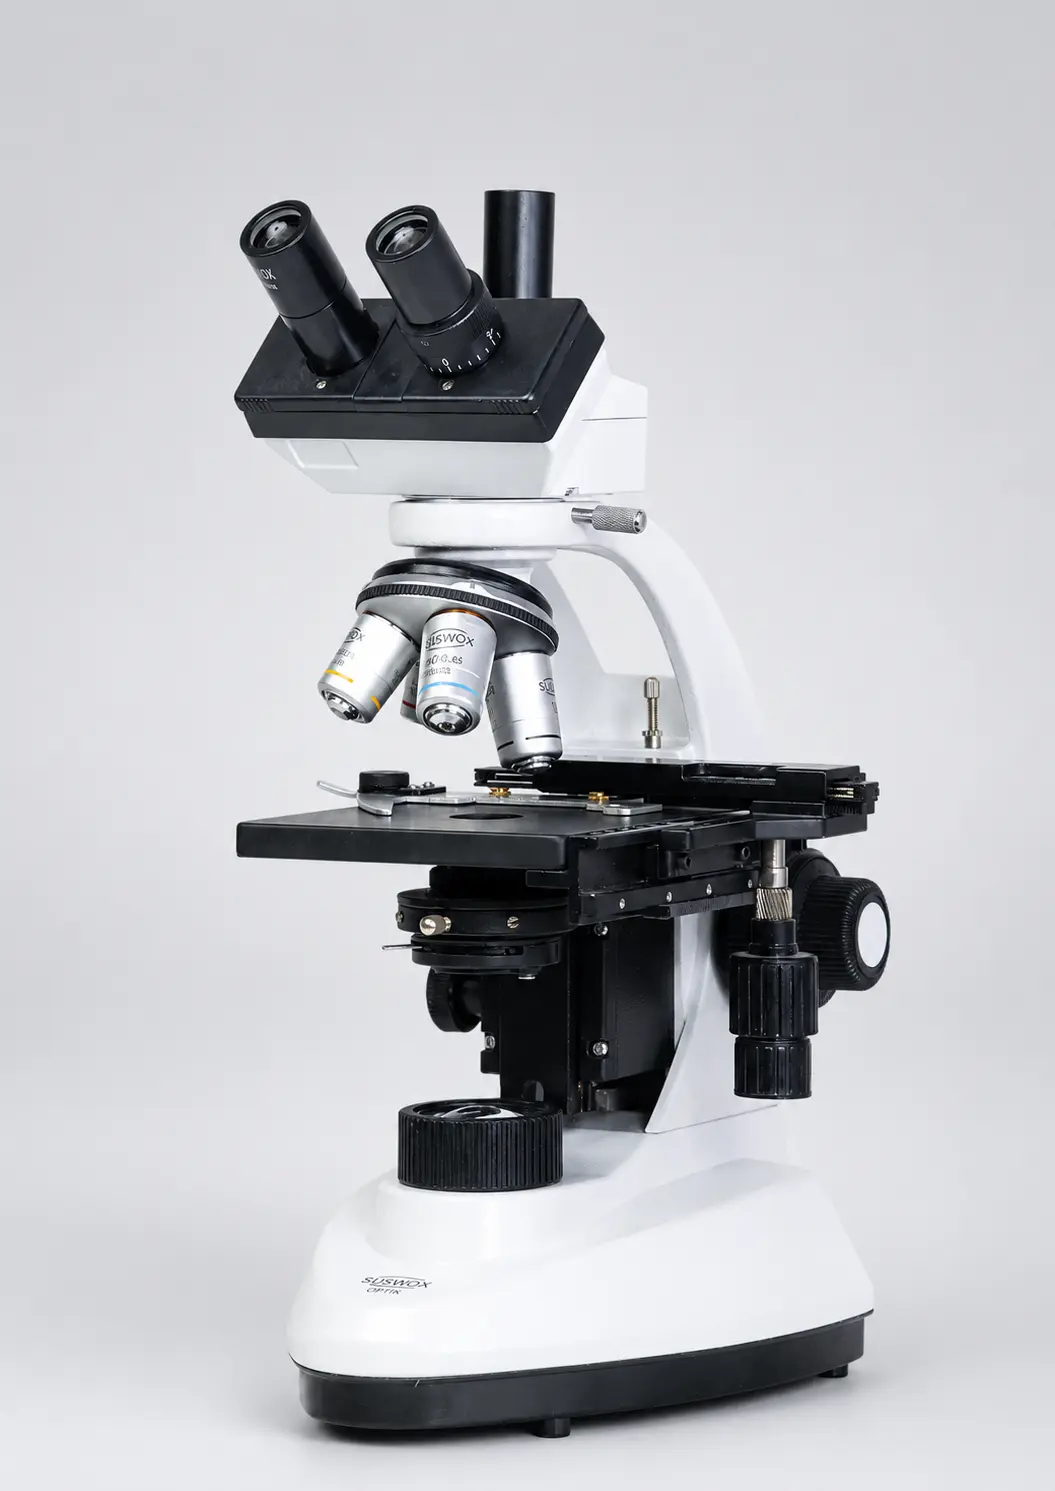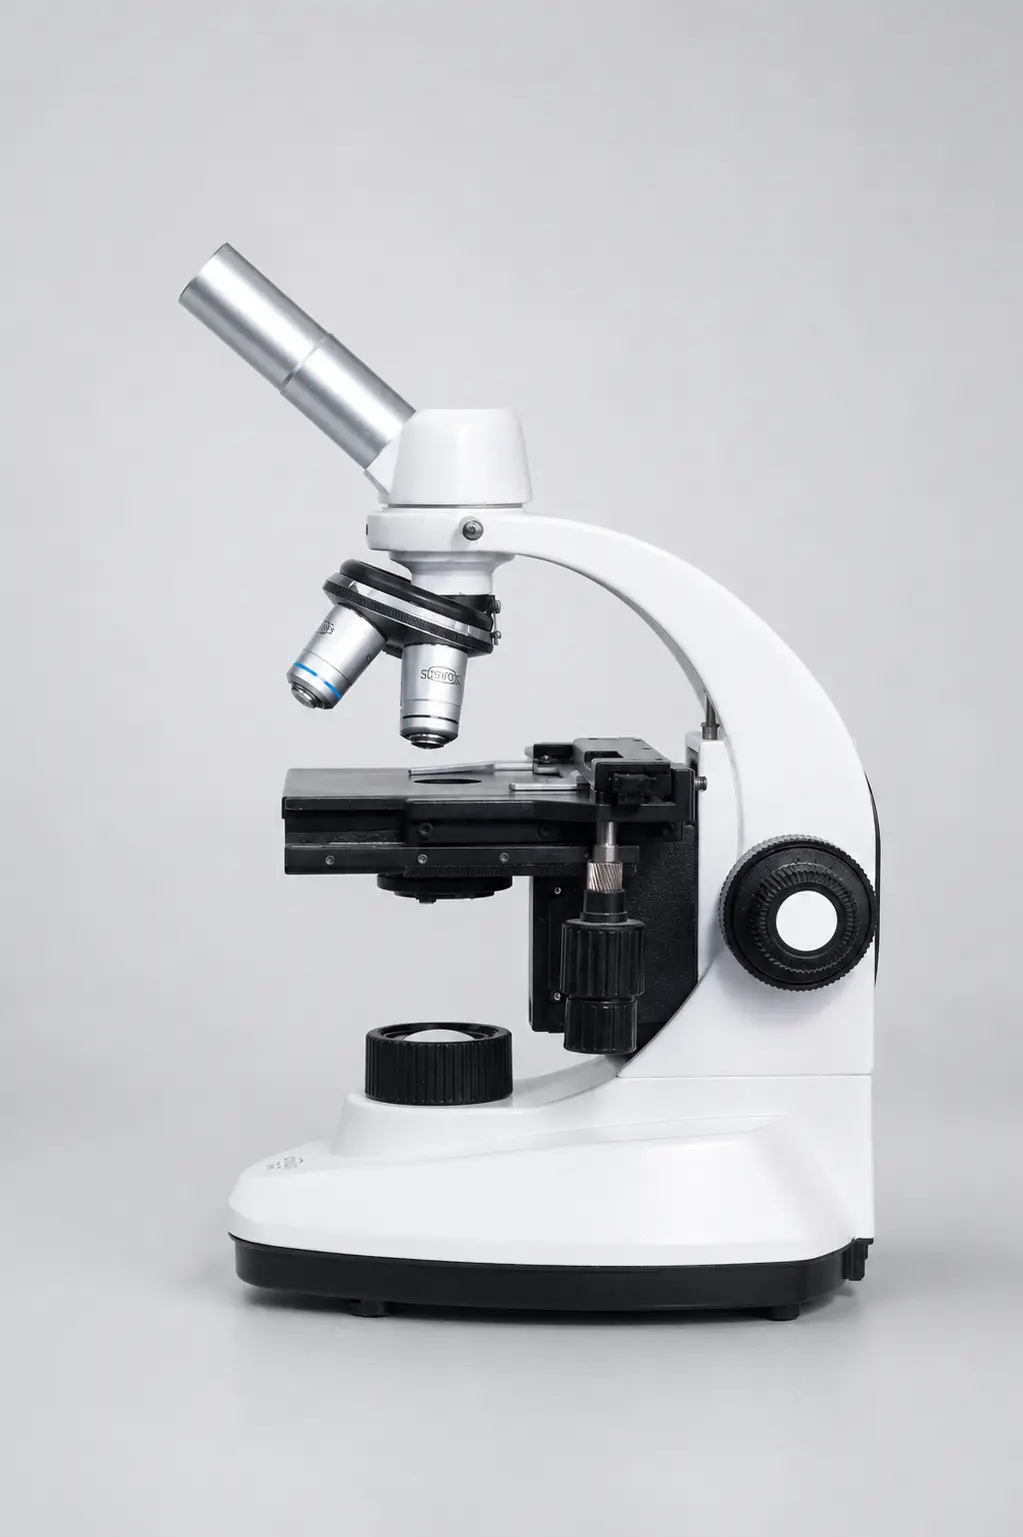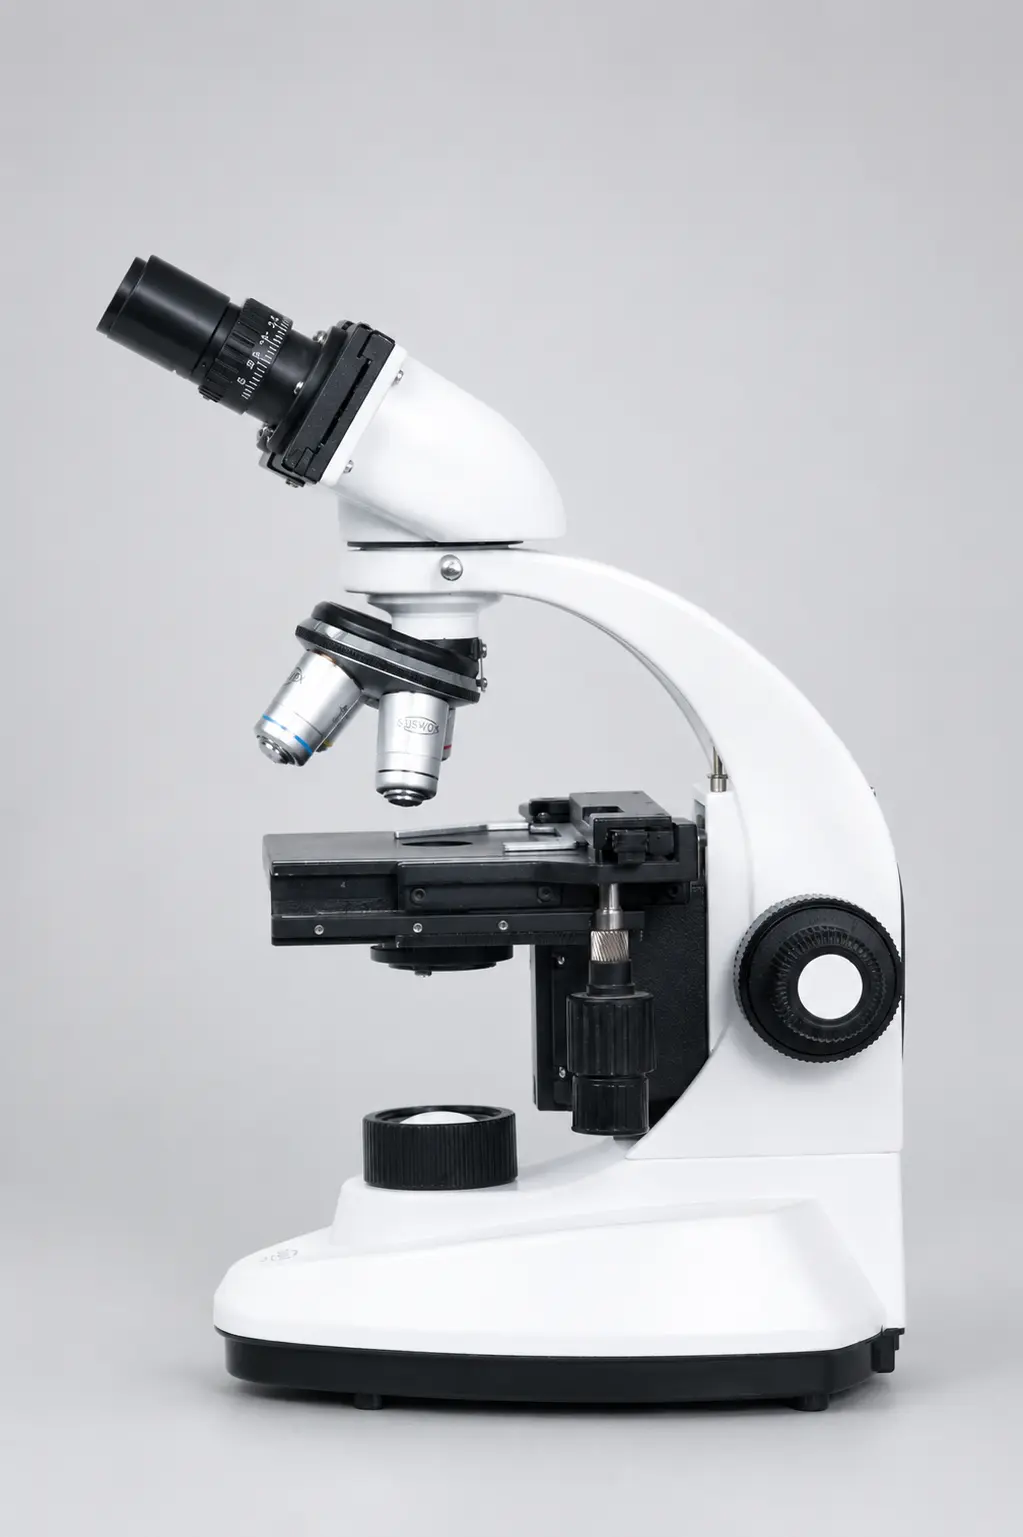
A lab assistant once handed me a 100x objective that had been sitting with dried immersion oil on it since the previous semester. The oil had hardened into a yellowish film. His fix had been to rub it with a paper napkin from the canteen, which removed the oil and also left a permanent web of fine scratches across the front element.
That objective cost more than the entire cleaning kit that would have saved it.
This happens constantly. Microscope optics are fragile in a quiet way. The front surface of every lens carries an anti-reflective coating just a few hundred nanometres thick, and that coating is softer than the glass beneath it. Once scratched or dissolved, the lens is permanently degraded.
So here is how to clean microscope lenses properly, in the order the job should actually be done.
Why microscope lens coatings need special care
Modern objectives carry a multi-layer coating, usually magnesium fluoride or similar, applied in layers thinner than a wavelength of light. It exists to stop internal reflections that would otherwise wash out contrast.
It works well. It is also soft, chemically sensitive, and sitting on the most exposed surface of the instrument.
There is a second problem below the coating. Objectives are built from several elements bonded with optical cement. Strong solvents seep past the housing and attack that cement, and when the bond fails you get a hazy, low-contrast image with no repair short of a rebuild.
Which is why the rules that follow are less about cleaning technique and more about restraint.
What you should never use on microscope optics
Tissue paper, facial tissue, paper napkins and toilet paper all contain wood fibres that are harder than the coating. They feel soft to your fingers. Under magnification they behave like fine sandpaper.
Acetone dissolves optical cement and plastic housings. Never let it near an objective. Nail polish remover is mostly acetone, and yes, people do try it.
Xylene was standard for immersion oil for decades and older manuals still recommend it, but most manufacturers have moved away because repeated use softens the cement. Use it sparingly if at all, and never let it pool around the mount.
And do not blow on the lens with your mouth. Saliva droplets are acidic enough to mark a coating, which is an unglamorous way to ruin an objective.
What you actually need
The kit is small and cheap. A rubber blower bulb, lens tissue in a sealed booklet, cotton buds with wooden or paper sticks, and a bottle of proper lens cleaning solution.
For the solution, distilled water handles most water-soluble residue. A 70:30 mix of diethyl ether and ethanol is the traditional laboratory formula and excellent for immersion oil, though it needs ventilation. Isopropyl alcohol at 70 percent works for general use and is easier to source in India.
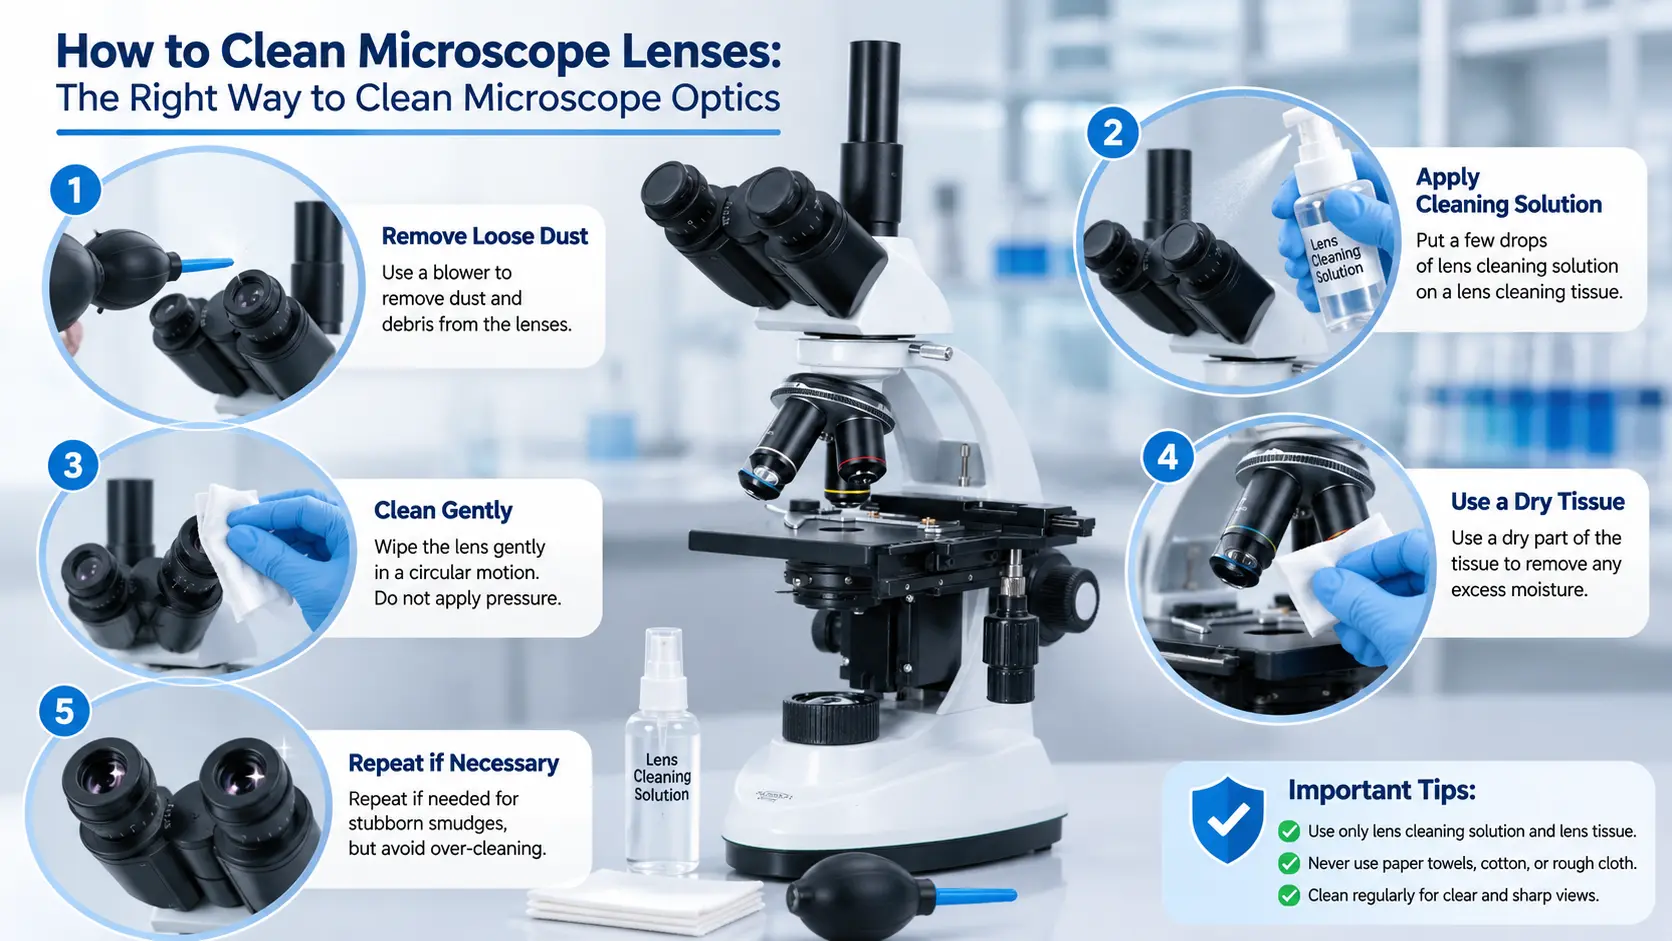
How to clean microscope lenses step by step
Step 1 — Find out which surface is actually dirty
Most cleaning is done on lenses that were never dirty in the first place, which is a good way to wear out a coating for nothing.
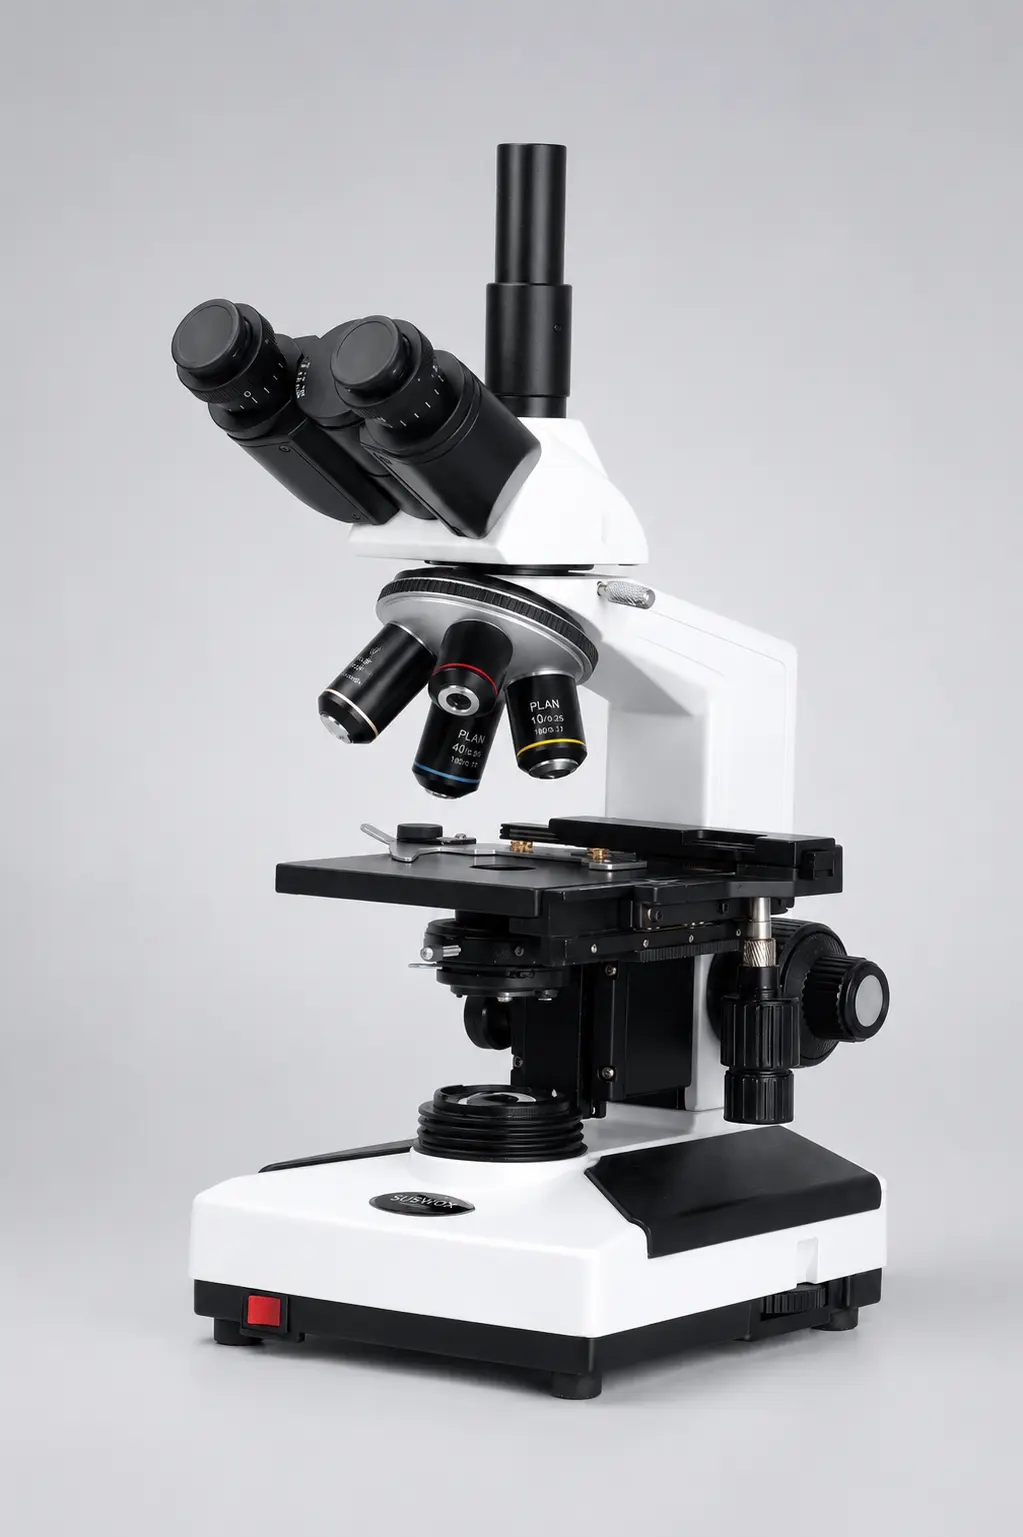
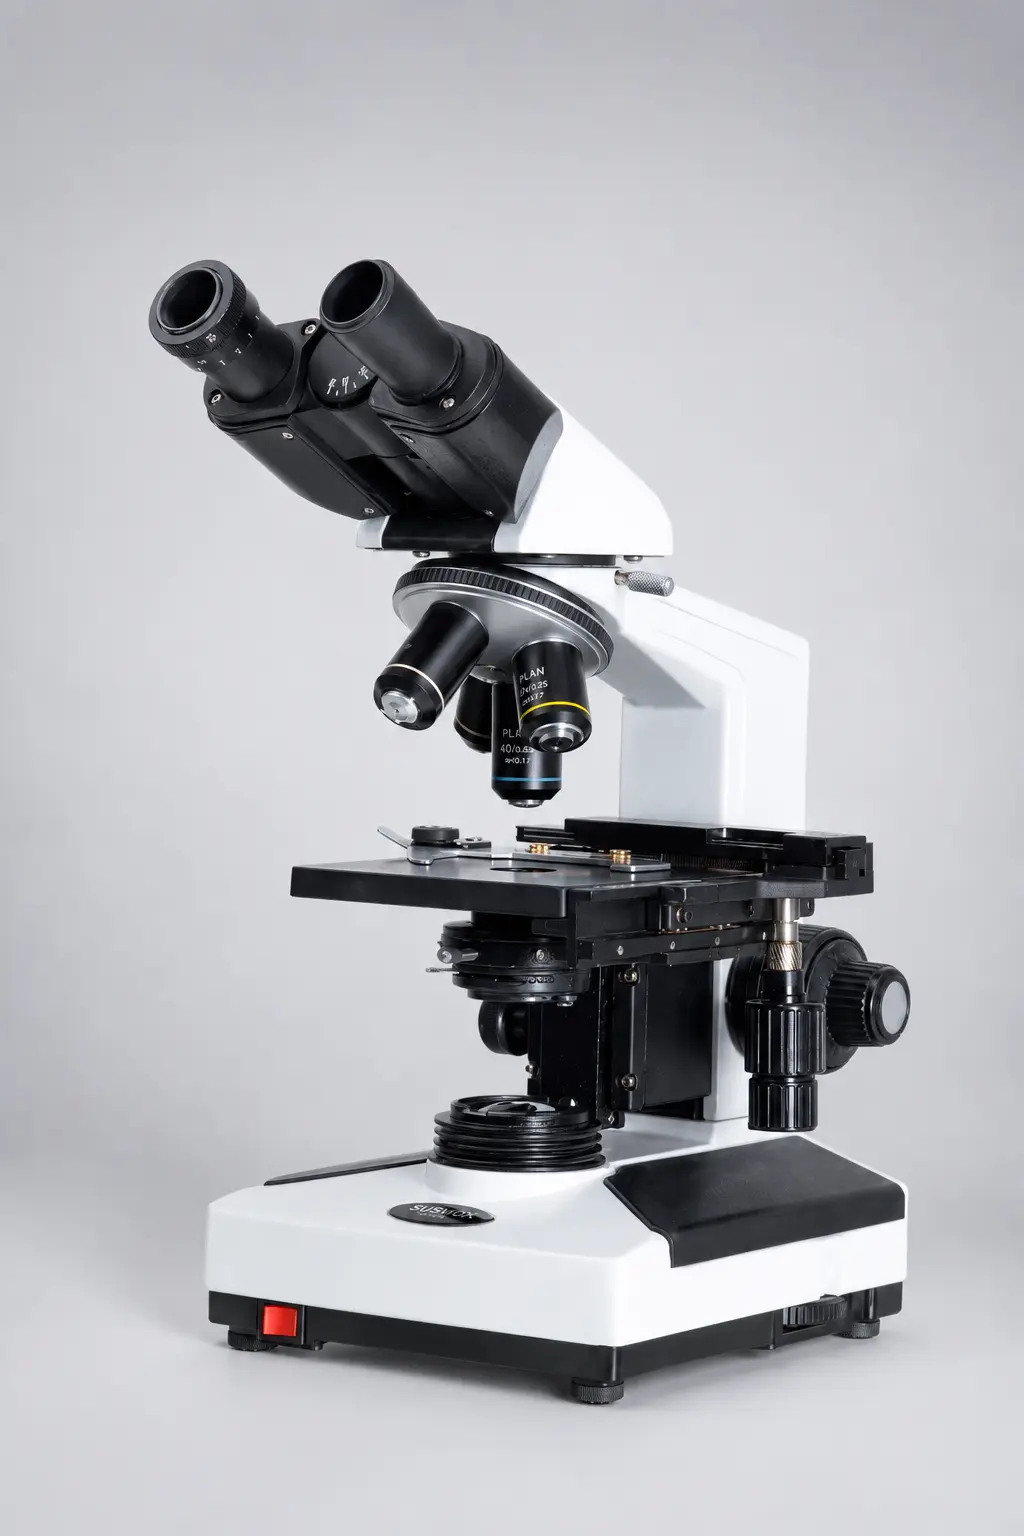
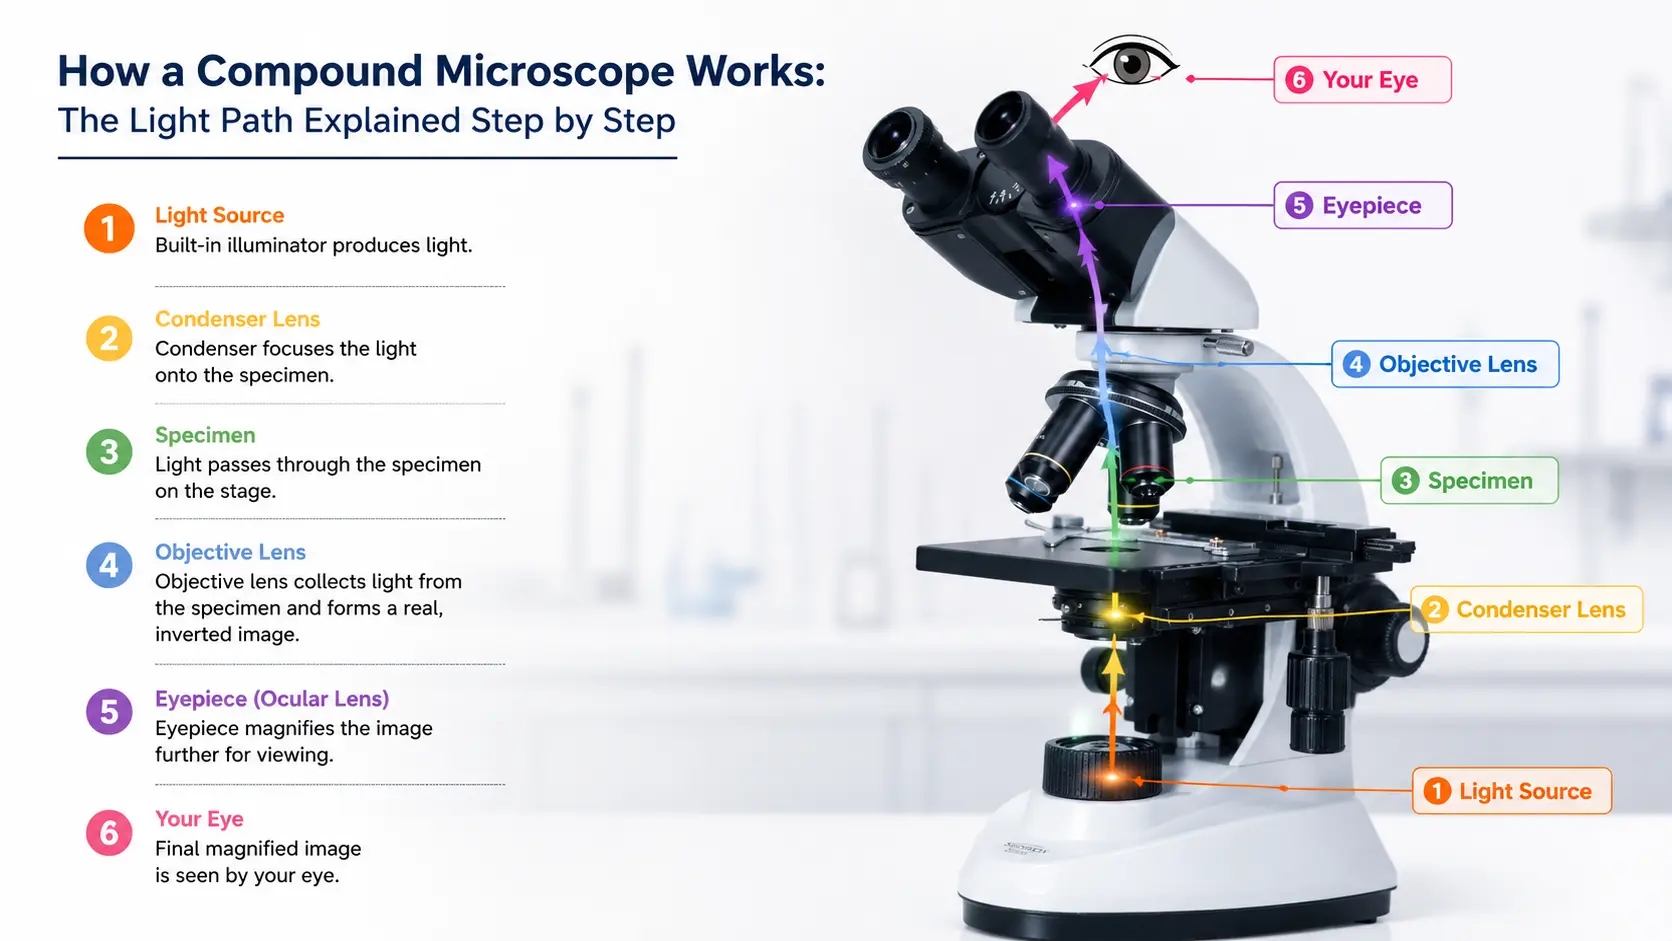
Rotate the eyepiece slowly while looking through it. If the mark turns with it, the dirt is on the eyepiece. Swing the nosepiece to another objective — if the mark disappears, it was on the first one. If it moves when you shift the slide, it is on the specimen, and no lens cleaning will help.
Dirt on the condenser shows up as a diffuse haze rather than a sharp speck.
Step 2 — Blow the loose dust off first
Use a rubber blower bulb, never compressed air from a can, because canned air can spray propellant onto the glass and the pressure can force particles into the lens mount.
This step matters more than it looks. Every particle you blow away is one you are not about to drag across the coating. Skipping it is the most common cause of cleaning scratches.
Step 3 — Dry clean with lens tissue
Fold a sheet of lens tissue into a small pad, or roll it into a soft point for objectives. Do not touch the part that will contact the glass, since skin oil transfers instantly.
Wipe in one continuous spiral starting at the centre and moving outward, then stop. One pass, one fresh piece of tissue. Reusing the same tissue just puts the dirt back.
On a small front element like a 40x or 100x, a cotton bud is easier to control. Roll it gently rather than scrubbing.
Step 4 — Wet clean only if the dry pass did not work
Put one drop of cleaning solution on the tissue or cotton bud. Not on the lens. Liquid applied directly to the lens runs down into the mount and that is exactly where you do not want a solvent sitting.
Use the same spiral motion, then immediately follow with a dry tissue before the solution evaporates on its own. Solutions that dry on the glass leave streaks and residue rings.
If a fingerprint refuses to lift, breathe lightly across the lens from a distance and wipe while the condensation is still there. Old trick, works well.
Step 5 — Remove immersion oil the same day
This is the rule that saves the most objectives. Fresh oil comes off with a dry lens tissue and a single drop of solution. Oil left for a week oxidises and hardens, and oil left for a semester needs solvent soaking that risks the cement.
After the last slide, wipe the 100x front element with dry tissue to lift the bulk of it, then one wet pass, then one dry pass. Thirty seconds.
Also check the 40x. It sits right next to the 100x on the nosepiece and picks up oil far more often than people expect, usually because someone rotated the turret without lowering the stage.
Cleaning the eyepiece, condenser and body
Eyepieces get dirty fastest because eyelashes, skin oil and cosmetics reach them directly. Clean the top lens in place using the same blow-then-wipe method.
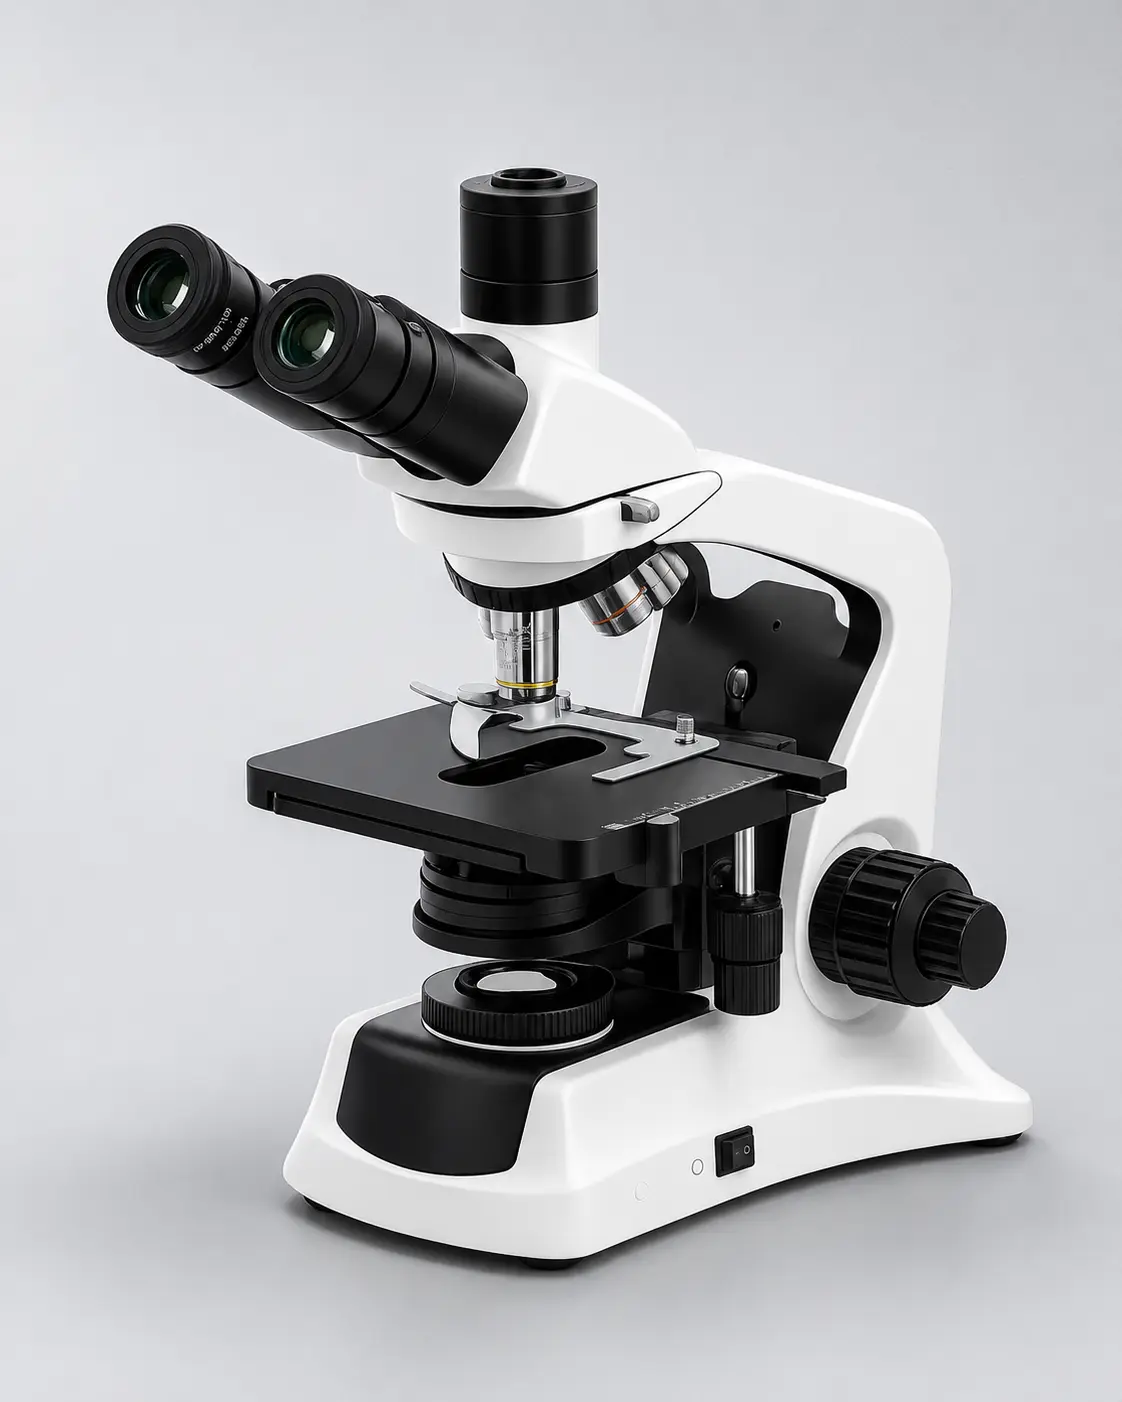
The condenser lens sits just under the stage and collects dust, spilled stain and dried mounting medium. Lower it, blow it, wipe it with a lightly moistened tissue.
For the painted body, stage and knobs, use a cloth dampened with mild soapy water. Keep alcohol away from paint and plastic. Wipe the stage after every stain spill — dried haematoxylin is corrosive to the finish.
Never dismantle an objective to clean inside it. The elements are aligned to tolerances you cannot restore by hand, and opening one ends its useful life.
What actually damages lens coatings
Dry-wiping a dusty lens is the most common cause of damage, because the particle does the cutting, not the tissue.
Excess solvent is the second. It does not damage the glass surface — it creeps into the mount and reaches the cement, and the failure shows up weeks later as unexplained haze.
Then there is humidity, which in most of India is the real long-term enemy. Fungus grows on lens surfaces in damp conditions and etches the coating permanently as it feeds. A microscope shut in a cupboard through the monsoon is a fungus incubator.
Store it with a dust cover and a sachet of silica gel underneath, and run the dehumidifier if the room stays damp. Prevention costs almost nothing. Fungus removal costs an objective.
How often should microscope lenses be cleaned?
Clean the objective front elements after every session that involved immersion oil, and wipe the eyepieces weekly in a teaching lab where many people use the same instrument.
Beyond that, clean only when you can see a problem in the image. Optics do not need scheduled polishing, and every unnecessary wipe is wear the coating does not get back.
Frequently asked questions
Can I use spectacle cleaning cloth on a microscope lens?
A clean microfibre cloth is acceptable for eyepieces in an emergency, but it traps grit you cannot see after a few uses. Lens tissue is single-use and costs very little.
What is the best solution for cleaning microscope lenses?
Distilled water for general residue, and 70 percent isopropyl alcohol or a commercial lens cleaning solution for oil and fingerprints. The classic laboratory choice is a 70:30 ether and ethanol mix, which is excellent for immersion oil but needs good ventilation.
How do I remove dried immersion oil from a 100x objective?
Soften it first. Hold a cotton bud moistened with lens solution against the surface for a few seconds without rubbing, let the oil loosen, then wipe gently in a spiral. Repeat with fresh buds rather than pressing harder.
Why does my image still look hazy after cleaning?
Haze that survives cleaning usually comes from the condenser, the eyepiece bottom lens or the internal prism. If all of those are clean, suspect fungus or cement separation inside the objective.
Is it safe to clean lenses with alcohol every day?
Occasional use is fine. Daily use is not, because repeated solvent exposure gradually works past the seal into the mount. Dry cleaning should be your default and alcohol should be the exception.
How should a microscope be stored between uses?
With the lowest power objective in position, the stage lowered, a dust cover on and silica gel nearby. Keep it away from damp walls and never leave a slide on the stage.
A small habit that protects a large investment
Learning how to clean microscope lenses correctly is mostly about doing less, not more. Blow before you wipe. One drop, not a splash. Fresh tissue every pass. Oil off the same day.
Four habits. They will keep a good objective performing for twenty years, and their absence will finish one inside a single semester.
Suswox has been manufacturing laboratory microscopes in Ambala since 1973, supplying teaching labs, pathology departments and research institutions including AIIMS campuses, BHU and Haffkine Institute. As an ISI-marked microscope manufacturer in India, we supply cleaning kits and maintenance guidance with every instrument, because an optic that is looked after properly outlasts the lab it was bought for.
Need help setting up a maintenance routine for your lab? Get in touch and we will put one together for your instruments.