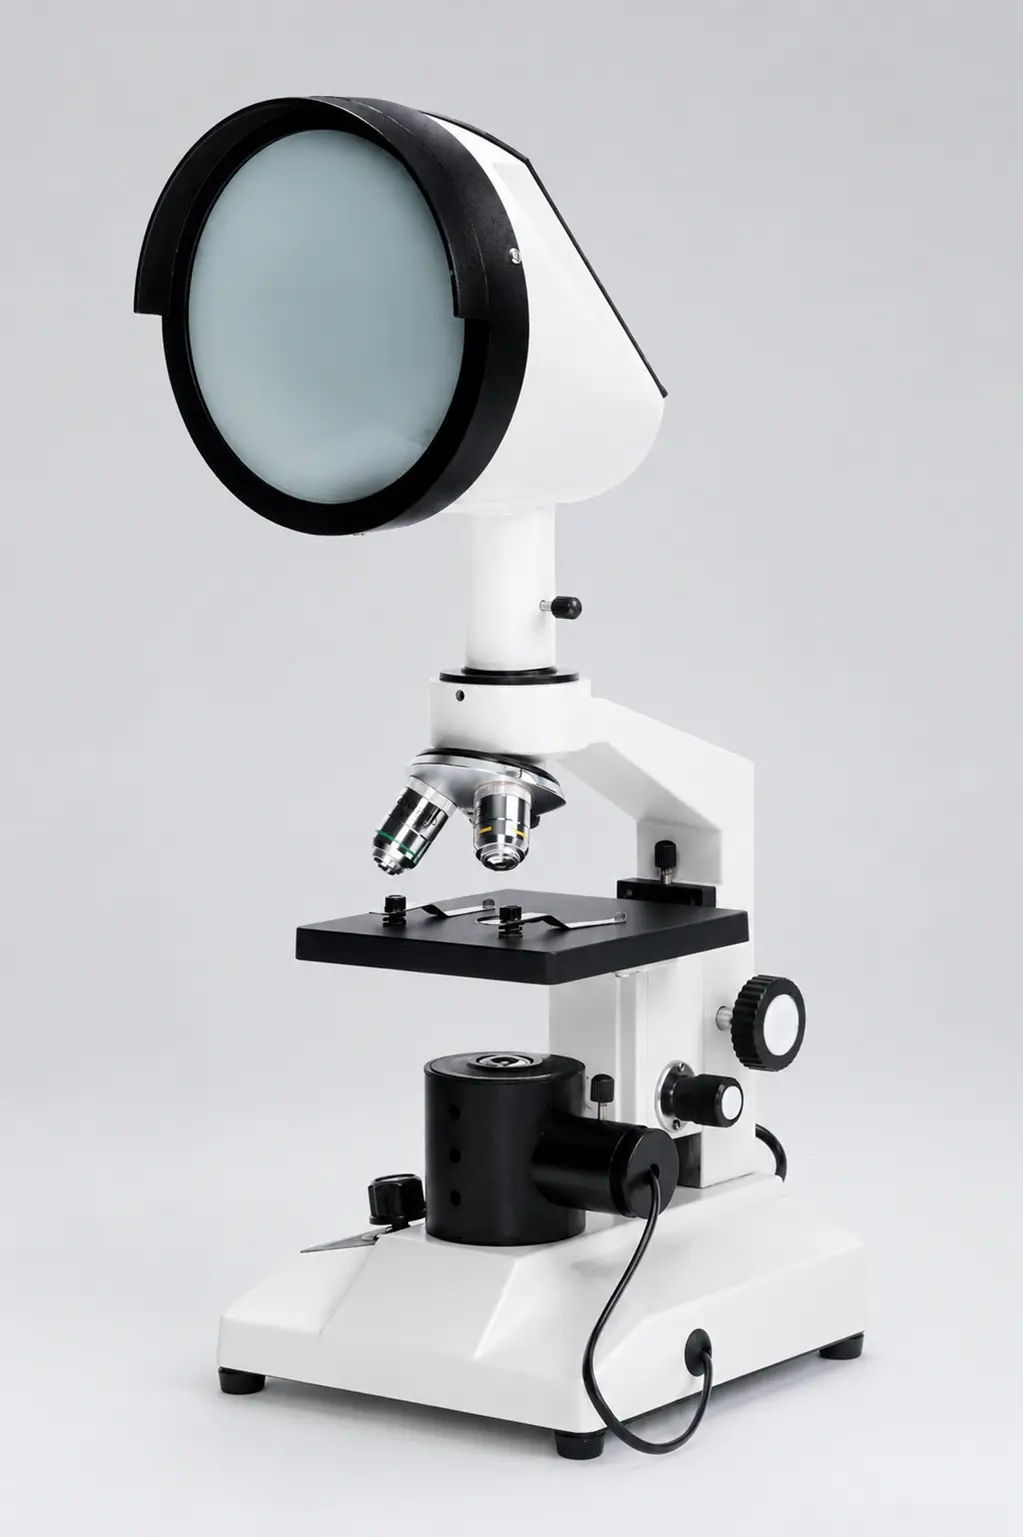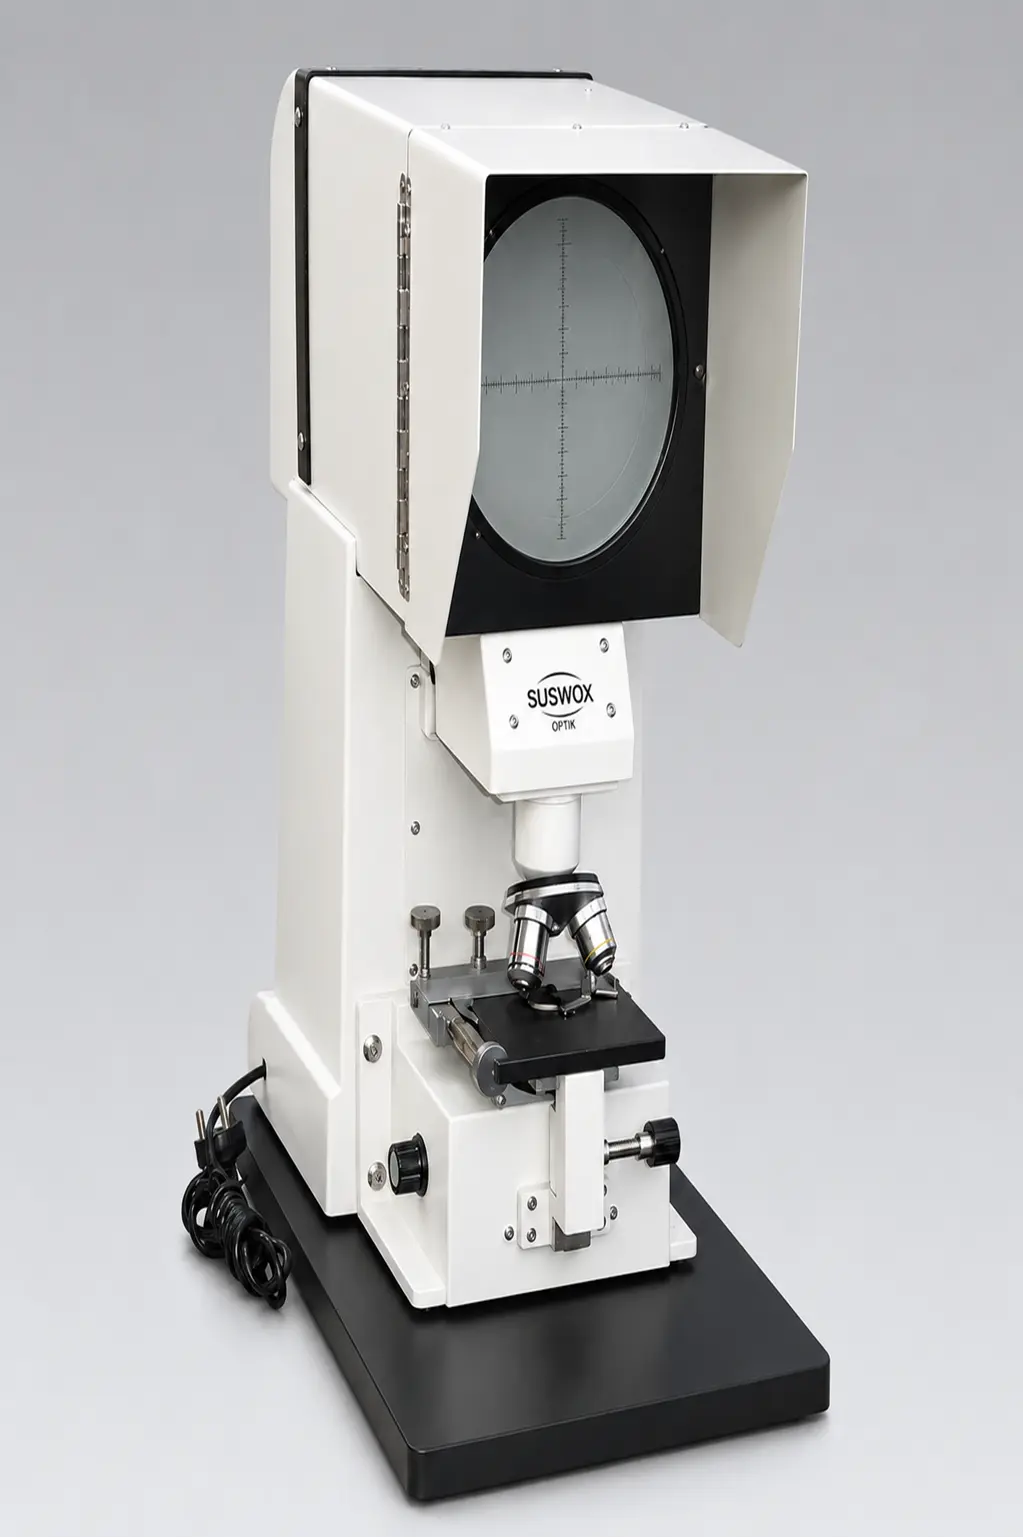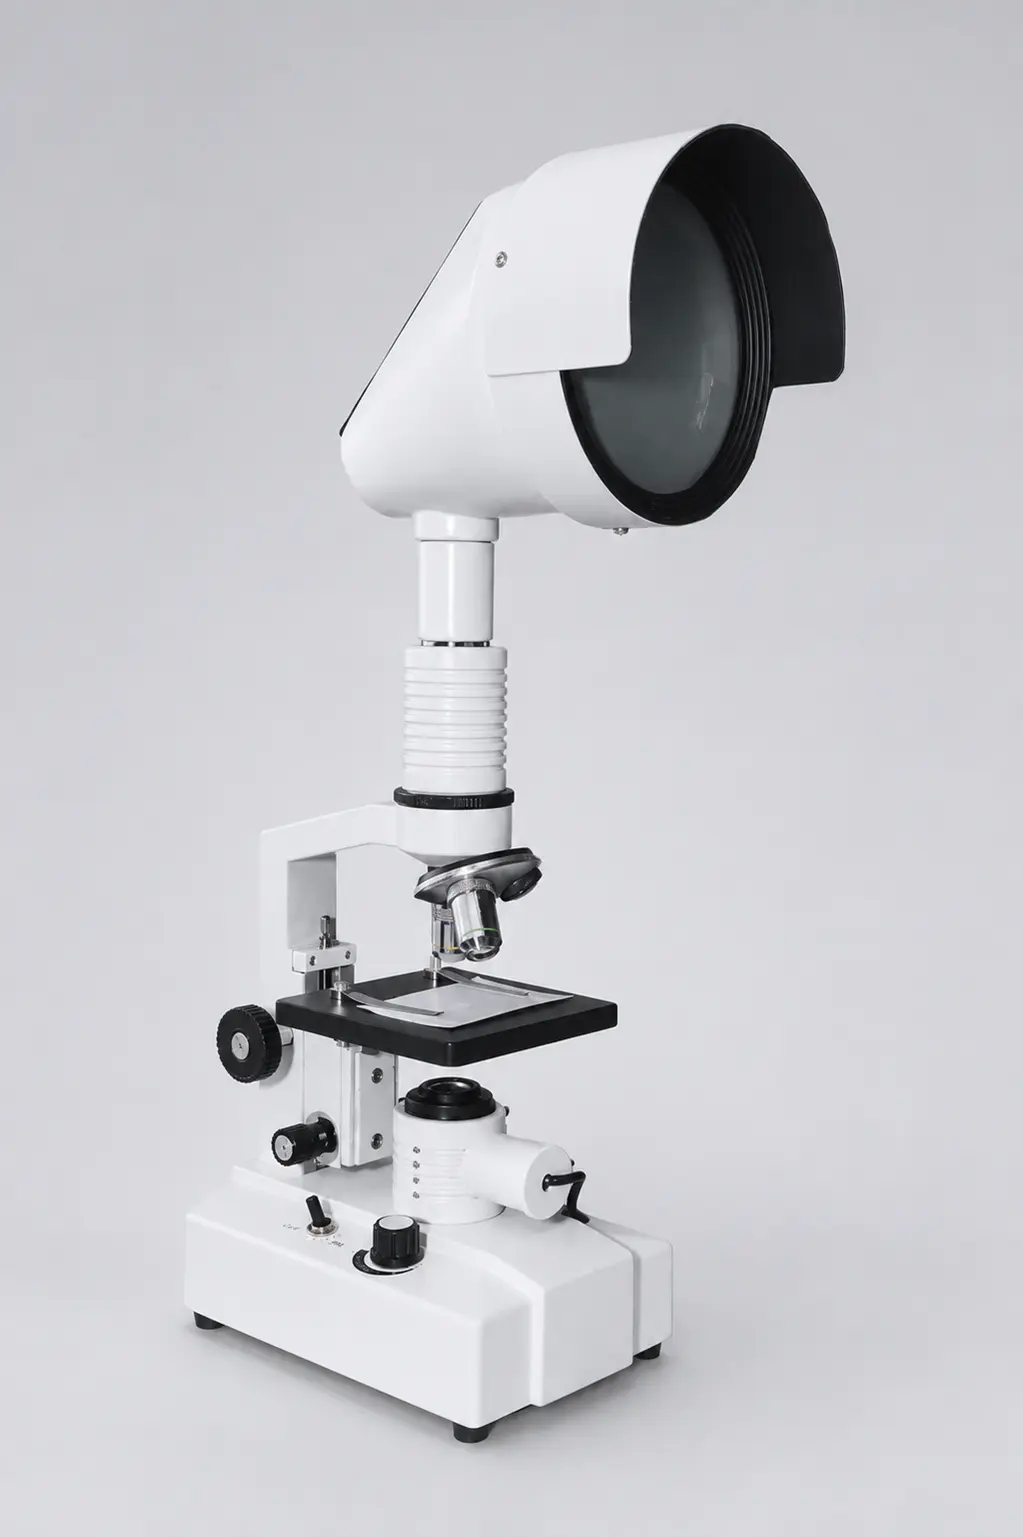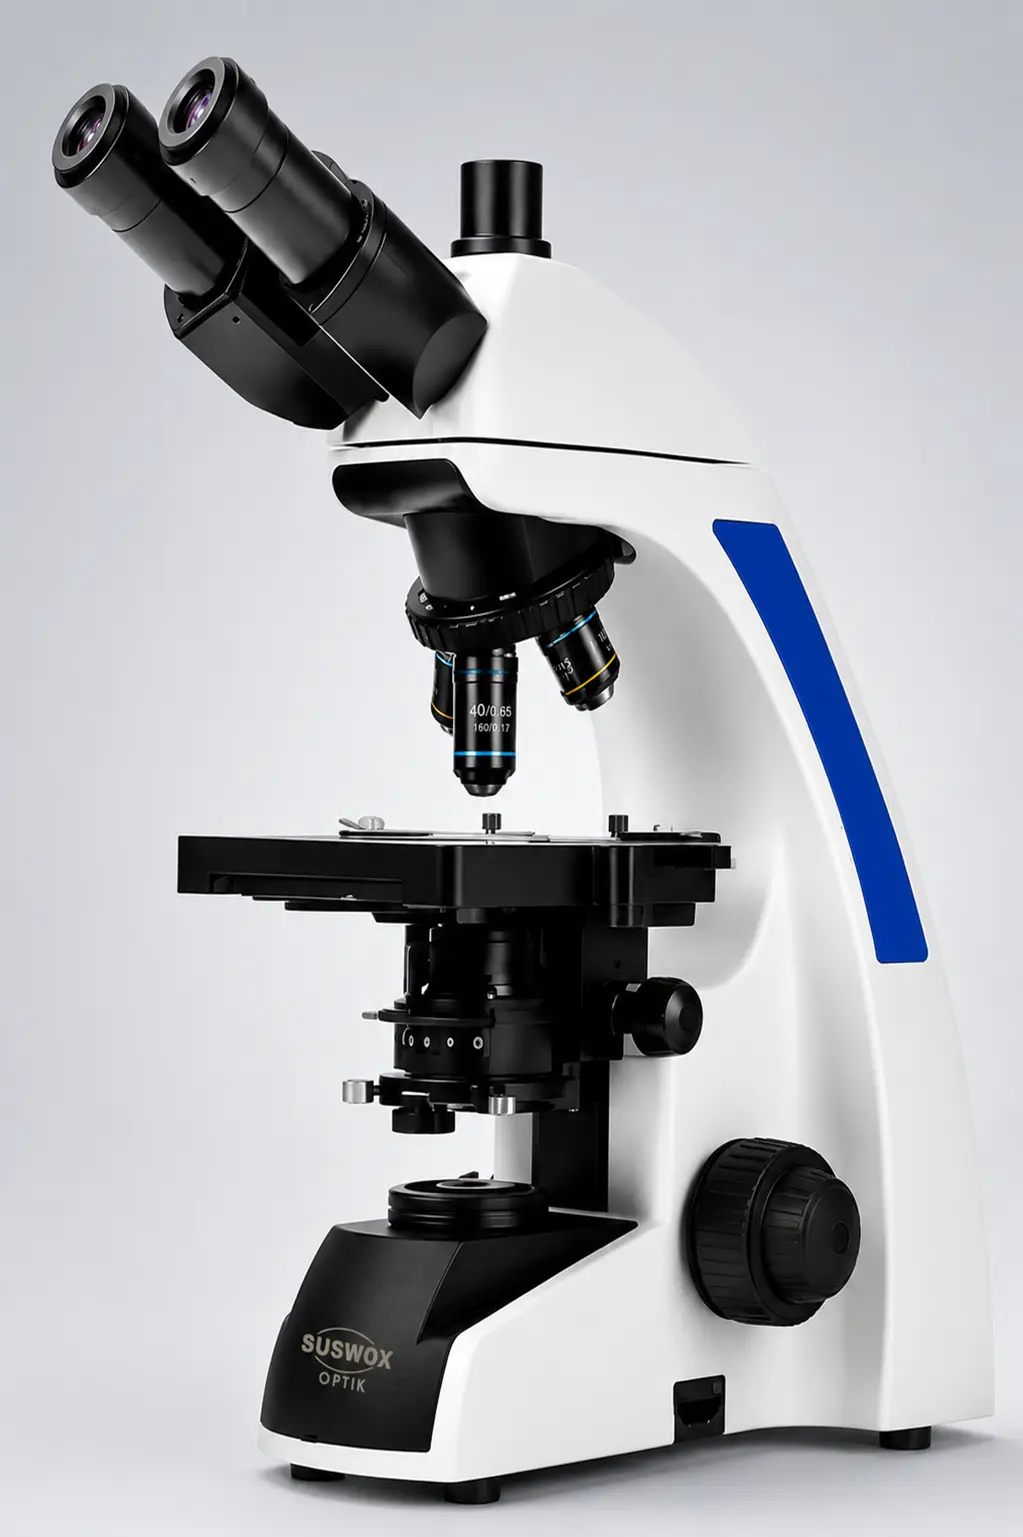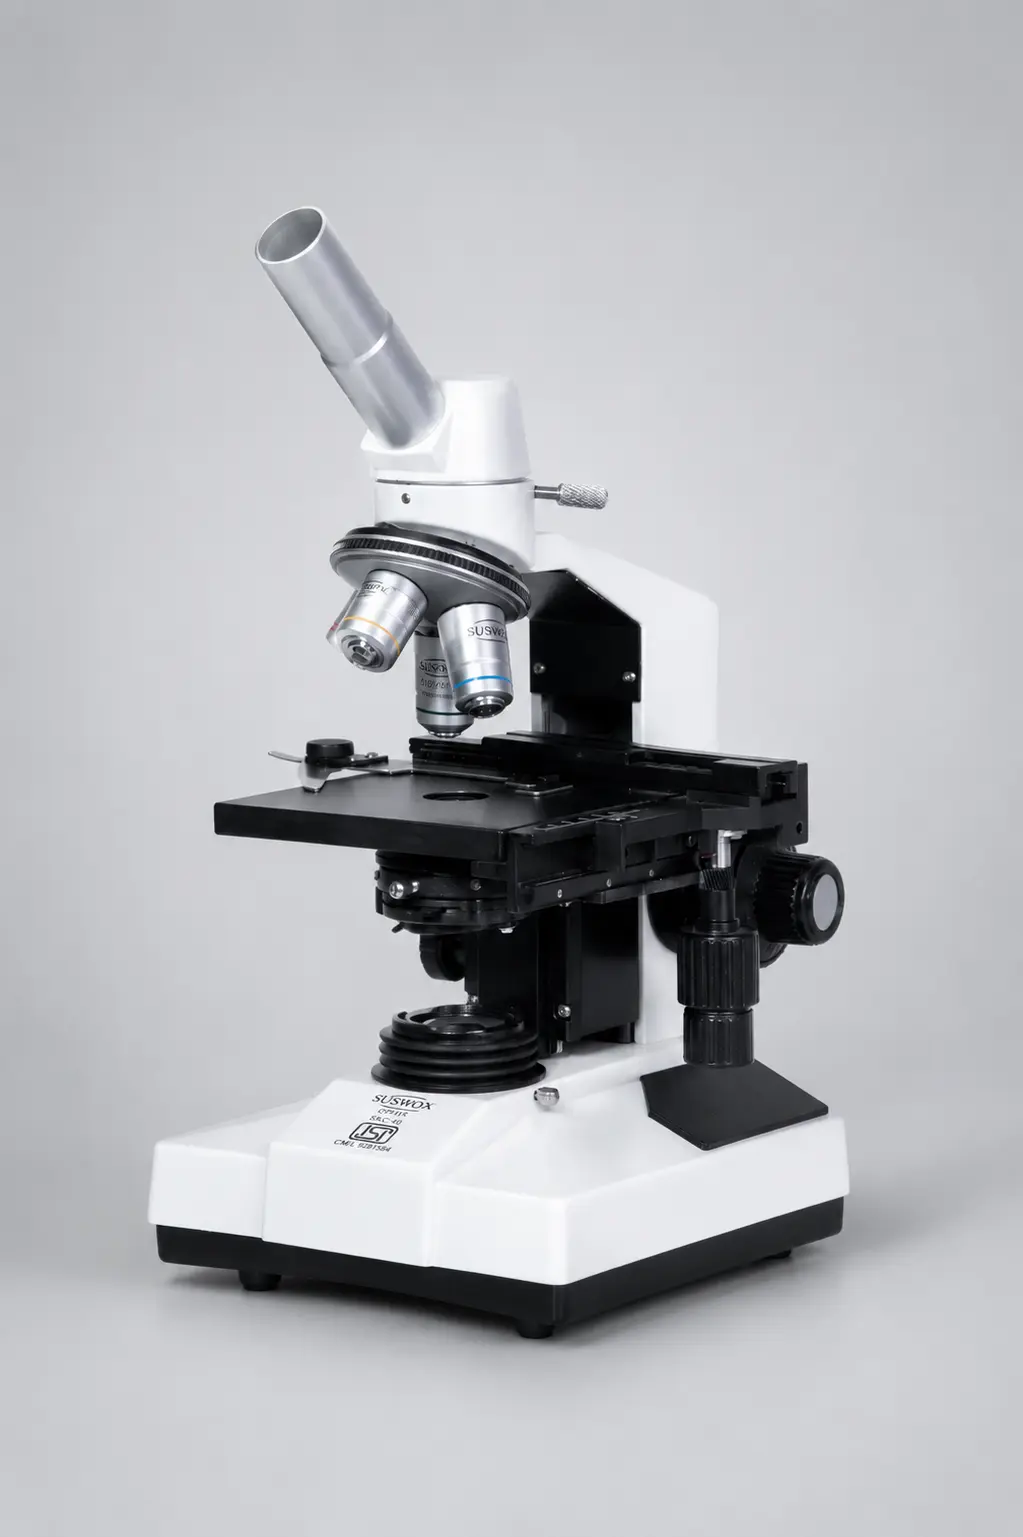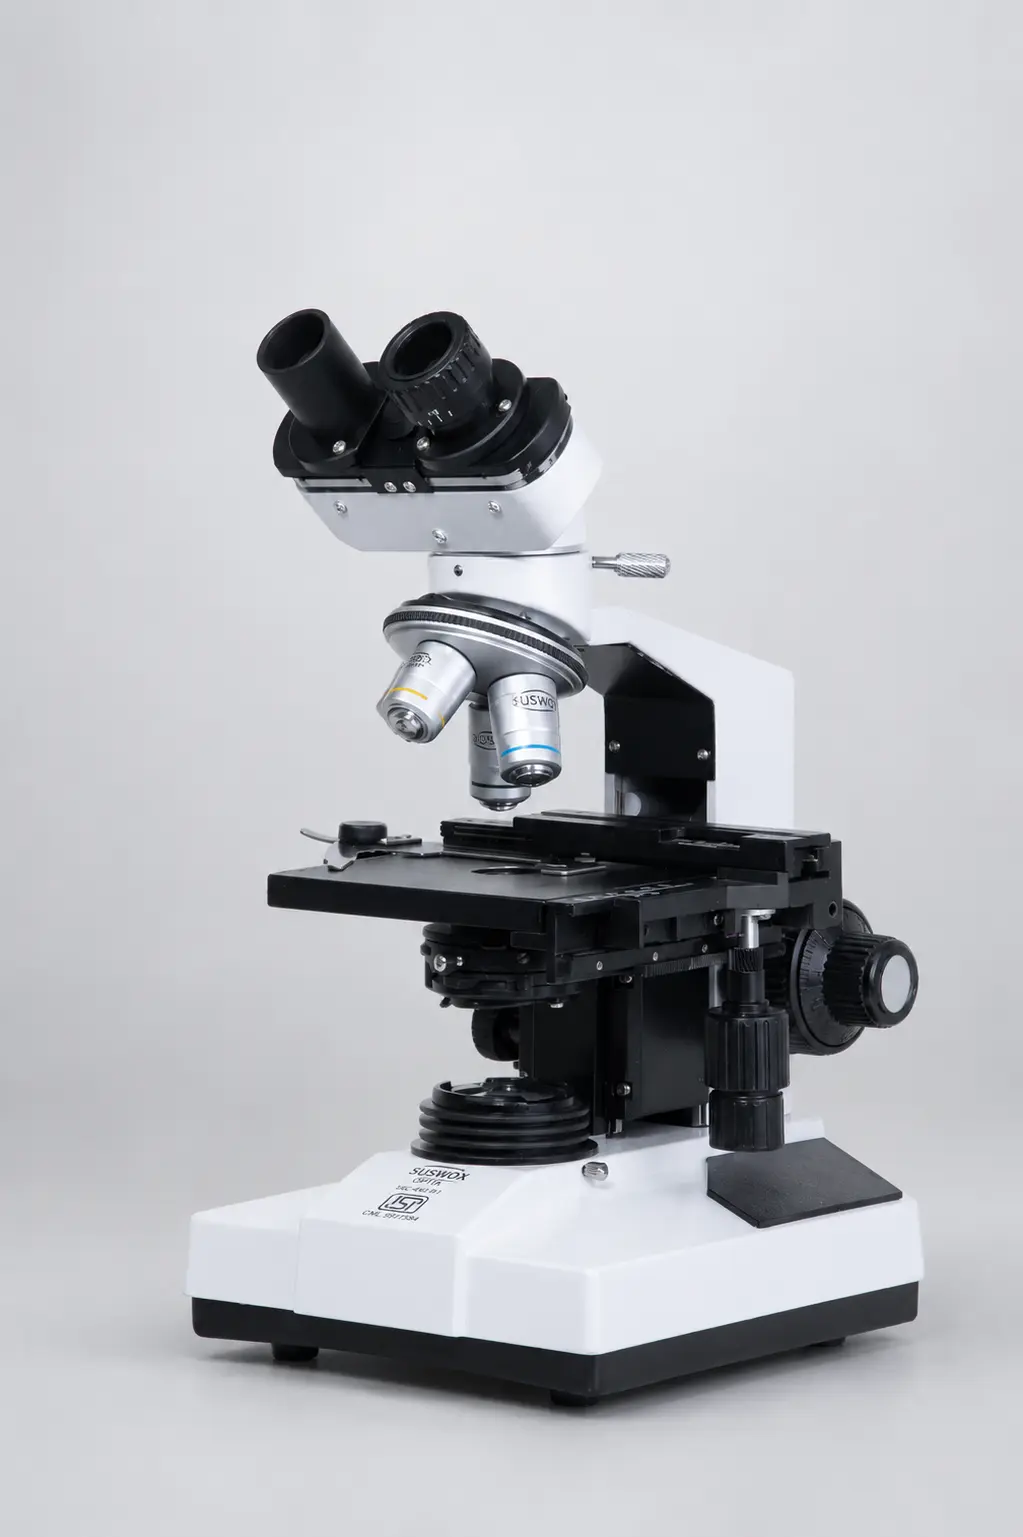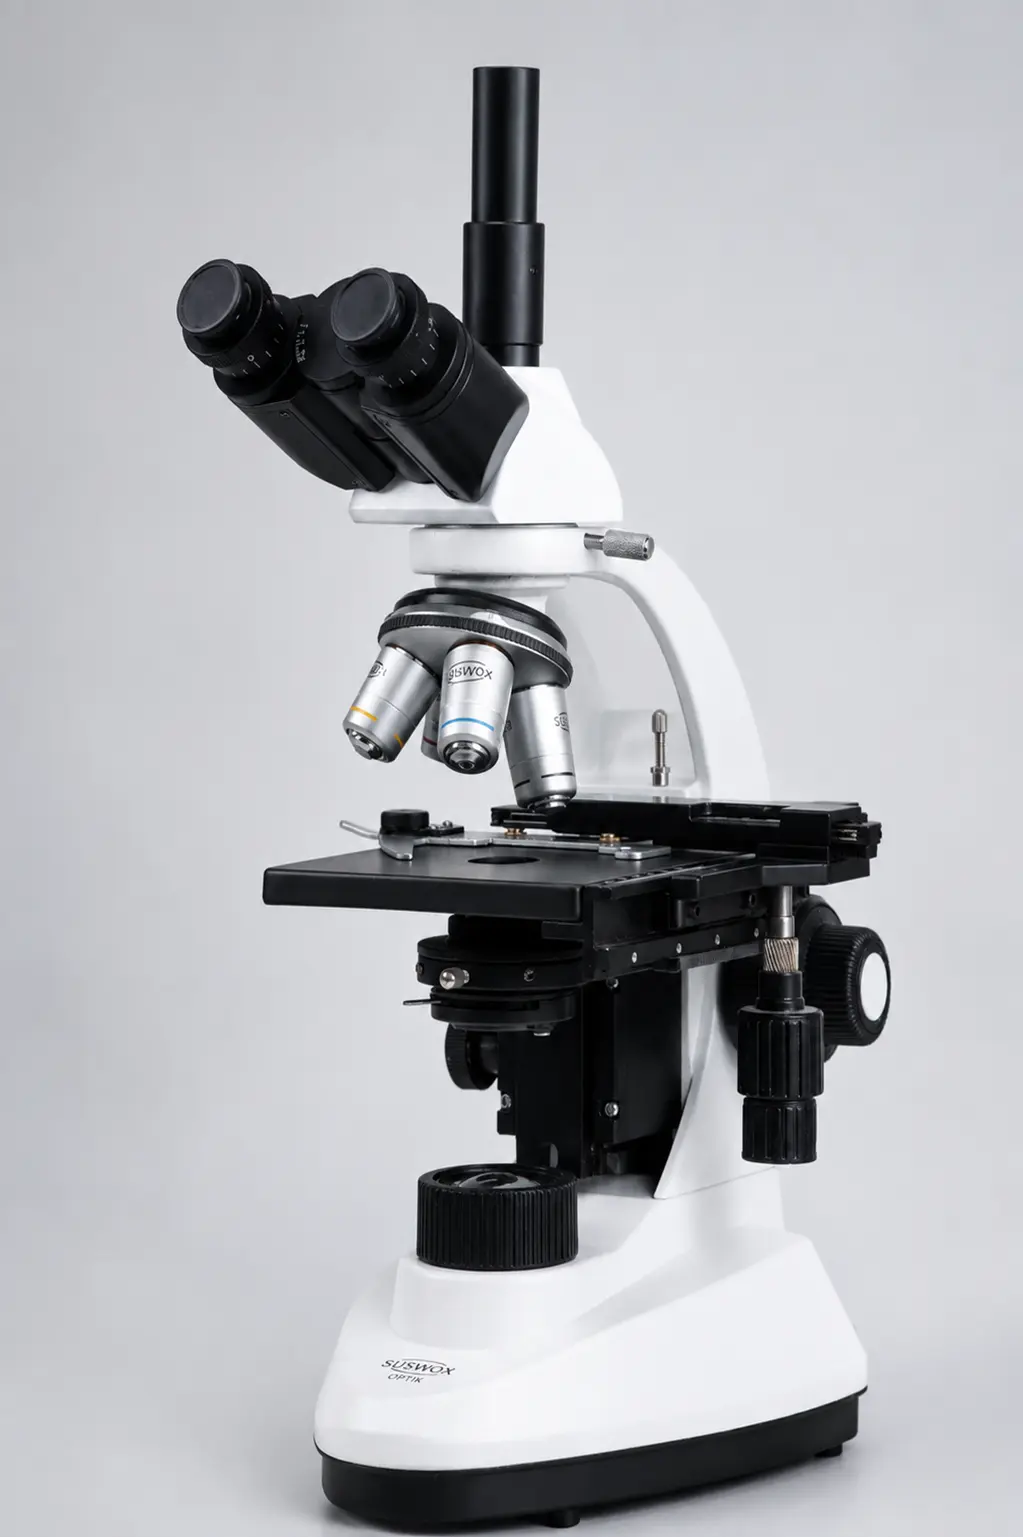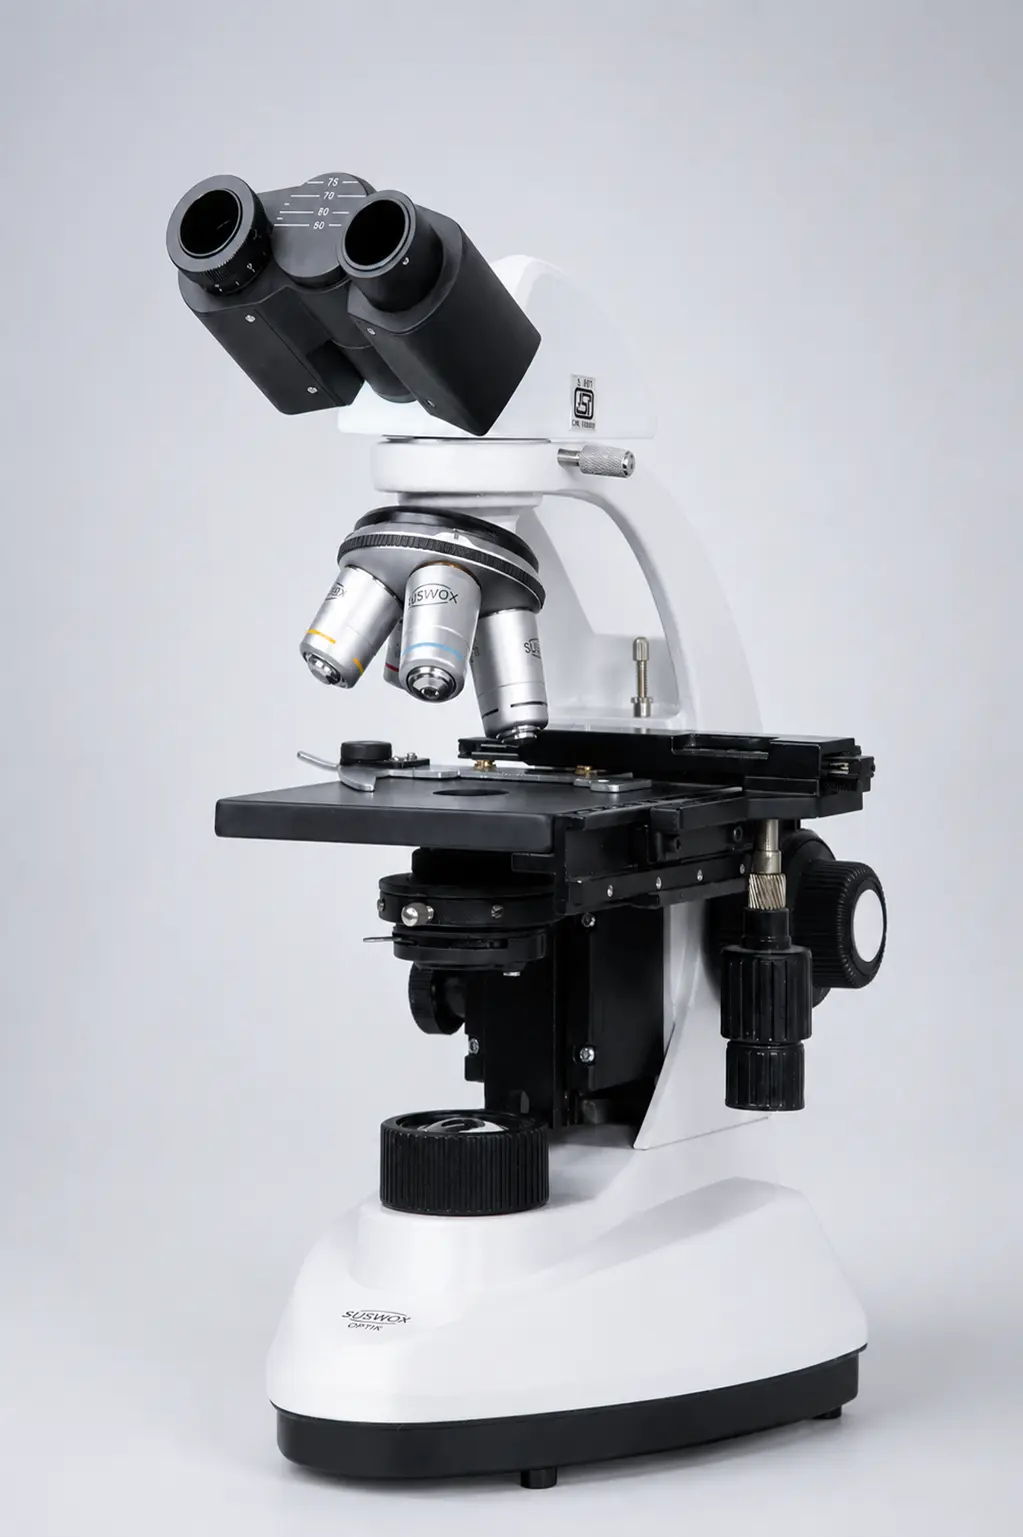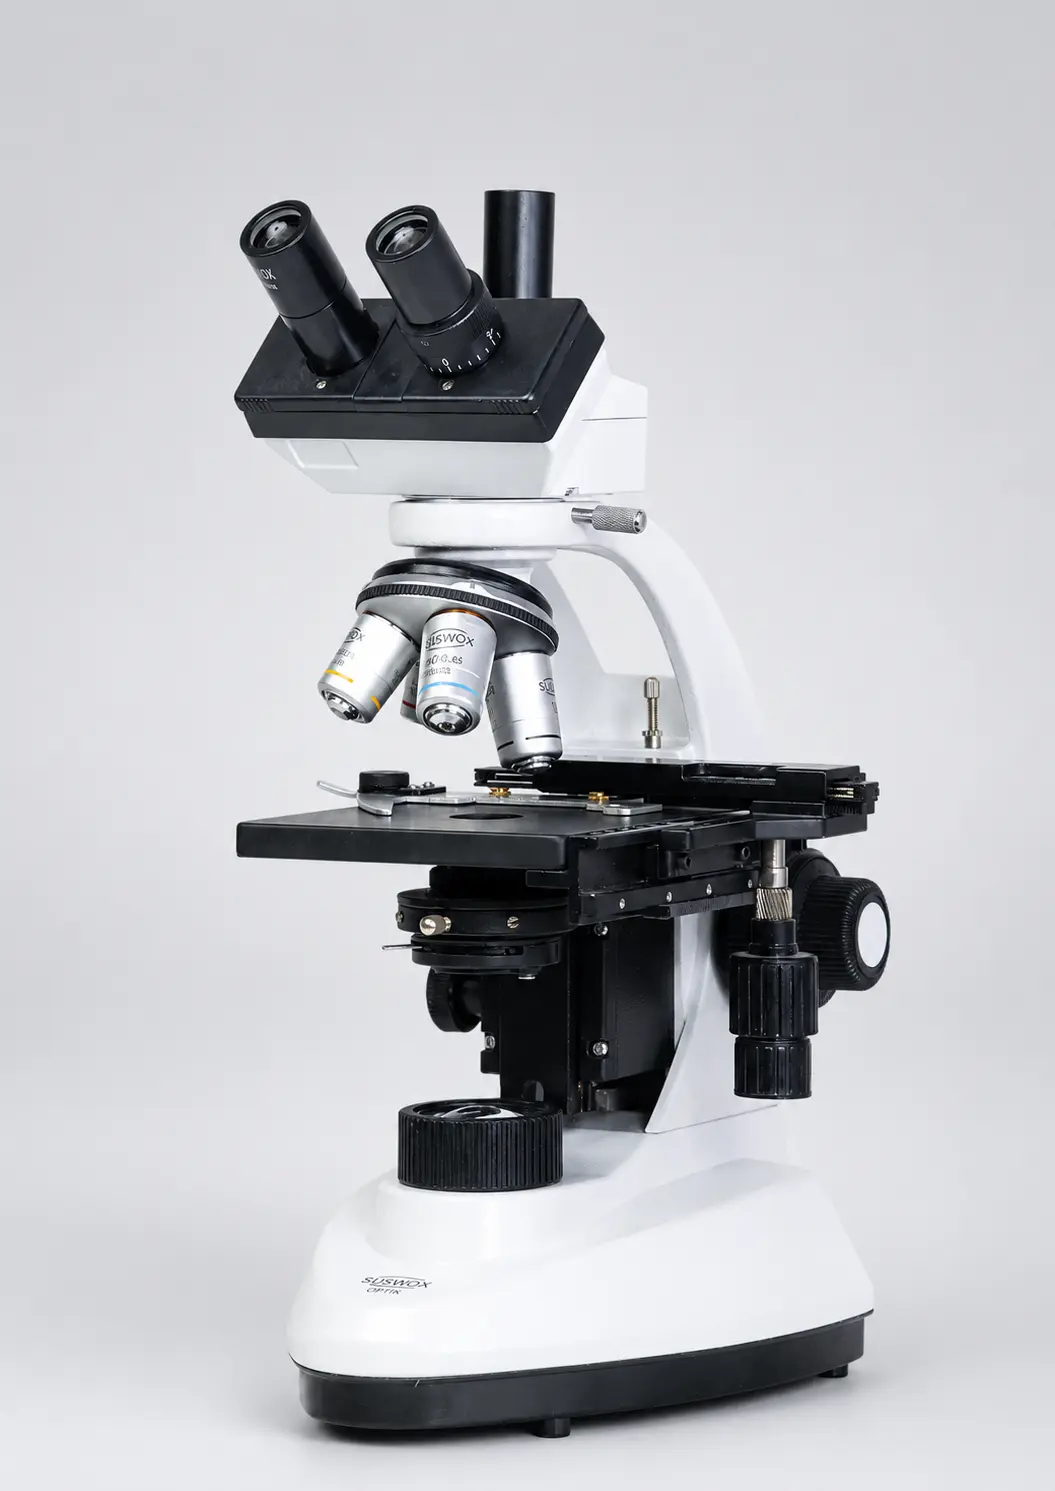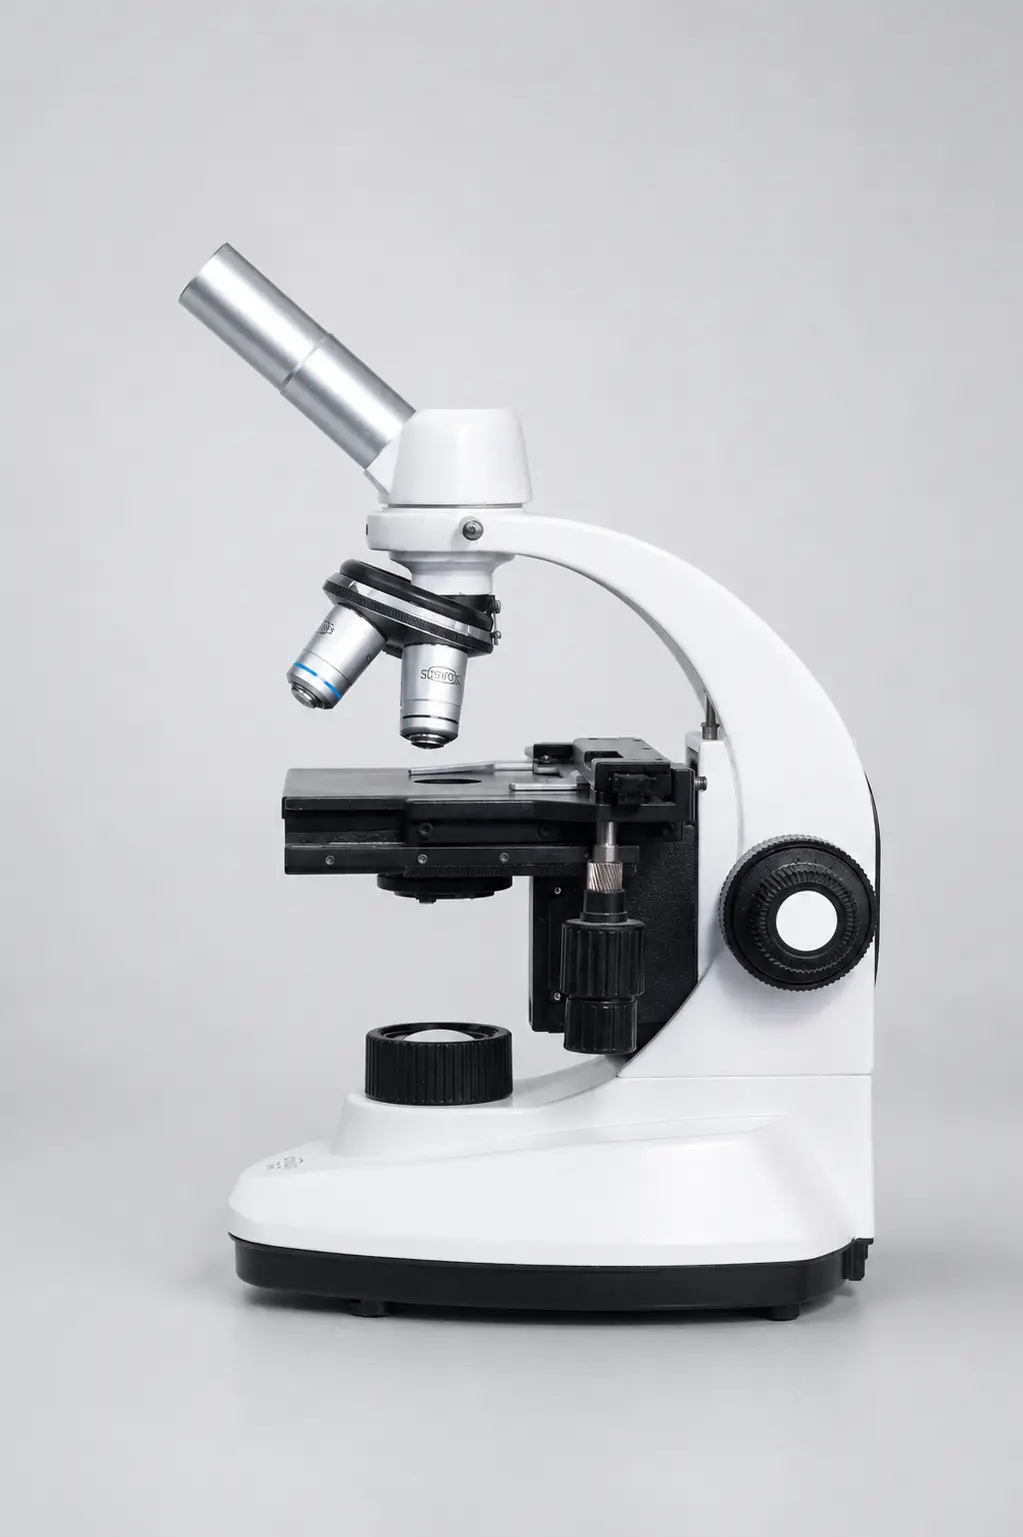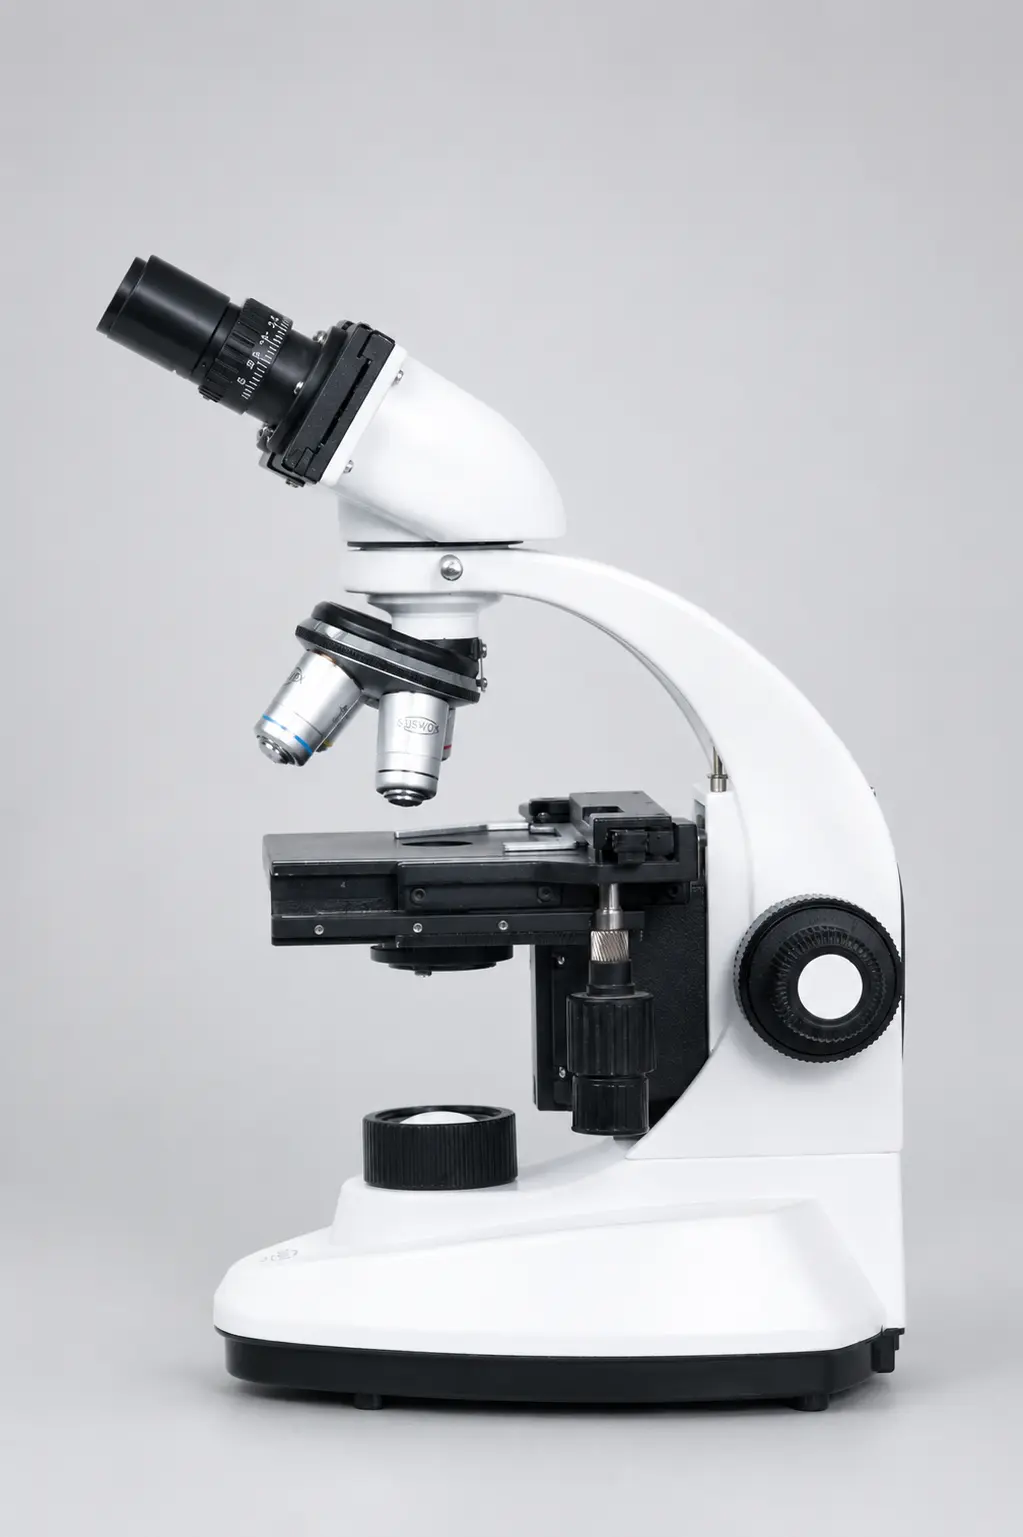
Switch on the lamp. Put the slide on the stage. Turn the coarse knob until something finally comes into view. That is how most students use a microscope in a college lab, and honestly, it works well enough to get through a practical exam.
But very few people stop to ask what the light is actually doing between the bulb and their eye.
It is doing a lot. And once you understand how a compound microscope works as a complete light path, most everyday lab problems start making sense. Blurry edges. A dark image. Weak contrast. These are almost never lens defects. They are light path problems, and most are fixable in under a minute.
So let us follow the light. Source to specimen to eye, in order.
What is a compound microscope?
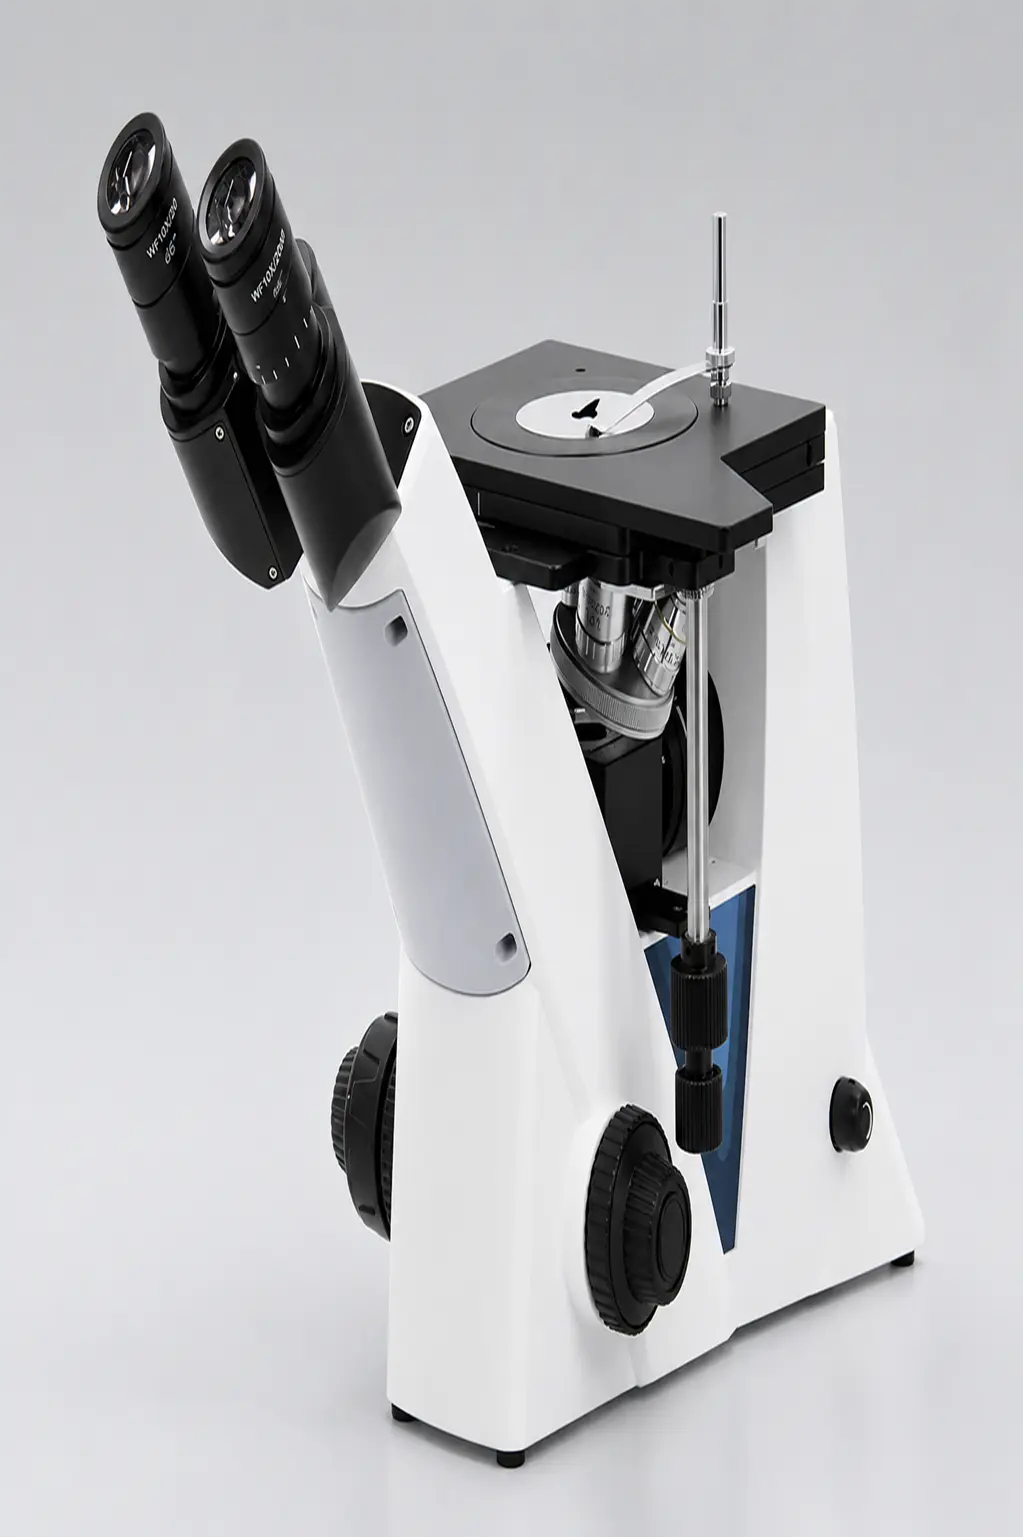
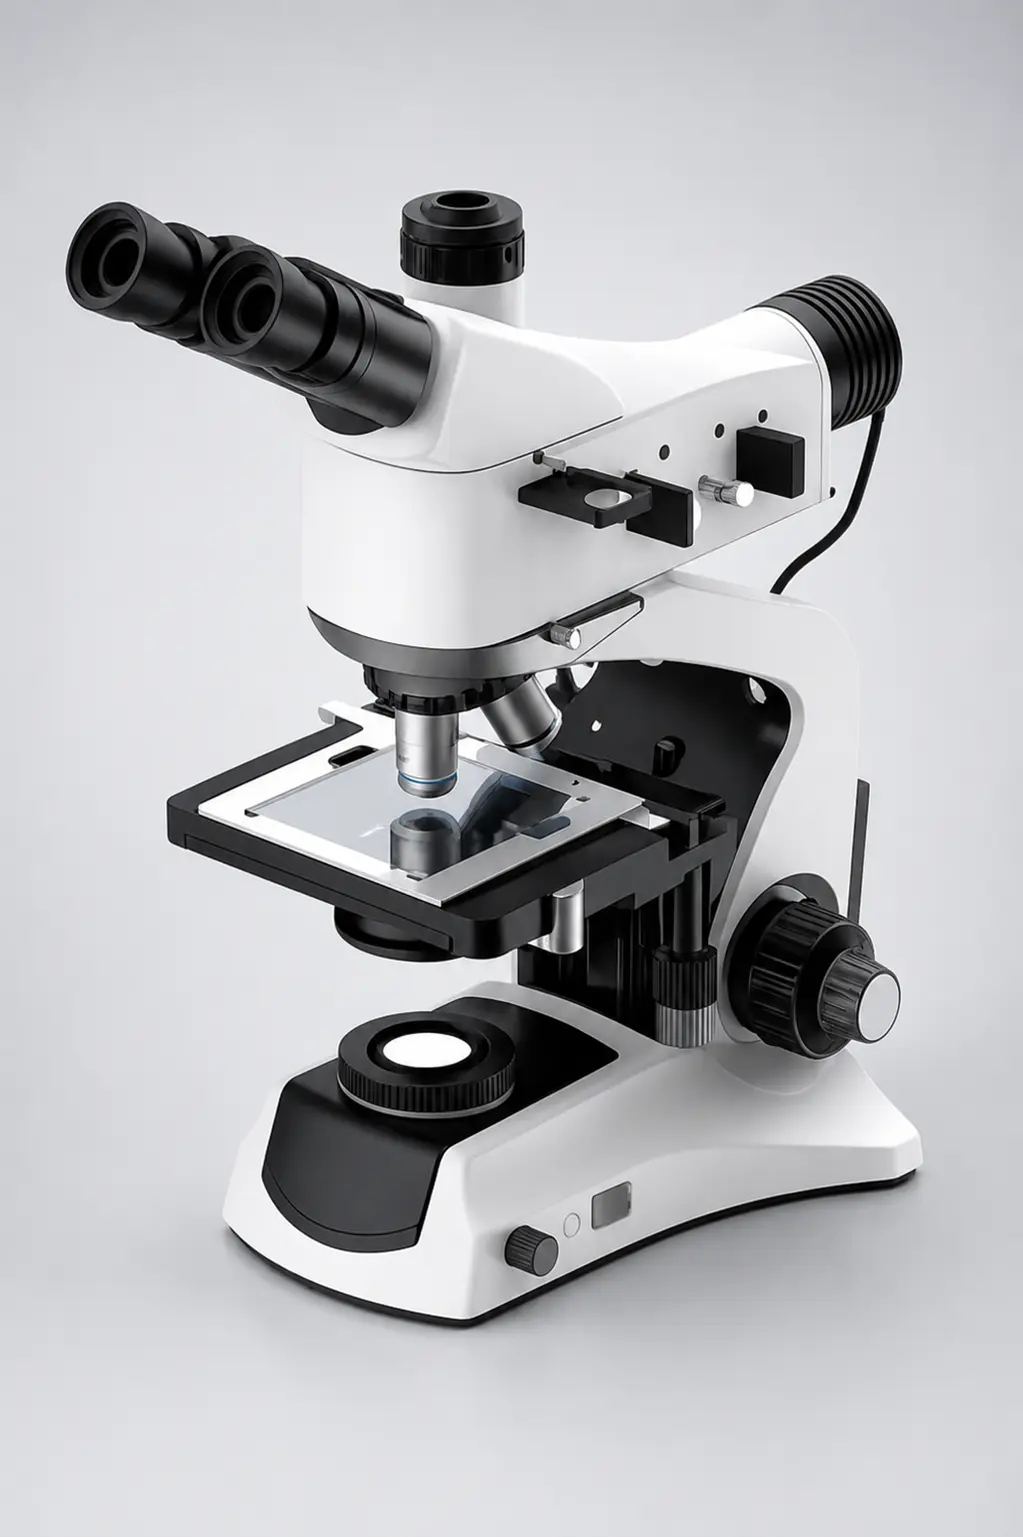
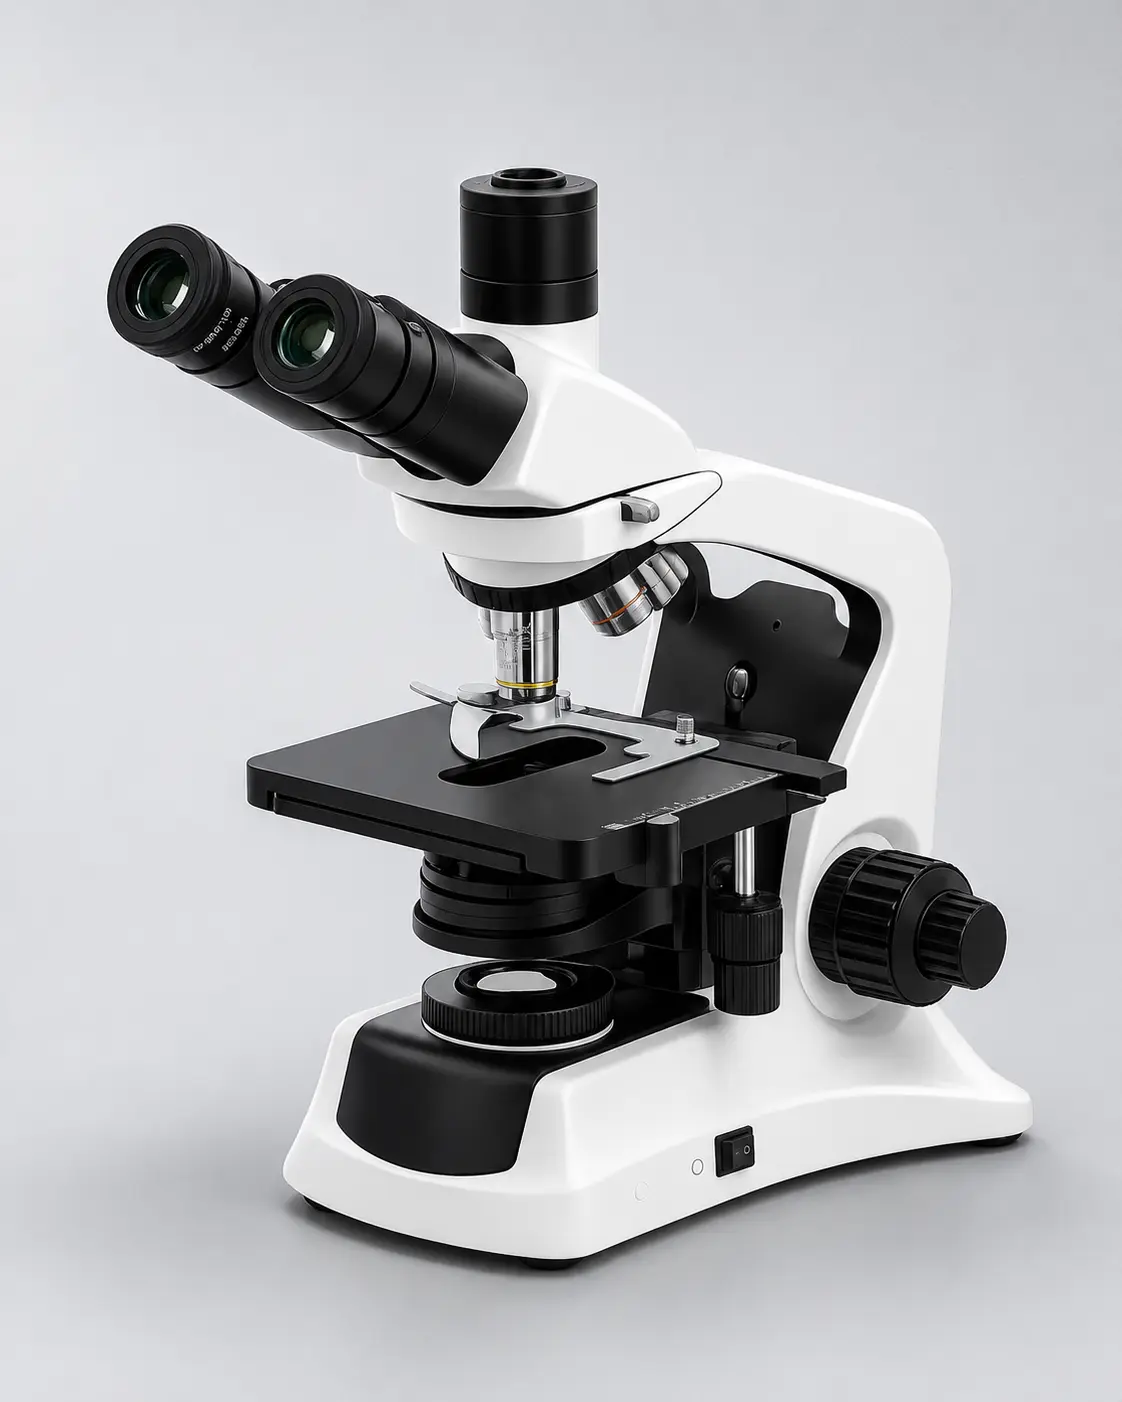
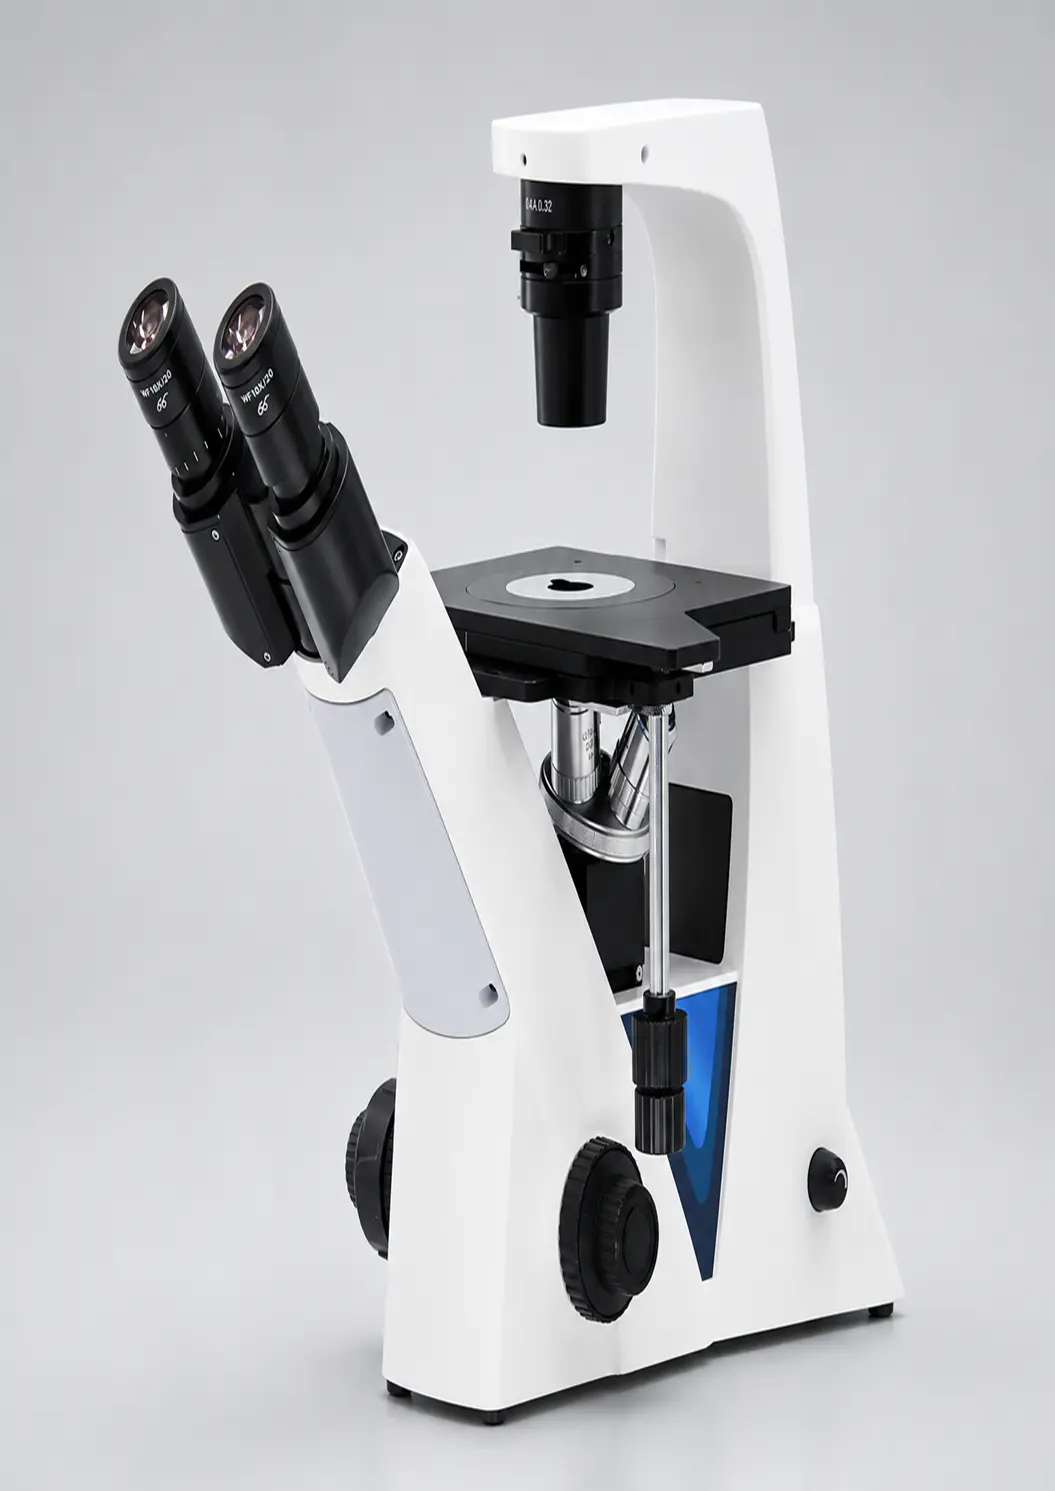
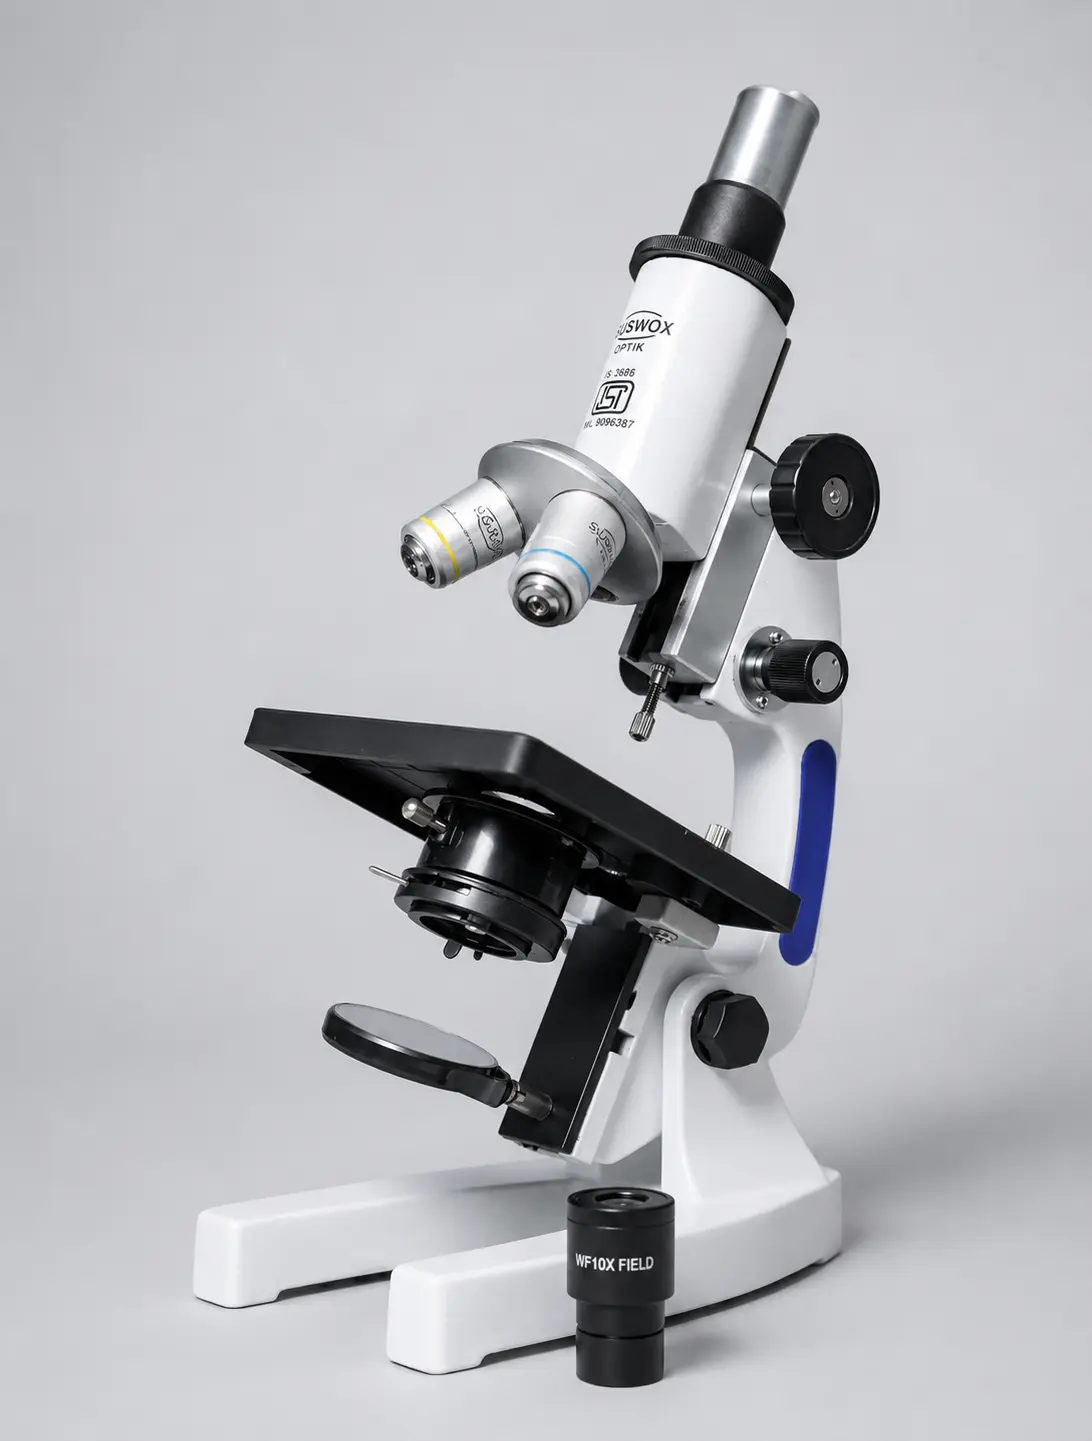
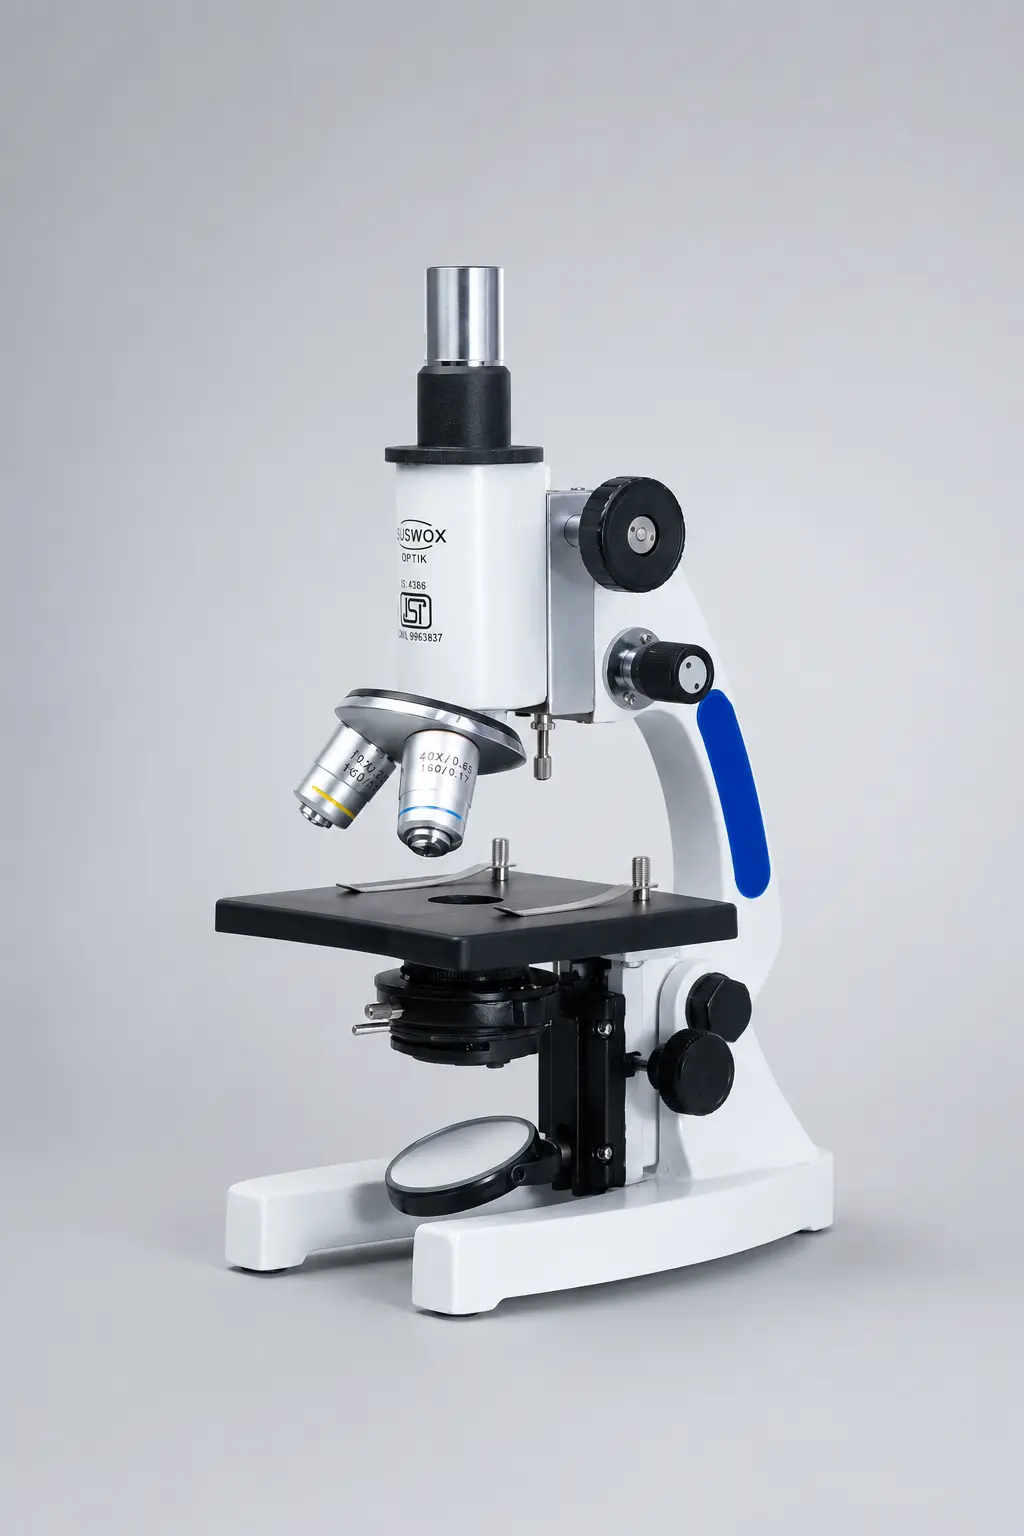
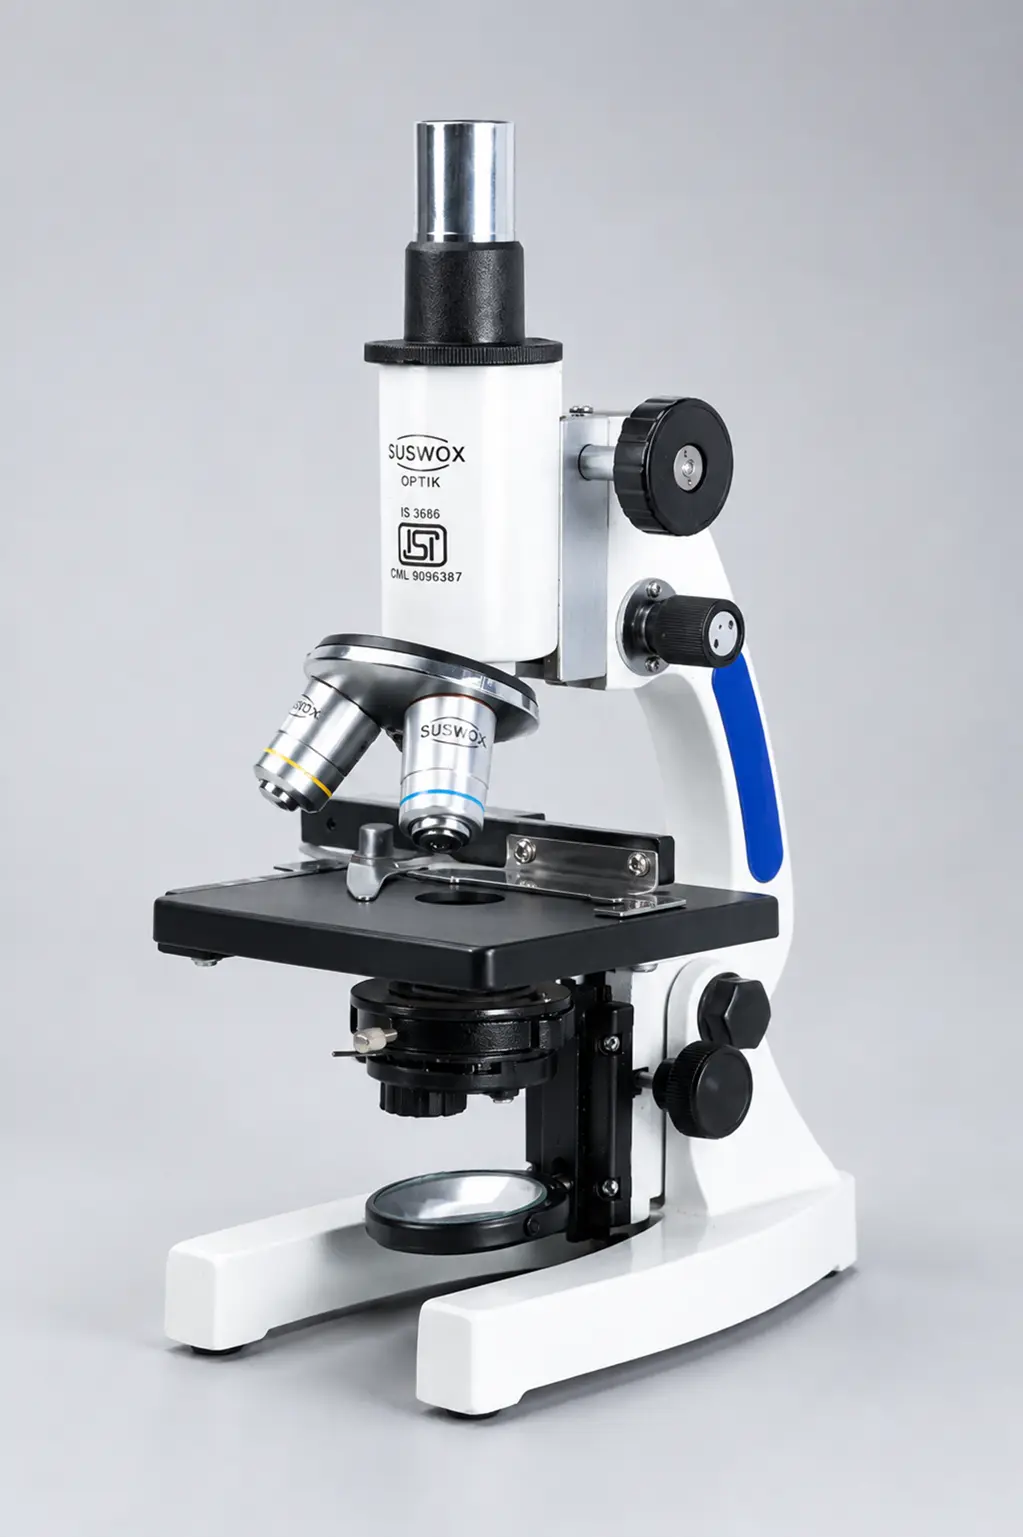
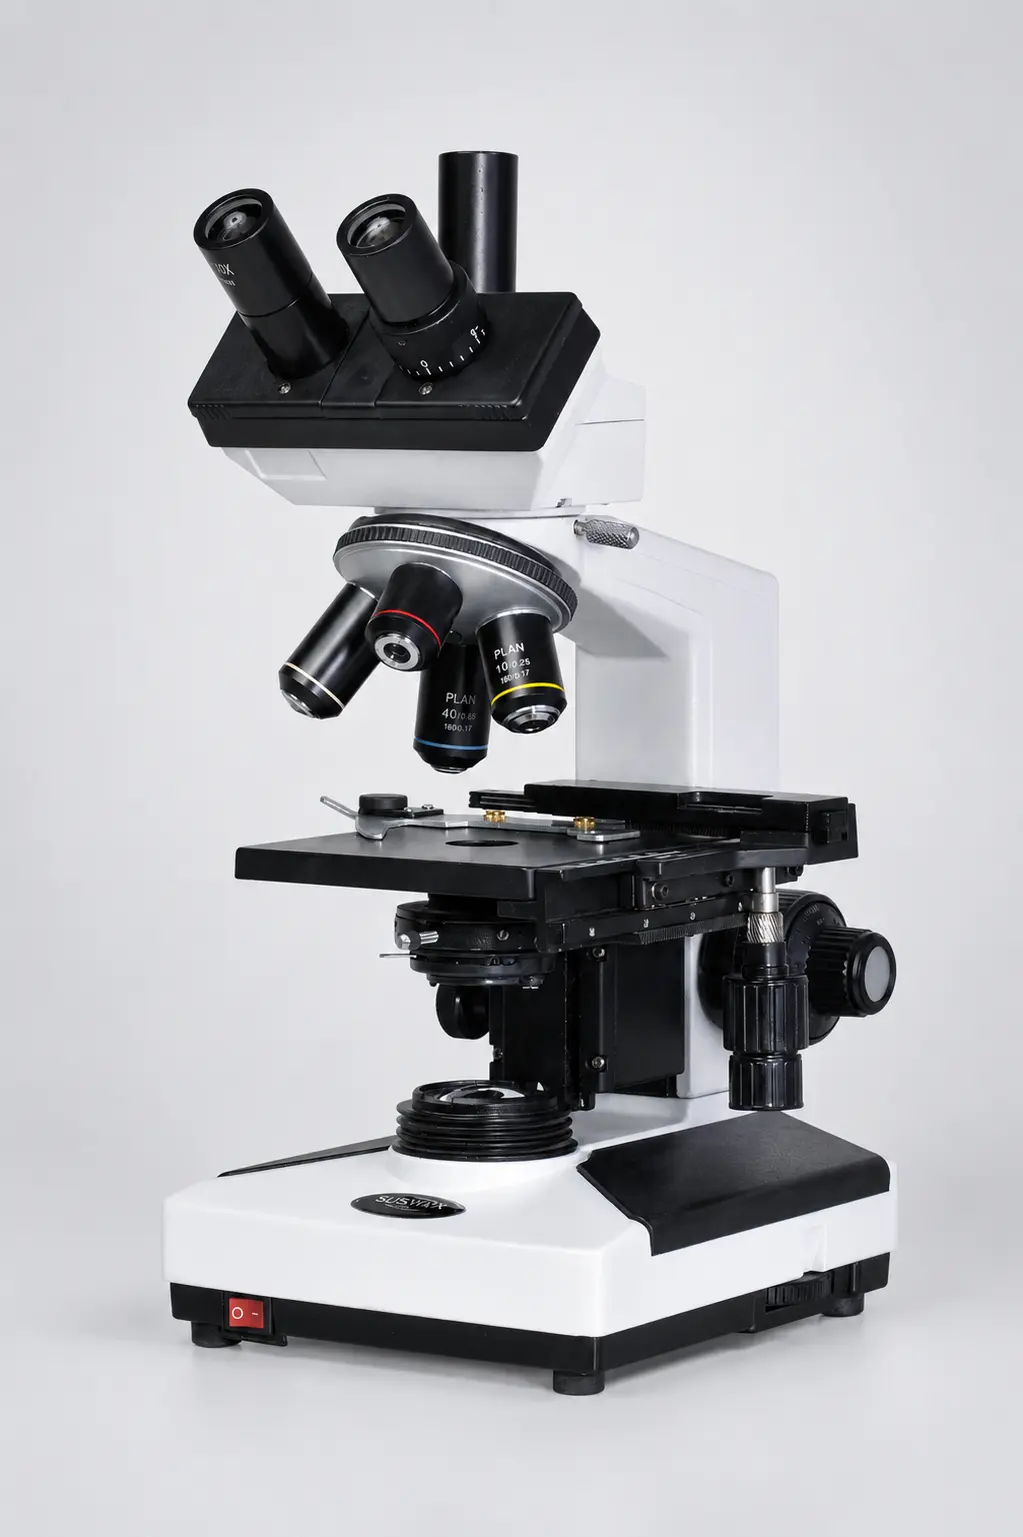
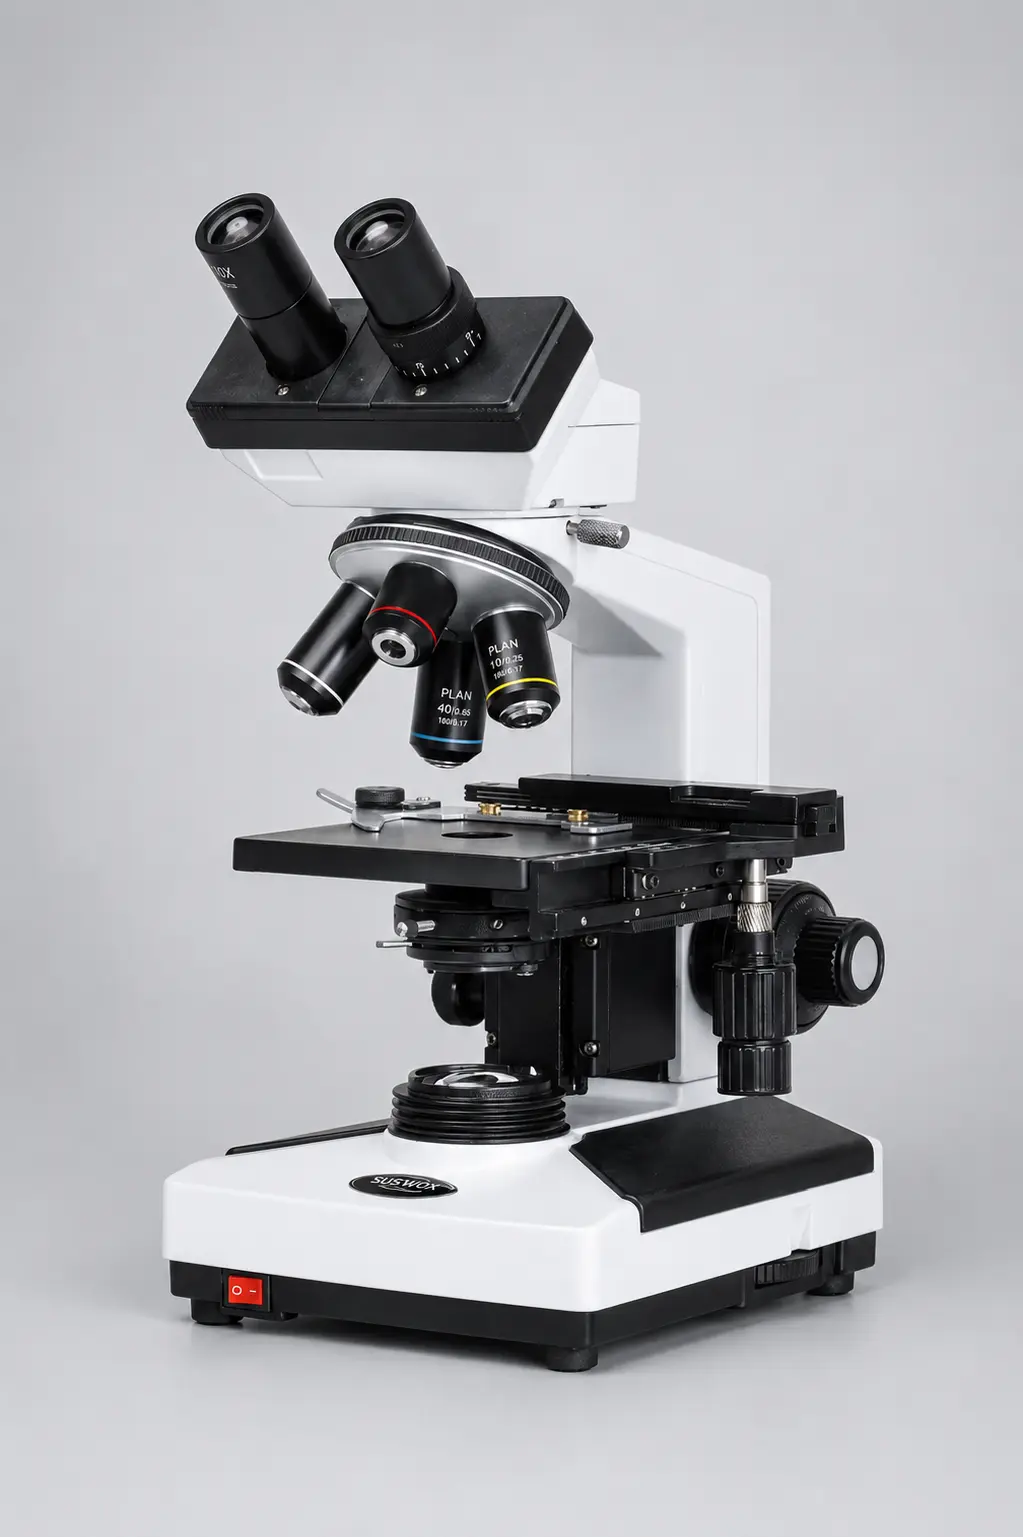
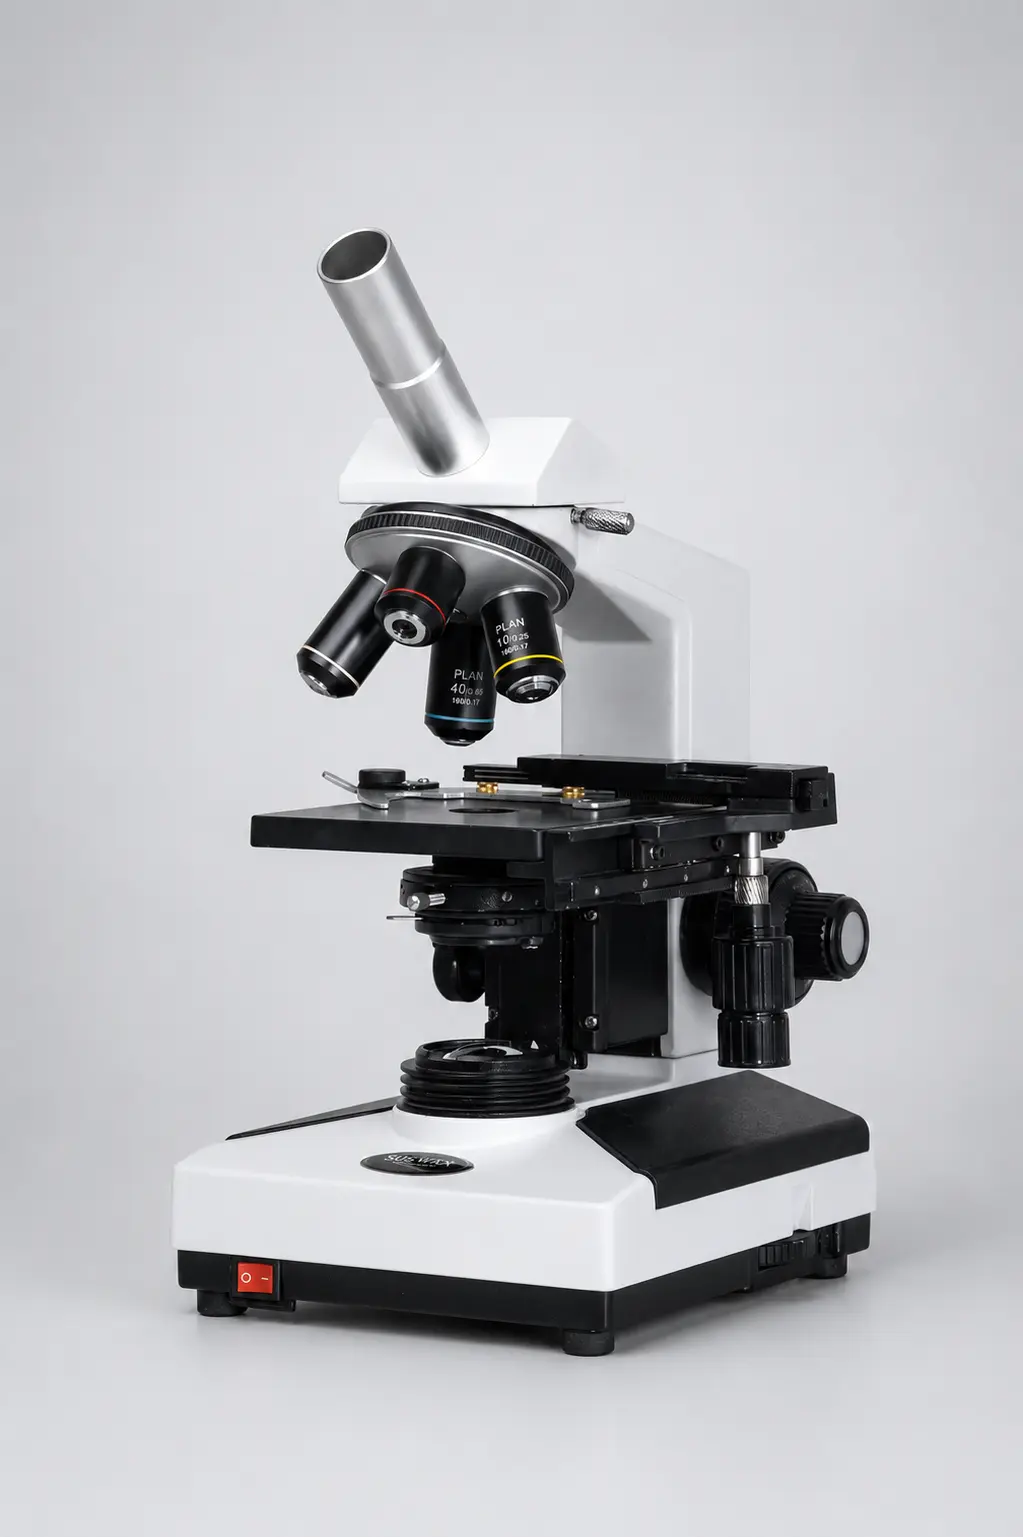
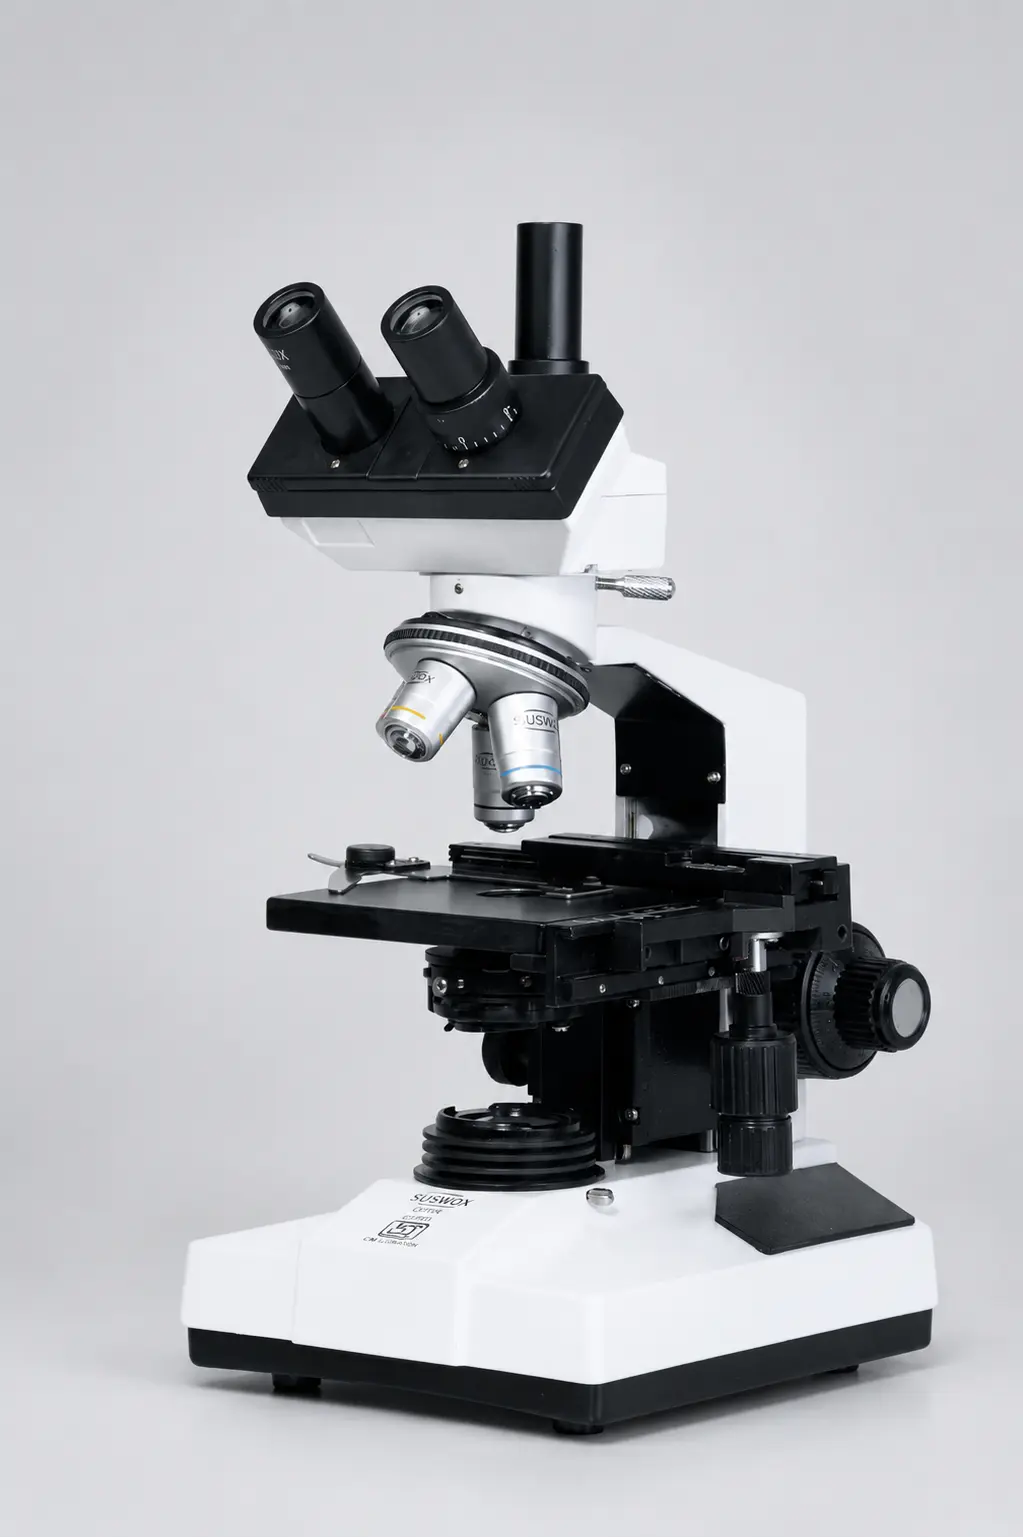
A compound microscope is a microscope that magnifies a specimen in two stages using two lens systems. The objective lens sits close to the sample and forms an enlarged image inside the body tube. The eyepiece then enlarges that image a second time before it reaches your eye. Because the two magnifications multiply, the design is called compound.
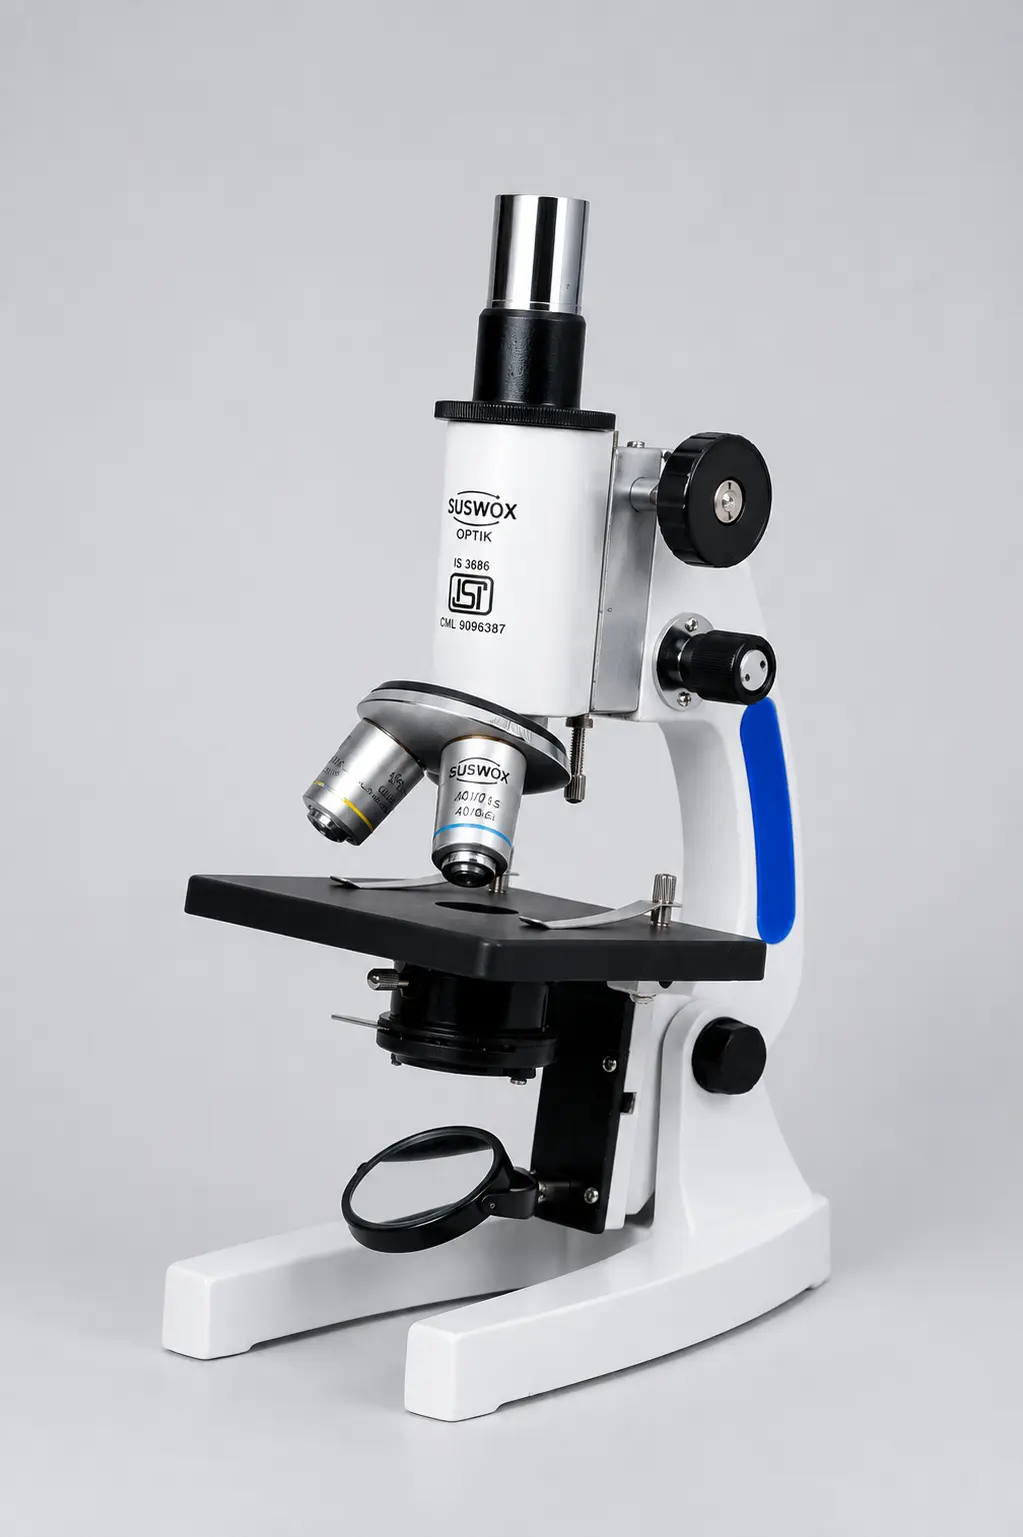
Compare this with a simple microscope, which has only one lens and one stage of magnification. Antonie van Leeuwenhoek built instruments like that in the 1670s using a single tiny bead of glass, and his best ones reached roughly 270x. Impressive for the time. Also a hard ceiling, because a single lens cannot be pushed much further without the image falling apart.
Splitting the job between two lenses got optics past that ceiling. A standard laboratory compound microscope today reaches 1000x with a clear, flat, evenly lit field.
The light path in a compound microscope, step by step
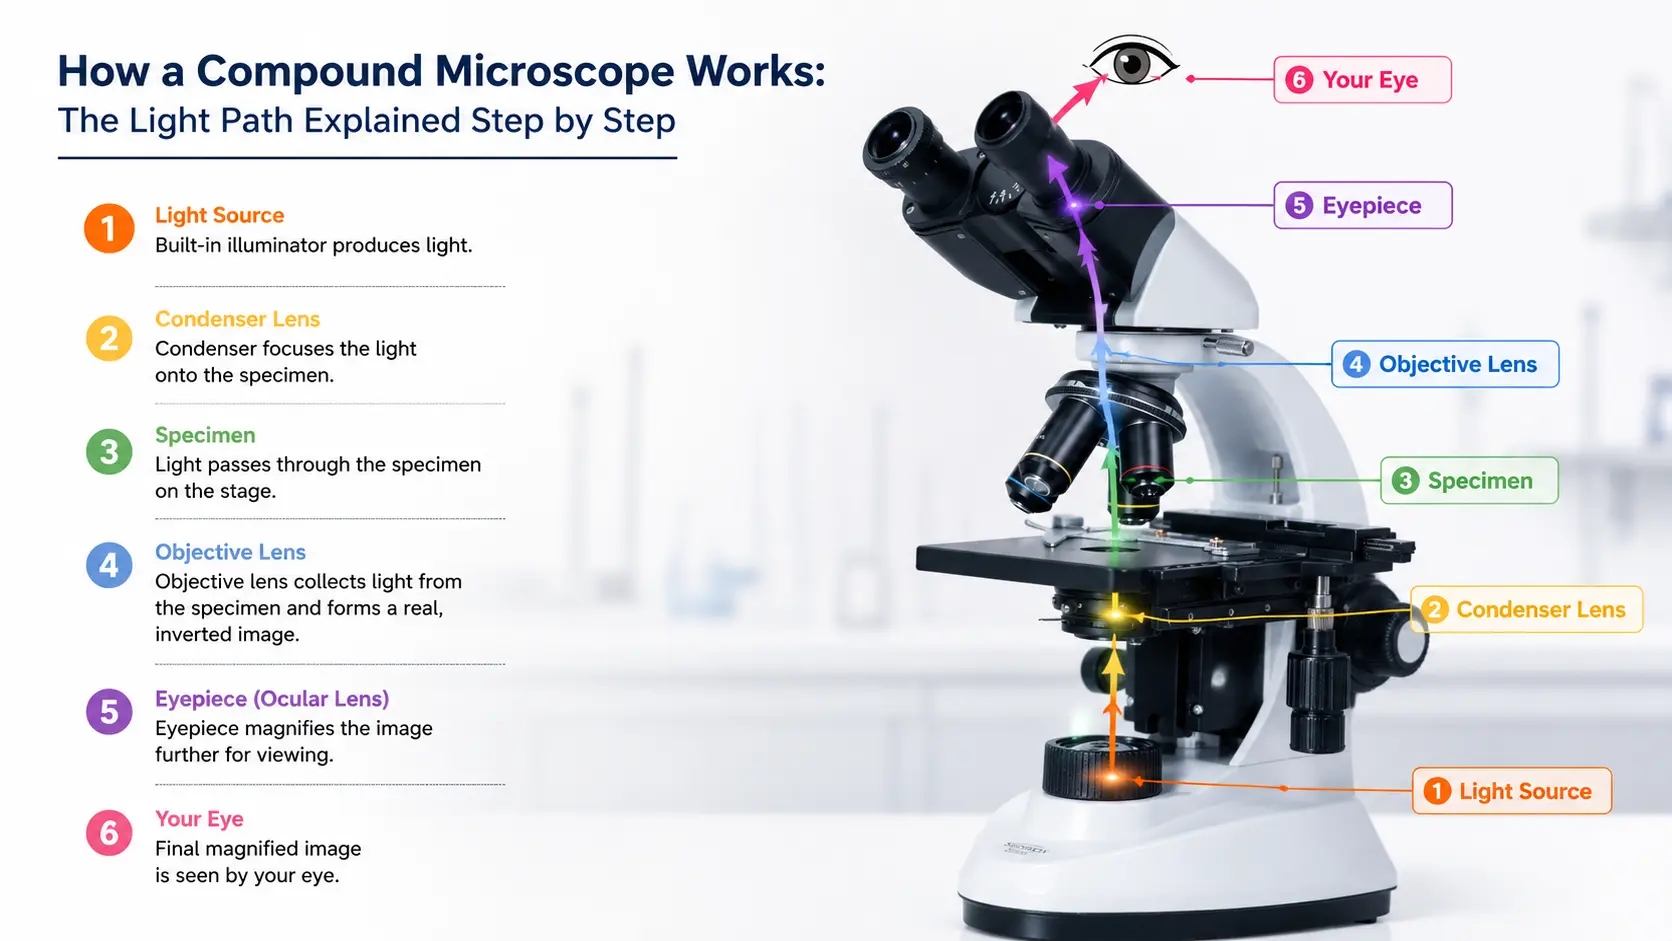
Every part of the microscope exists to do one specific job to the light. Here is the order in which it happens.
Step 1 — The light source
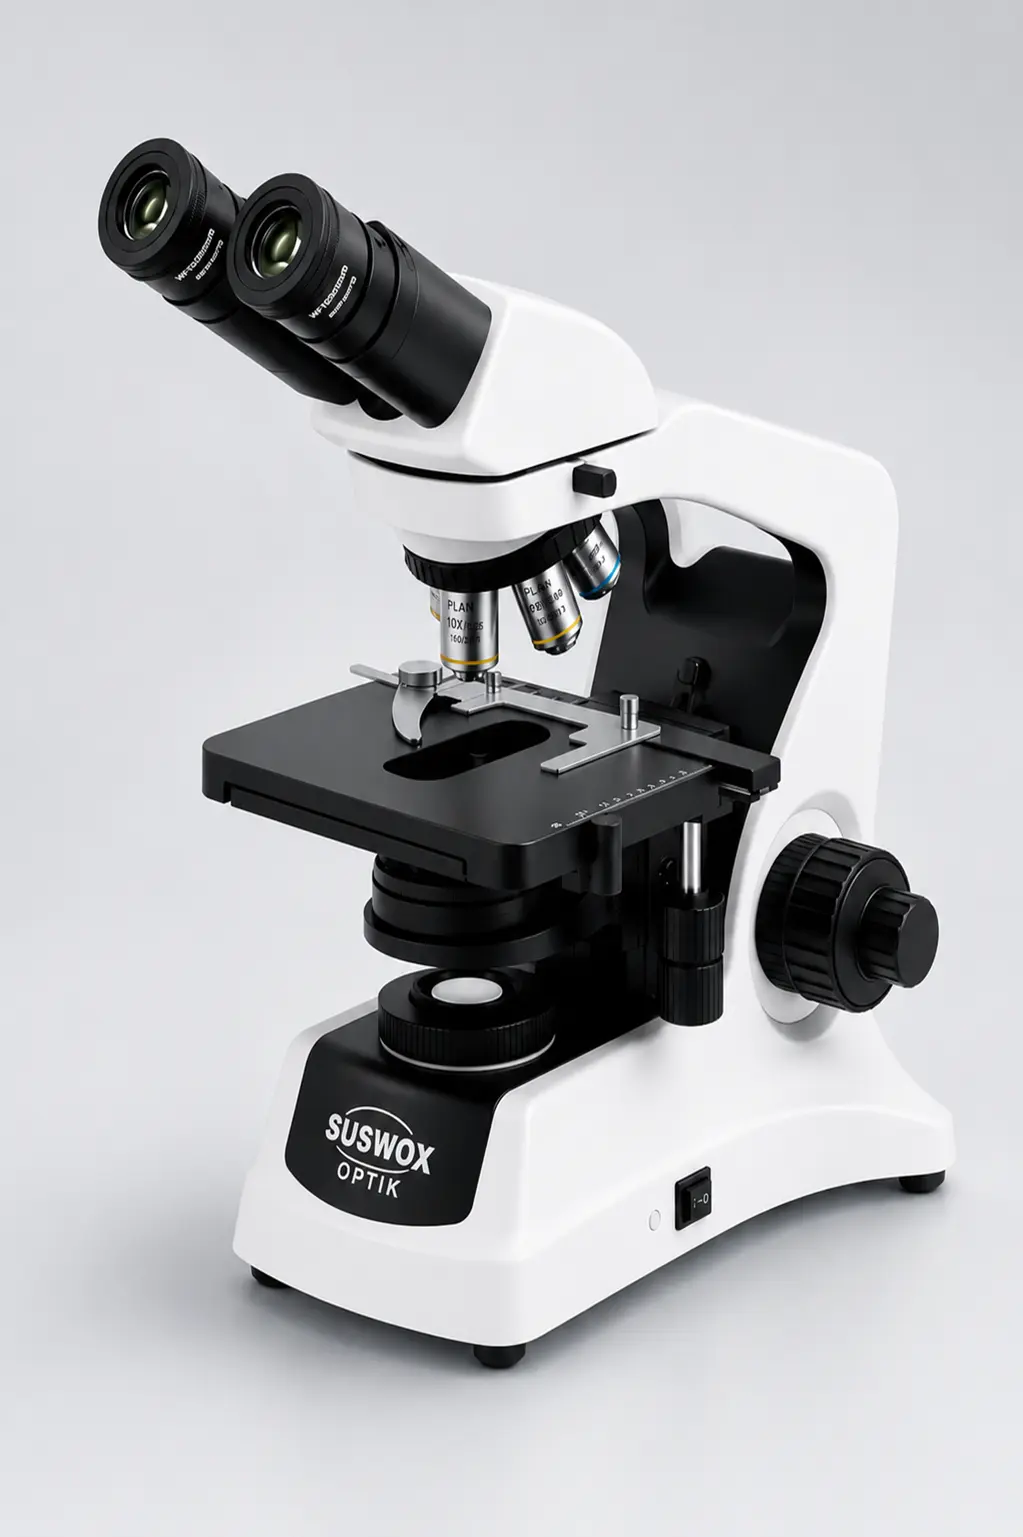
At the base sits the illuminator, usually an LED or a halogen lamp in older models. Its job sounds simple, which is to produce light. In practice its job is to produce even light, because an uneven source gives you a field that is bright in the centre and dim at the corners.
Step 2 — The condenser and the iris diaphragm
This is the stage almost everyone ignores, and it is the one that decides image quality more than any other.
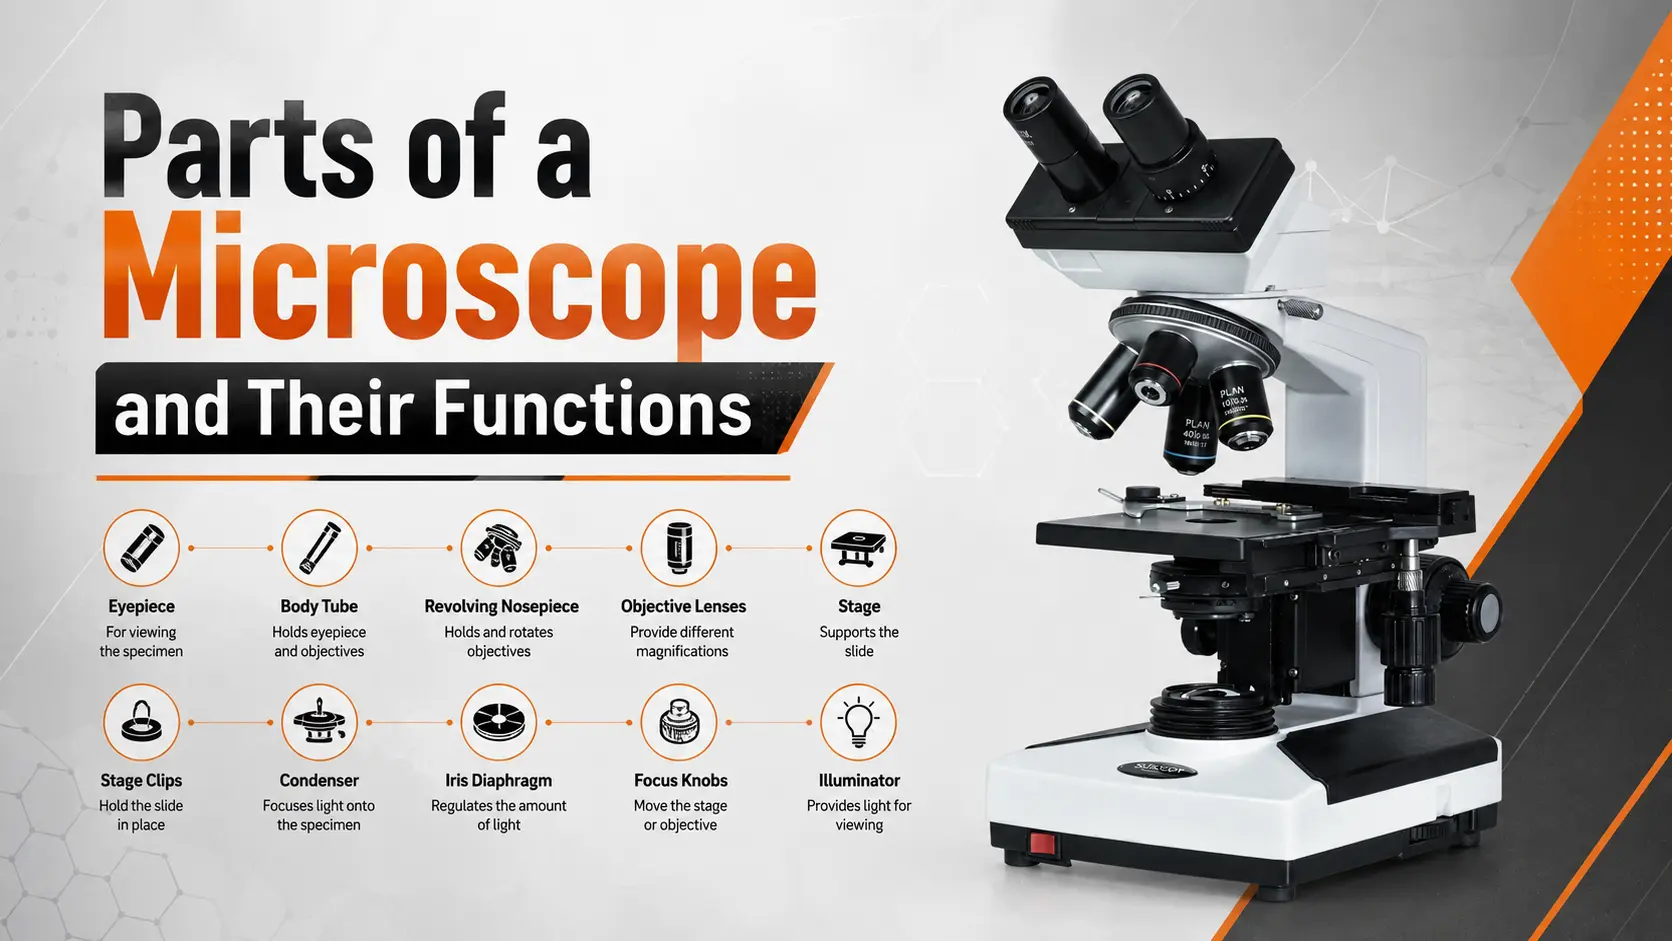
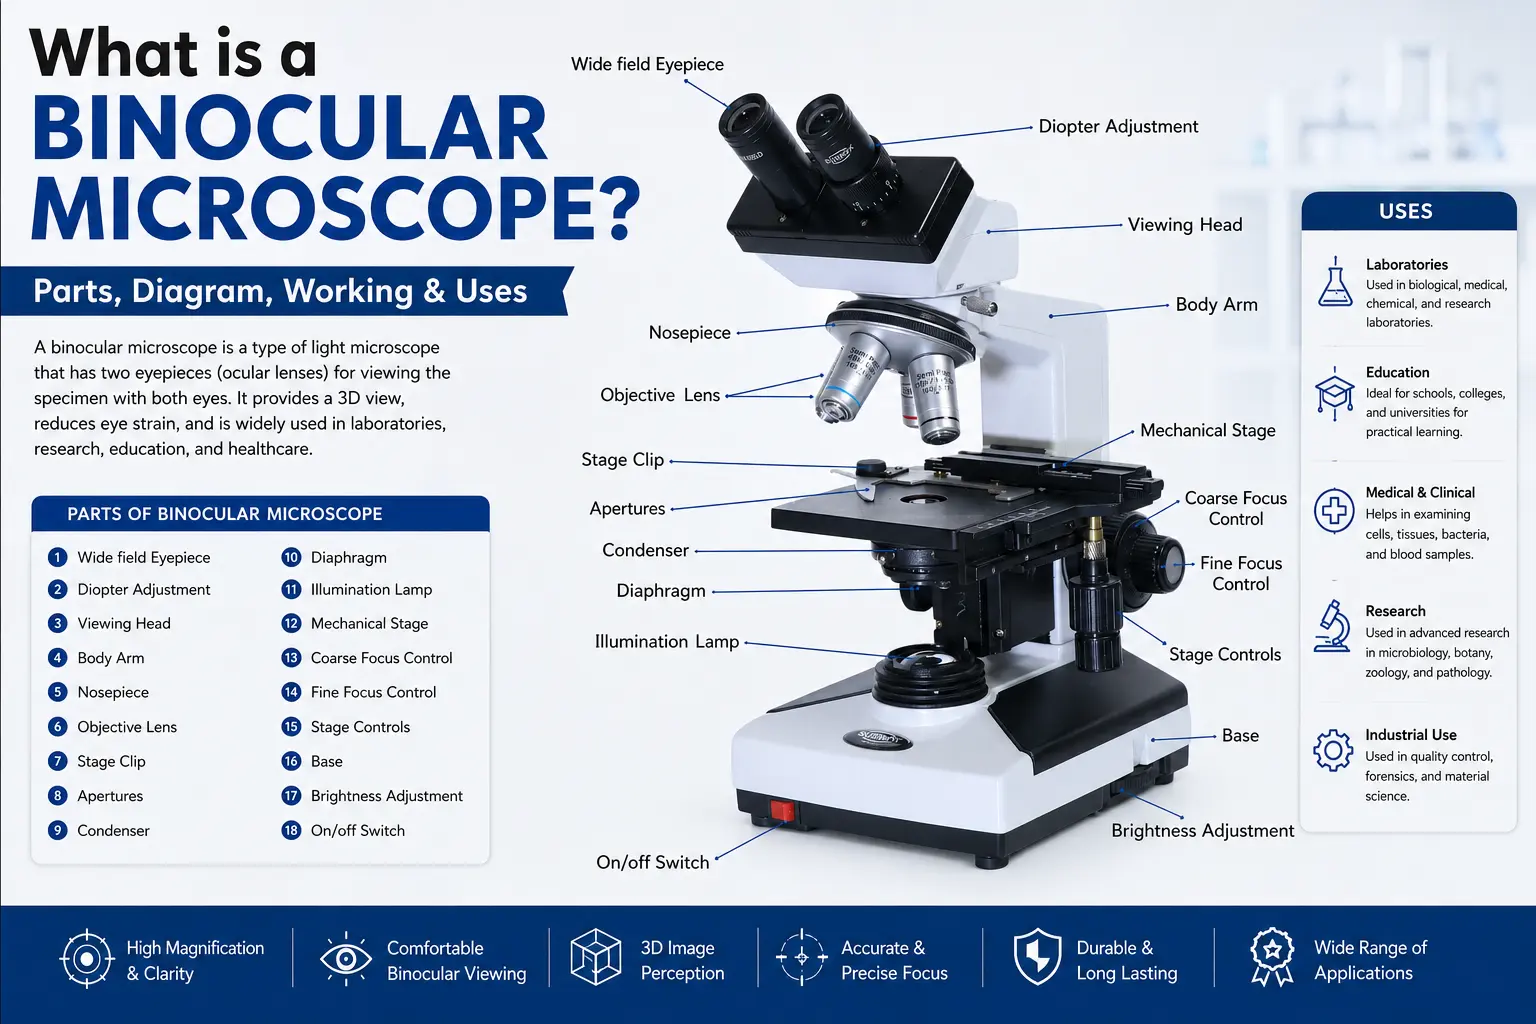
The condenser is a lens assembly directly under the stage. It gathers the scattered light from the lamp and focuses it into a cone that fills the objective lens properly. Without it, most of your light simply misses the objective and gets wasted.
Sitting inside or just below the condenser is the iris diaphragm, a small adjustable opening controlled by a lever. Closing it narrows the cone of light, which increases contrast but reduces resolution. Opening it does the opposite. Most beginners close the diaphragm too far because the image looks sharper that way, and technically it looks sharper while actually showing less real detail.
Around two-thirds open is usually right. Adjust it while looking through the eyepiece and you will find the point where contrast improves without the image going harsh.
Step 3 — The specimen on the stage
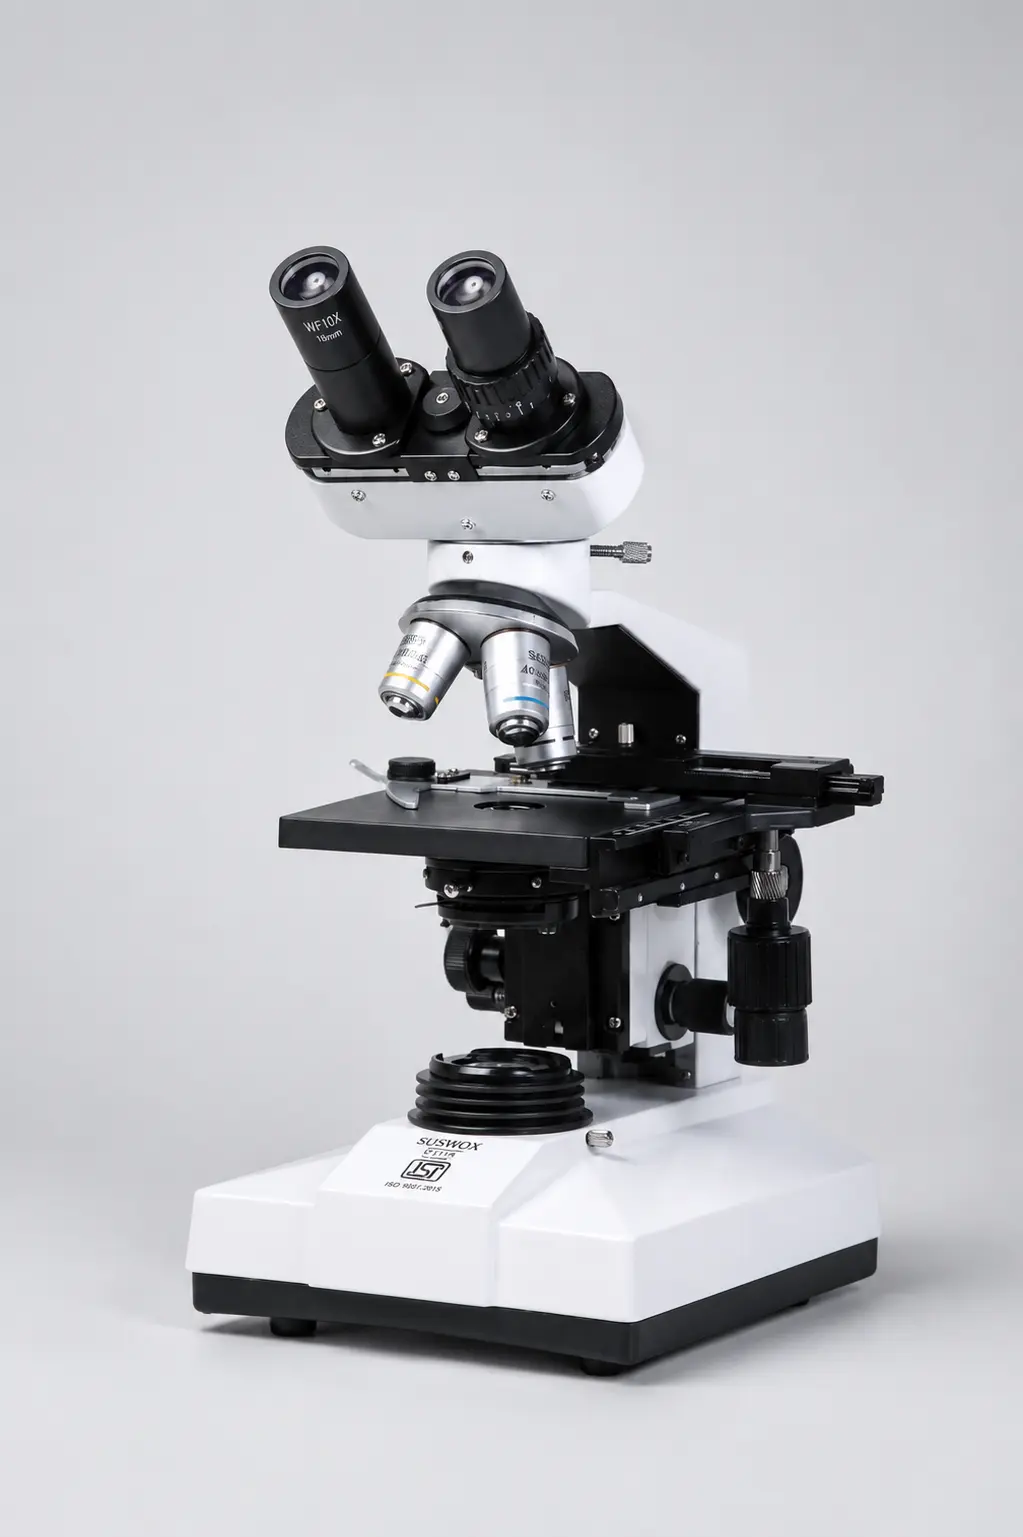
The slide sits on the stage, held by clips or a mechanical stage with X and Y controls. The light cone from the condenser passes straight through the specimen.
This is why samples must be thin and, ideally, stained. No amount of focusing will fix a specimen the light cannot travel through cleanly. Most biological sections are cut between four and ten micrometres thick for exactly this reason.
Step 4 — The objective lens
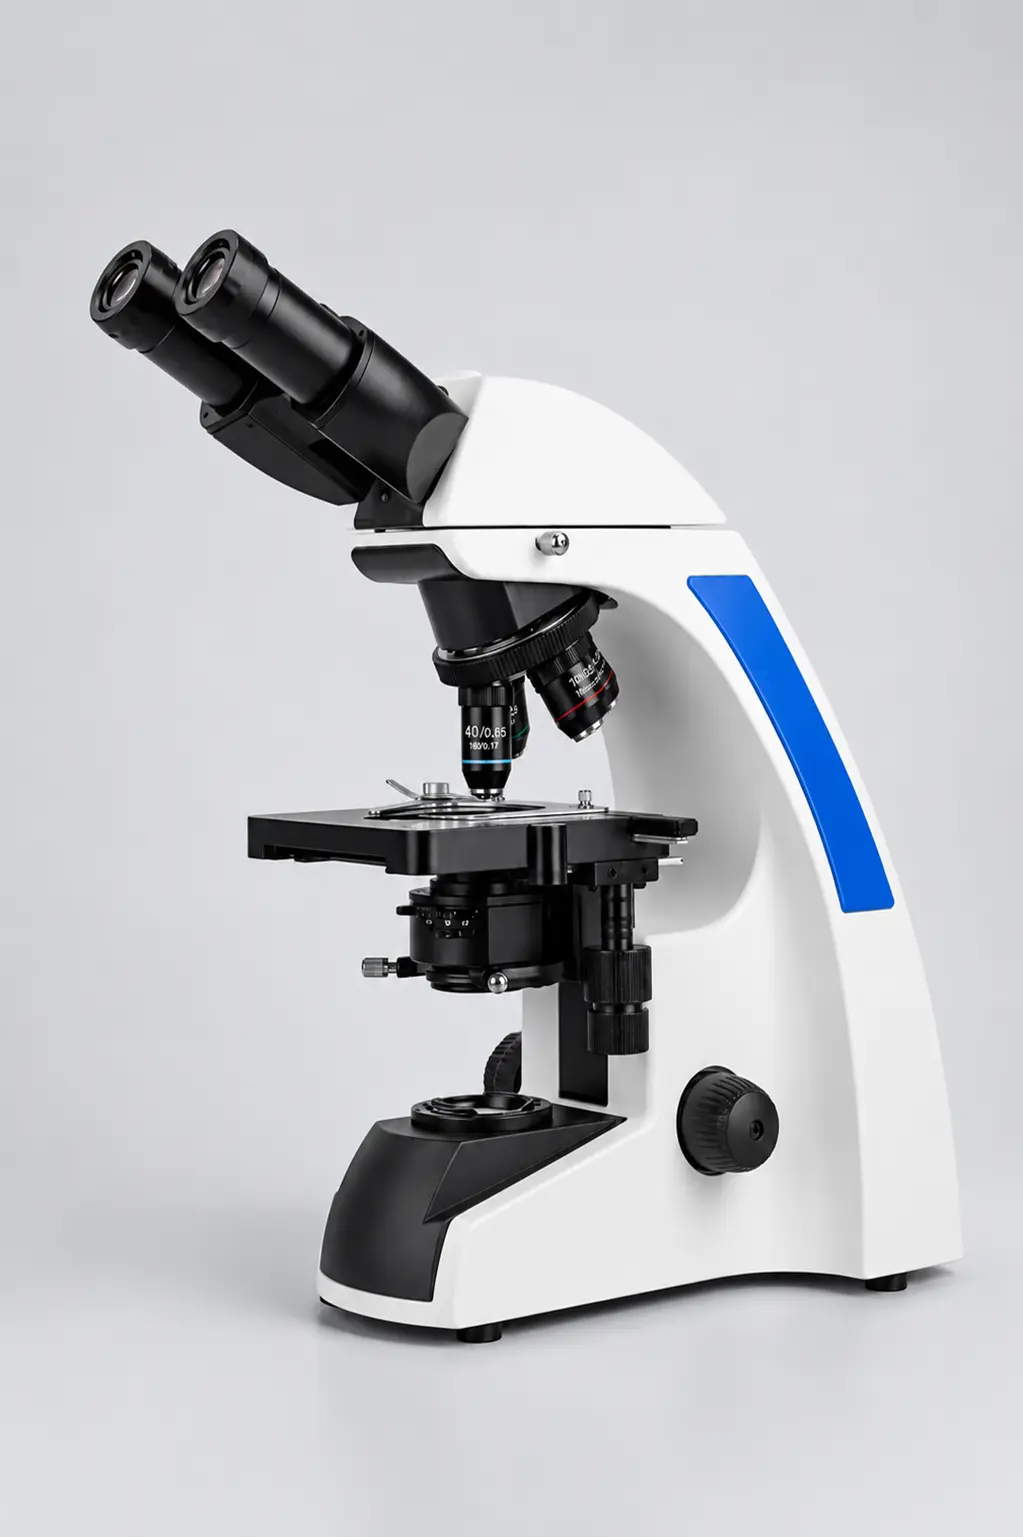
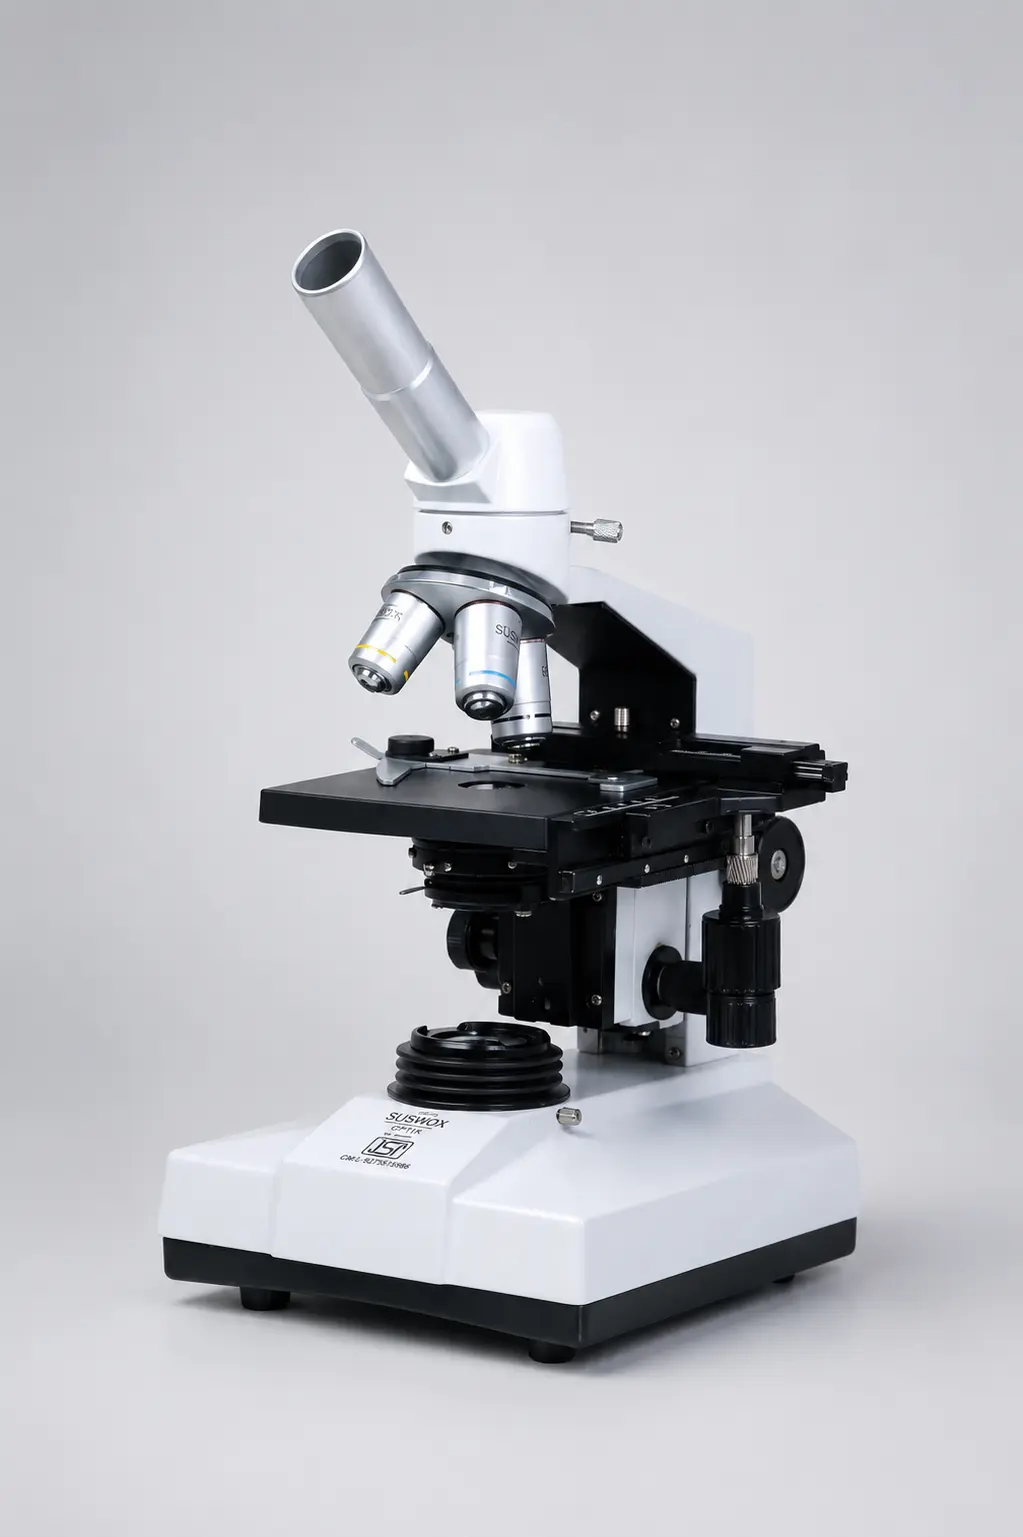
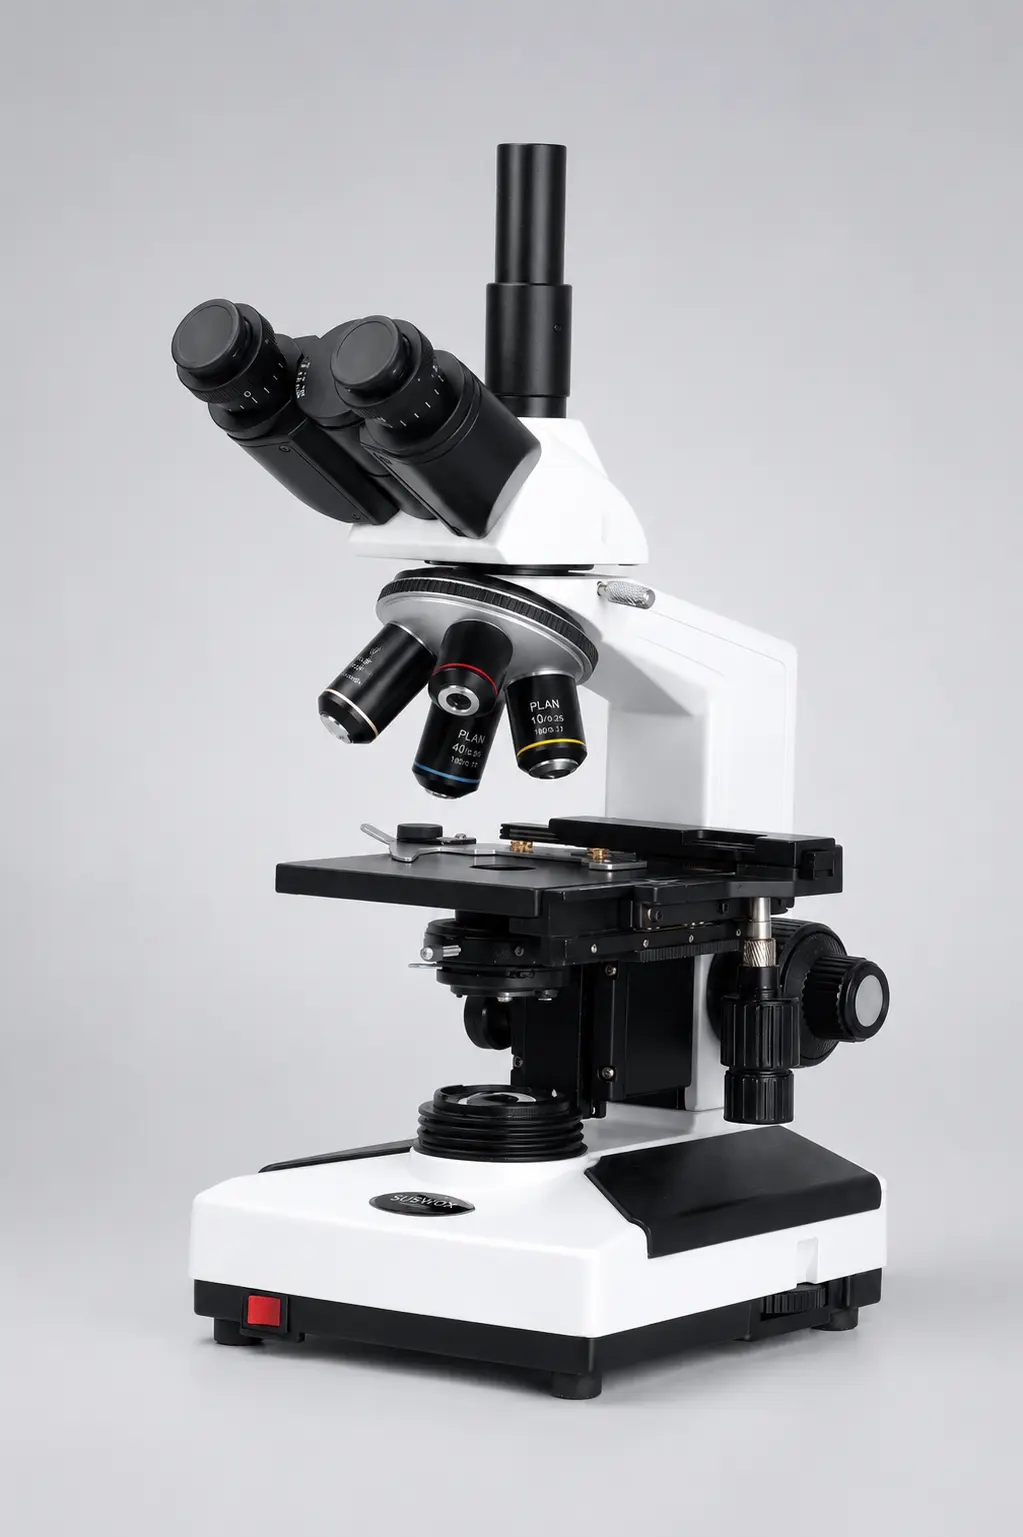
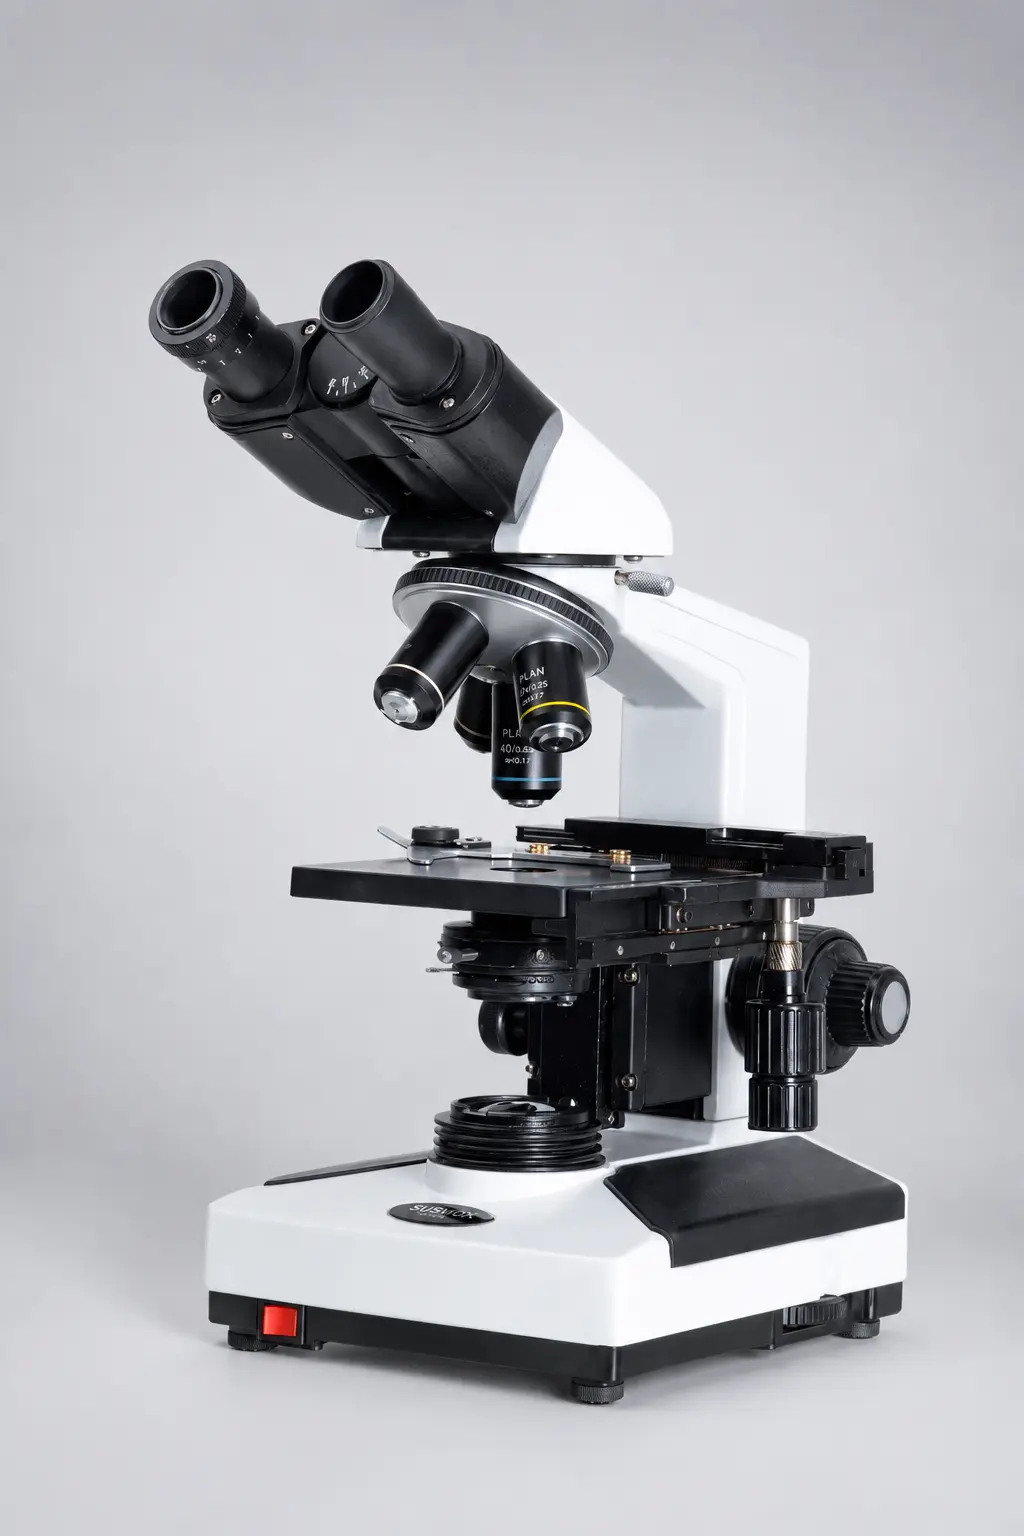
The real magnification happens here. The objective is the lens closest to the specimen, and on a standard microscope you get three or four of them on a rotating nosepiece — usually 4x, 10x, 40x and 100x.
The objective collects the light that has passed through the specimen and forms a magnified, upside-down image inside the body tube. This is called the real image, and it is genuinely there, floating in the tube, even though you cannot see it directly.
Every objective carries markings on its barrel. A typical 40x reads 40x / 0.65 and then 160 / 0.17 below it. The 0.65 is the numerical aperture, which decides how much light the lens gathers and how much fine detail it can resolve. The 160 is the tube length in millimetres and the 0.17 is the cover slip thickness it was designed for.
At 100x, the gap between lens and slide gets so small that light bends away as it crosses the air layer. That is why the 100x objective needs immersion oil, which has nearly the same refractive index as glass. Skip the oil and a 100x objective performs worse than a 40x.
Step 5 — The body tube
The tube holds the real image at a fixed distance from both lenses. That distance matters, which is why you cannot mix objectives and eyepieces freely across different microscope brands and expect sharp results.
Step 6 — The eyepiece
The eyepiece, or ocular, works like a magnifying glass held over the real image inside the tube. It enlarges that image a second time and projects it as a virtual image that your eye interprets as sitting about 25 centimetres away.
Most eyepieces are 10x. Some are 15x or 16x. On a binocular head there are two, and the distance between them is adjustable so it matches the spacing of your eyes.
One eyepiece usually has a dioptre ring, which corrects the difference between your two eyes. Focus with the right eye first using the coarse and fine knobs, then close it and adjust only the dioptre ring for the left. Two minutes of setup that saves an hour of eye strain.
Step 7 — Your eye
The lens in your eye takes that virtual image and focuses it onto the retina. Which means the final image in a compound microscope is not formed by the microscope at all. It is formed by you.
That is also why two people can look through the same eyepiece and disagree about whether the image is sharp.
How is total magnification calculated?
Total magnification is the objective magnification multiplied by the eyepiece magnification. A 40x objective with a 10x eyepiece gives 400x. A 100x oil immersion objective with the same eyepiece gives 1000x.
The number is easy. What the number does not tell you is whether you are actually seeing more detail.
Push past what the numerical aperture can resolve and you get empty magnification — a bigger image with no extra information in it. Useful magnification tops out at roughly 1000 times the numerical aperture. With an NA of 1.25, that is about 1250x.
Why does the image appear upside down and reversed?
The objective lens forms an inverted image, and the eyepiece does not flip it back. So what you see is rotated 180 degrees, which means it is both upside down and left-right reversed.
Move the slide to the right and the image moves left. Move it up and the image goes down. Every lab student fights this for the first week and then stops noticing it entirely.
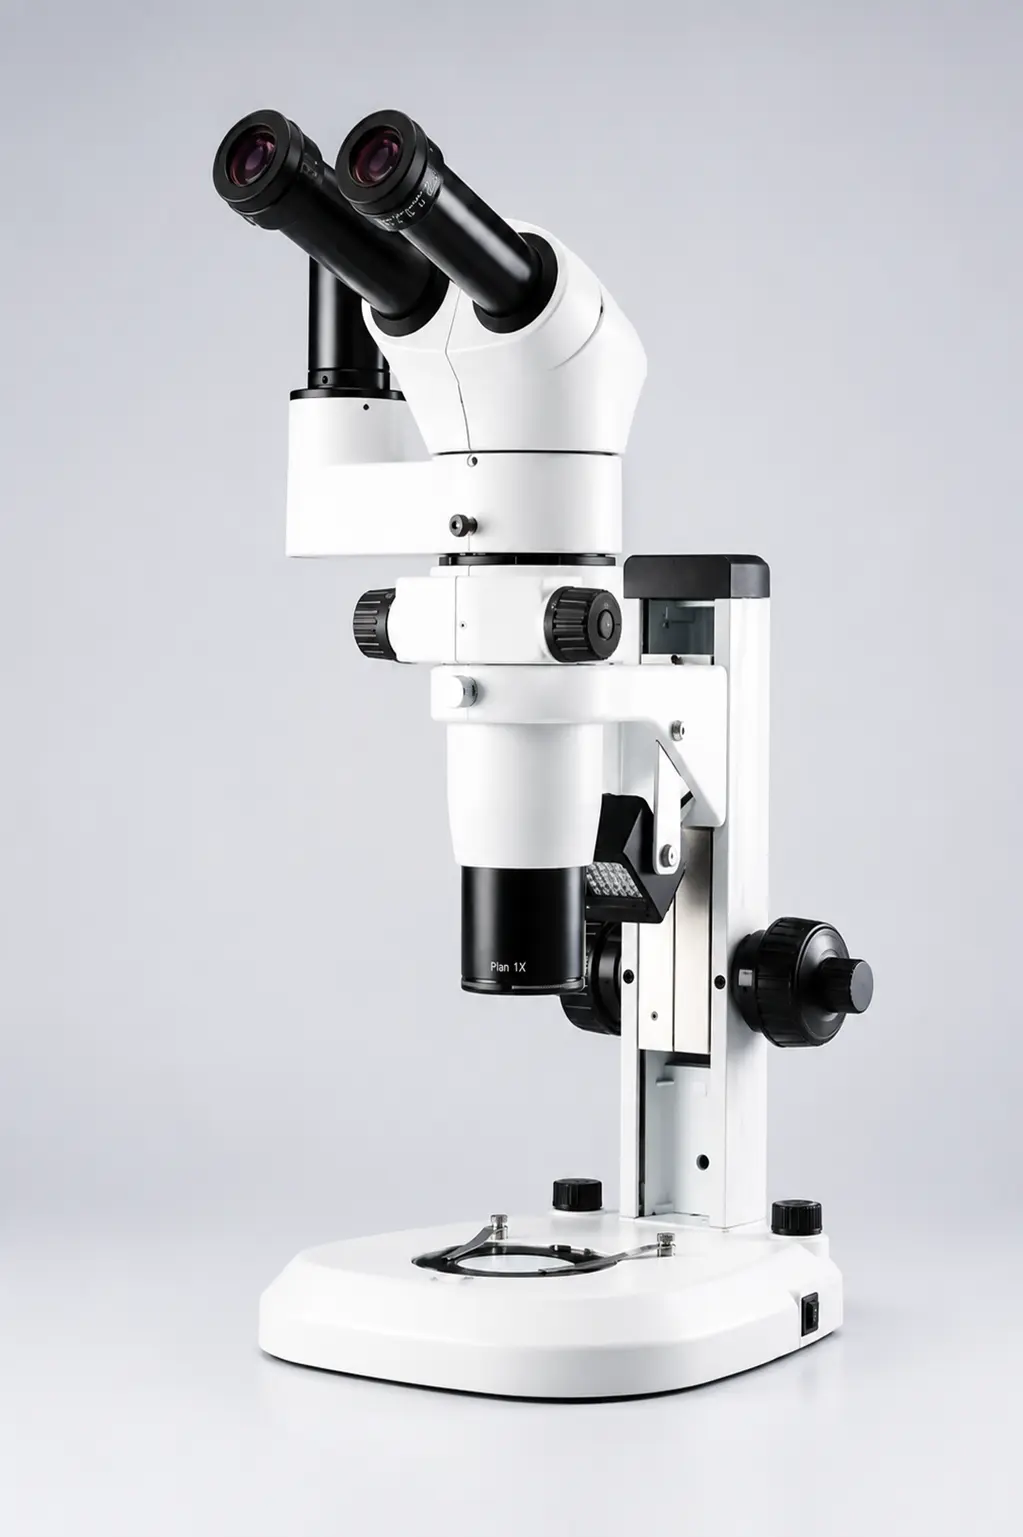
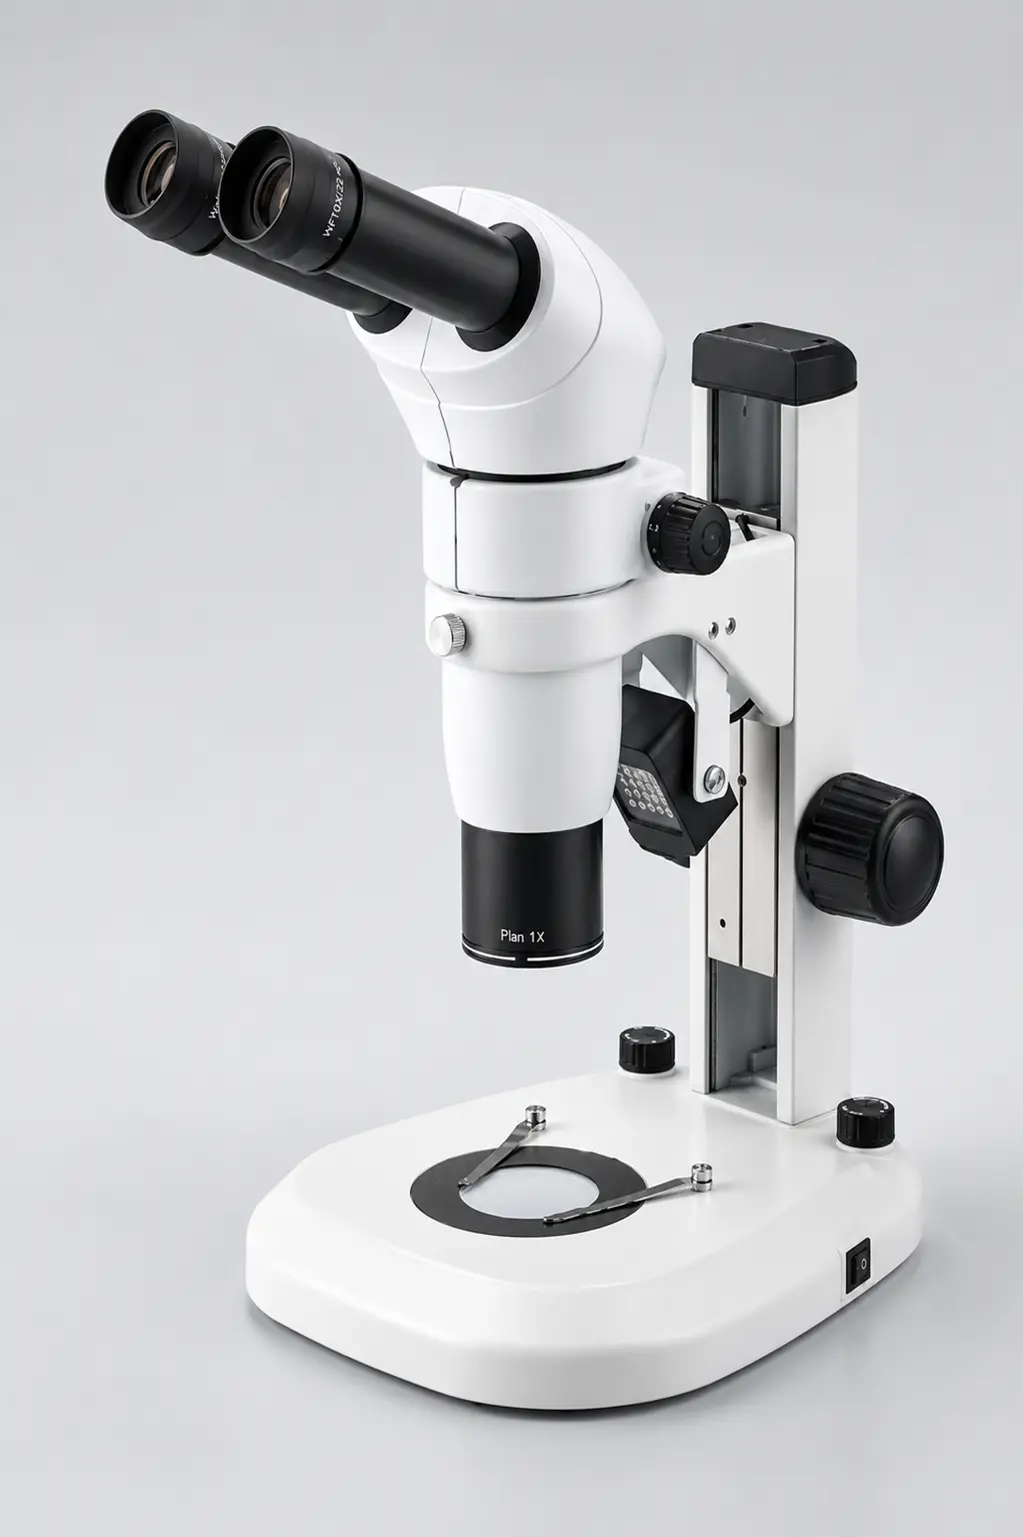
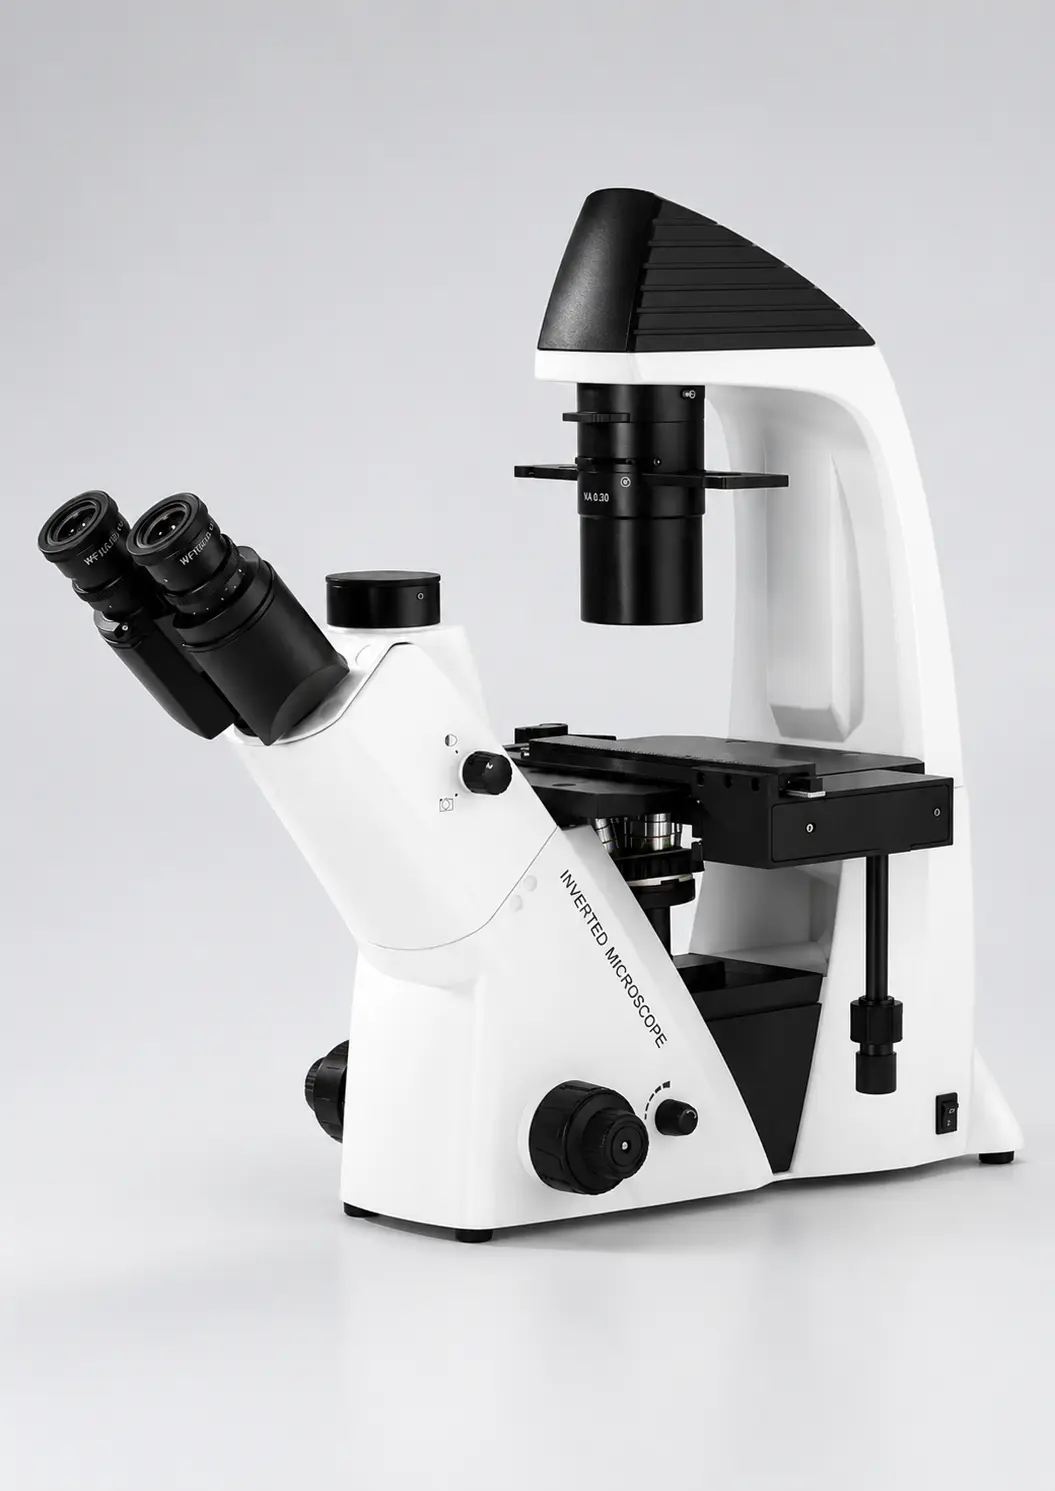
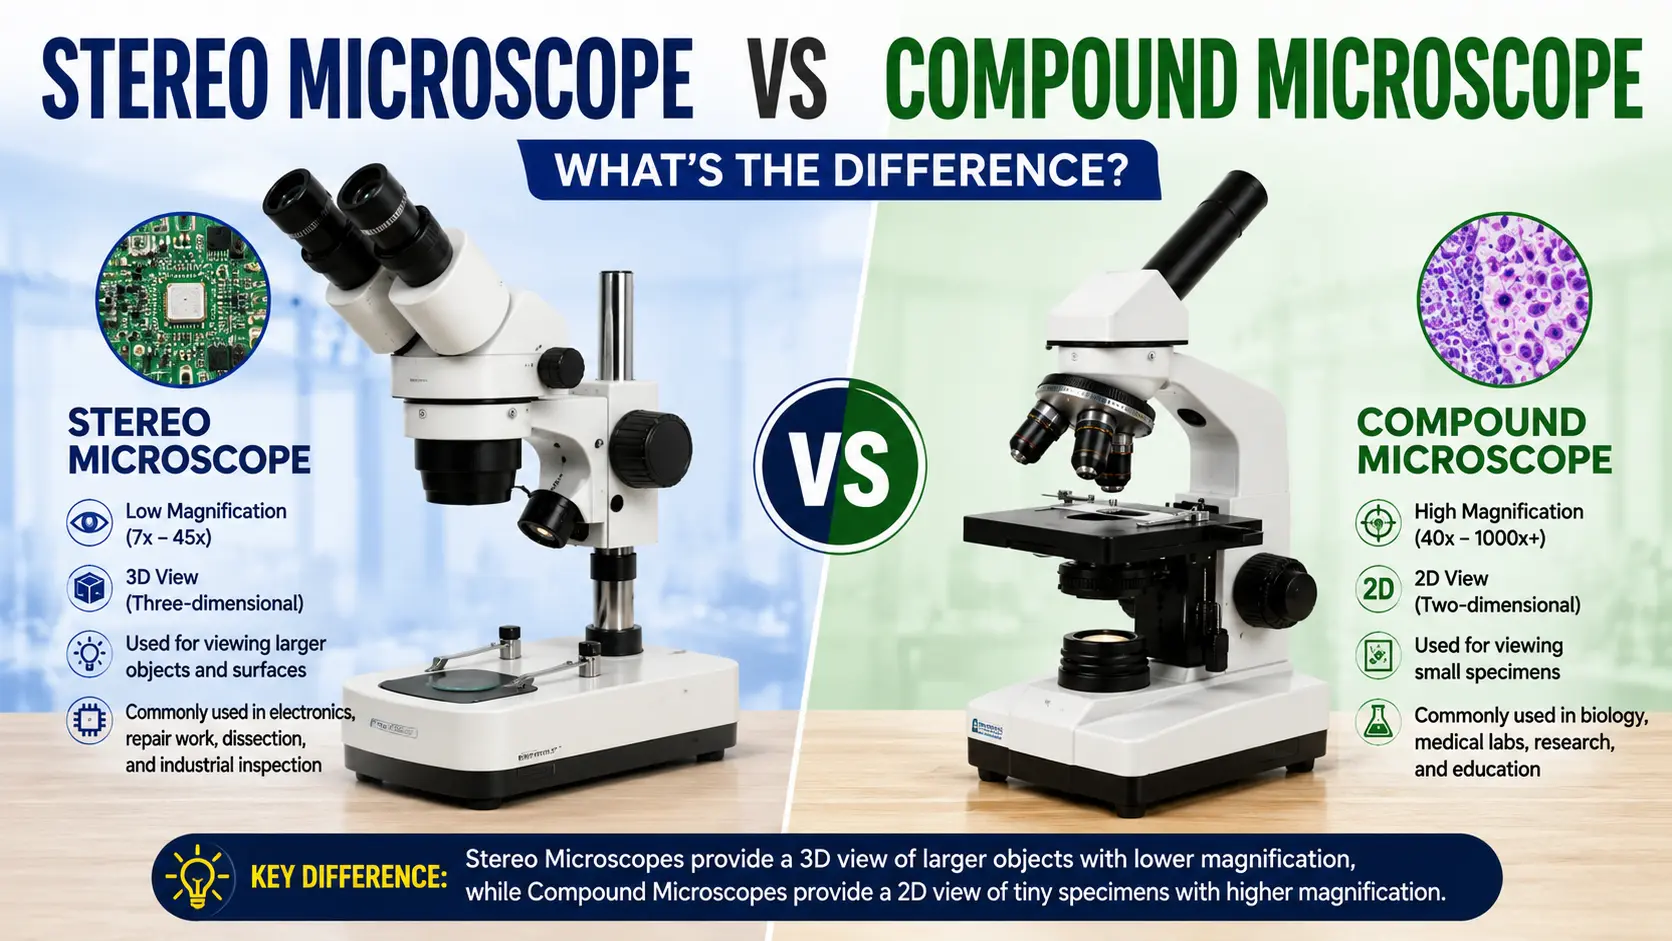
Stereo and dissecting microscopes add an erecting prism so the image stays the right way up. Compound microscopes skip it to keep the light path as clean and bright as possible.
What goes wrong when the light path is not set up correctly?
A dark ring around the field usually means the condenser has been racked down too far. Raise it until it sits just below the stage.
A washed-out, low-contrast image with no depth almost always means the iris diaphragm is wide open. Close it slowly and watch the specimen edges sharpen.
Uneven brightness across the field means the lamp is off-centre or the condenser is off-axis. The fix for all three at once is Köhler illumination, a routine that aligns the whole light path in about two minutes. Nikon’s MicroscopyU has a good visual walkthrough of it.
And if the image simply will not come sharp at 100x, check for oil first. It is oil nine times out of ten.
Frequently asked questions
What are the two main lenses in a compound microscope?
The objective lens and the eyepiece. The objective sits closest to the specimen and does the primary magnification. The eyepiece sits at the top and magnifies the objective’s image again before it reaches your eye.
Can a compound microscope see living cells?
Yes, though unstained living cells are almost transparent under brightfield light. Phase contrast attachments solve this by turning differences in refractive index into visible contrast.
What is the maximum useful magnification of a compound microscope?
Around 1000x to 1500x. Beyond that you hit the limit set by the wavelength of visible light, and further magnification only enlarges the blur.
Why do I need immersion oil at 100x?
Light bends as it crosses from glass into air and back into the lens, and at 100x that costs you most of the useful rays. Immersion oil matches the refractive index of glass, so the light travels straight in.
What is the difference between a simple and a compound microscope?
A simple microscope uses one lens and one stage of magnification, like a magnifying glass. A compound microscope uses two lens systems in series, and because their magnifications multiply, it reaches far higher useful magnification with better resolution.
How do I clean the lenses safely?
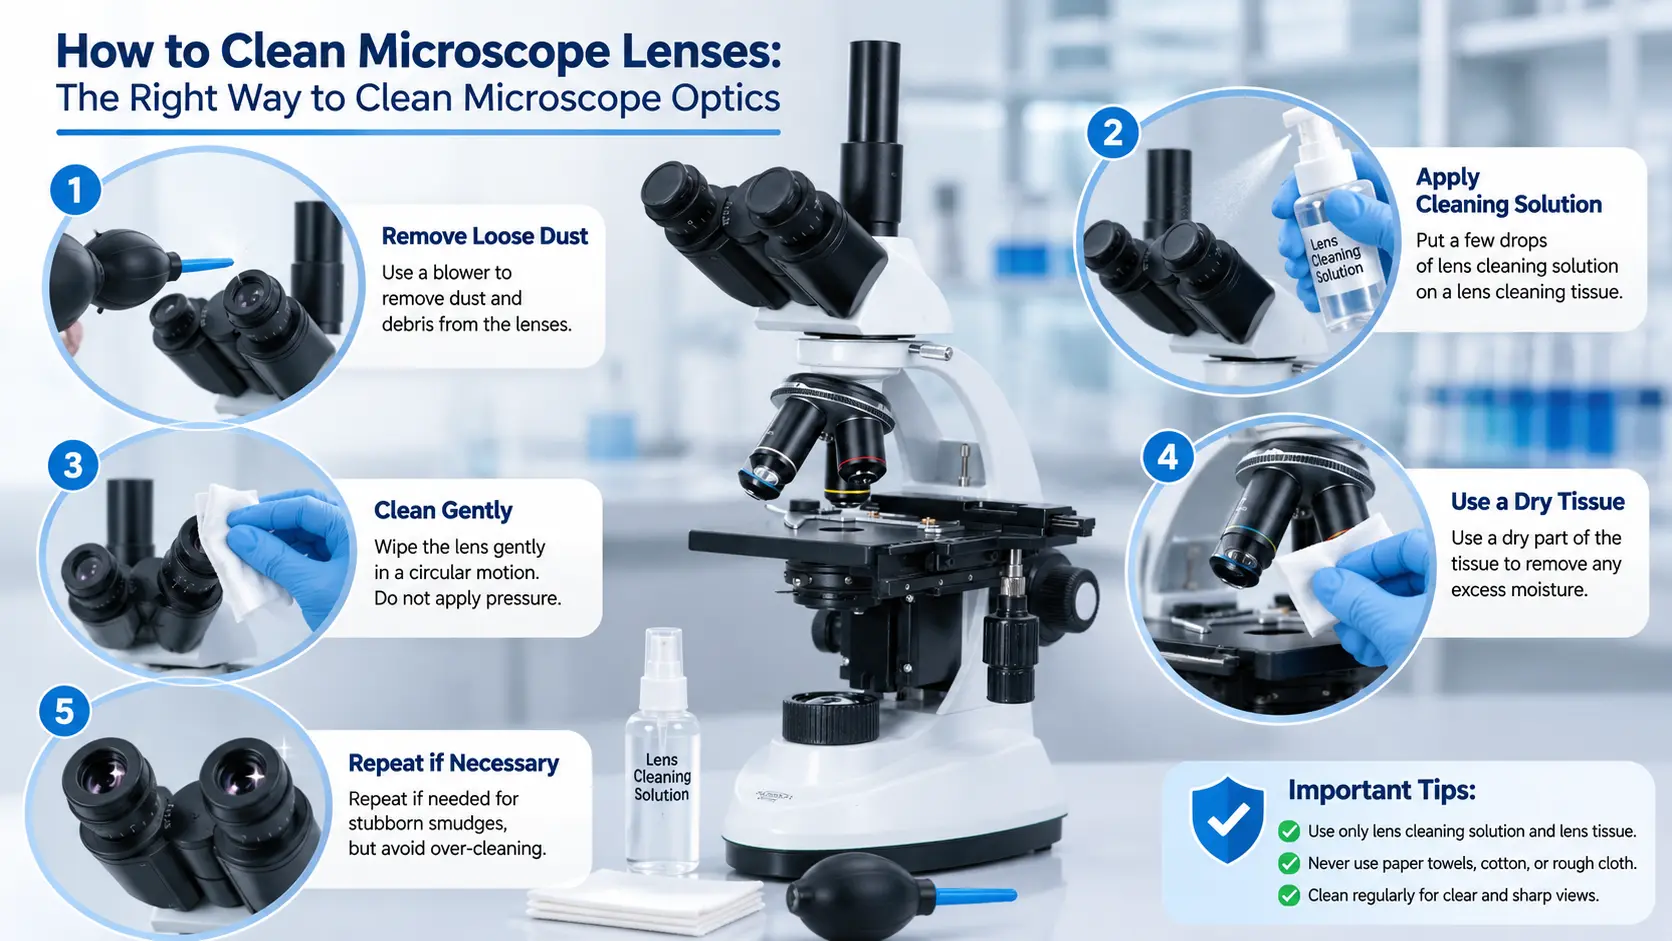
Use lens tissue with a drop of lens cleaning solution, never tissue paper or a shirt sleeve, and wipe in a single spiral from the centre outward. Remove immersion oil from the 100x objective the same day — dried oil is far harder to shift.
Getting the most out of your microscope
Understanding how a compound microscope works changes how you use one. You stop treating the focus knob as the answer to every problem and start looking at the condenser, the diaphragm and the objective markings instead.
It also changes what you look for when buying. Numerical aperture, condenser quality and the stability of the stand matter far more than the magnification number on the box. A well-built 400x image beats a poorly built 1000x one every time.
Suswox has been building laboratory microscopes in Ambala since 1973, and our instruments are used in teaching labs, pathology departments and research institutions across the country, including AIIMS campuses, BHU and Haffkine Institute. As an ISI-marked microscope manufacturer in India, we build every model around the same principle this article describes — get the light path right, and the image takes care of itself.
Have a question about which model suits your lab? Get in touch and we will help you work it out.