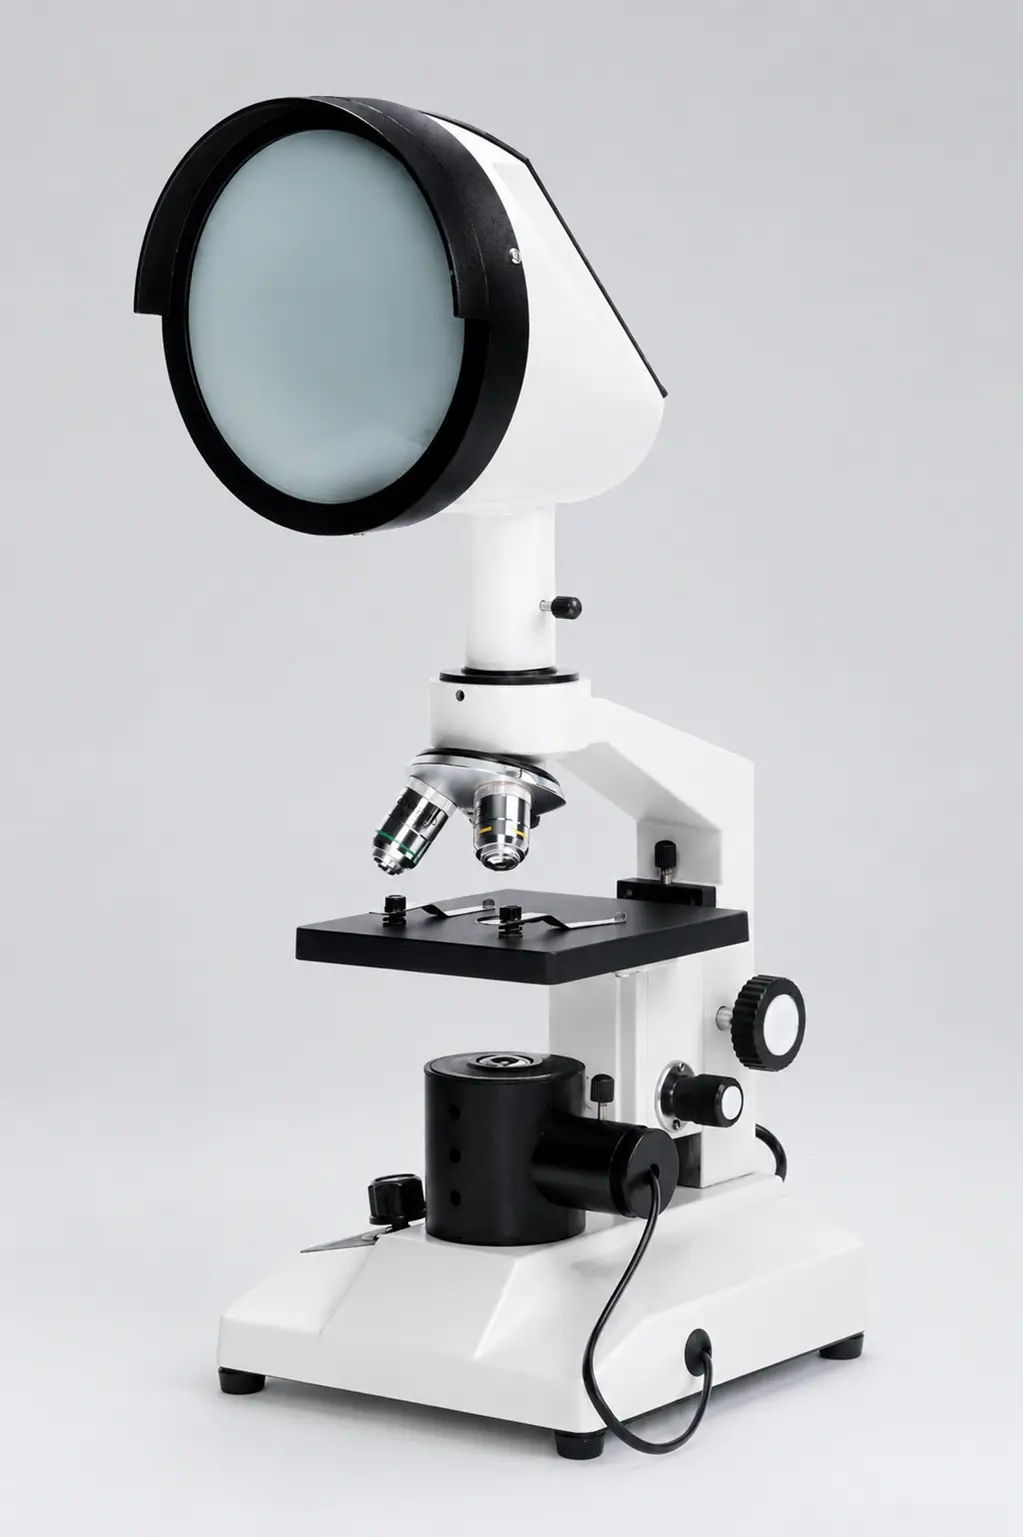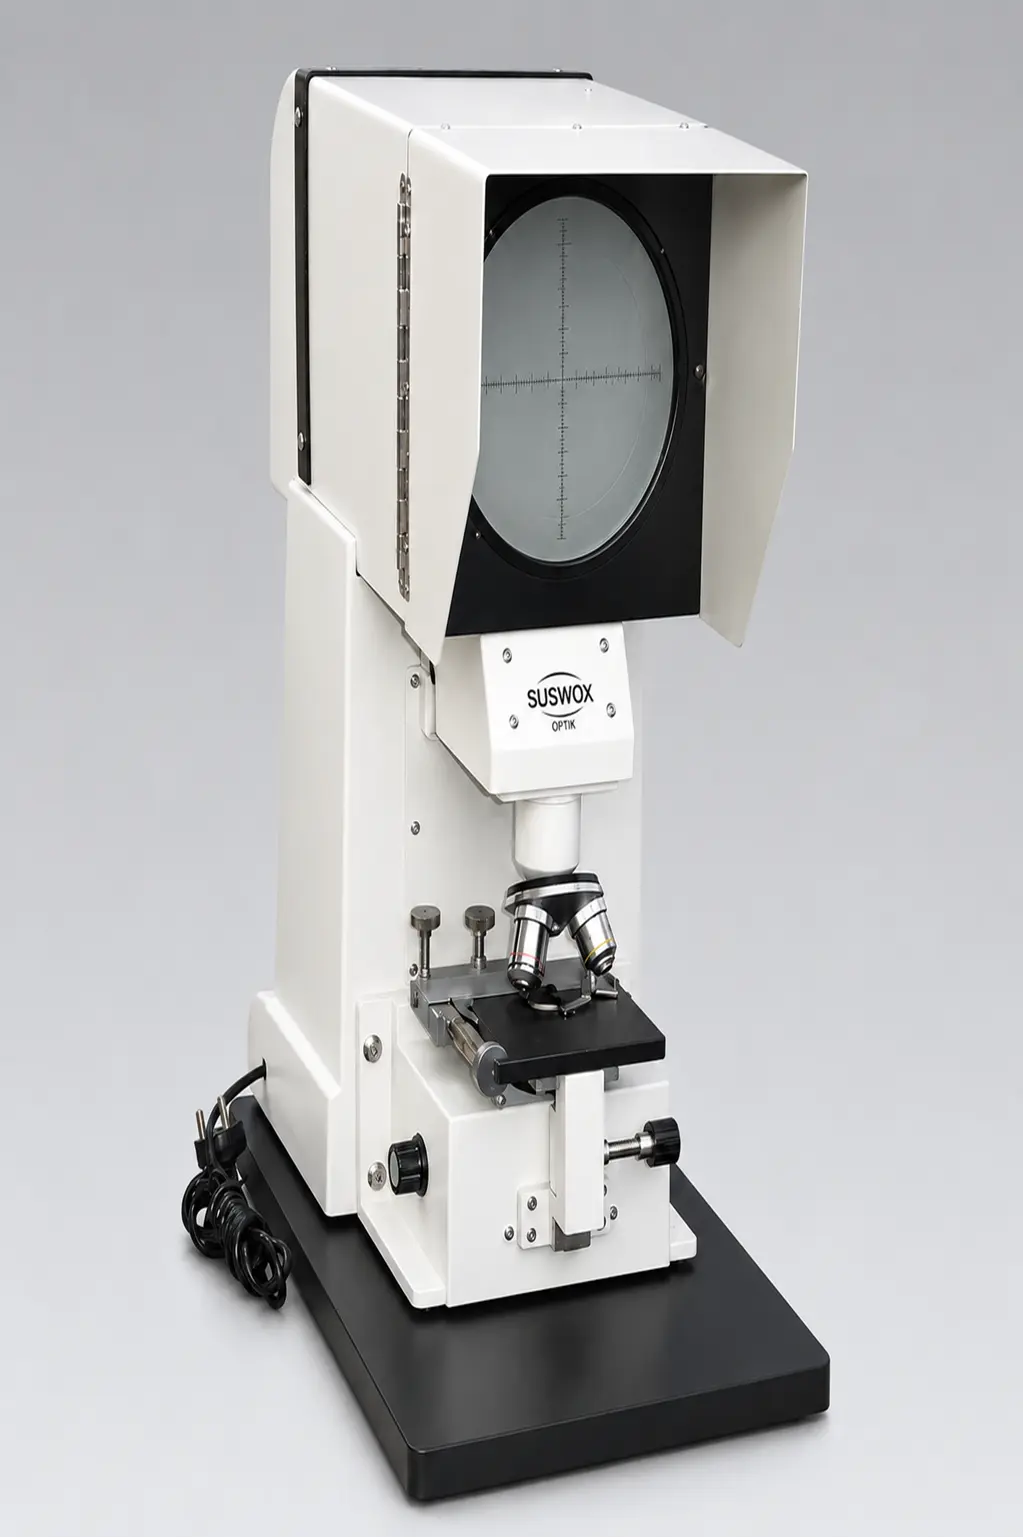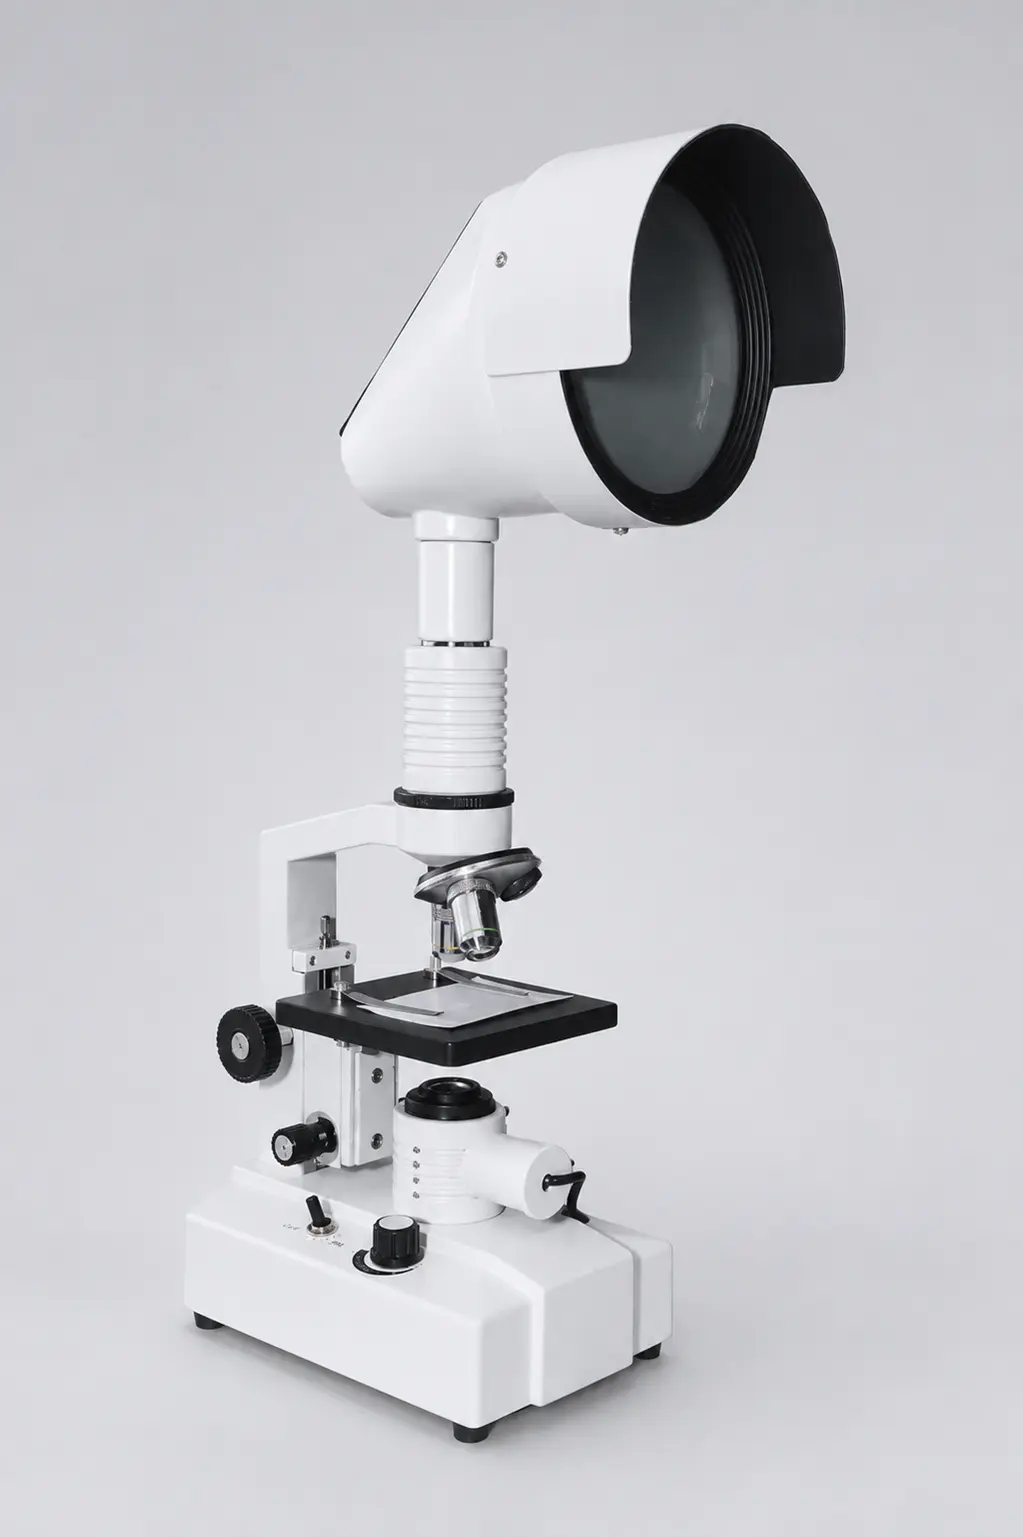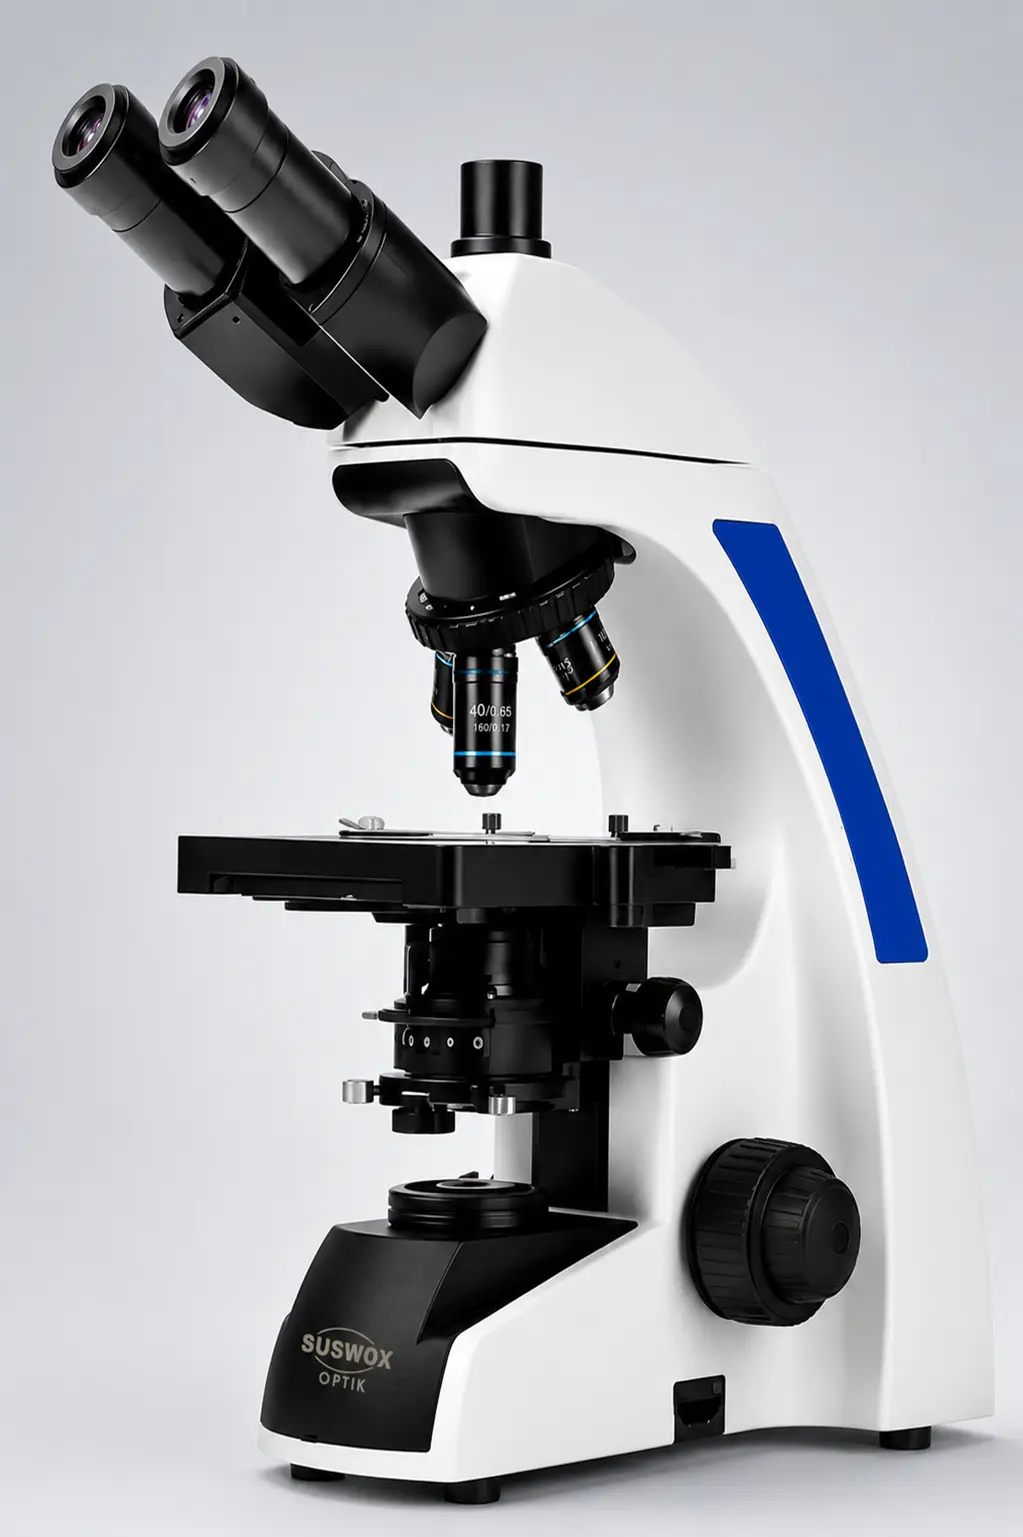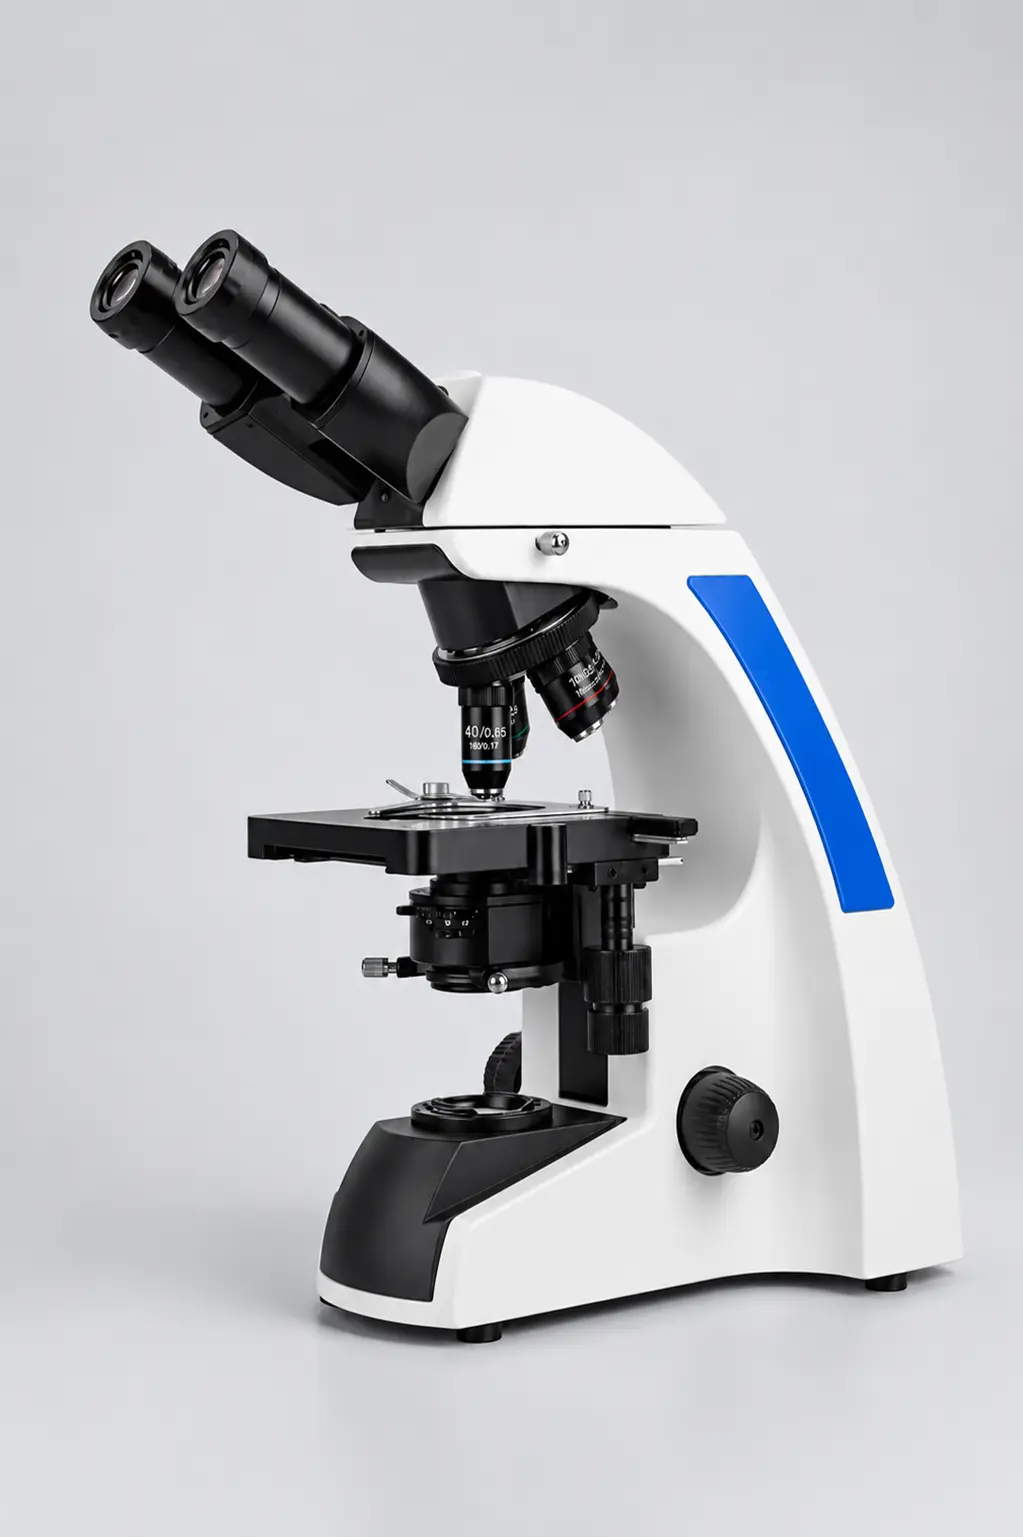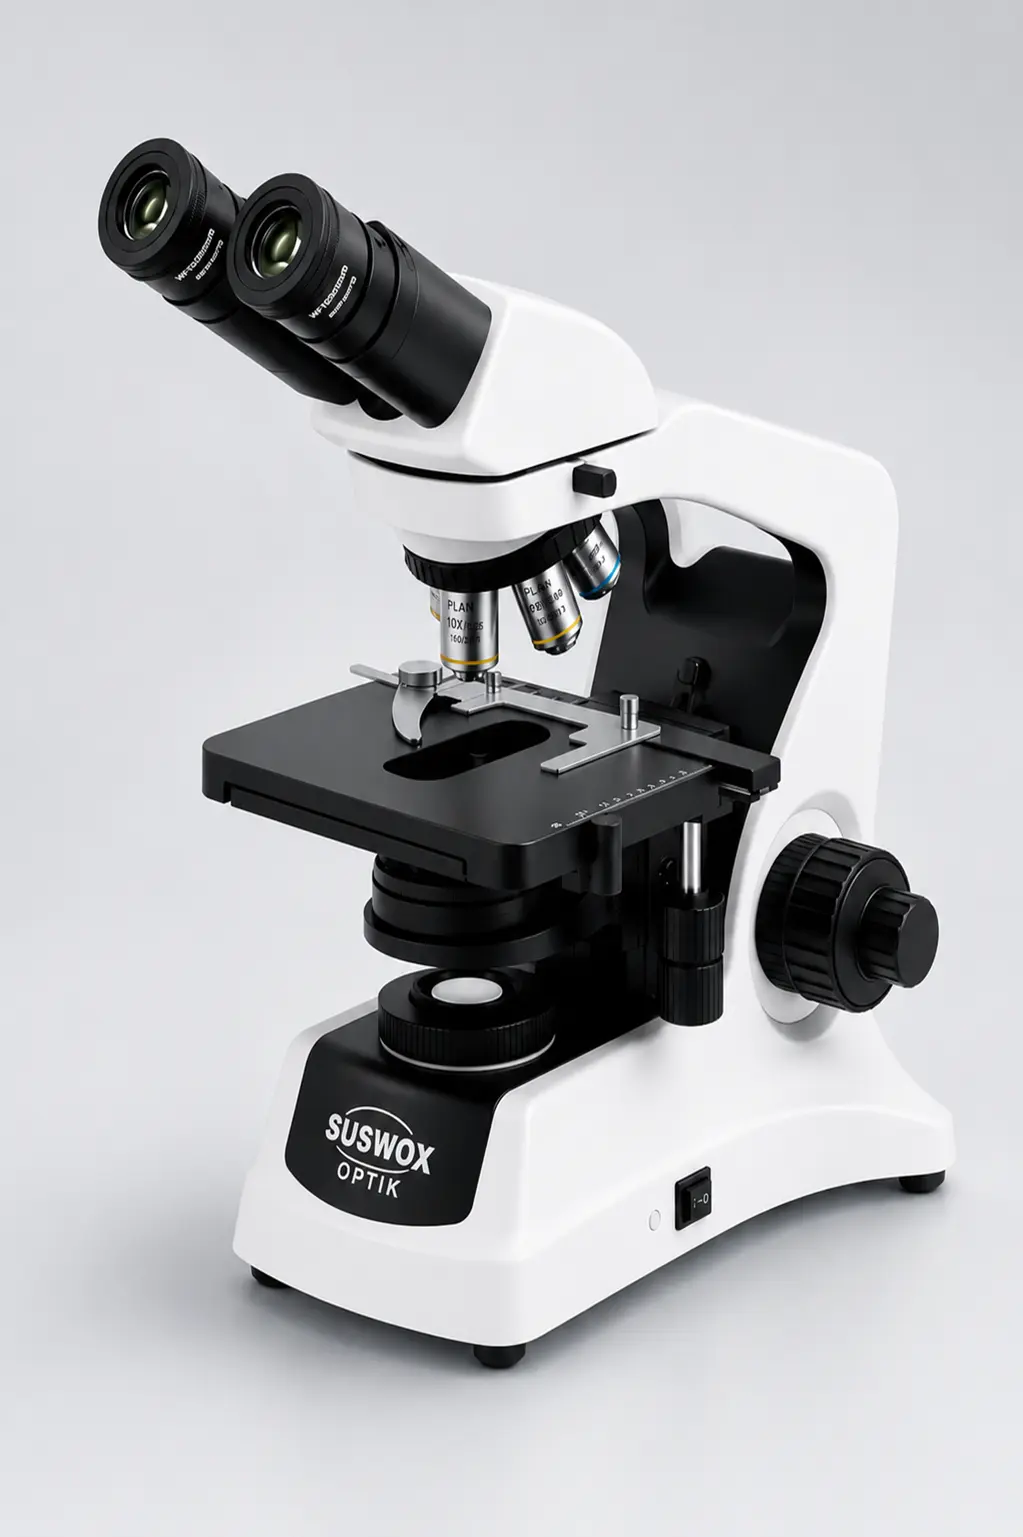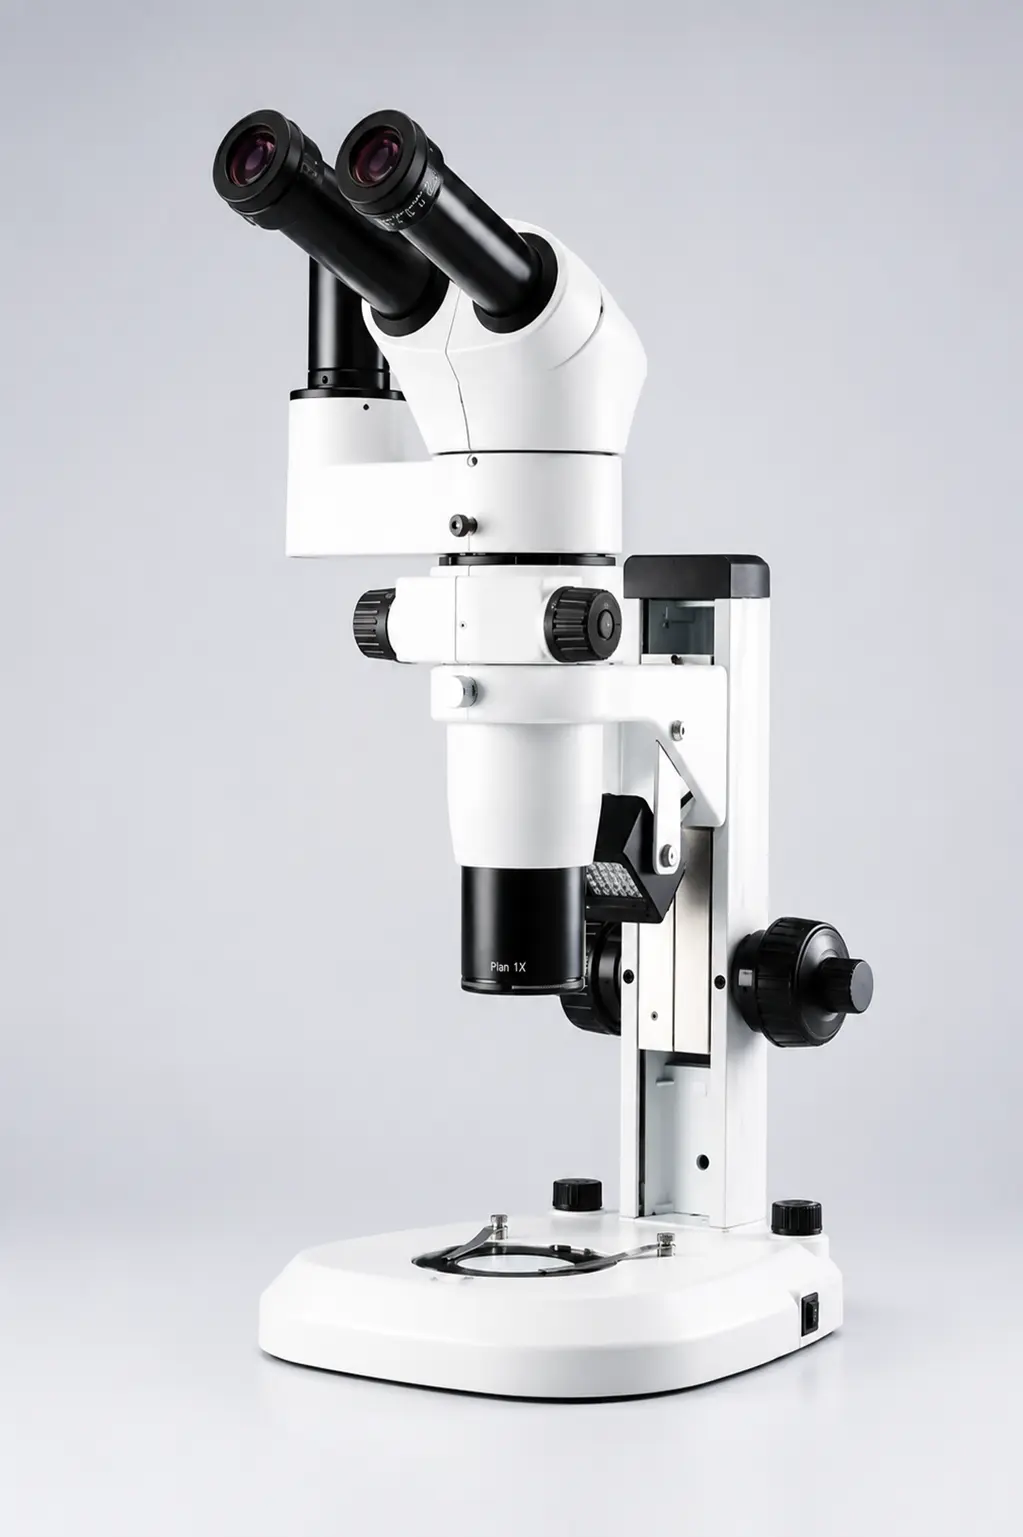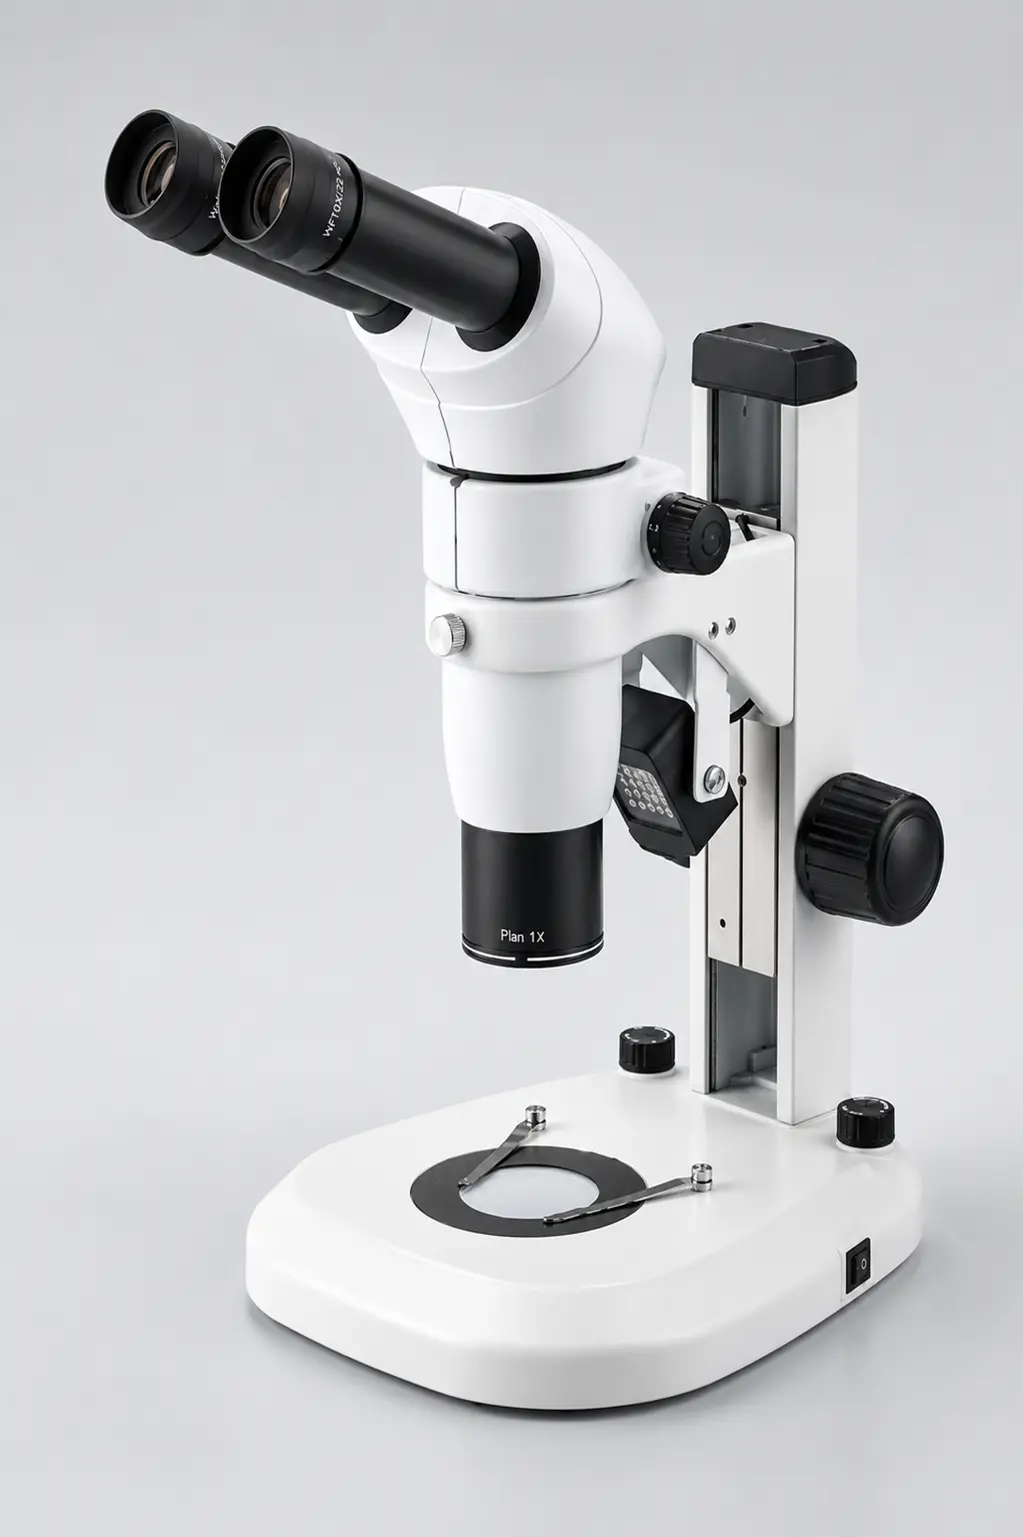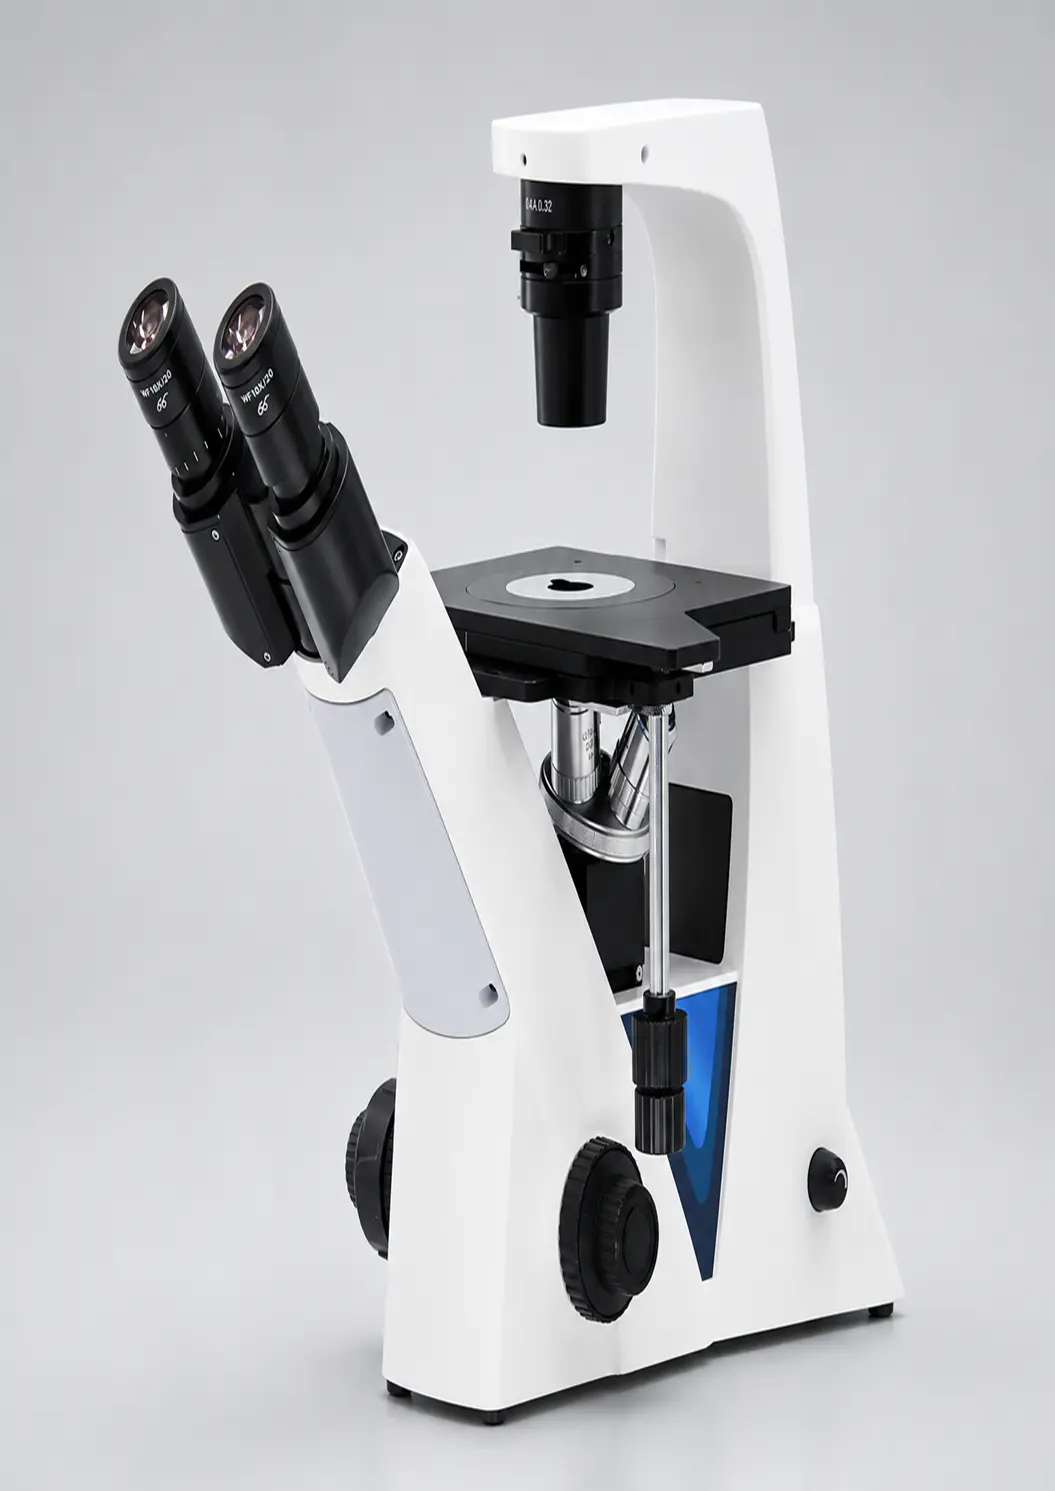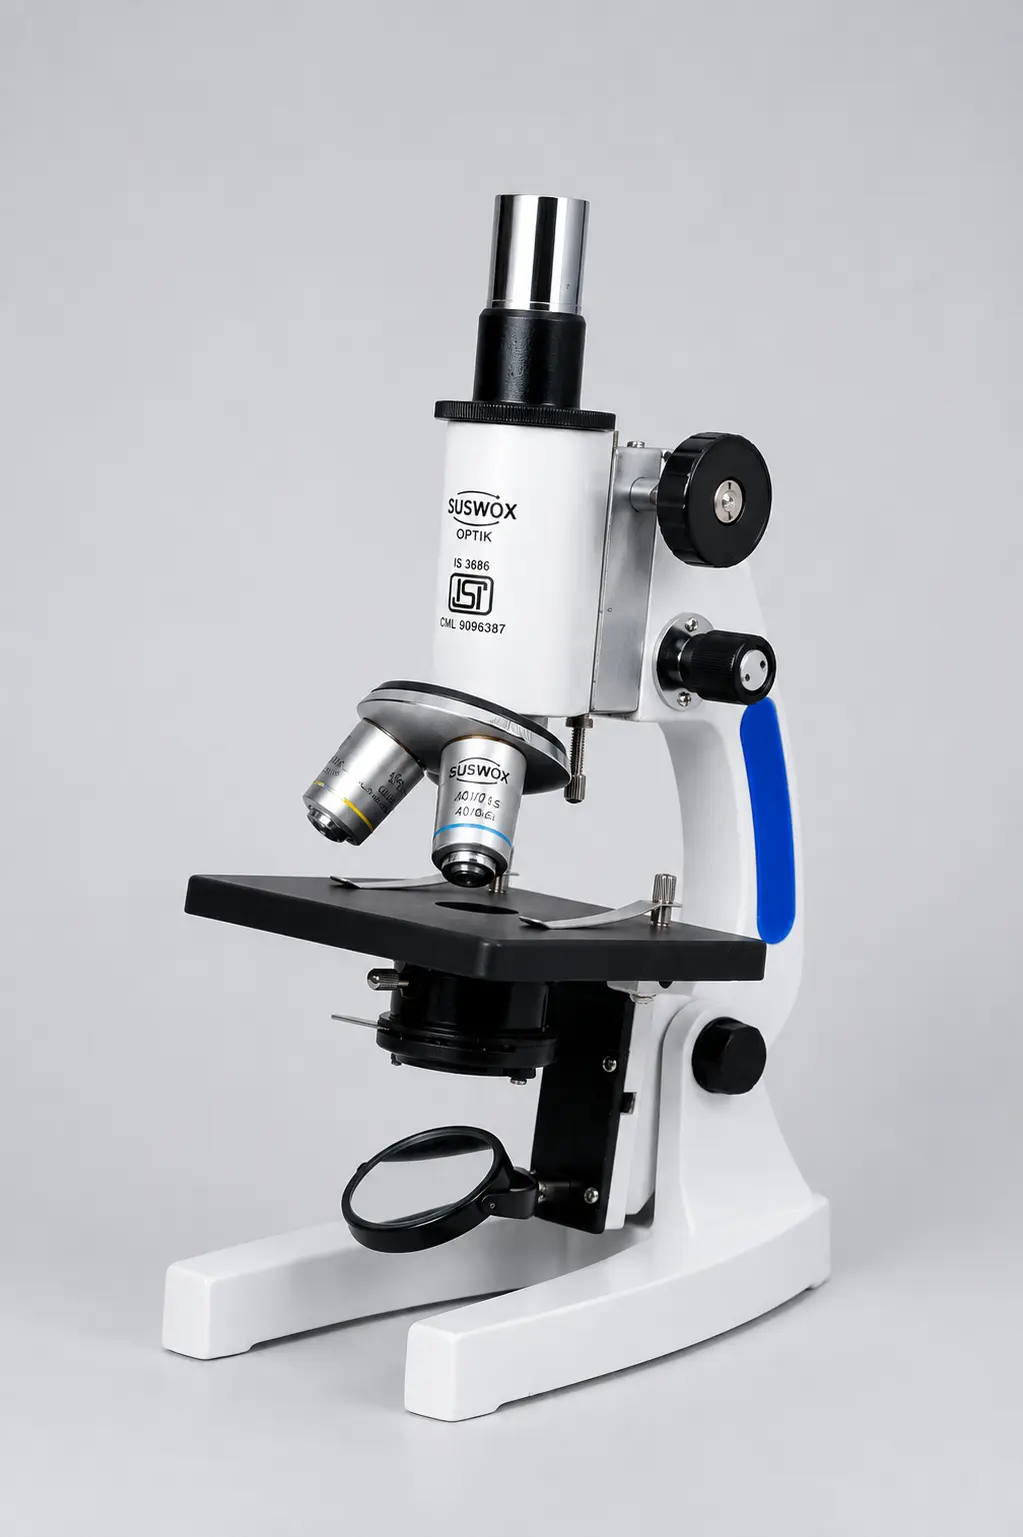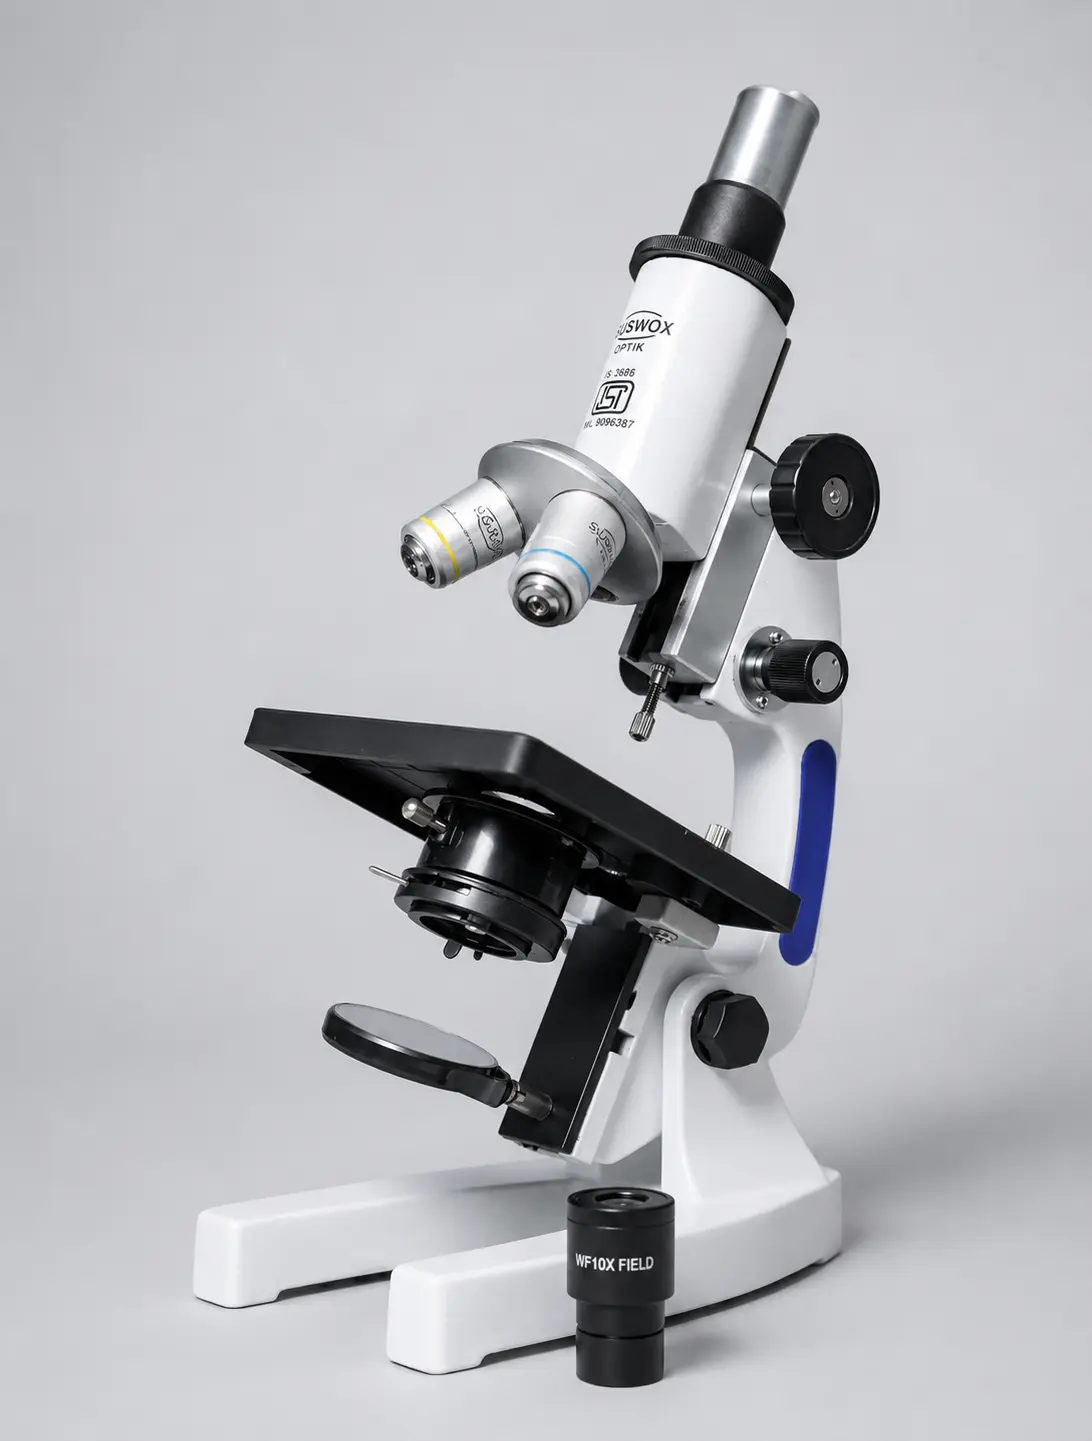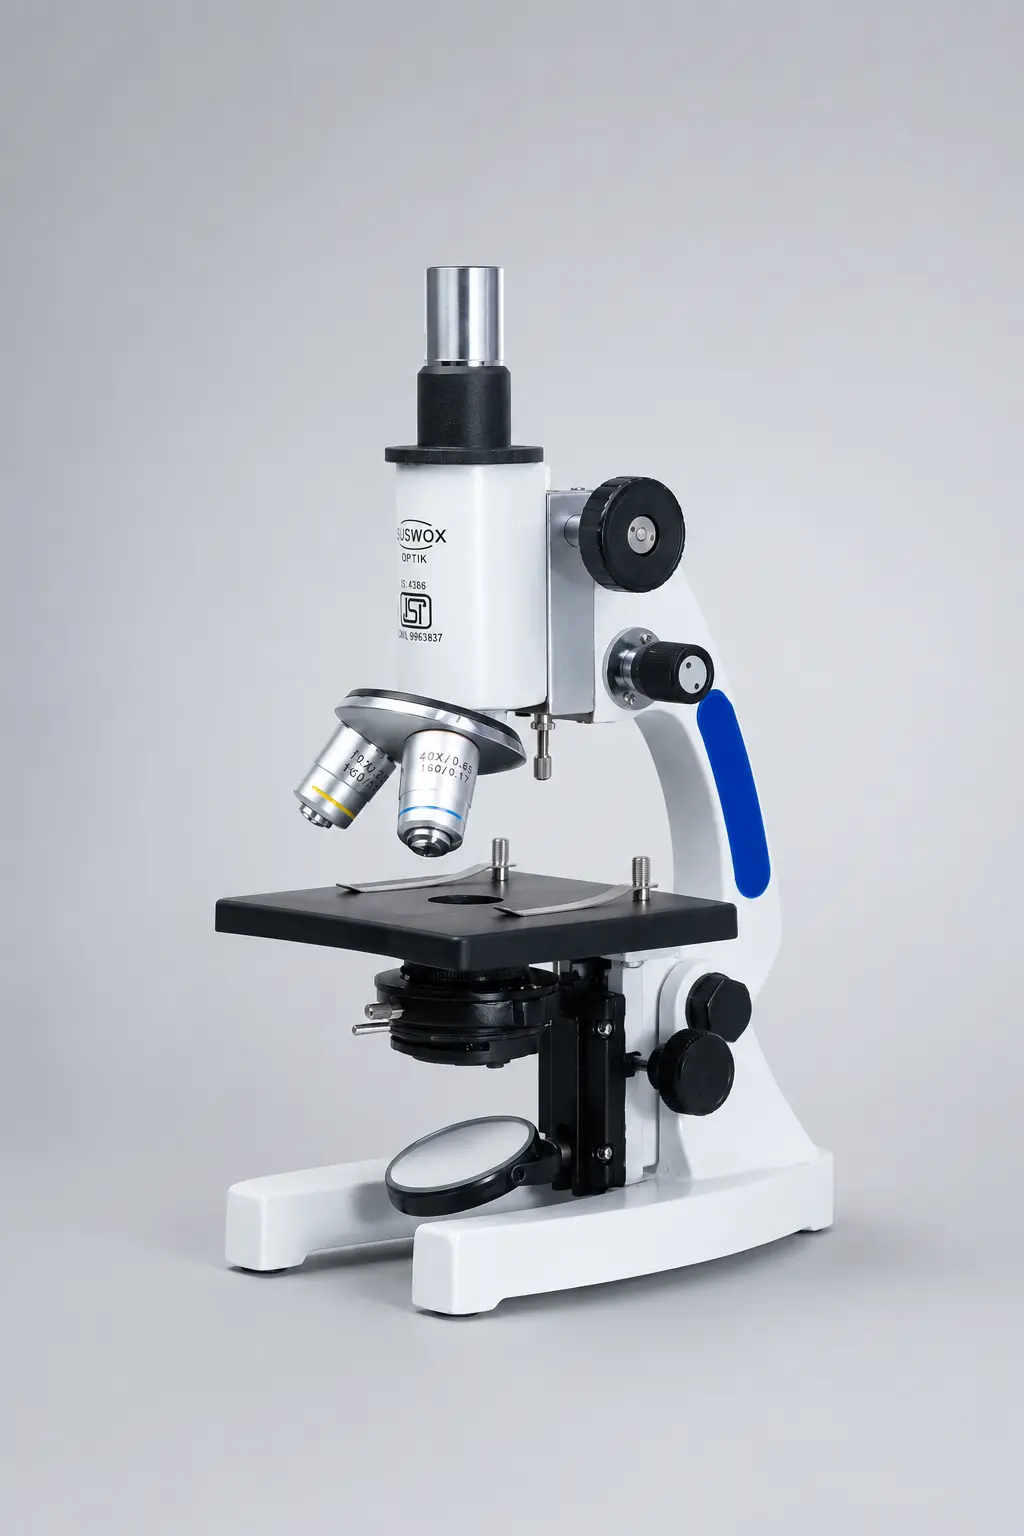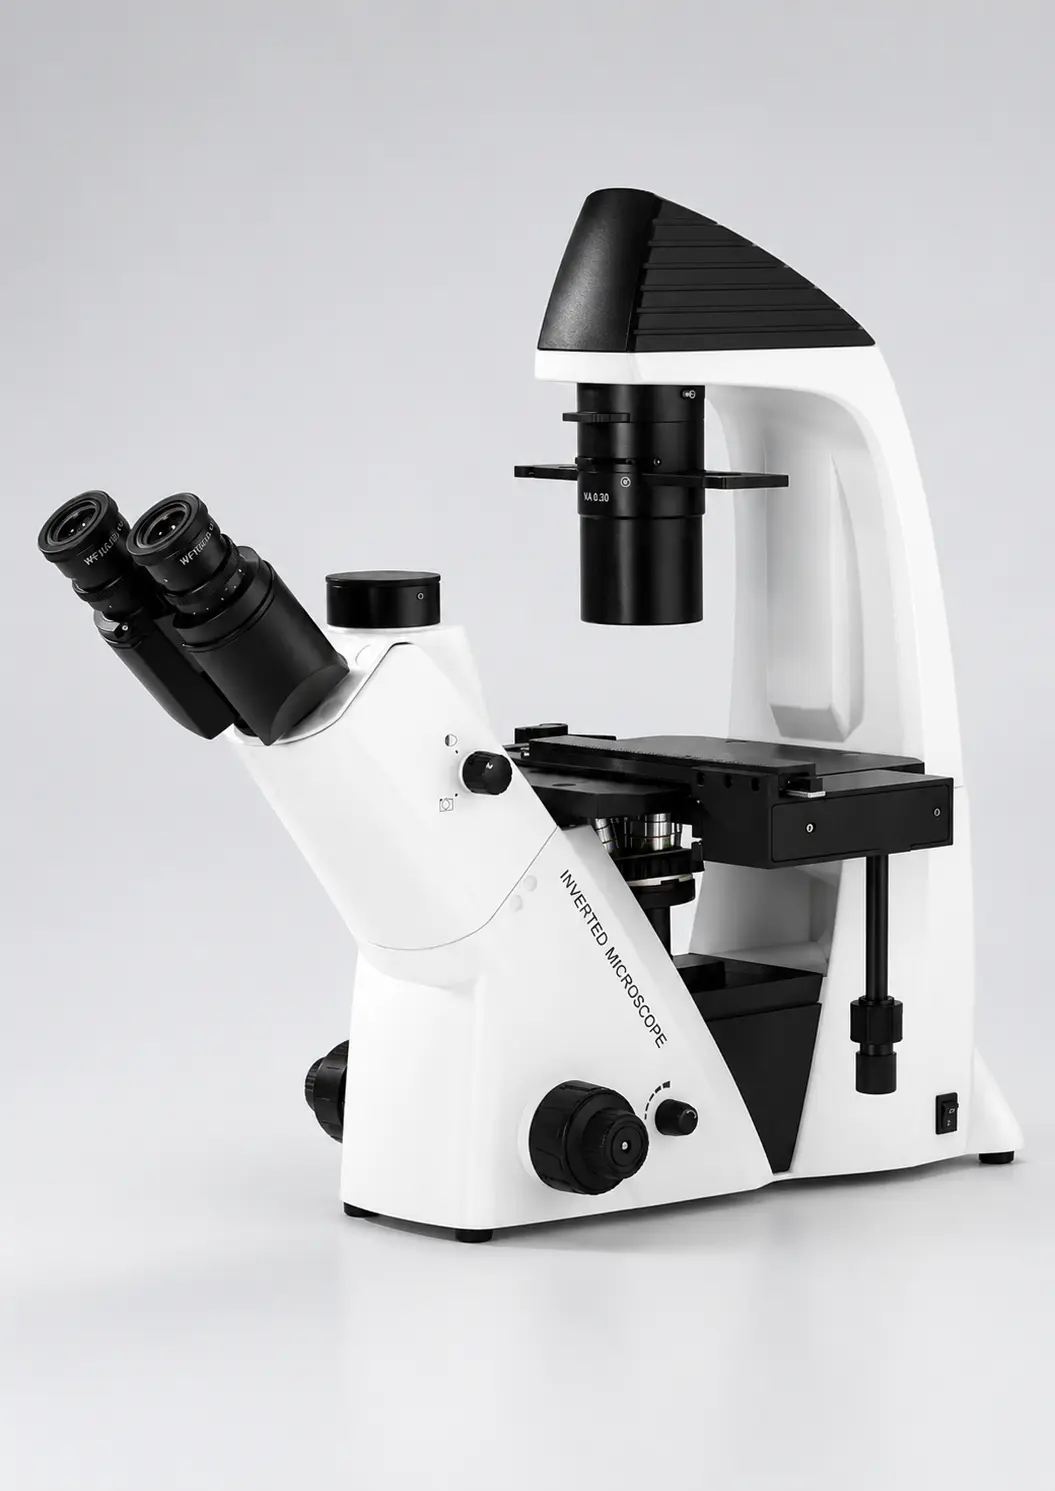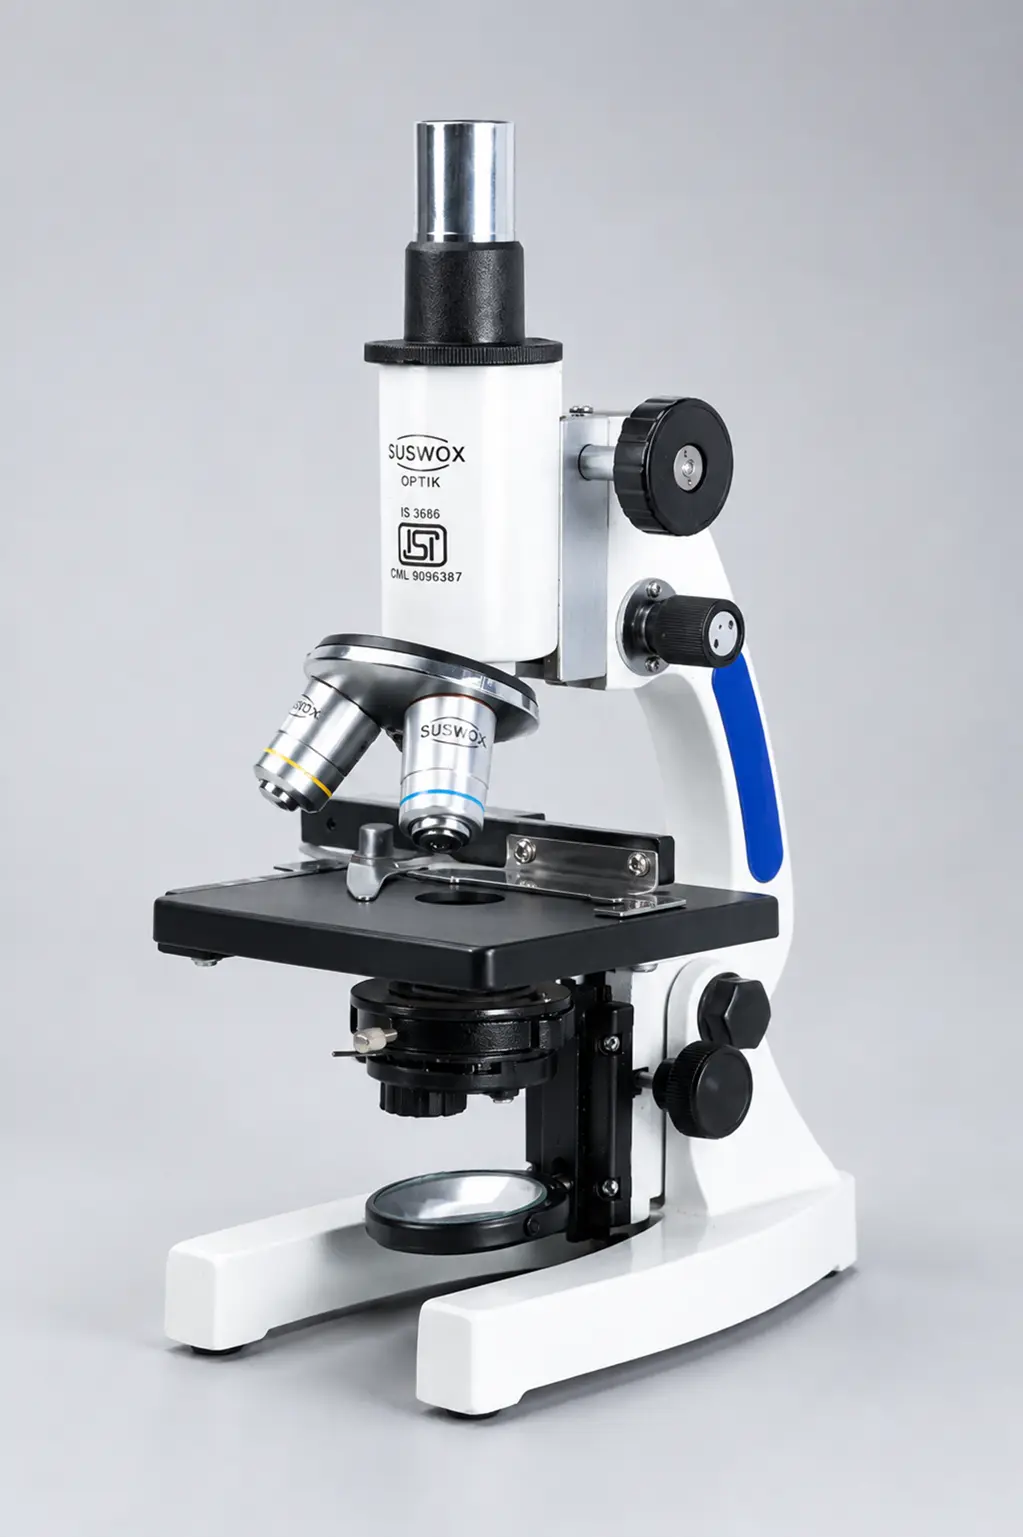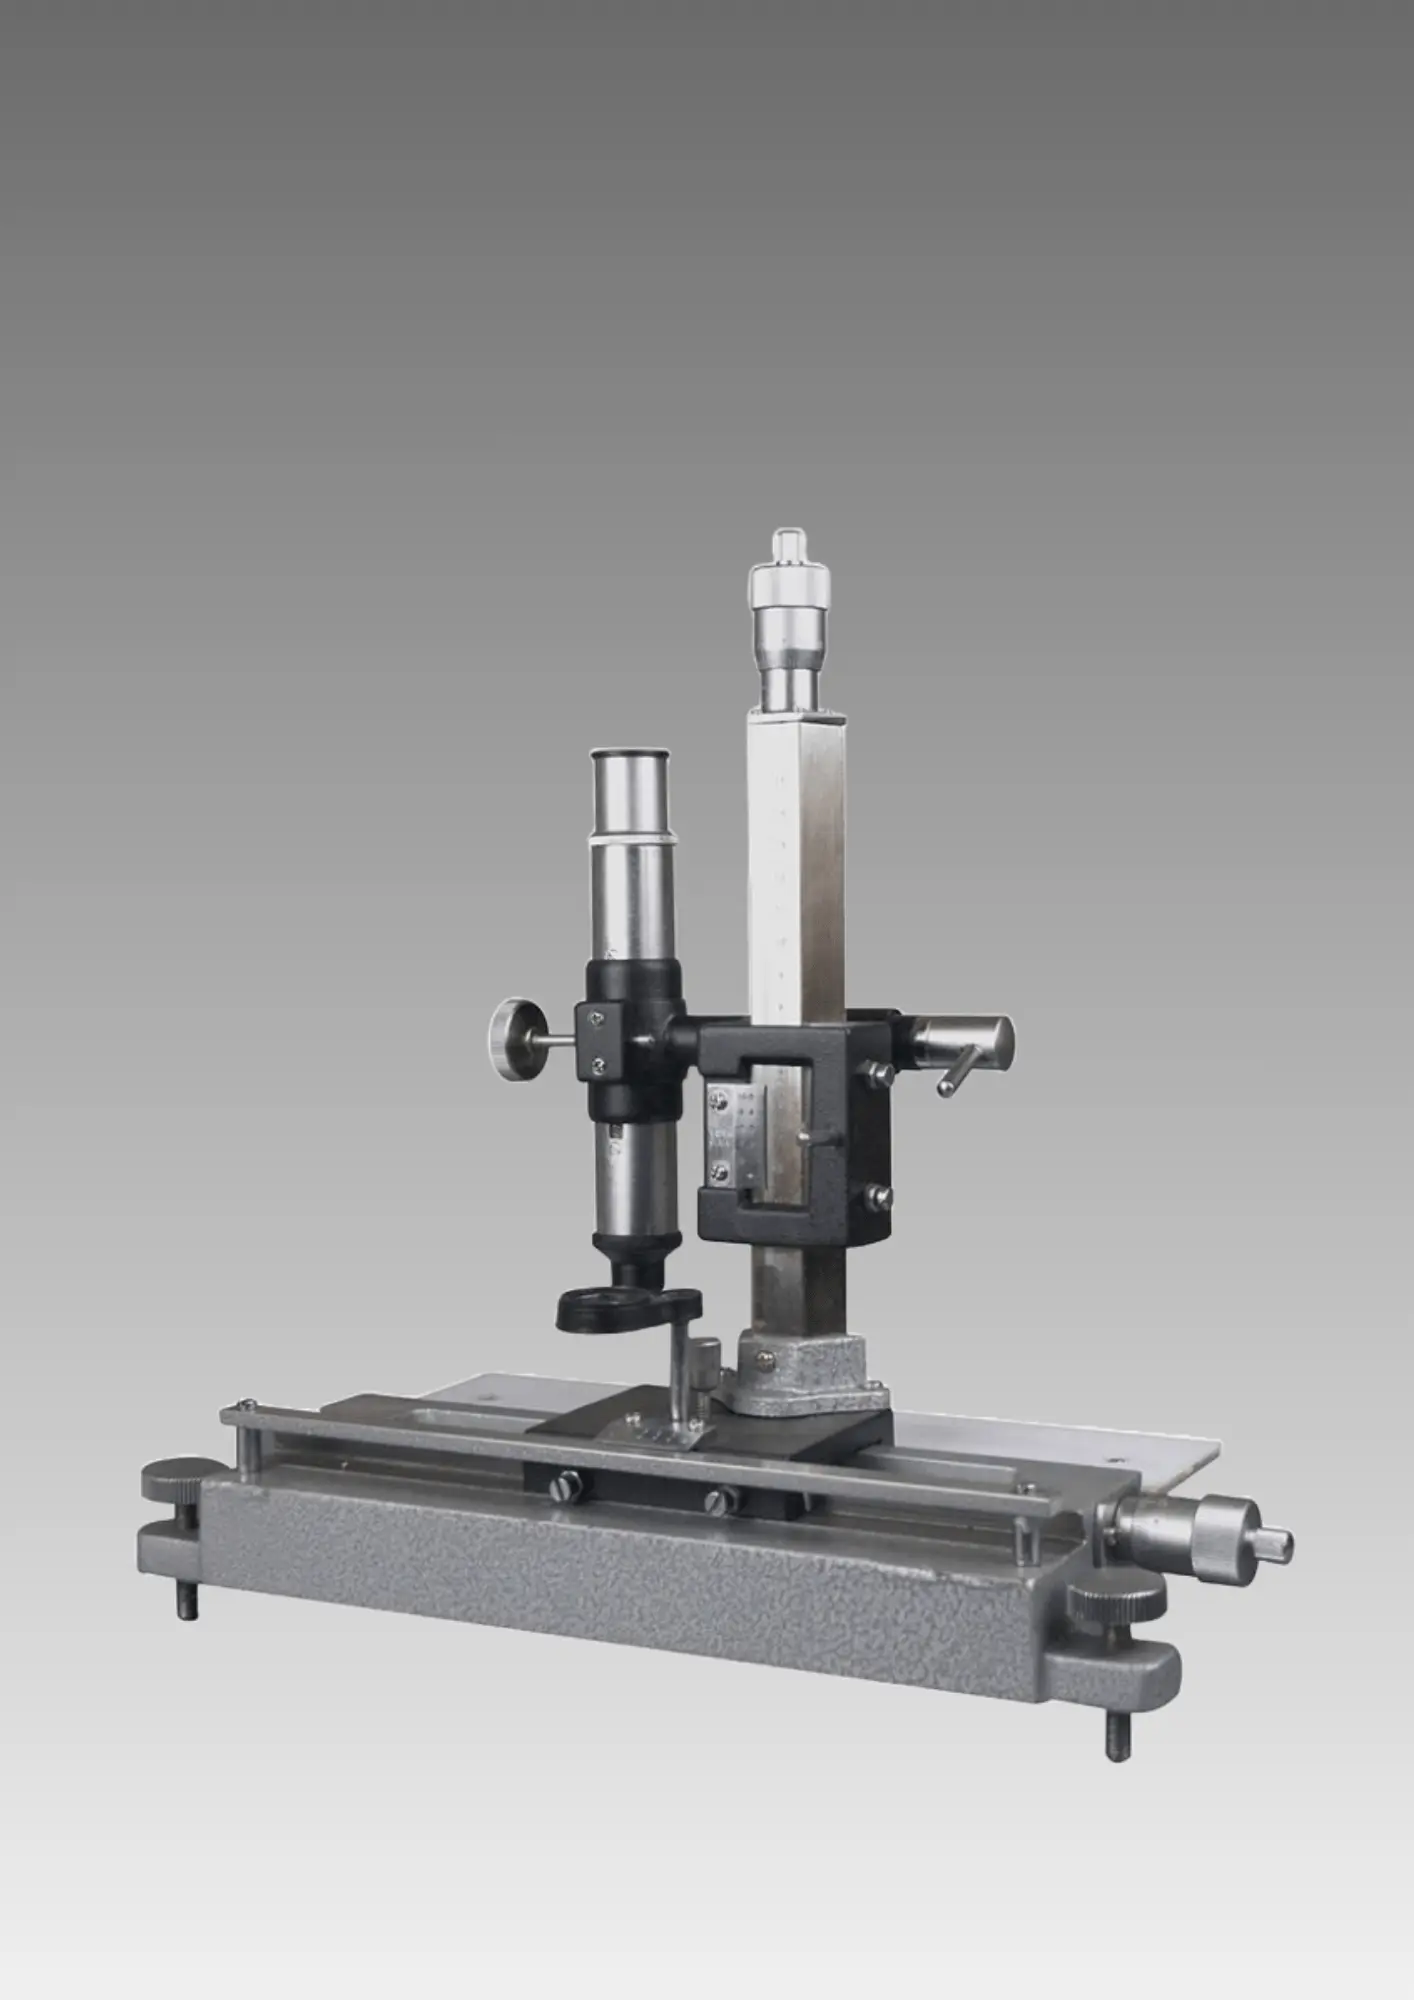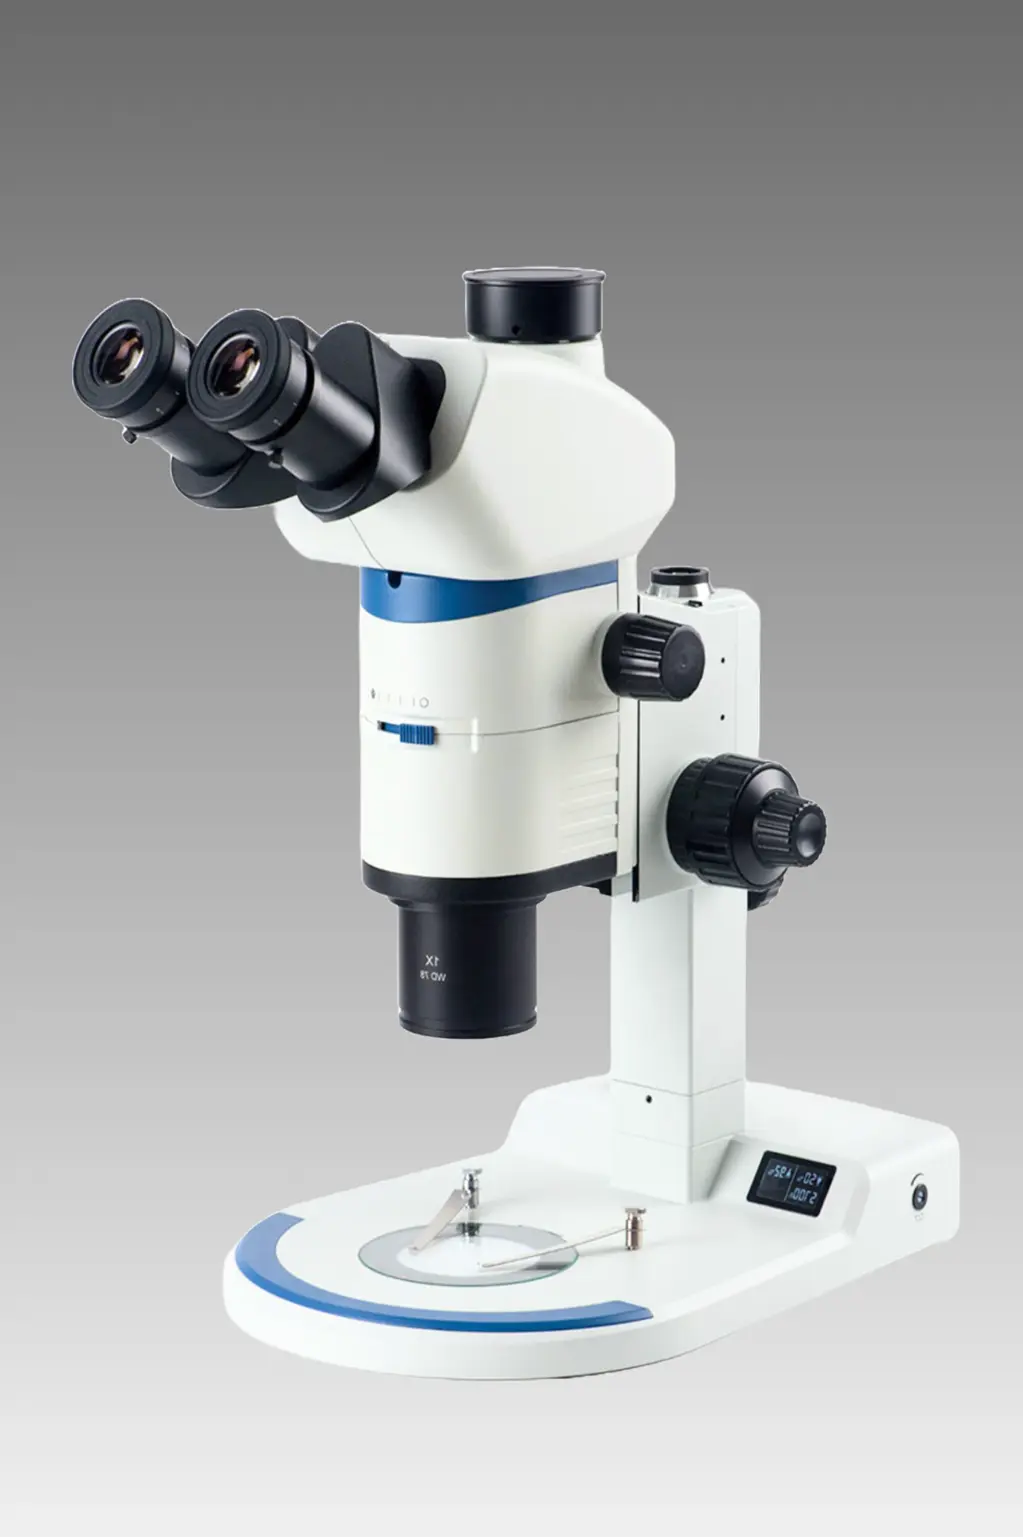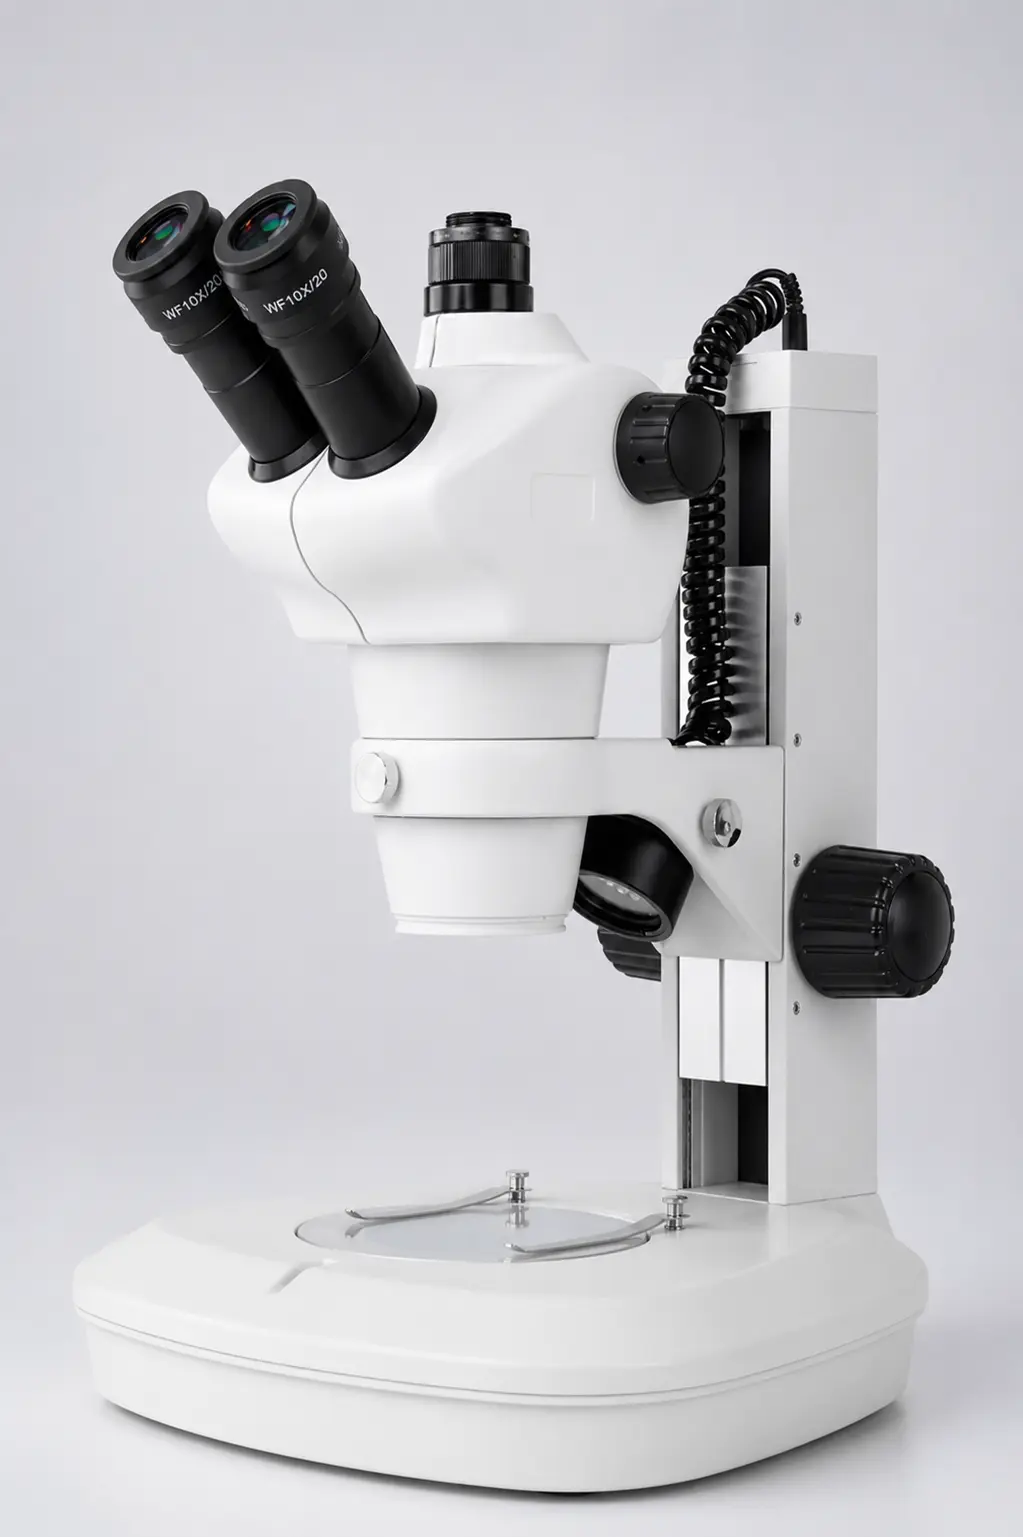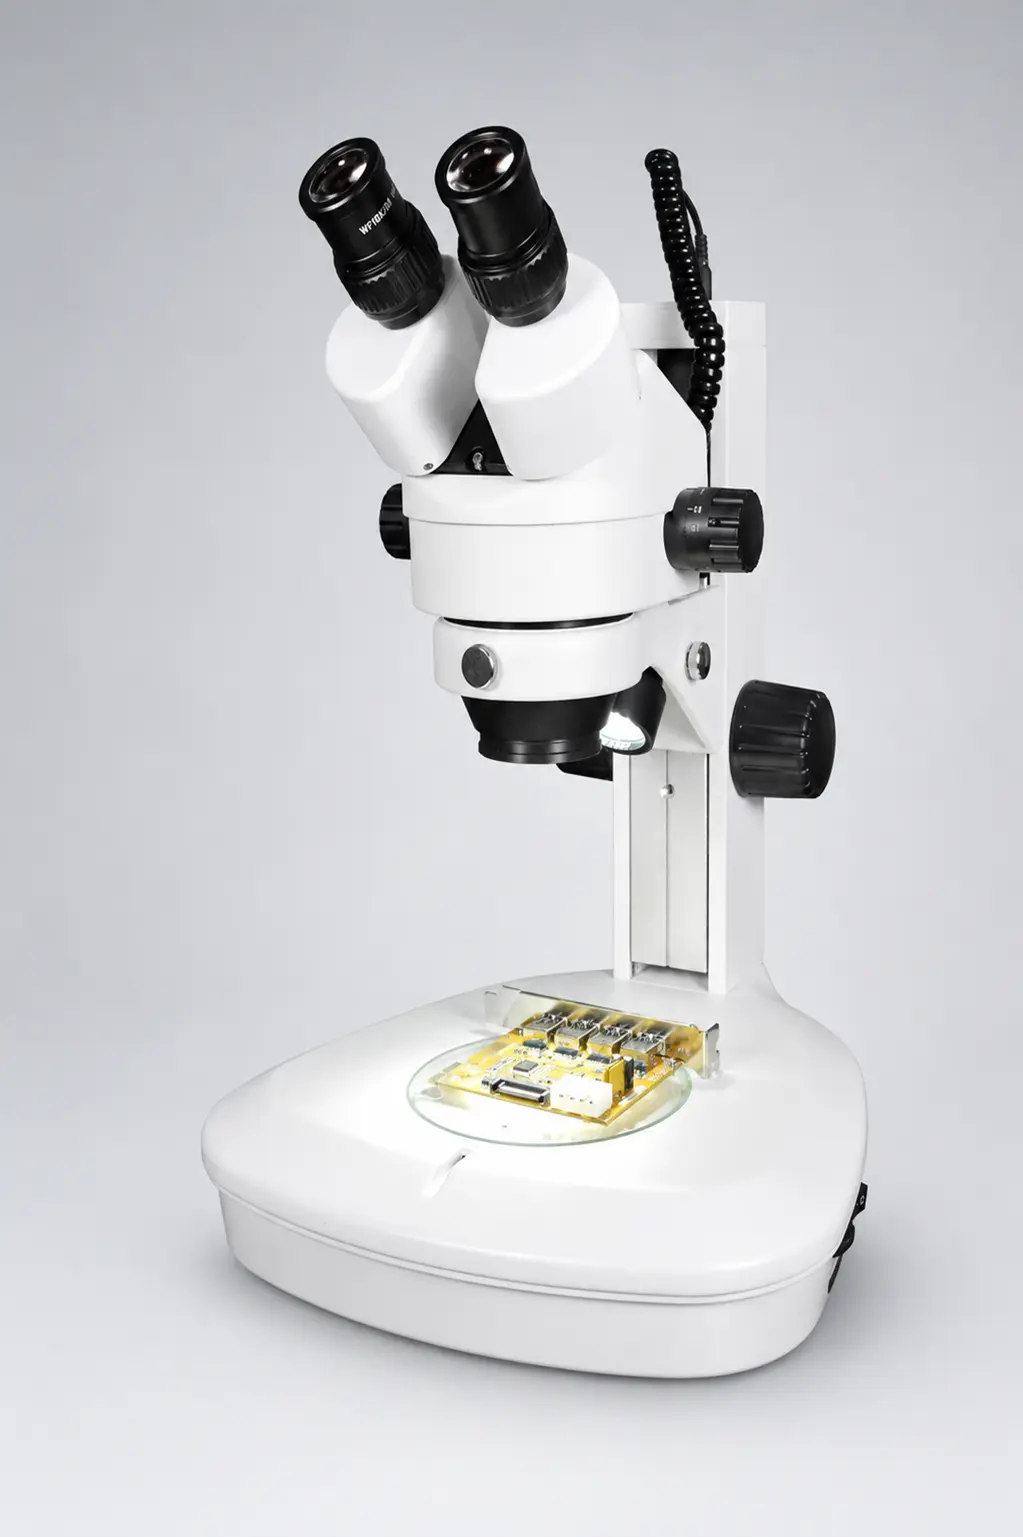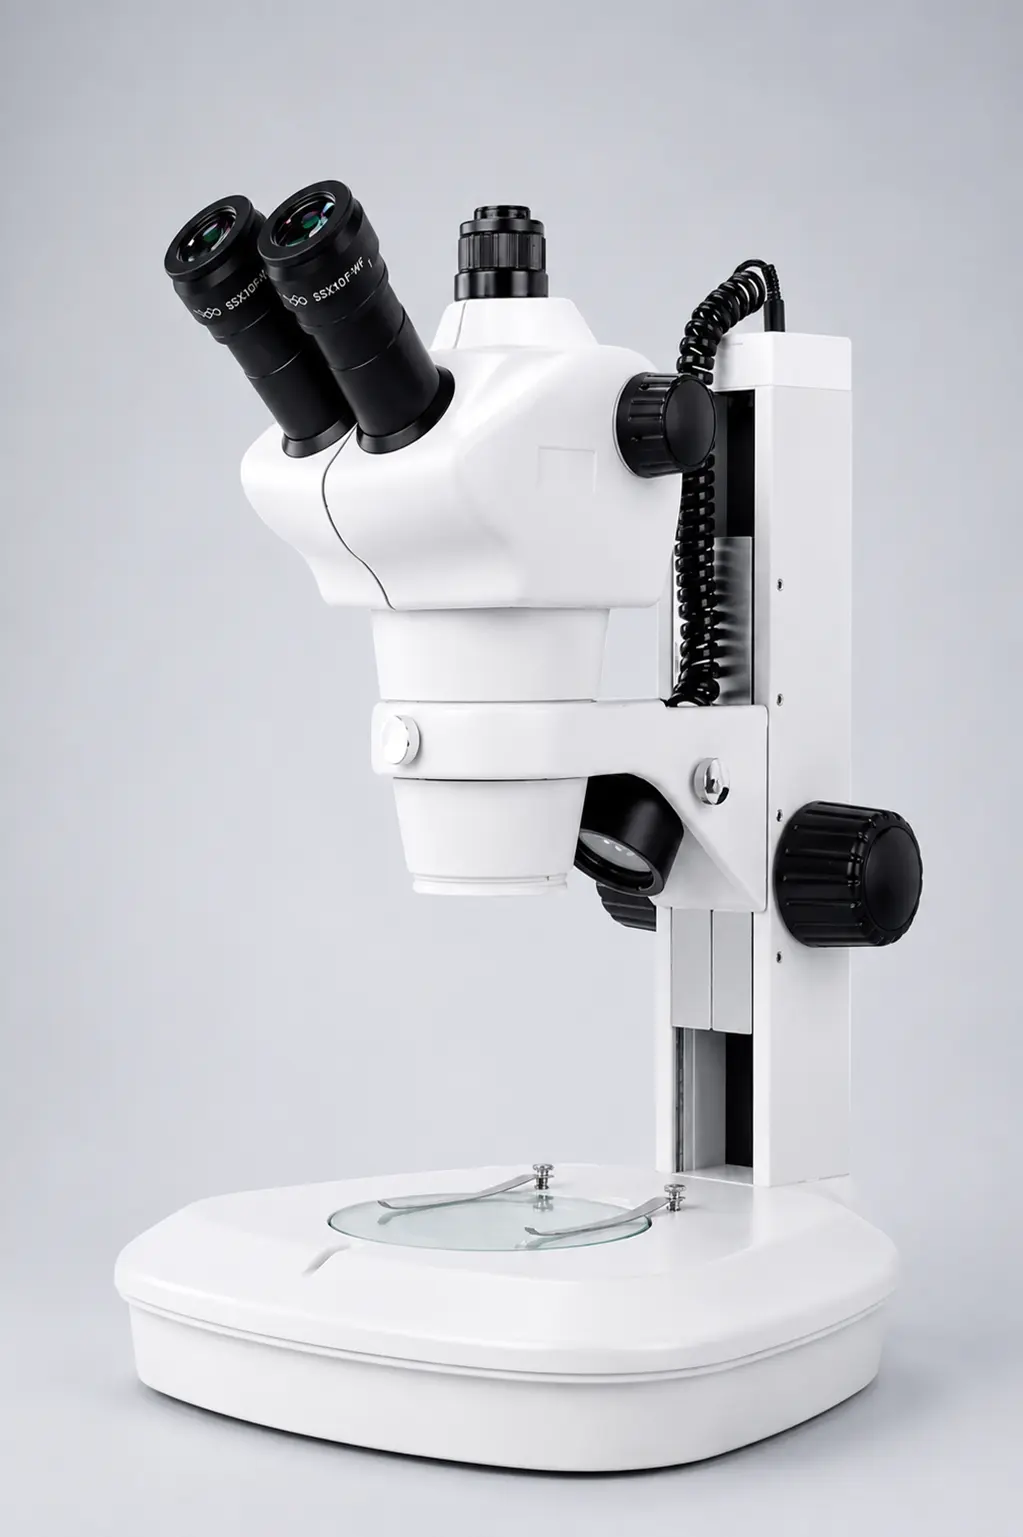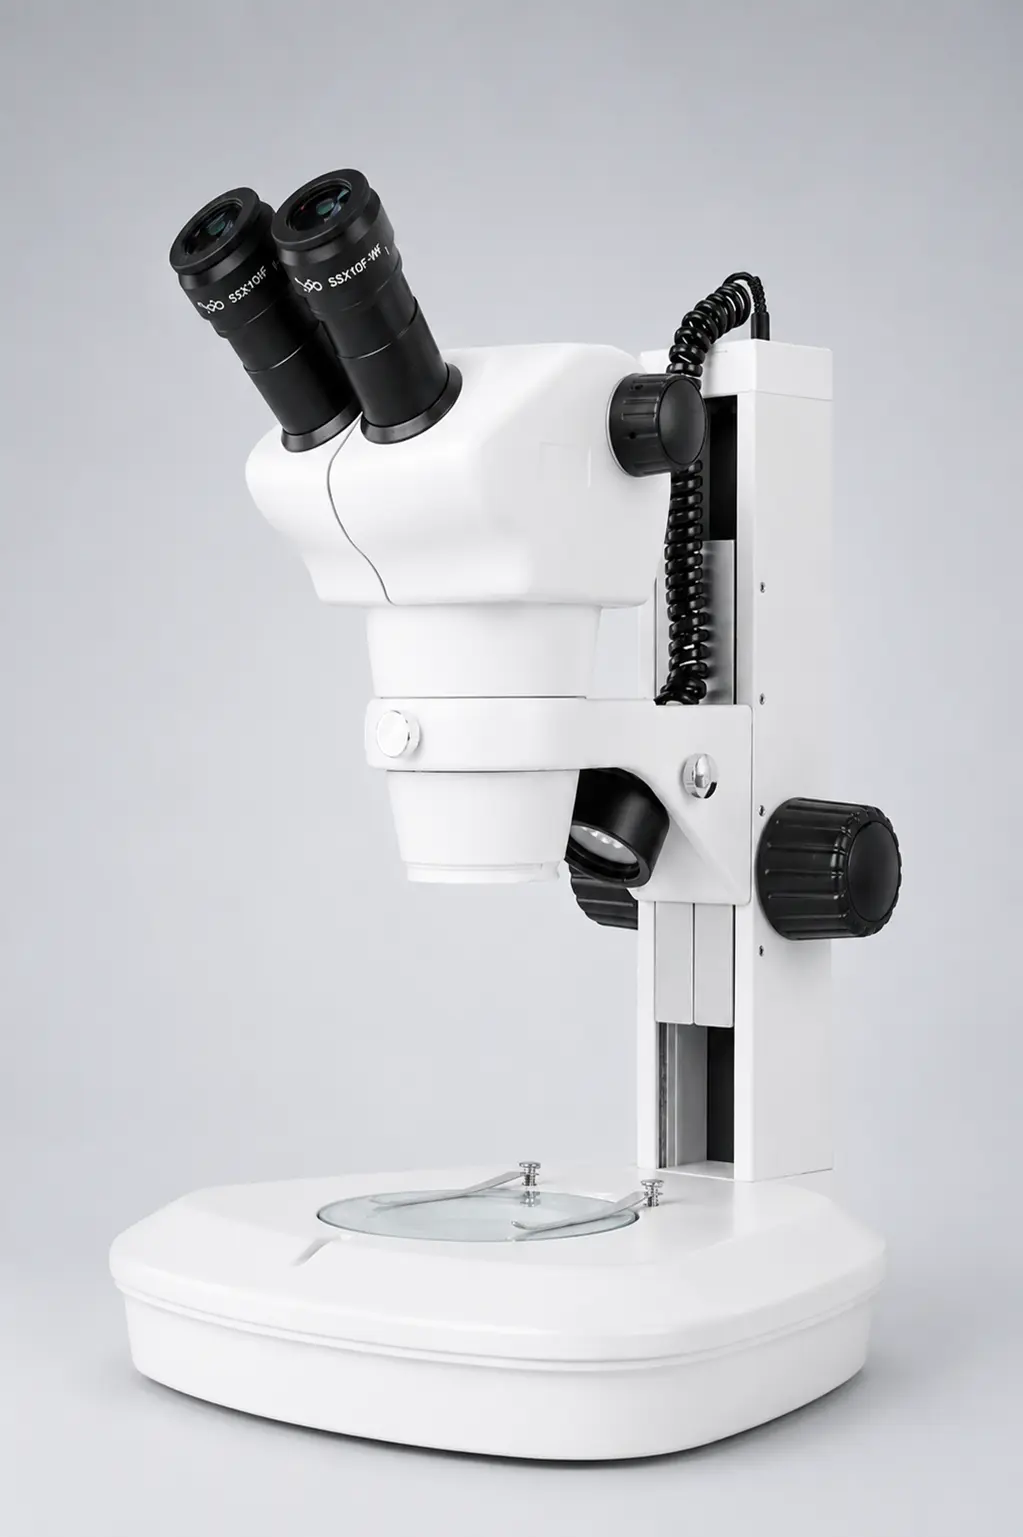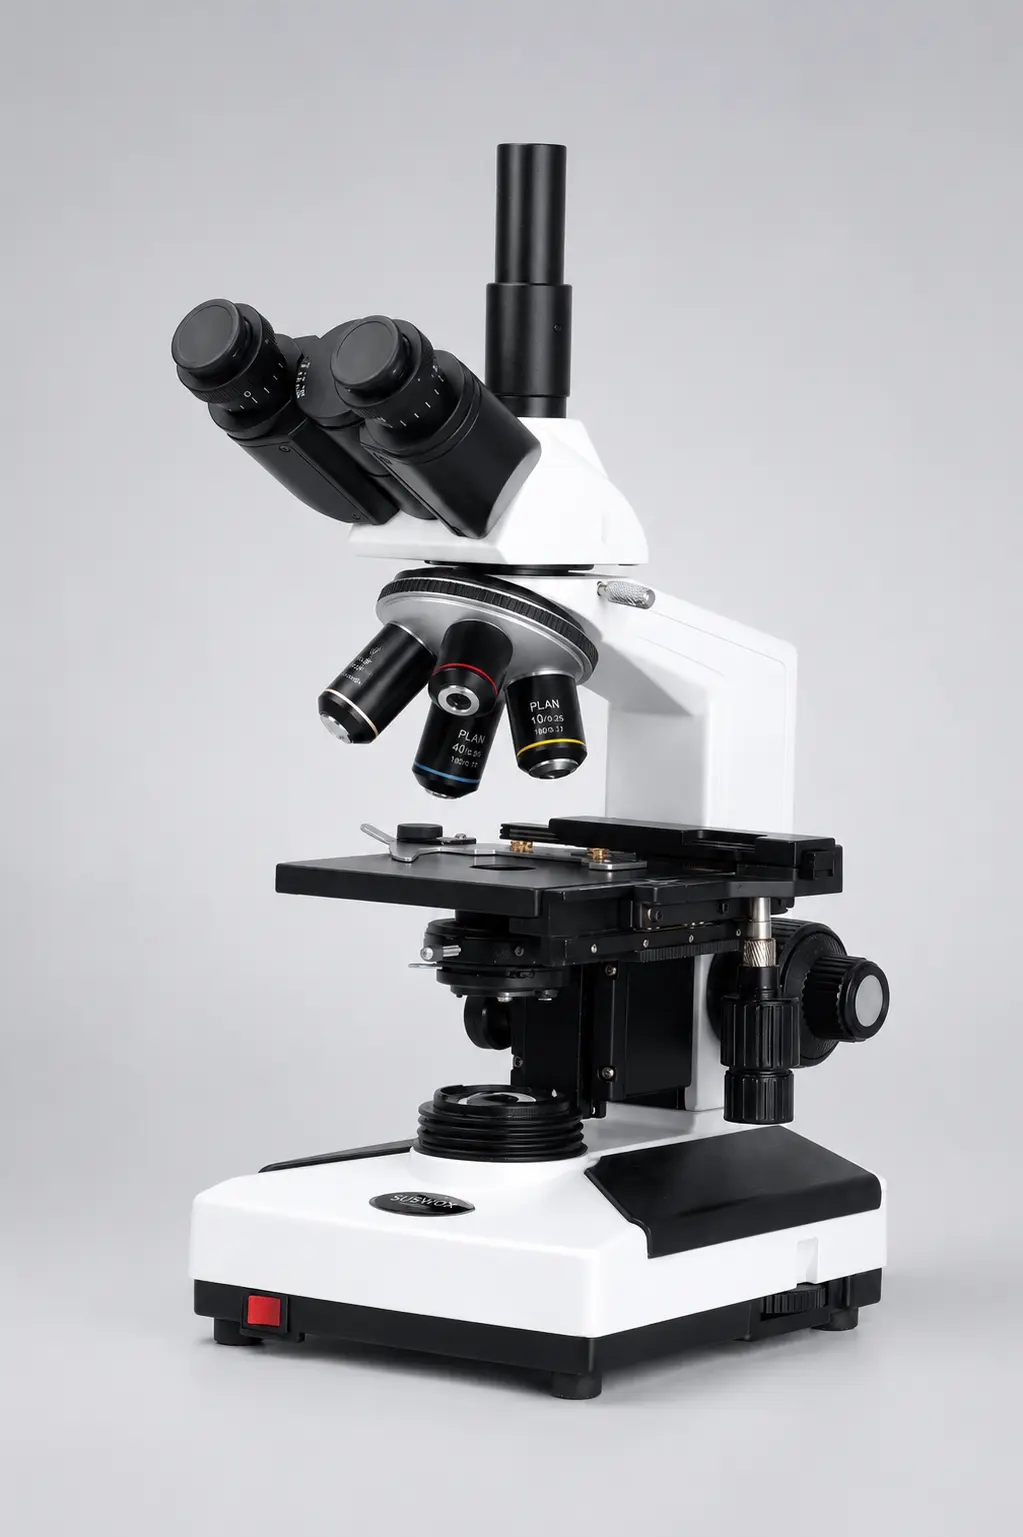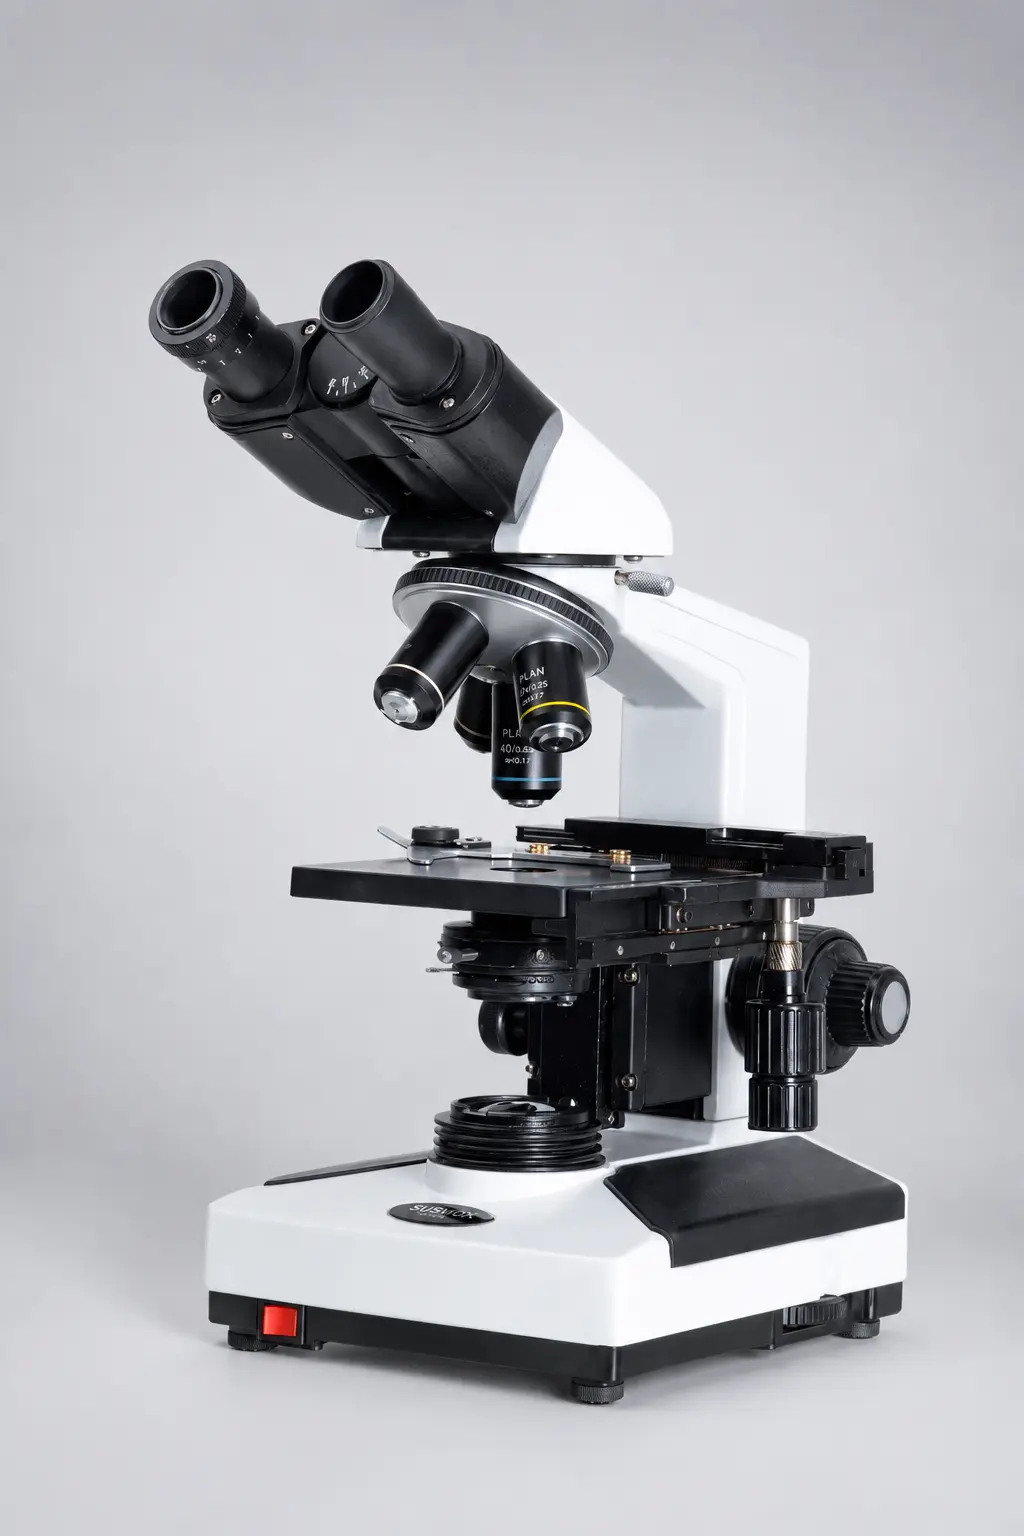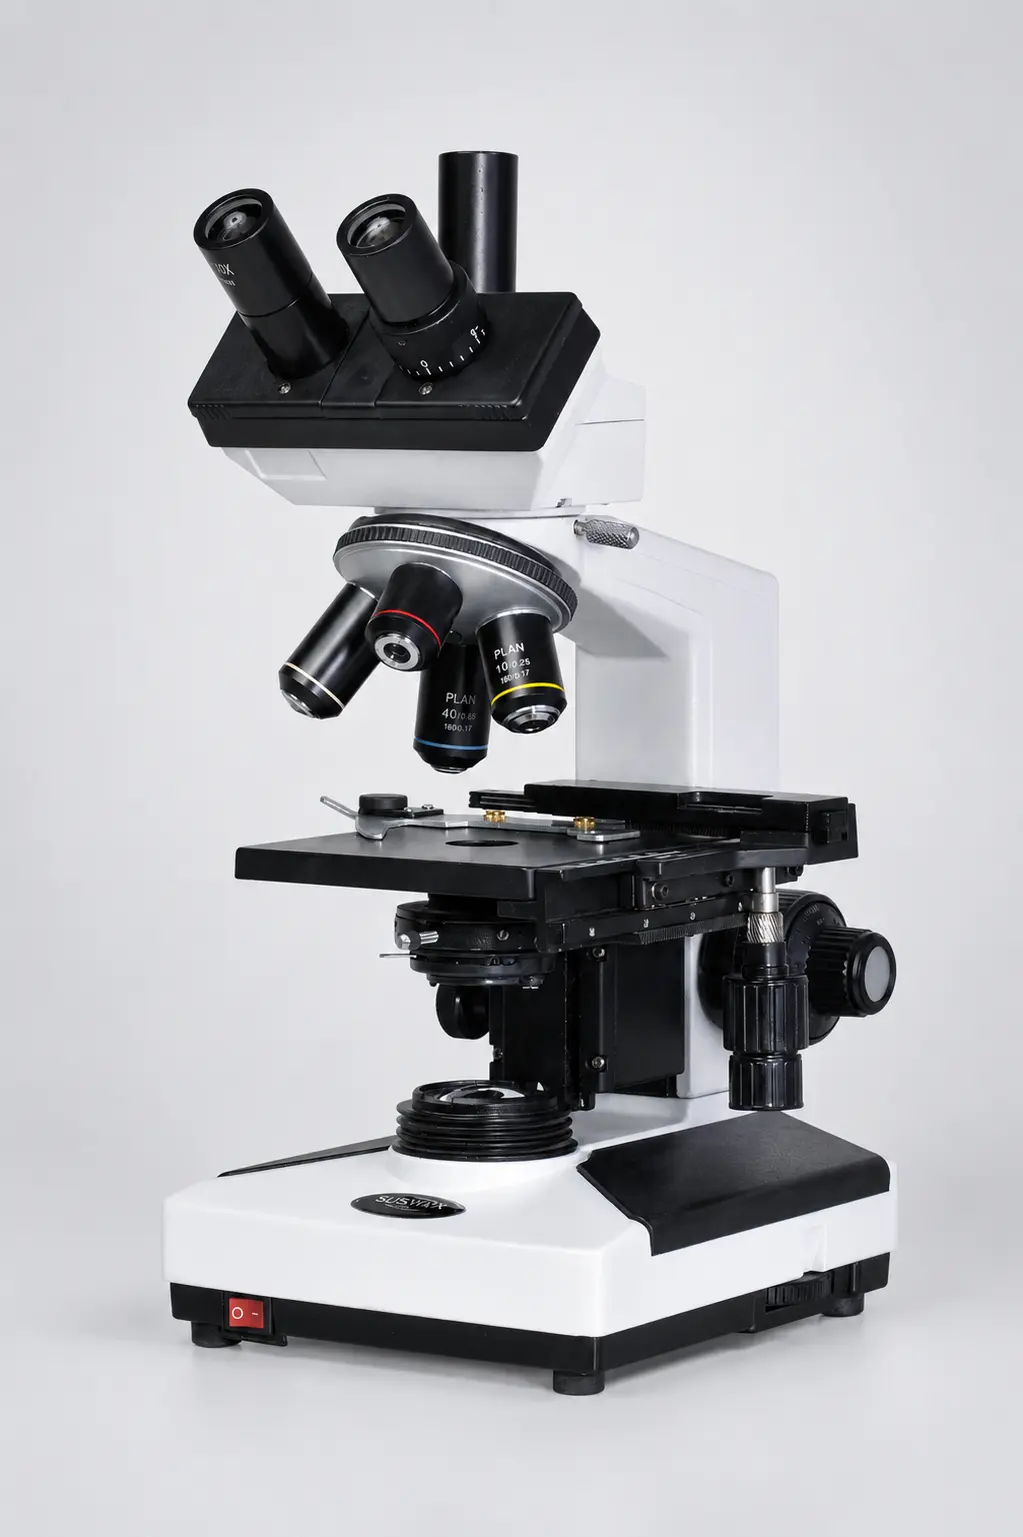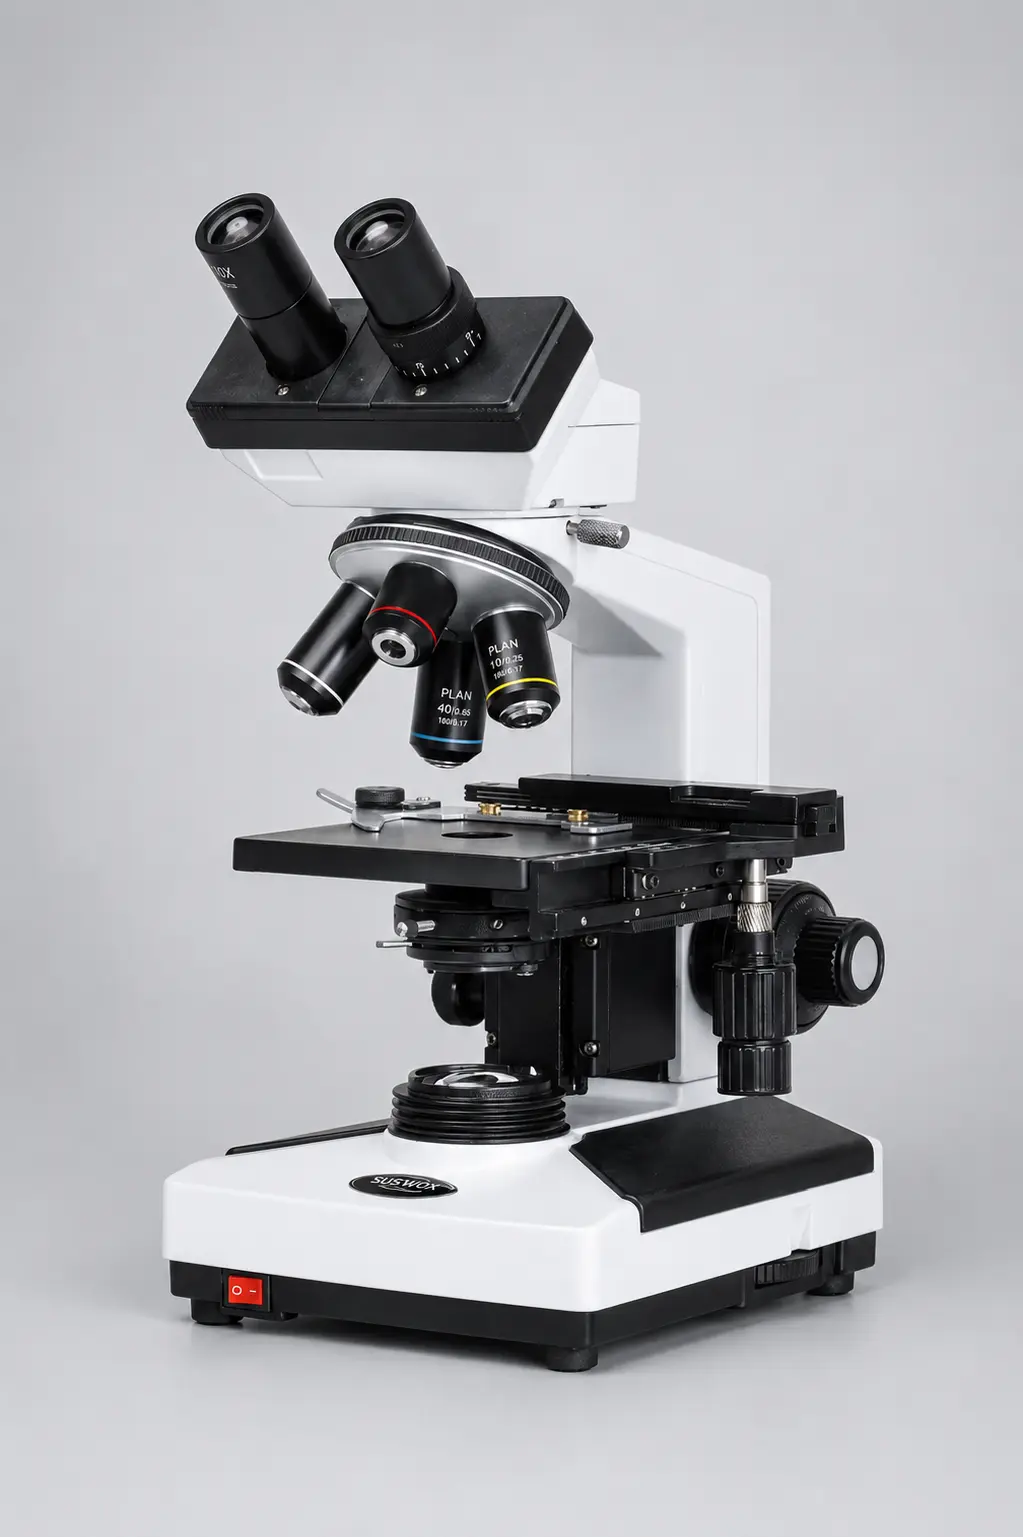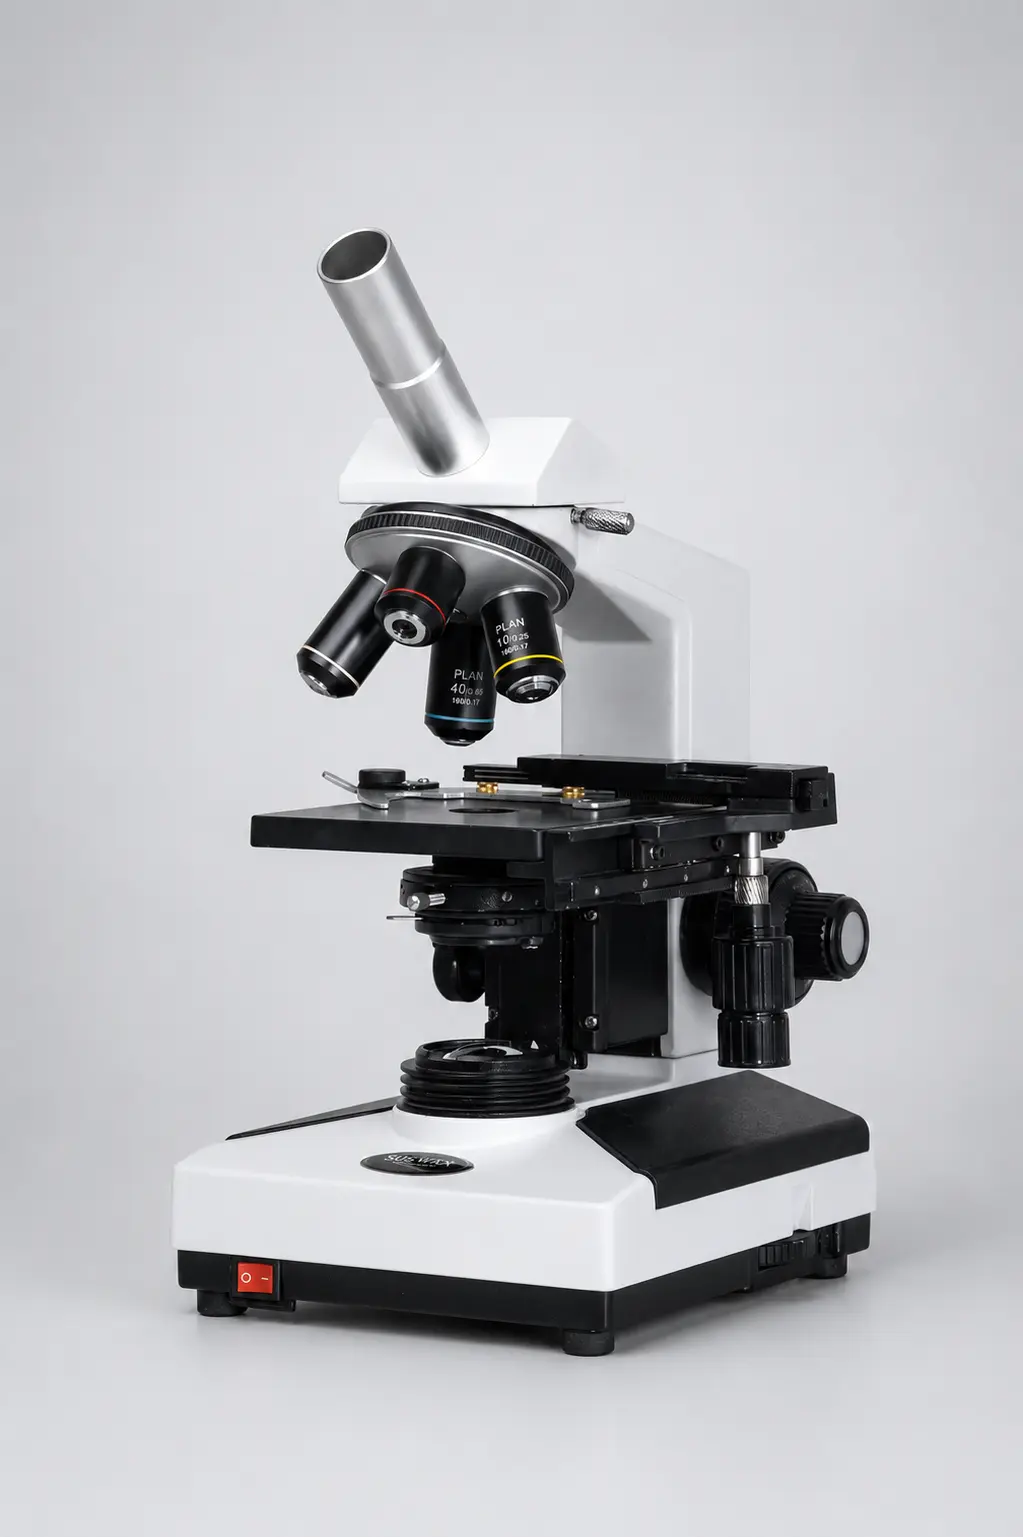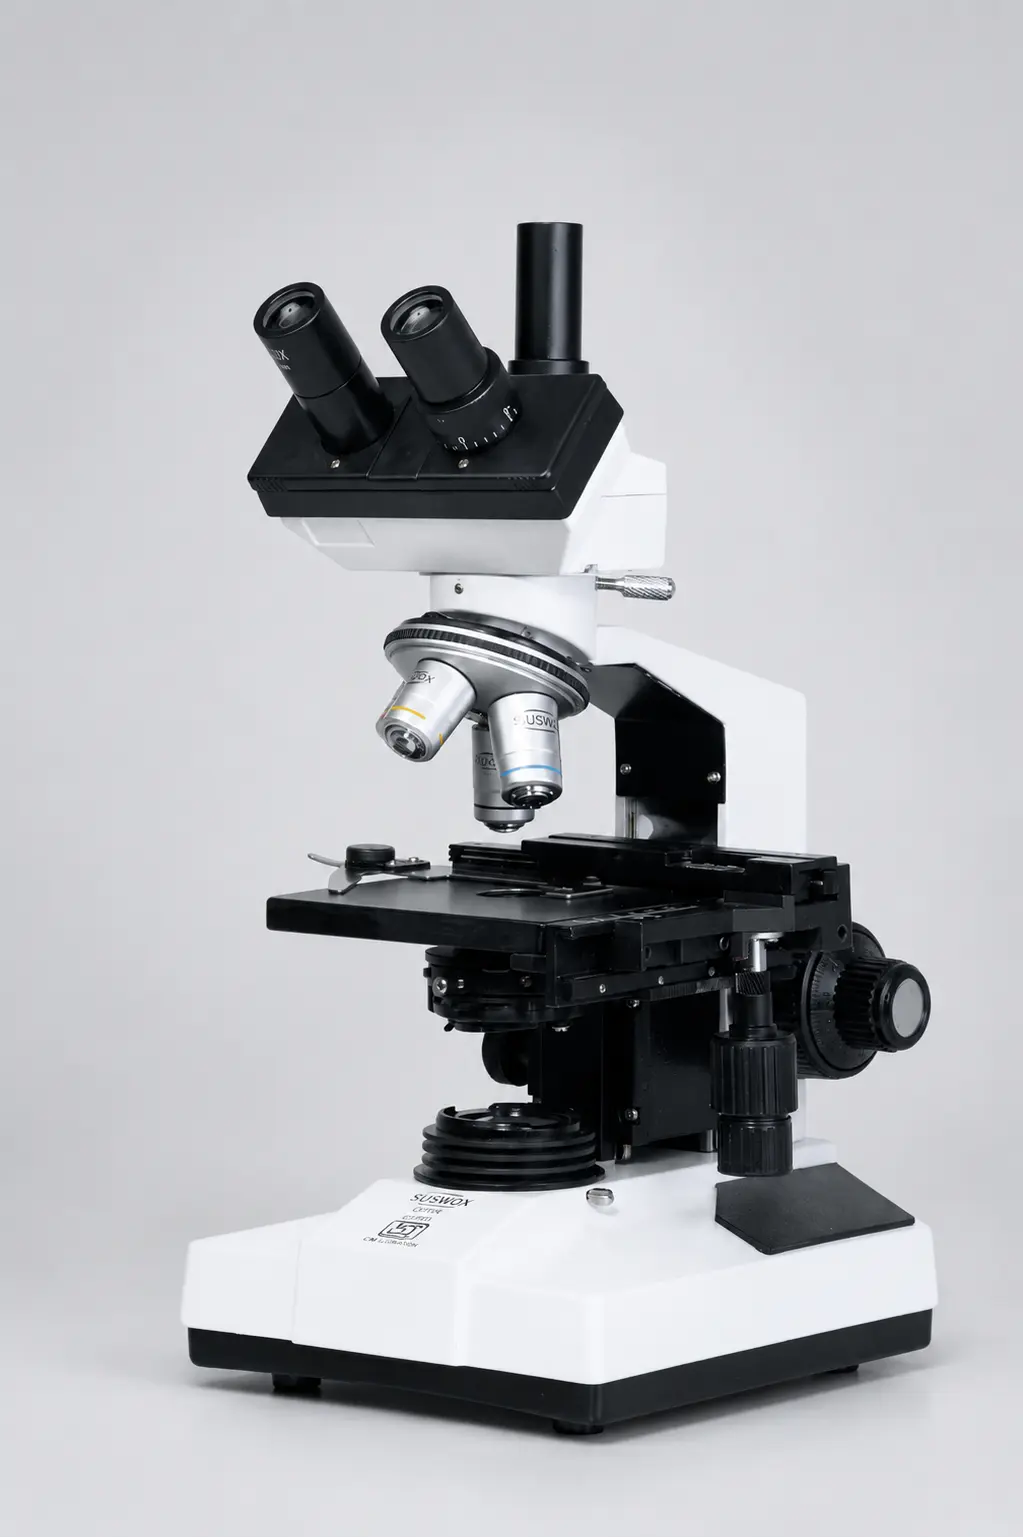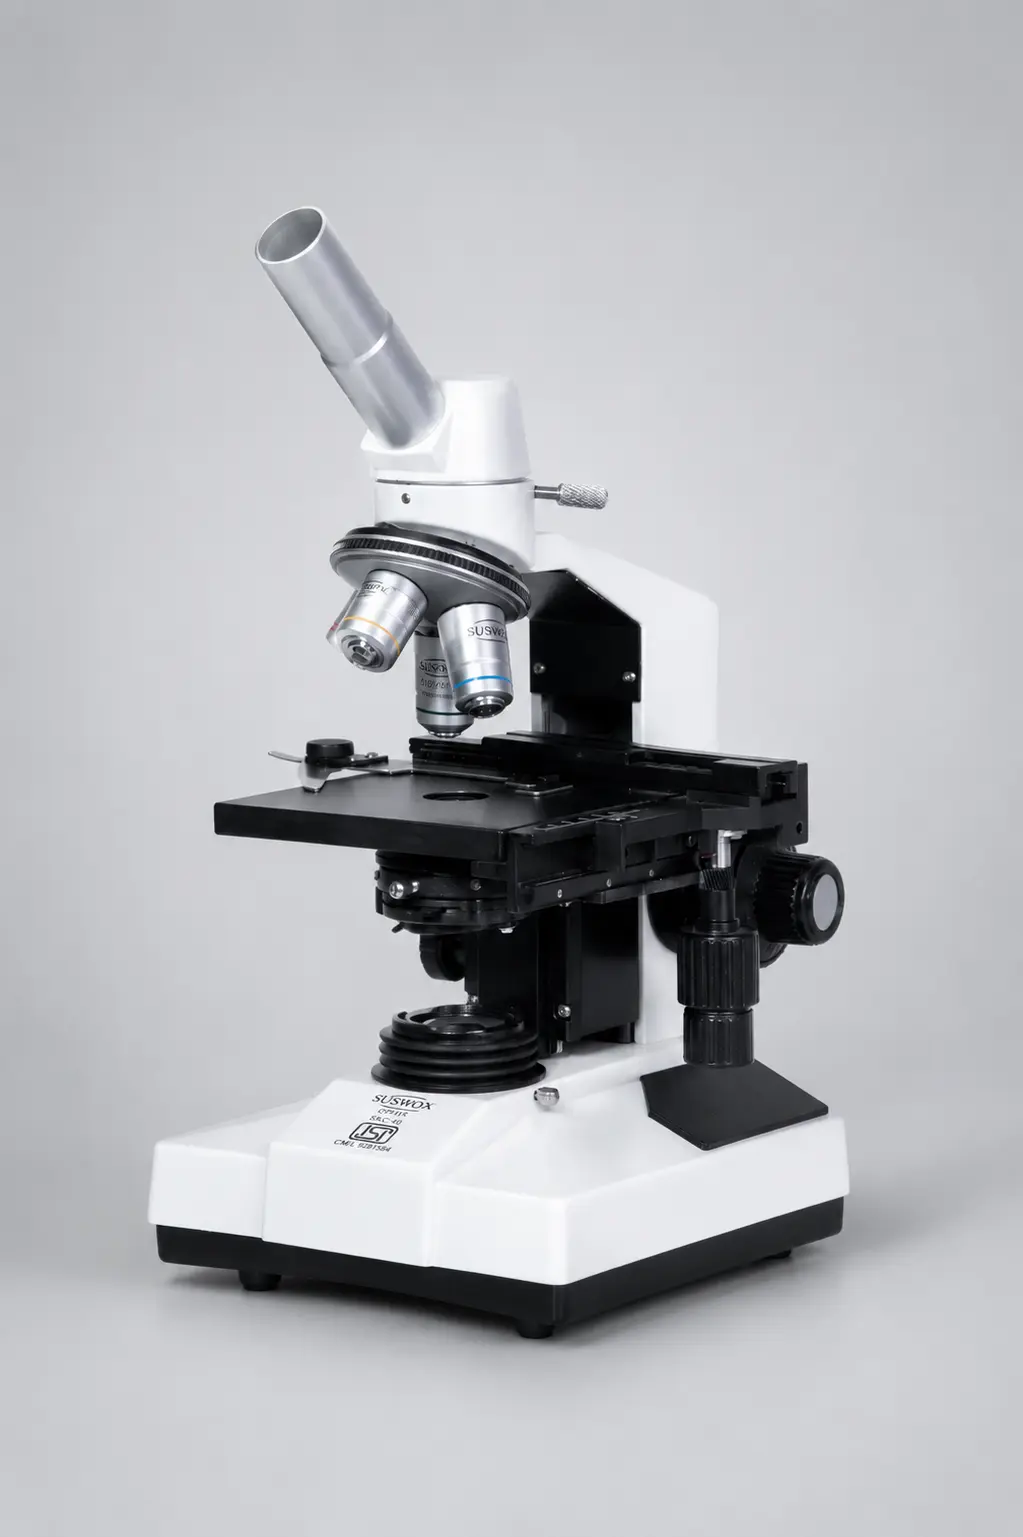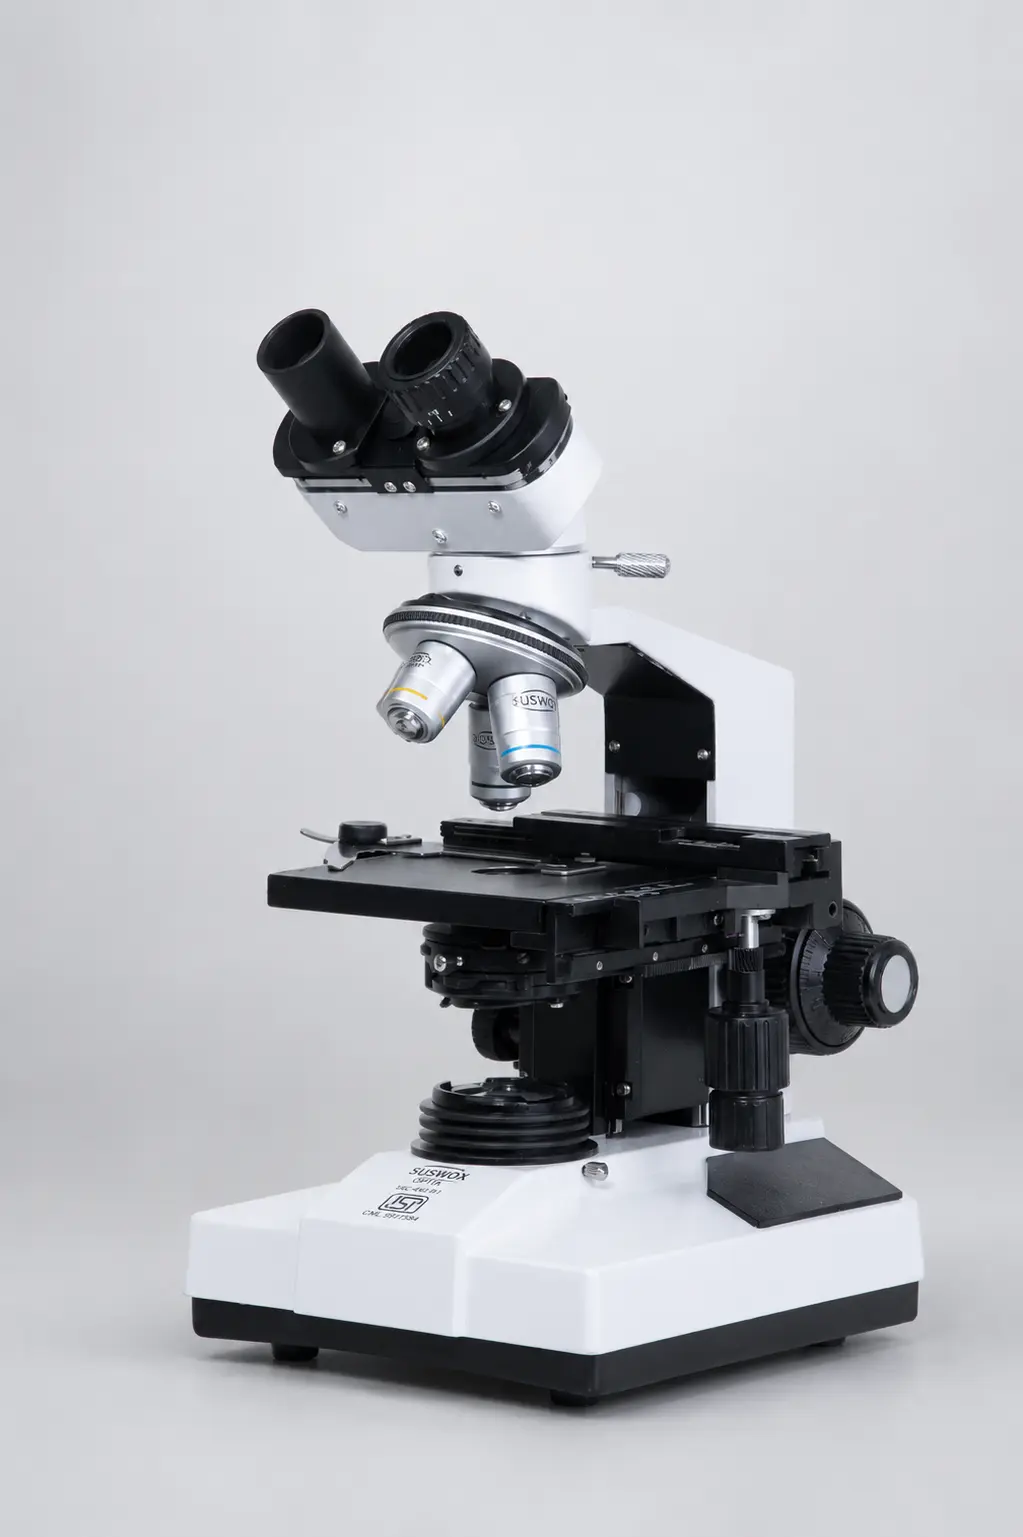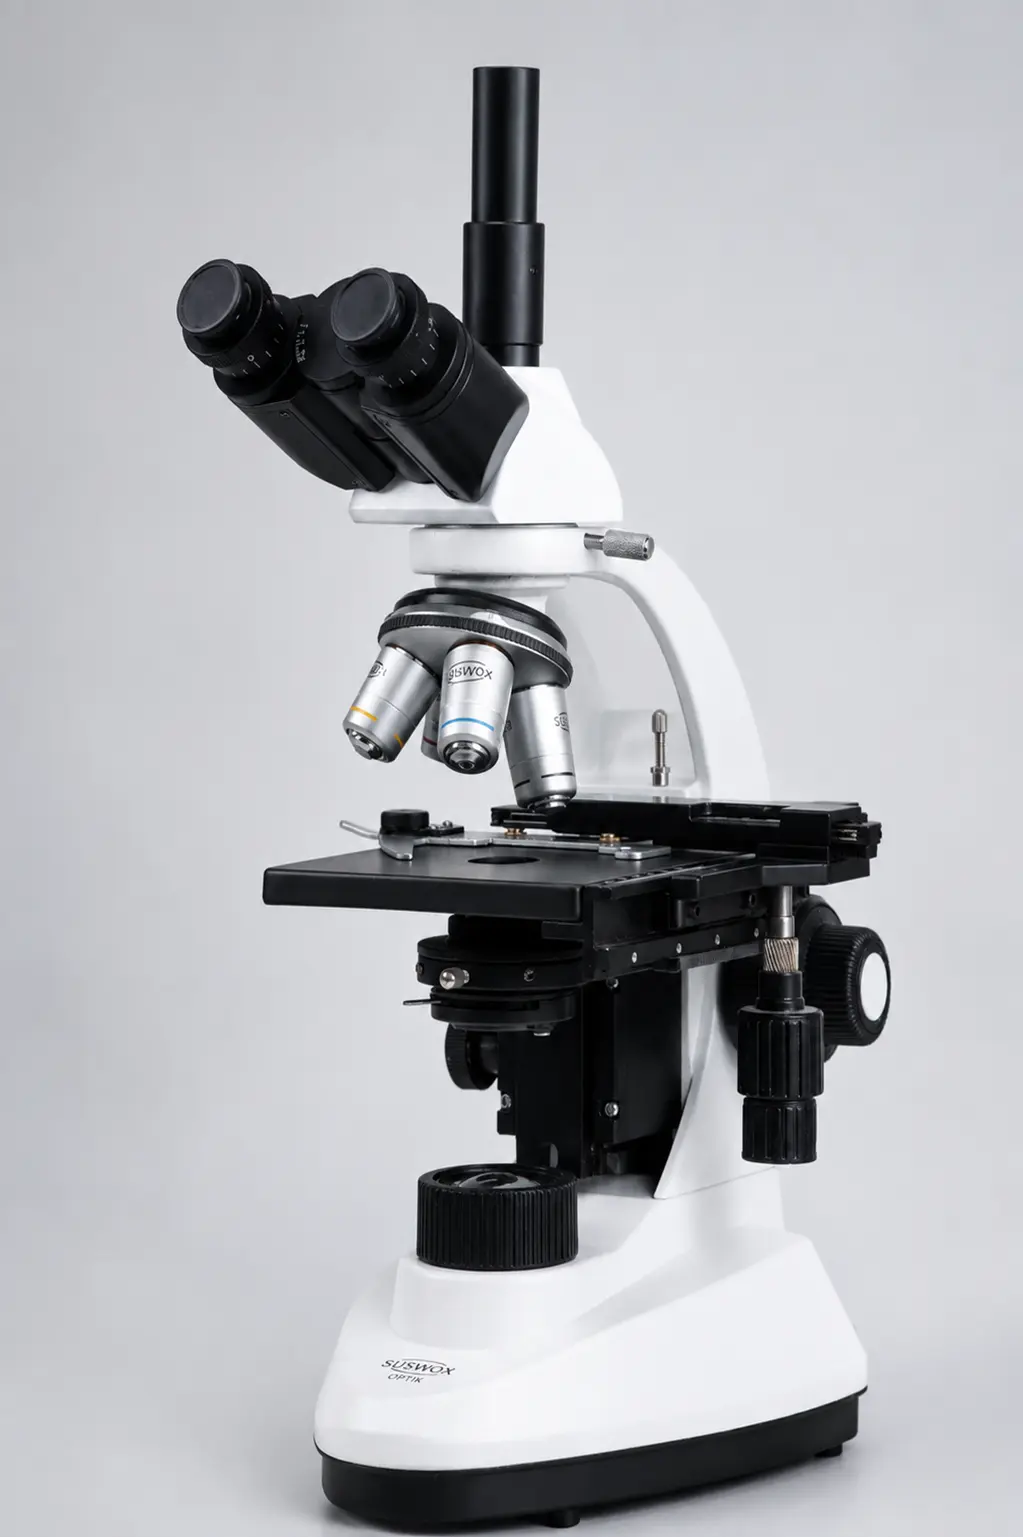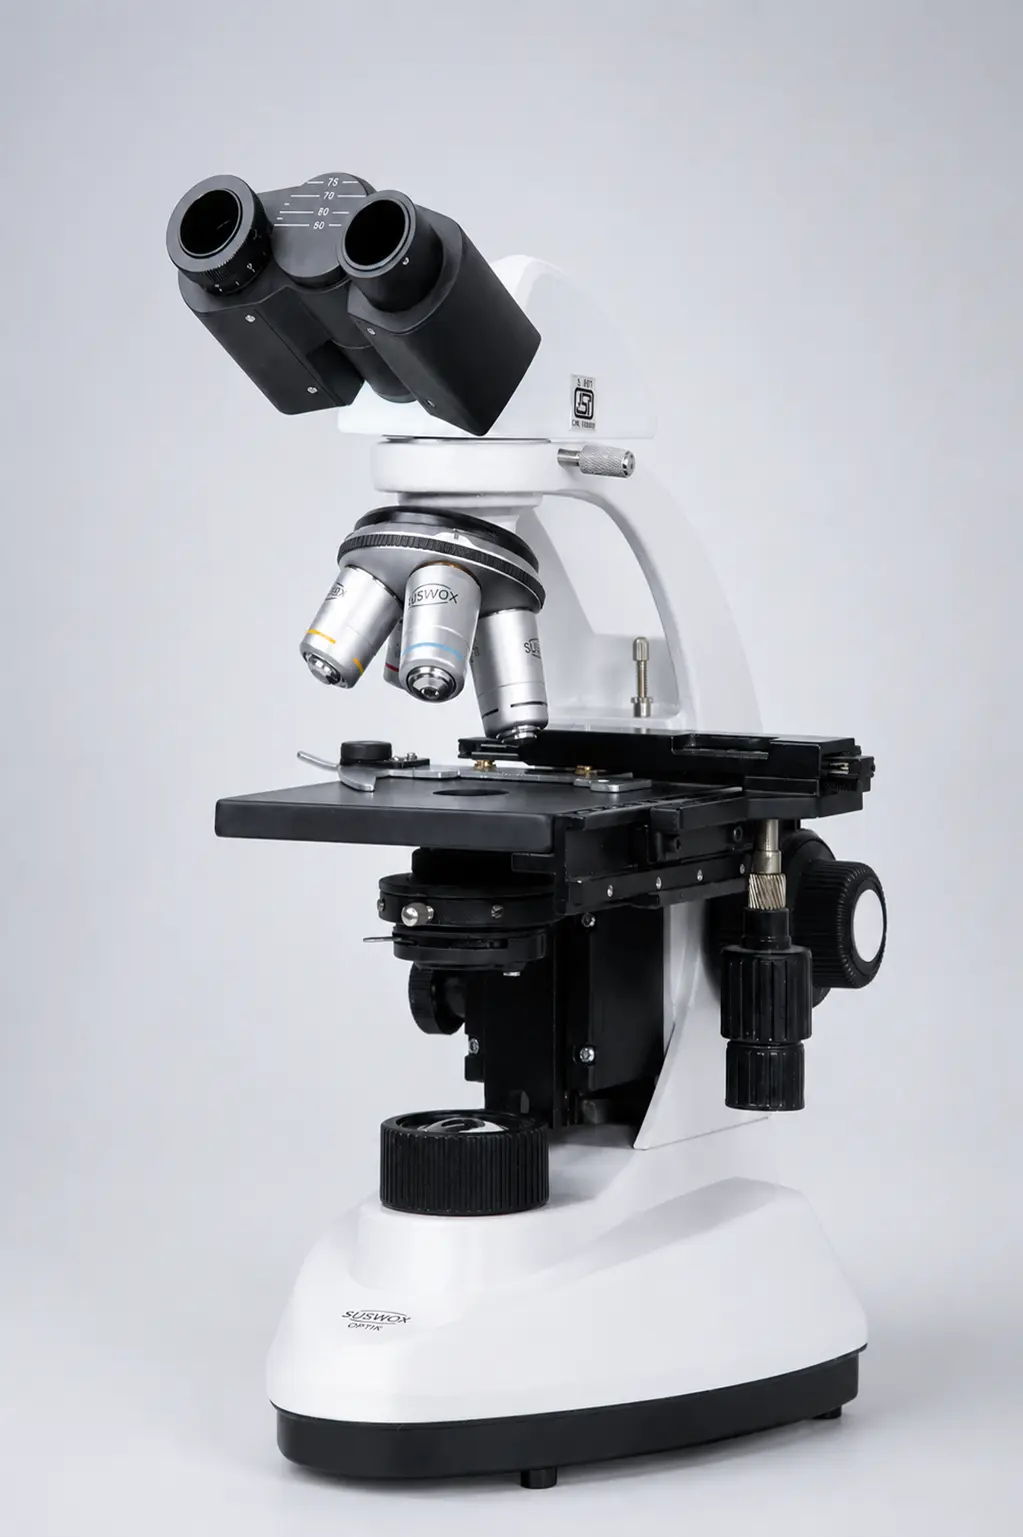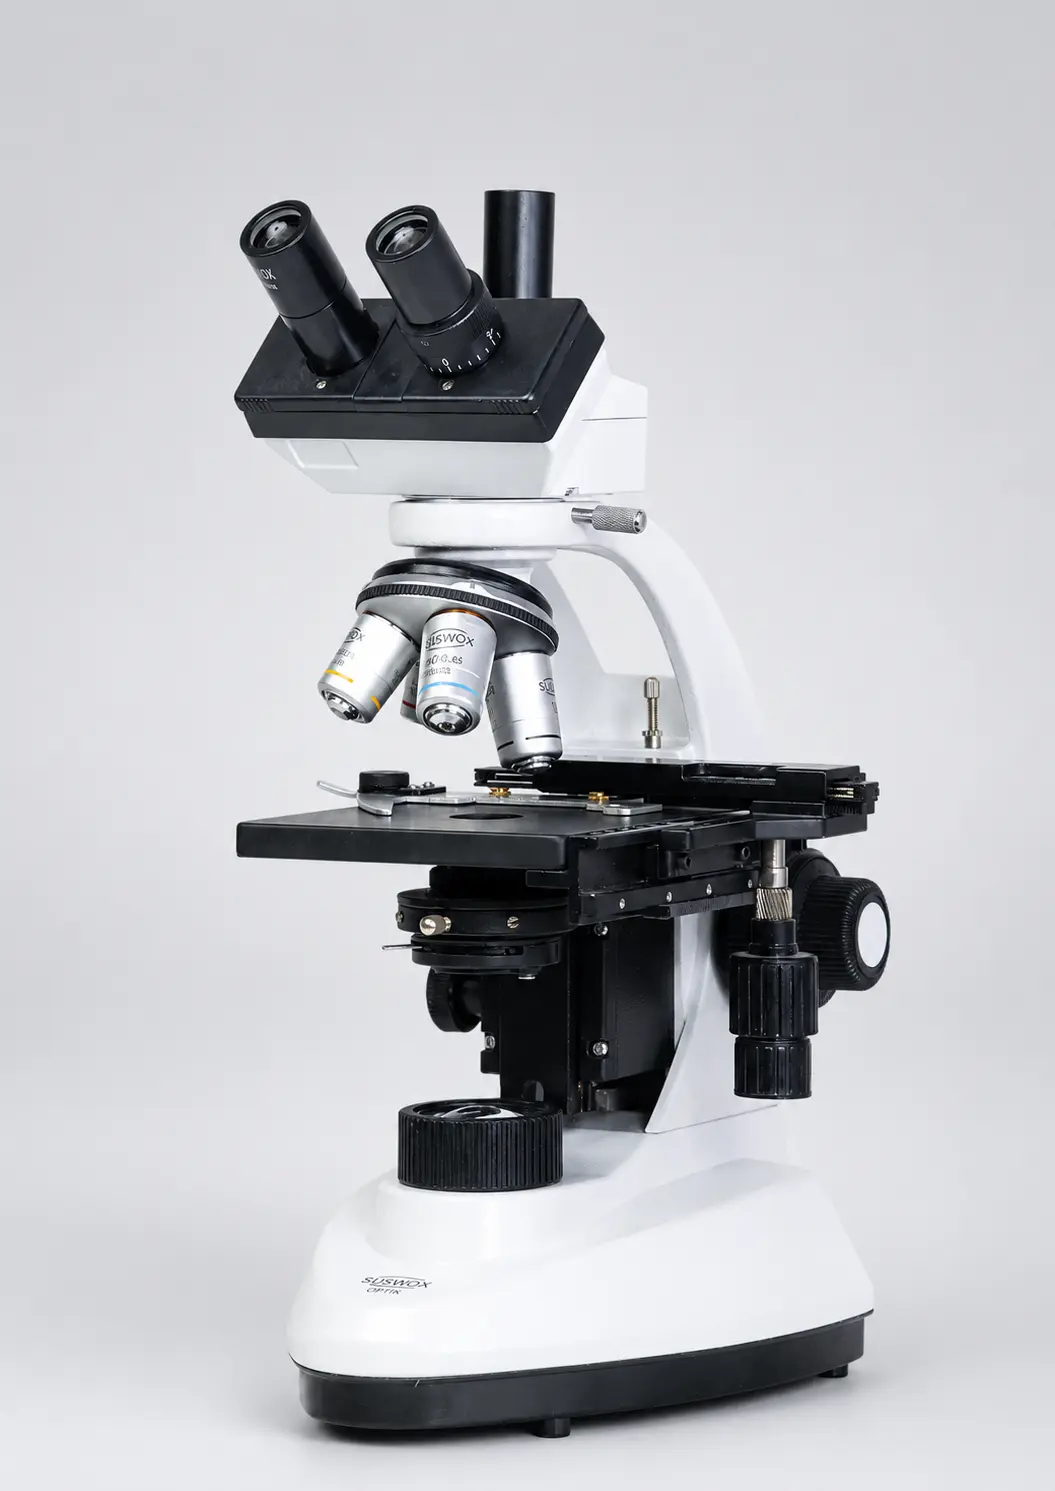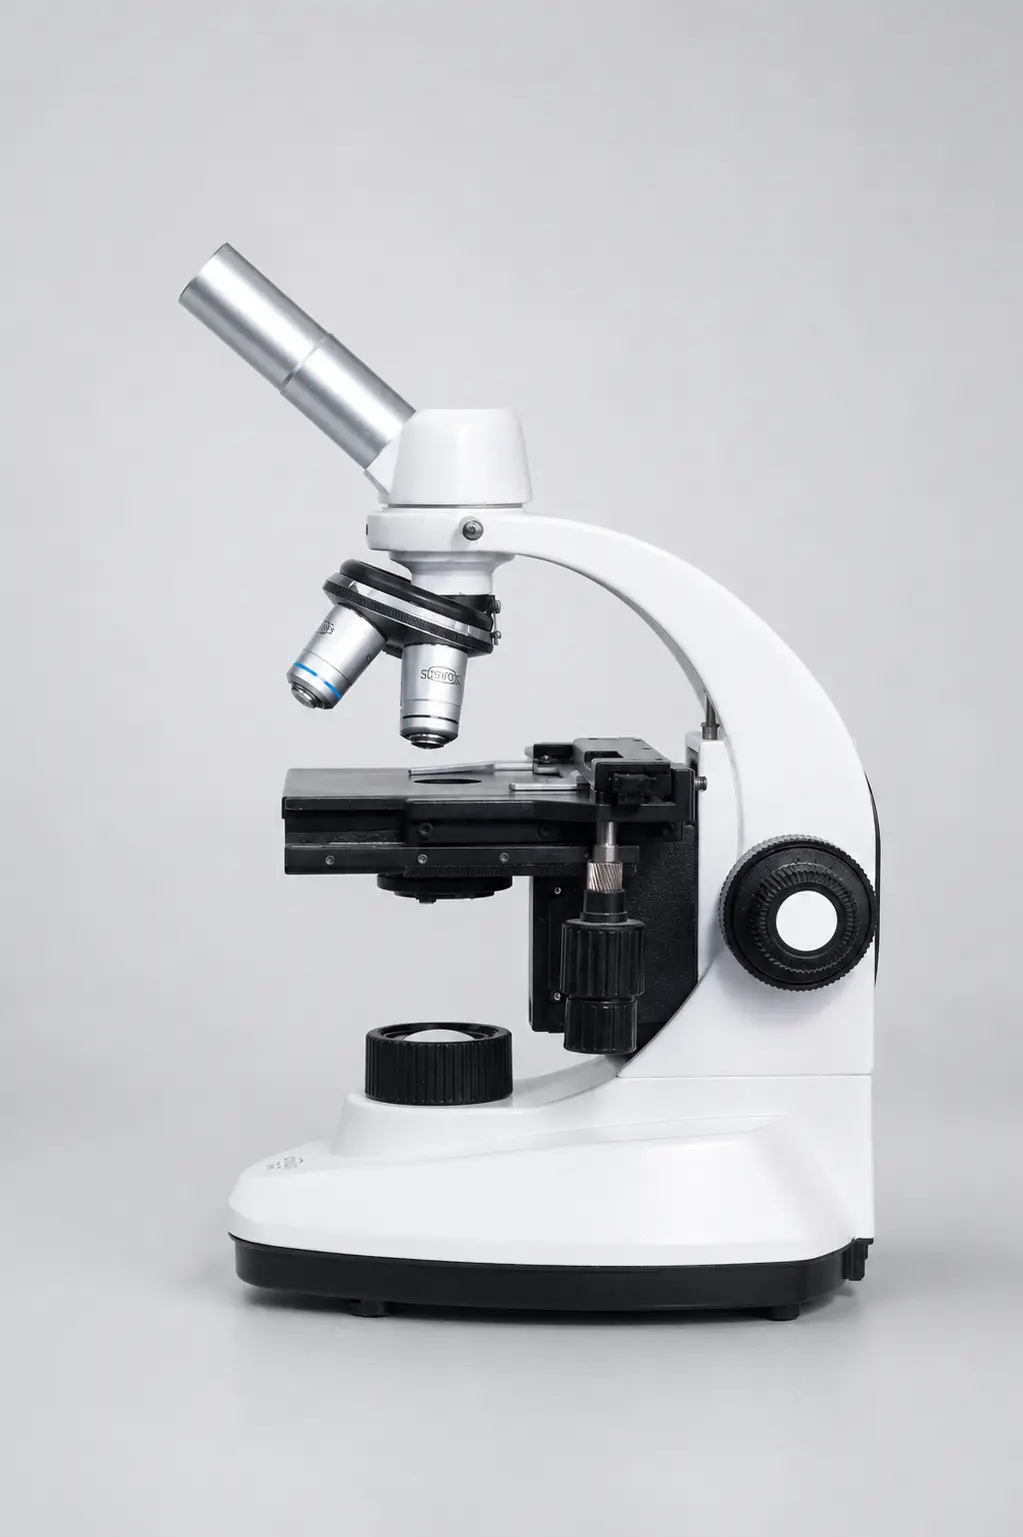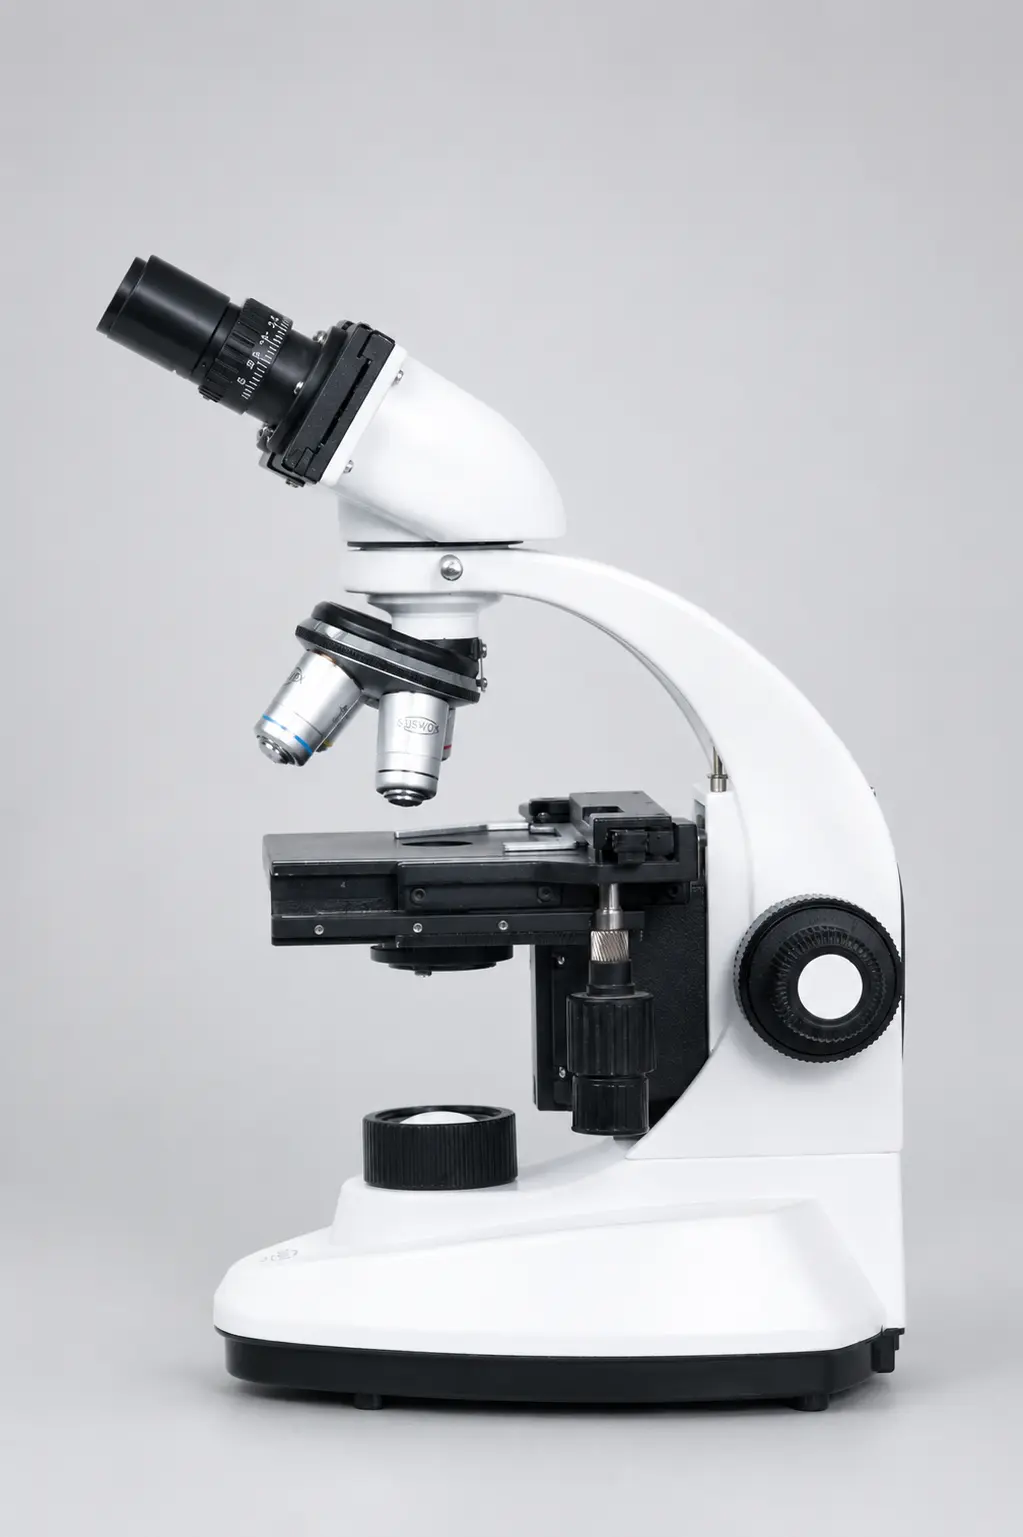
A 100x oil immersion objective holds six lens elements inside a barrel narrower than your little finger. Each element has to sit within a few microns of where the optical design says it should sit.
Get one wrong and the image goes soft at the edges. Nobody sees the error at the bench. They just see a picture that never quite sharpens.
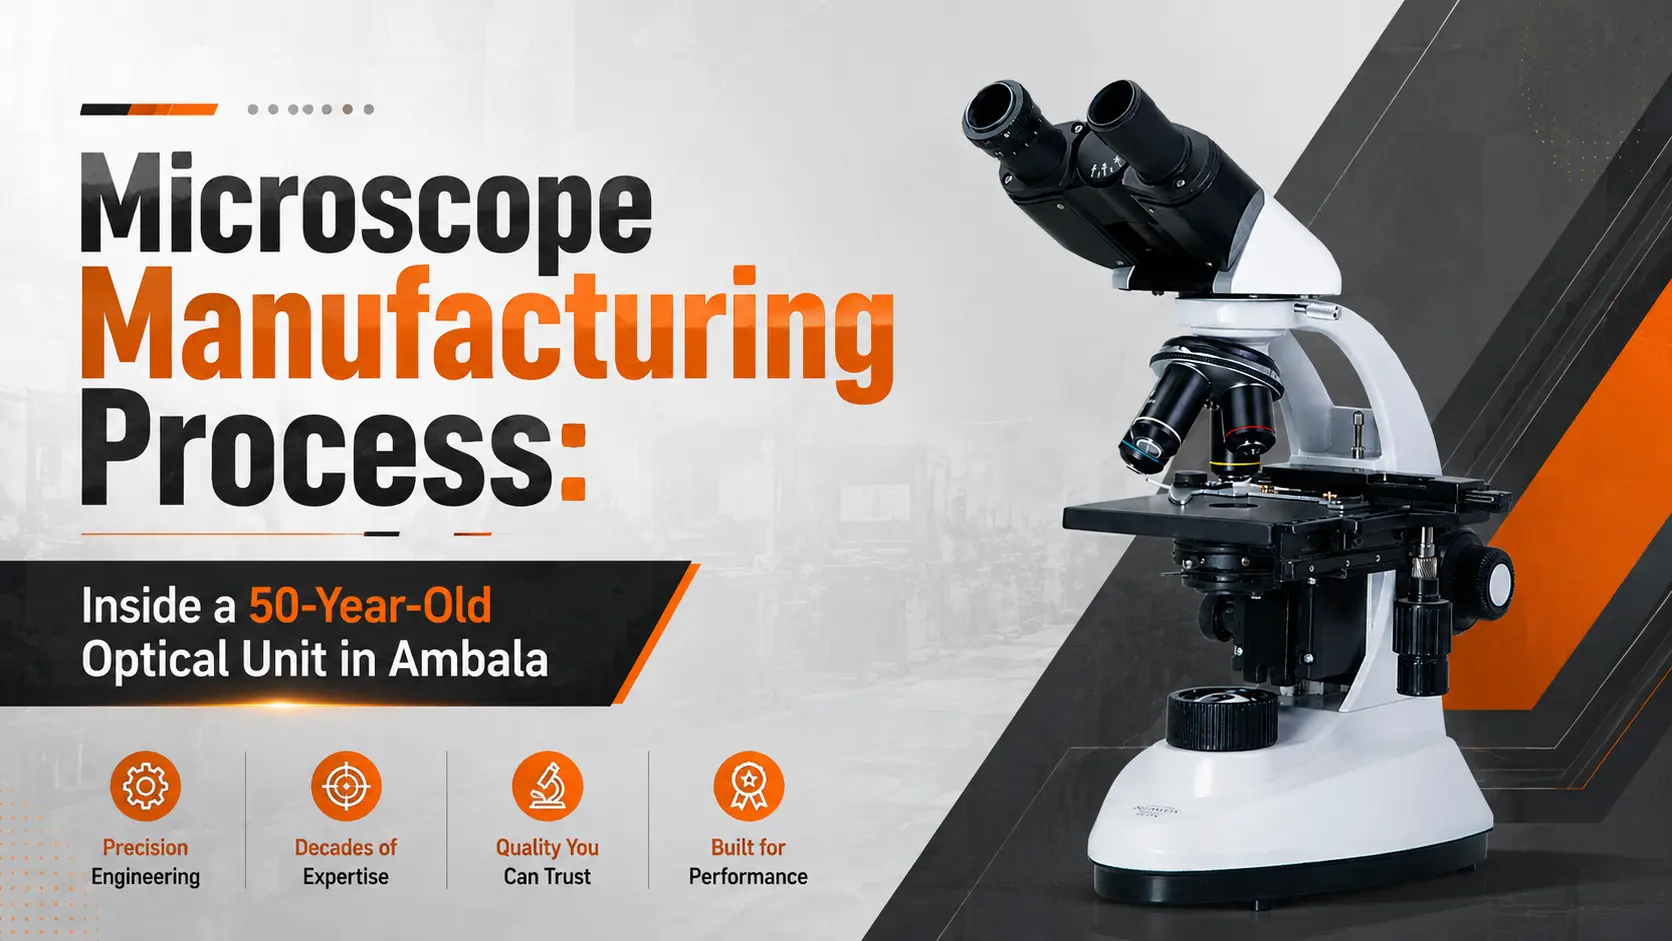
The microscope manufacturing process is really the story of controlling that kind of error, again and again, across a few hundred small operations. It begins with raw optical glass and ends with an instrument that has to hold focus for the next fifteen years. At our Ambala unit, that sequence has been running since 1973, and most of it still depends on trained hands rather than machines.
Here is how a microscope actually gets built.
What is the microscope manufacturing process?
The microscope manufacturing process involves cutting and grinding optical glass into lens elements, polishing and coating them, assembling those elements into objectives and eyepieces, casting and machining the metal body, fitting the focus and stage mechanism, then collimating the complete optical path and testing the finished instrument for resolution and parfocality.
That is the short version. Each stage below is where instruments separate from each other.
It starts with glass, not with the microscope
Optical glass is not window glass. It is manufactured to controlled refractive index and dispersion values, and different lens elements in the same objective use different glass types on purpose, because that is how colour error gets cancelled out.
Blanks arrive as rough discs. Before anything else happens, they are checked for internal striae, bubbles and stress. A blank with stress in it will polish beautifully and then distort under temperature change two years later.
So the ones that fail get pulled out here, at the cheapest possible point in the process.
Grinding and polishing: where the curve is decided
Each lens element needs a specific radius of curvature. Getting there takes three stages.
Rough grinding removes bulk material and brings the blank close to shape. Fine grinding, using progressively finer abrasive grades, takes it closer. Then polishing with cerium oxide on a pitch or polyurethane tool brings the surface to optical quality, which means surface irregularity measured in fractions of a wavelength of light.
Polishing is slow. It is also the stage where experience matters most, because pressure, slurry consistency and tool contact all drift during a run and a technician has to feel that drift before the test plate shows it.
After polishing, each element is centred and edged so that its optical axis and its mechanical axis line up. Skip precision here and the objective will never collimate properly later, no matter how good the individual lenses are.
Coating: the layer you cannot see
An uncoated glass surface reflects roughly four percent of the light hitting it. A six-element objective has twelve air-glass surfaces. Do the arithmetic and a large part of your illumination is being thrown away as scatter, which is exactly what kills contrast in a stained slide.
Anti-reflective coating fixes that.
Elements go into a vacuum chamber where thin layers of magnesium fluoride or multilayer dielectric material are deposited onto the surface. Layer thickness is controlled to a quarter of the wavelength being targeted. The result is more light transmitted, less internal flare, and noticeably better contrast at high magnification.
Building the objective, the hardest part of the job
This is where a microscope is won or lost.
Elements are seated into the barrel in sequence, with spacers holding the designed air gaps. Some pairs are cemented together into doublets using optical adhesive cured under controlled conditions. The whole stack then has to be aligned so that every element shares one common optical axis.
Then it gets tested against a resolution target and adjusted. And tested again.
Objectives also have to be parfocal and parcentric as a set, which means when you rotate from 10x to 40x on the nosepiece, the image should stay roughly in focus and the same feature should stay in the centre of the field. That only happens if the entire set was built and matched together. It is one of the practical reasons our microscope models are supplied as matched optical sets rather than assembled from mixed-source parts.
The body: casting, machining and the focus mechanism
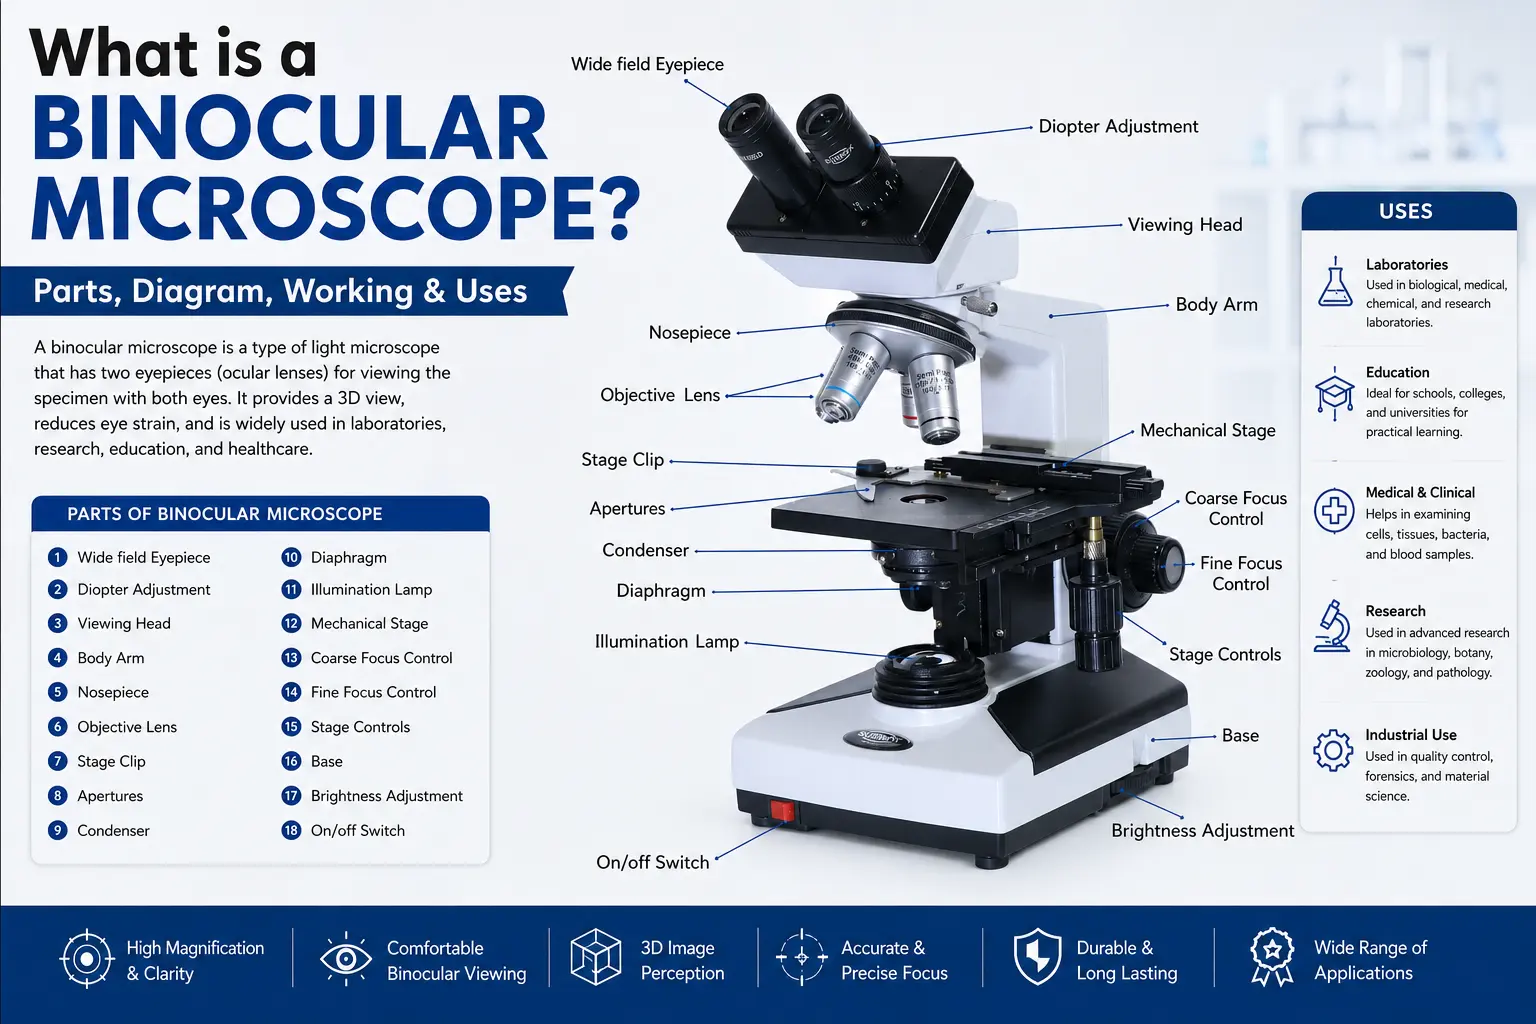
The stand carries everything and absorbs vibration, so it is built heavy on purpose. Die-cast aluminium bodies are machined for the dovetail slides, the nosepiece thread and the stage mounting, then finished and painted.
The coaxial focus mechanism is the part users touch most and think about least.
Coarse and fine focus run on a concentric shaft through a rack and pinion assembly with adjustable tension. Fine focus typically moves the stage by a couple of microns per graduation. Backlash has to be near zero, because a focus knob with play in it makes oil immersion work genuinely difficult. Tension is set by hand at assembly, then checked again after the instrument has been run.
The mechanical stage is fitted next, with its own rack and pinion for X and Y travel, and a slide holder that has to grip without bending the glass.
Illumination, condenser and the light path
Modern lab microscopes use LED illumination rather than halogen, which runs cooler, lasts far longer and does not shift colour temperature as it dims. The LED assembly, collector lens and field diaphragm are fitted into the base.
Above that sits the Abbe condenser with its iris diaphragm. Its job is to shape the cone of light entering the specimen, and its numerical aperture has to match the objective in use, otherwise resolution drops even though the objective itself is perfectly good.
Condenser centring and height are set during final assembly, not left to the user to sort out.
Final assembly, collimation and testing
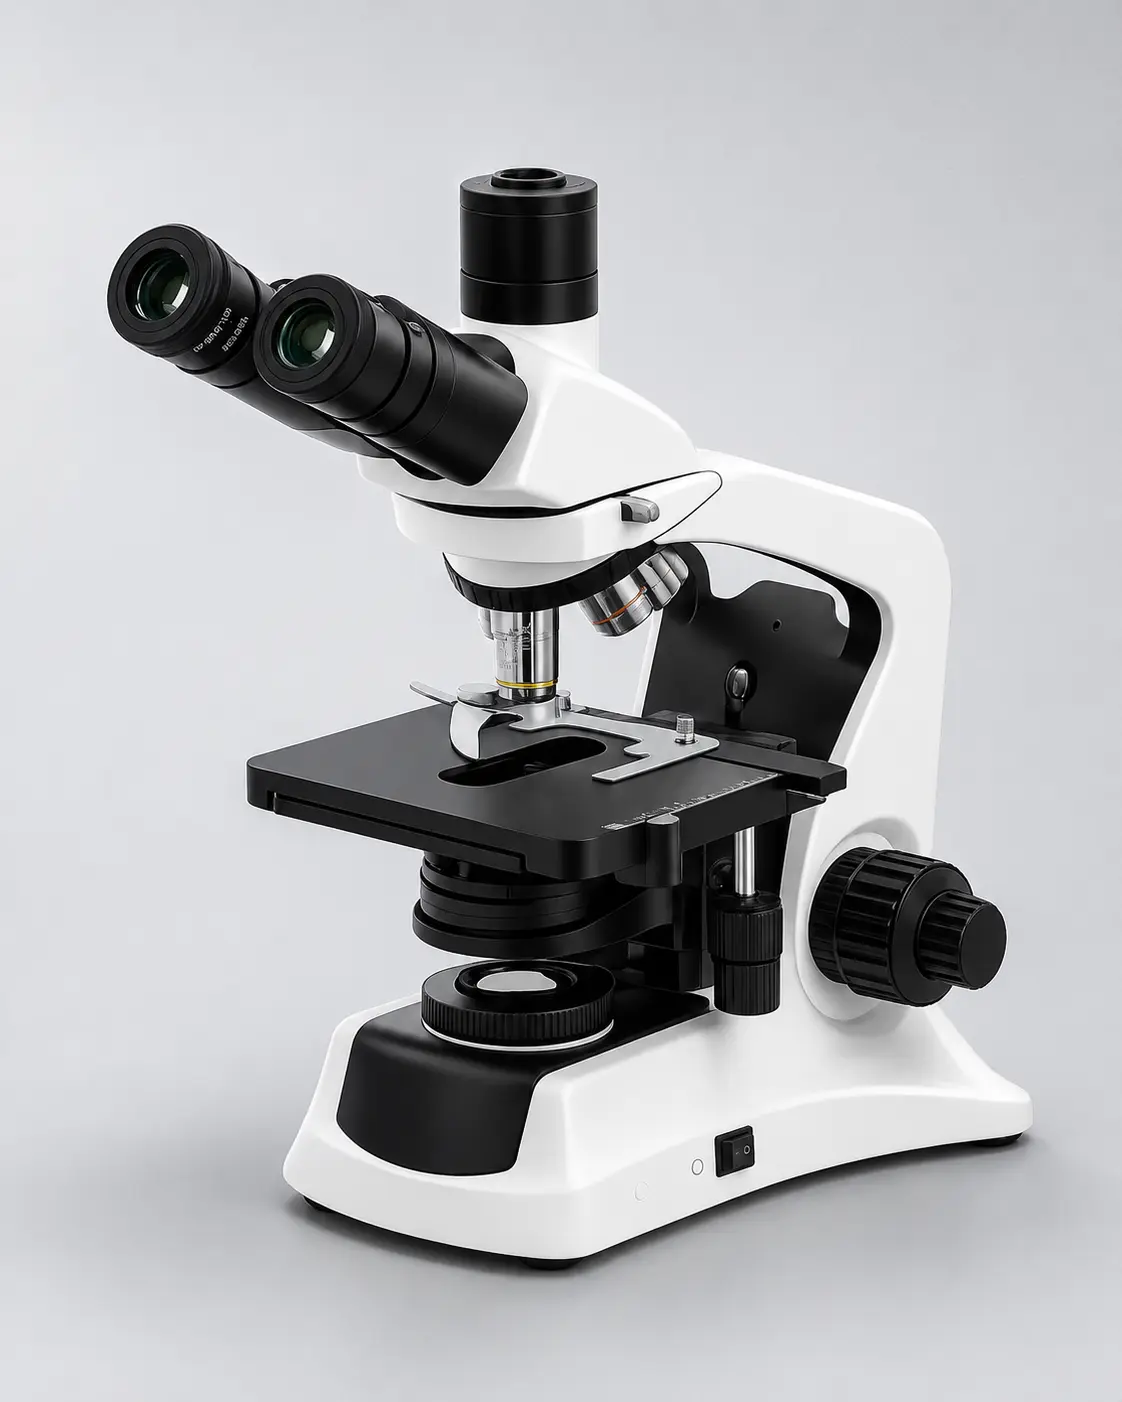
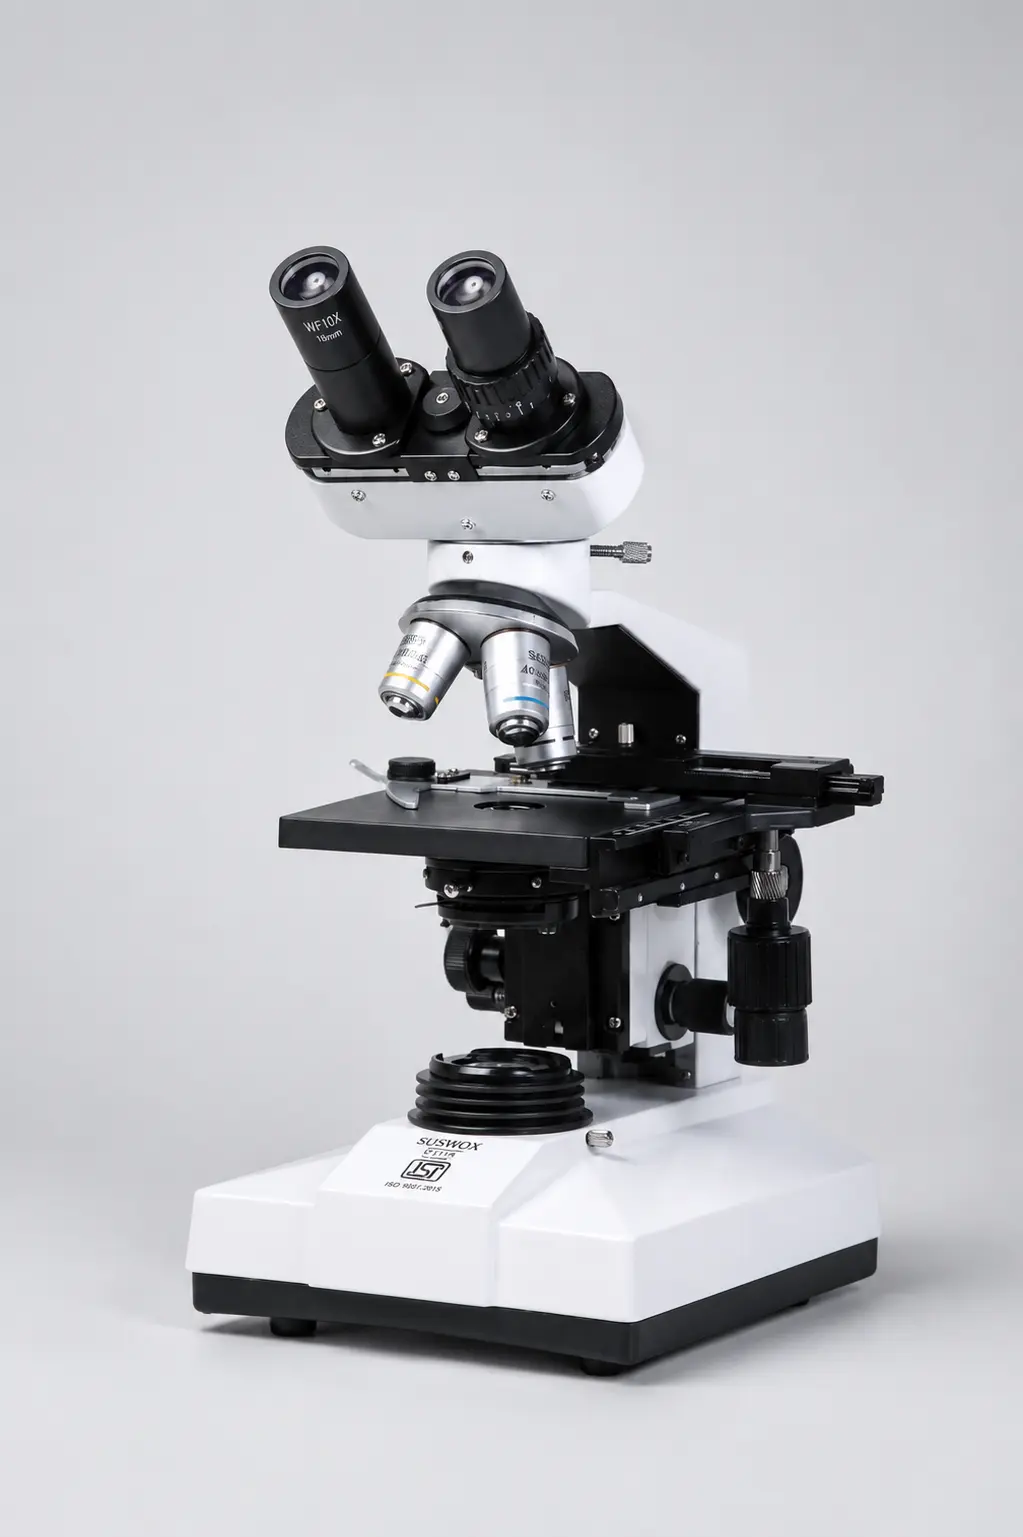
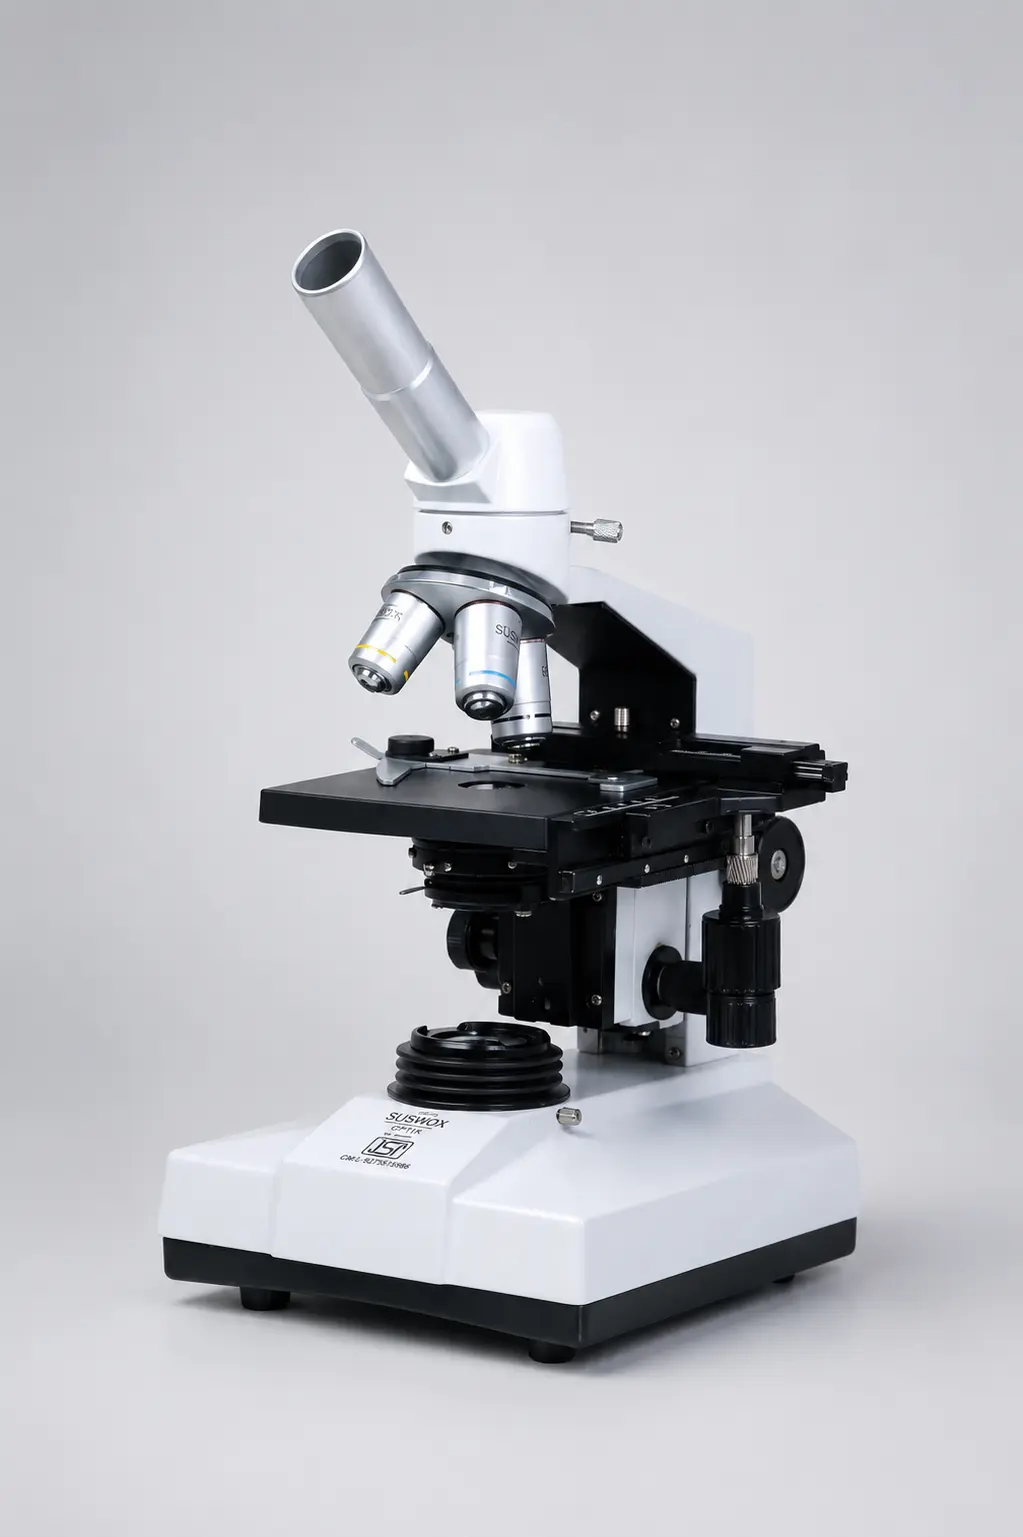
The head, nosepiece, objectives, eyepieces, stage, condenser and illumination all come together, and the complete optical path is collimated so both eyepiece tubes deliver a merged, strain-free image across the full interpupillary range.
Then testing begins. Resolution is checked against a standard target. Parfocality and parcentricity are verified across the objective set. Focus travel, stage travel, illumination evenness, diopter adjustment and mechanical play are all checked. Units in our ISI-marked ranges are additionally tested against the relevant Indian Standard specification before they are cleared.
Anything that fails goes back, not forward.
Why fifty years in one place changes the instrument
A factory that has built the same product families for decades accumulates something that cannot be bought — tooling, drawings, jigs and technicians who have seen every failure mode a microscope can produce.
It also means spare parts still exist.
SUSWOX is the microscopy brand of Sudheer Scientific Works, a microscope manufacturer in India that has been running its own optical unit in Ambala, Haryana since 1973. Instruments we sold in the early 2000s are still in daily use at institutions including AIIMS Bathinda, AIIMS Nagpur, BHU, MDU Rohtak and the Haffkine Institute, and we still hold spares for those models.
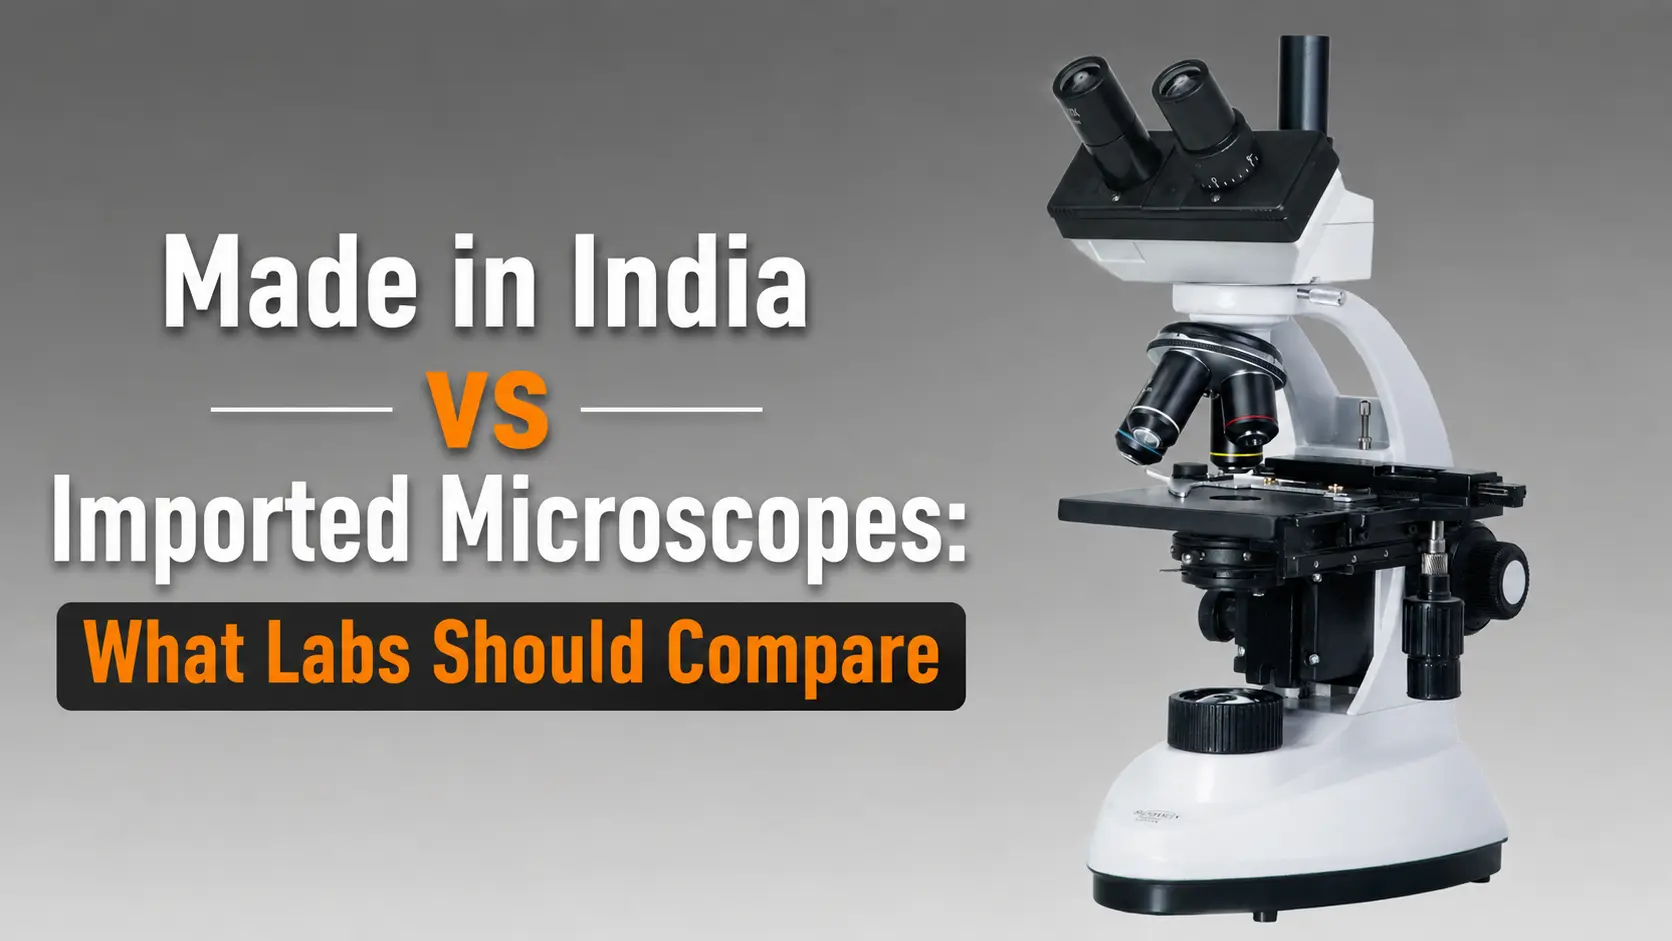
If you are weighing a domestically built instrument against an imported one, our comparison of made in India versus imported microscopes covers the cost, service and tender side of that decision in detail.
Frequently Asked Questions
How long does it take to manufacture a microscope?
Optical element production runs over several days because grinding, polishing and coating cannot be rushed. Once elements are ready, assembly, collimation and testing of a complete instrument typically takes a working day or more depending on the model and configuration.
What materials are used in microscope manufacturing?
Optical glass of controlled refractive index for lenses, die-cast aluminium for the stand and stage, brass and steel for the focus and nosepiece mechanisms, optical adhesive for cemented doublets, and thin-film coating material deposited under vacuum.
Are microscope lenses made by machine or by hand?
Both. Grinding and coating use machines and vacuum chambers, but centring, objective assembly, collimation and final adjustment still depend heavily on skilled technicians. That is why experienced optical units produce more consistent instruments than newer ones.
What is collimation in a microscope?
Collimation means aligning every optical element along one common axis so the light path stays true from illumination to eyepiece. Poor collimation produces a tilted image plane, uneven sharpness across the field, or eye strain during long viewing sessions.
Why are some microscopes so much more expensive than others?
Objective grade is the main reason. Achromatic, semi-plan, plan and plan-apochromatic objectives involve increasing numbers of elements, tighter tolerances and better glass. Illumination quality, mechanical build and whether the objective set is properly matched account for most of the rest.
Does SUSWOX manufacture in India or import and rebrand?
We manufacture. Optical work, assembly, calibration and testing are done at our own Ambala unit, which is what allows us to customise configurations, issue OEM documentation for tenders, and supply spares long after a model has been superseded.
See the process for yourself
Institutional buyers and academic groups are welcome to visit our Ambala facility and walk the floor. If a visit is not practical, share your application, sample type and quantity and our team will recommend a configuration and send a formal quotation, usually within one working day. You can also read more about SUSWOX and our manufacturing history.
Call +91 87270 15757 or write to sales@suswox.com. 1265 Bengali Mohalla, Ambala, Haryana 133001.